News
Péguy's progress
Published by Suisei at 14/03/2022 à 20h15
Hi everyone!
As mentioned in the in review 2021, today I'm going to talk more about the progress of the Peguy project.
We're going to talk about 3D and programming, so this is a news that will be relatively technical.
Let's go!
The application Péguy
As said before, I haven't made much progress on the application itself since the last time.
It has been enriched with a few more effects and new possibilities for modeling shapes.
But not much more.
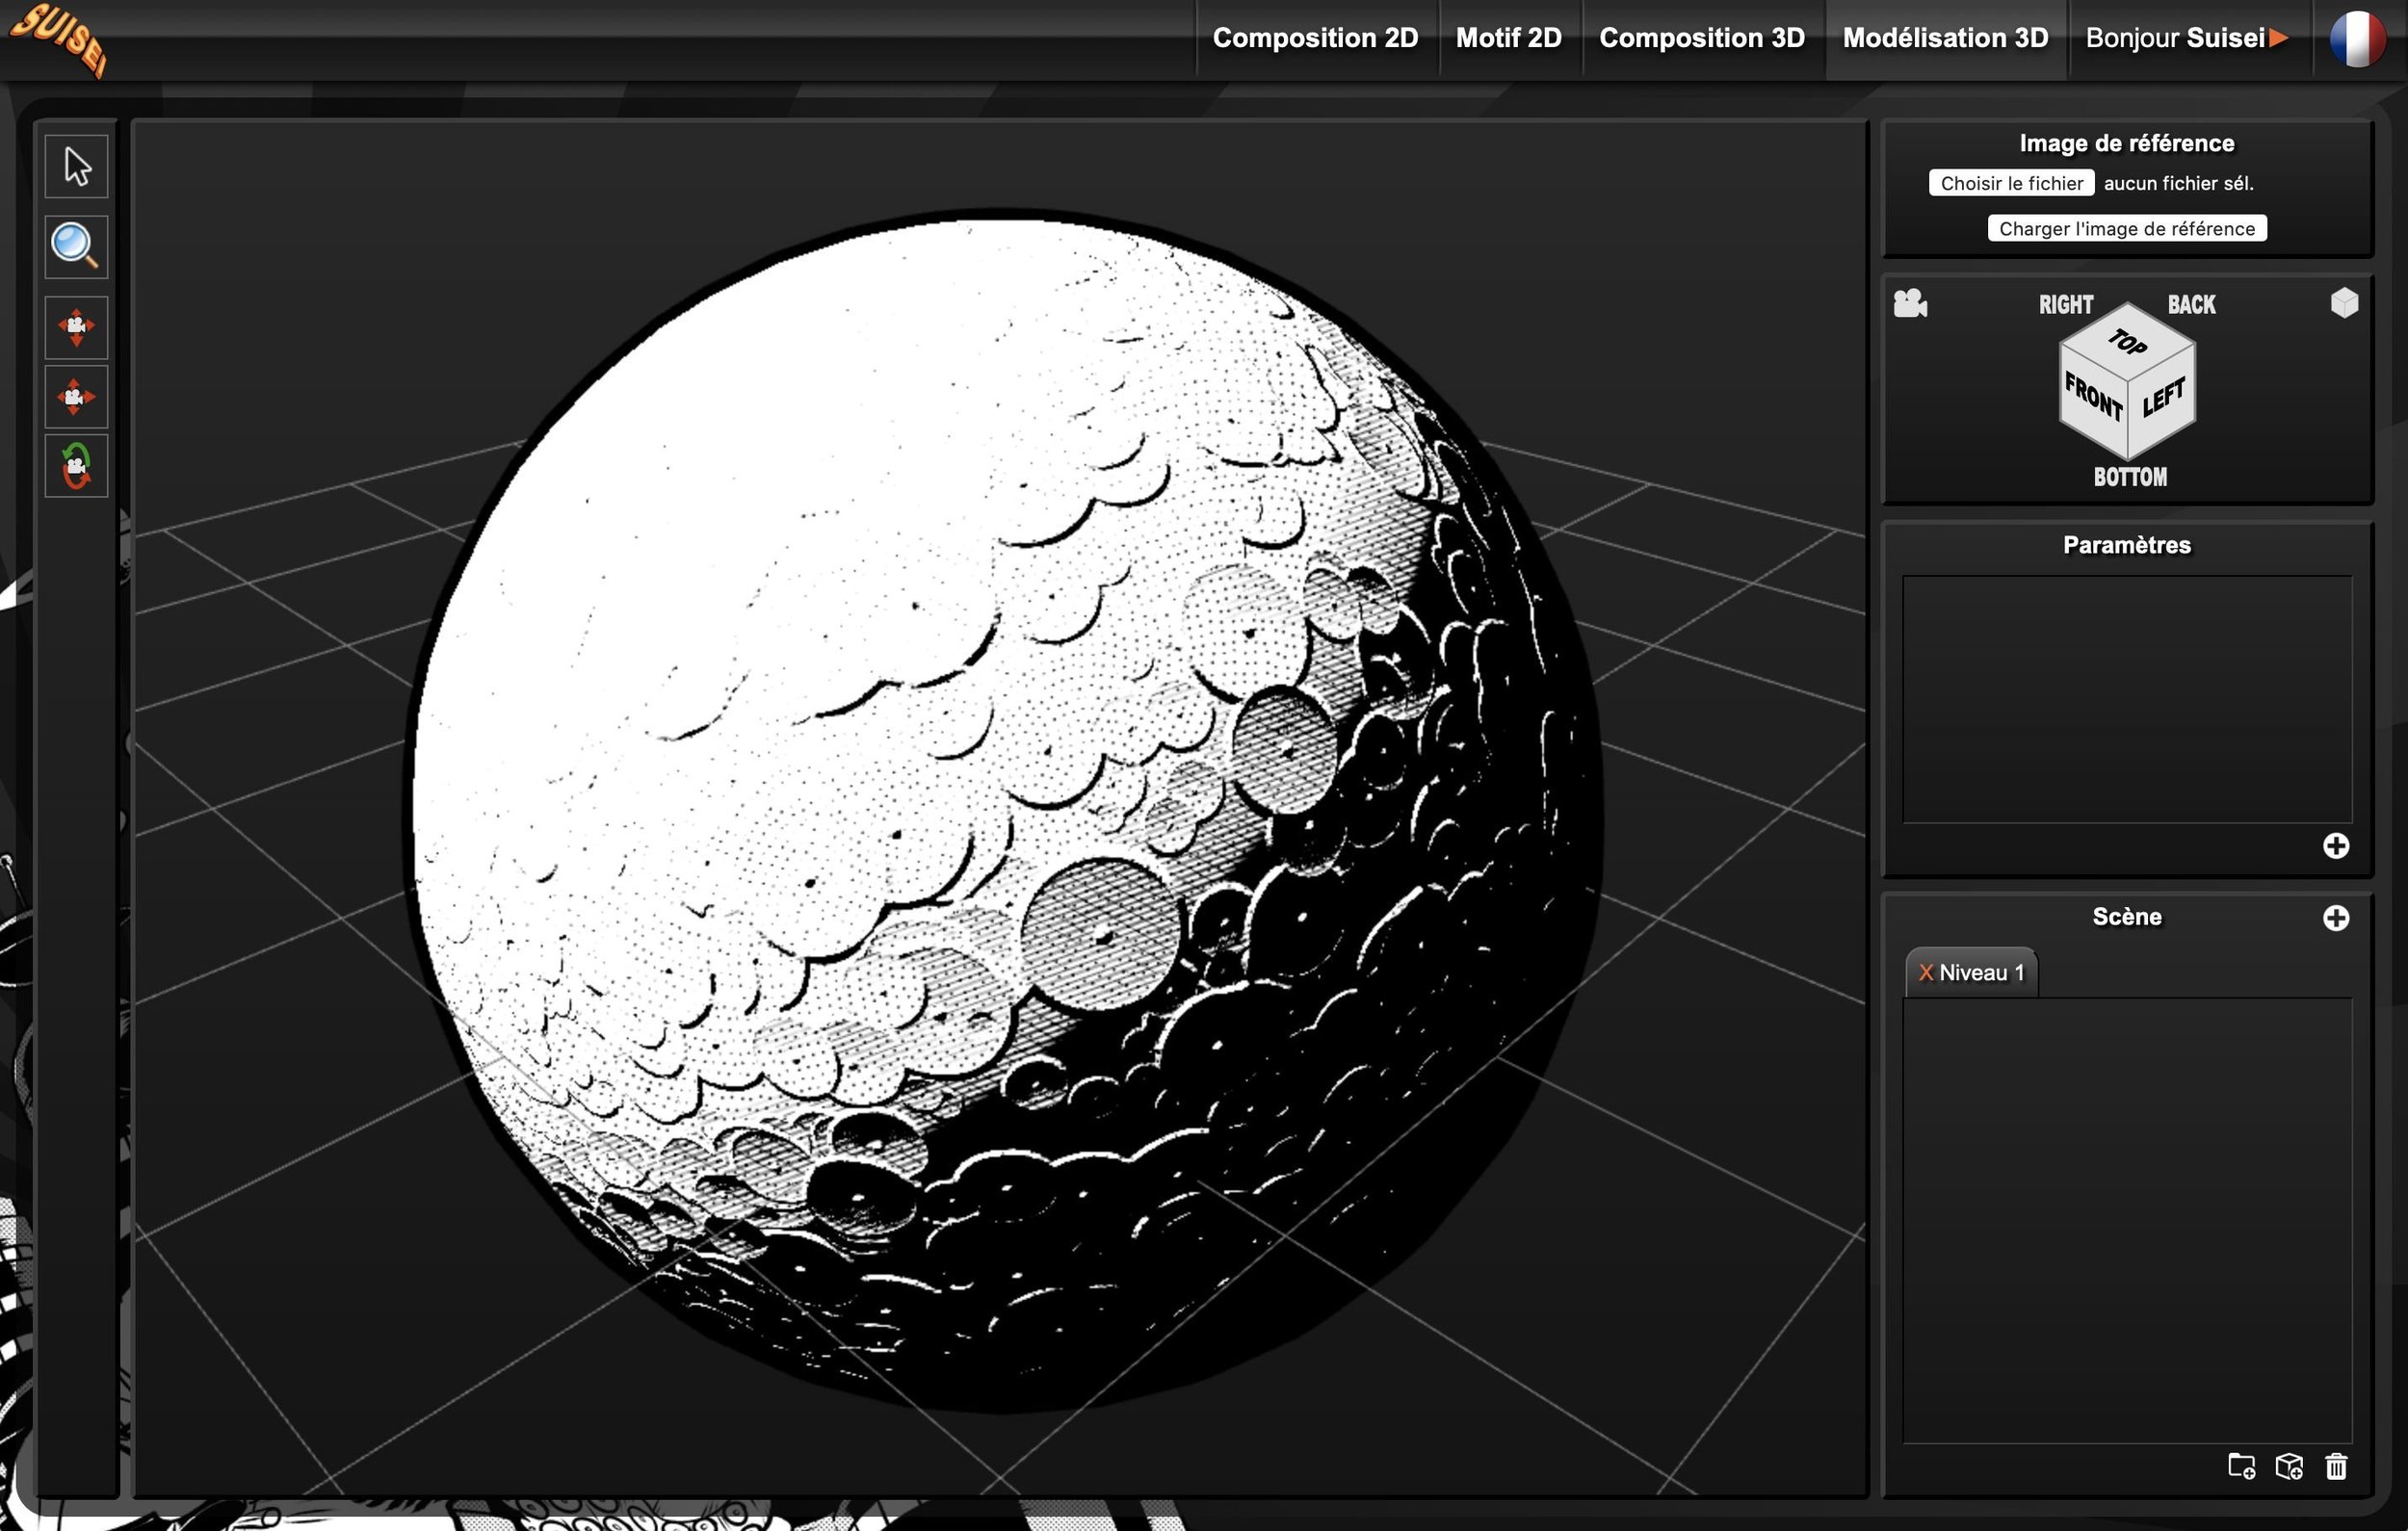
I did a lot of research on the different methods of automatic texturing on a sphere.
Going from a 2D image to a spherical volume is not an easy task!
I added the possibility to define holes in the textures.

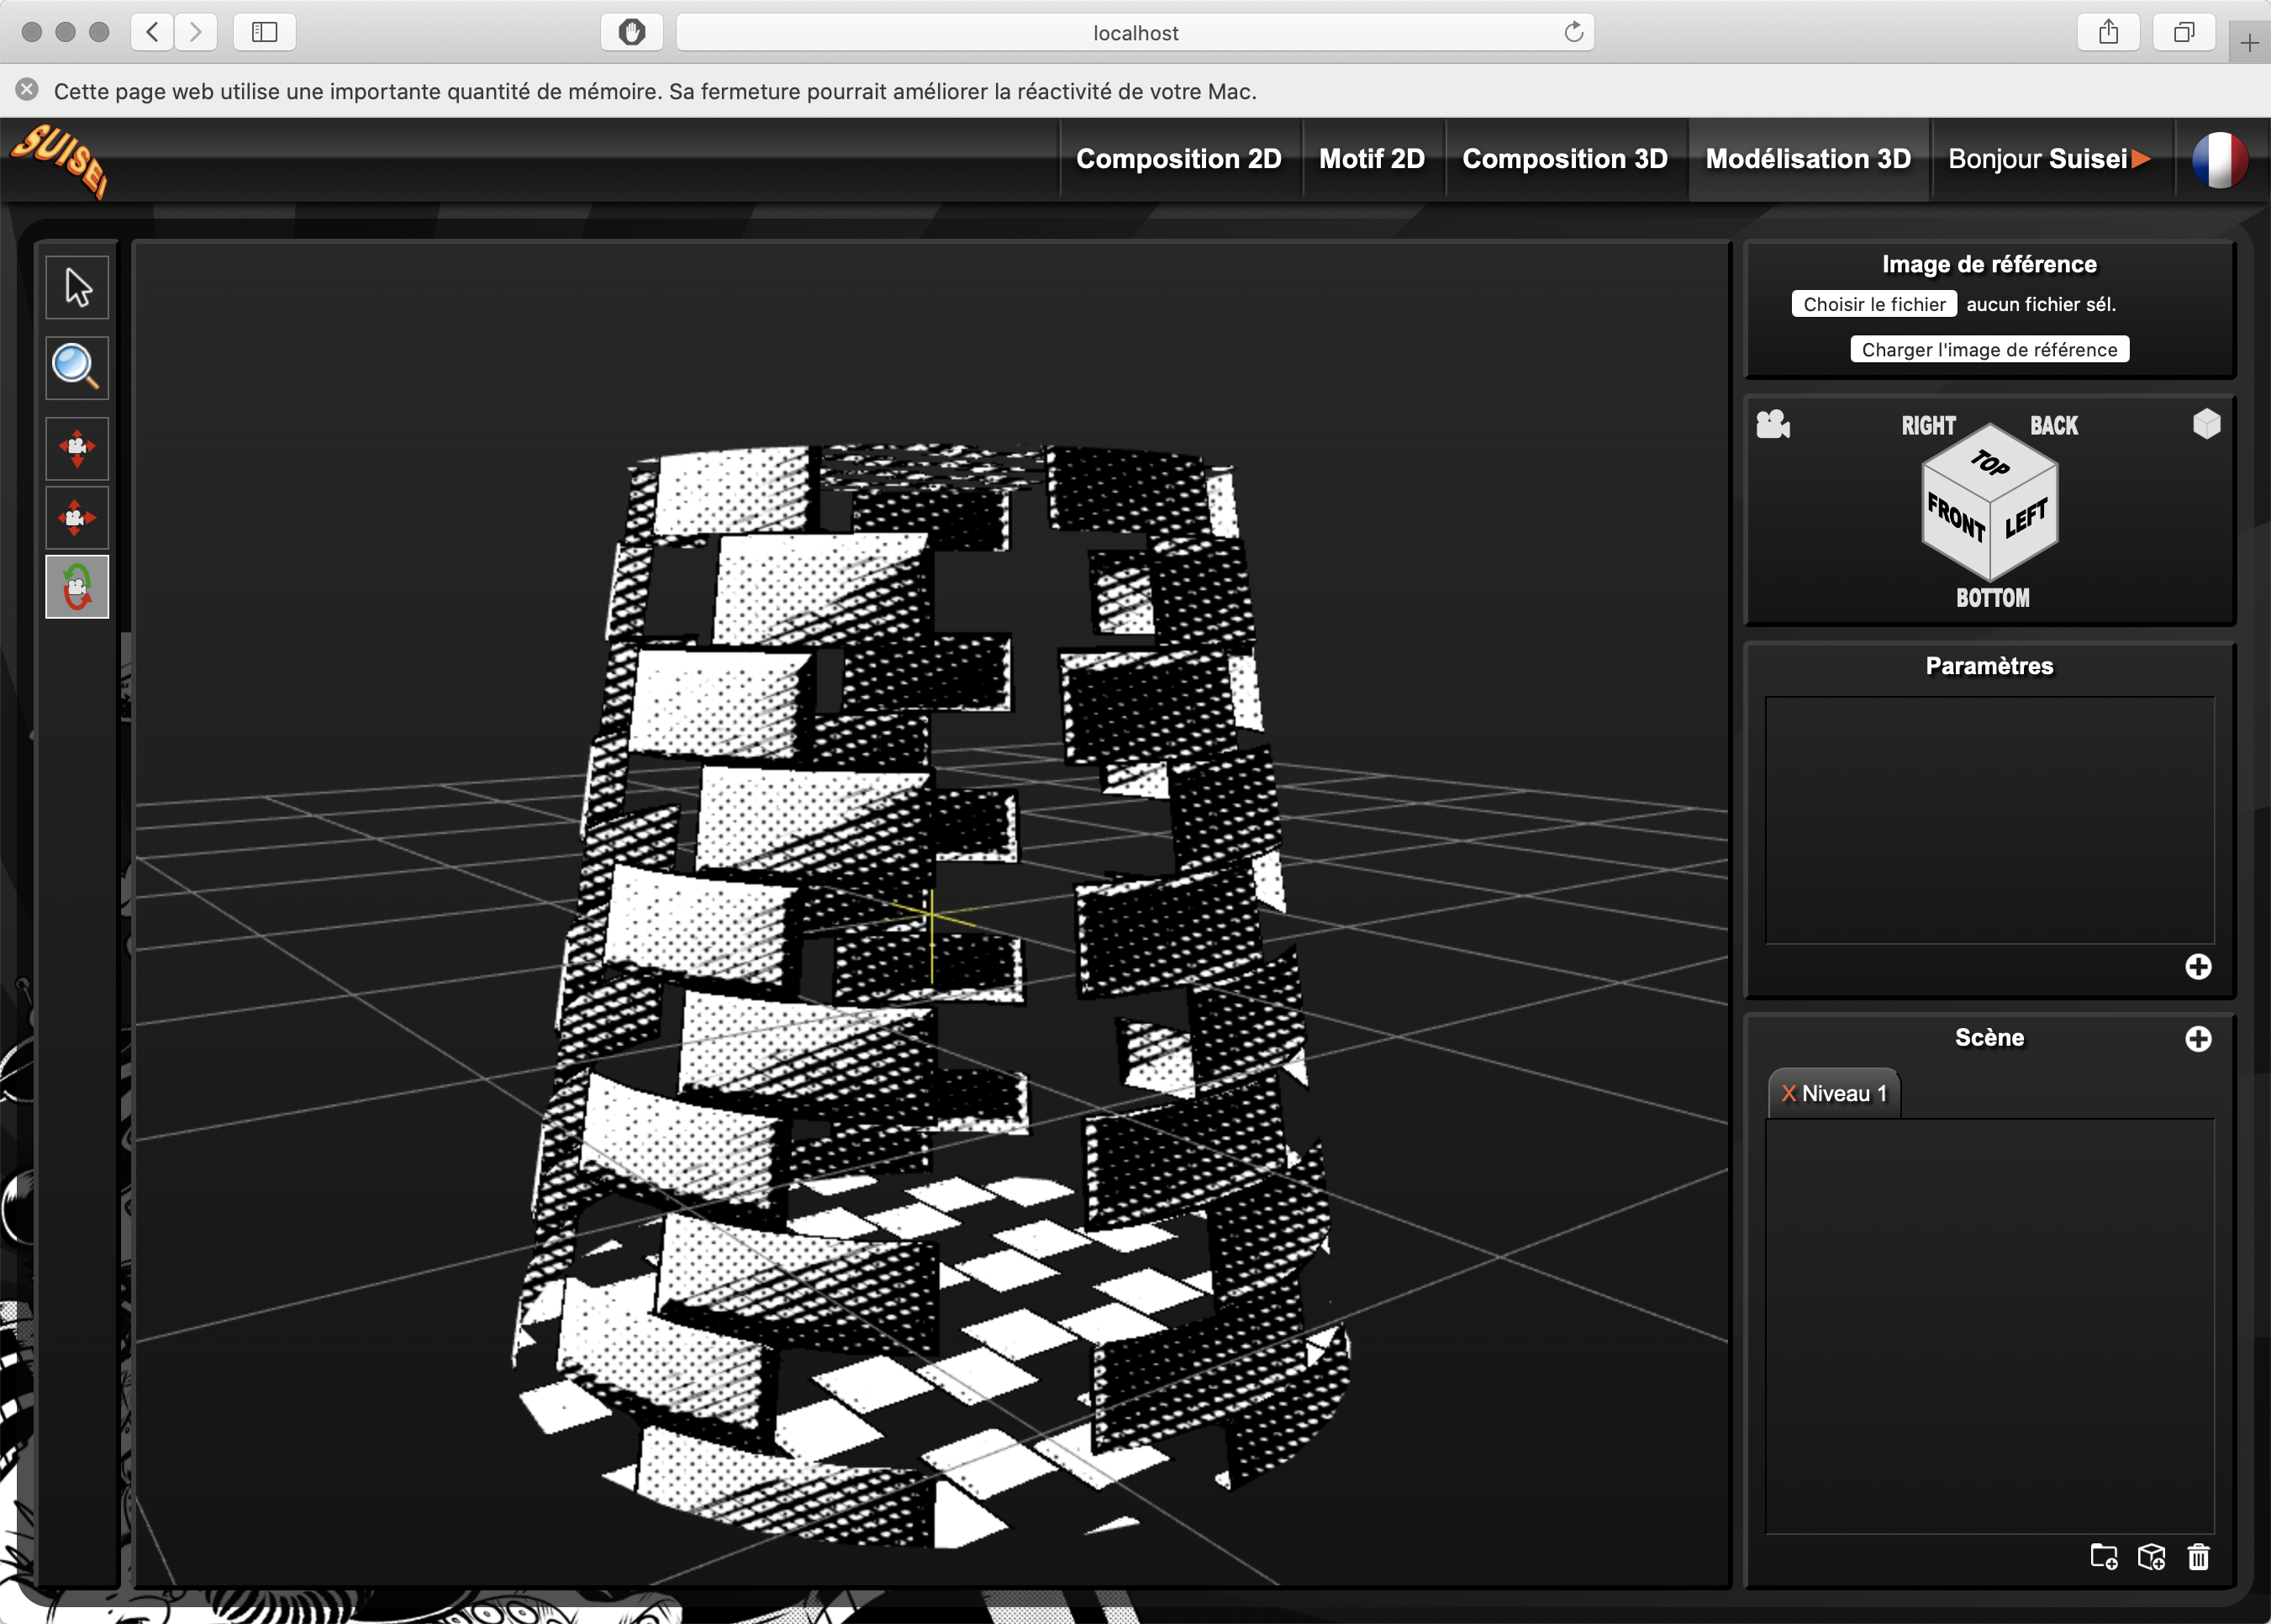
The revolution function: it allows to draw a 3D object from a 2D curve by simple rotation around an axis.
Any 3D modeling software worthy of the name must offer it.
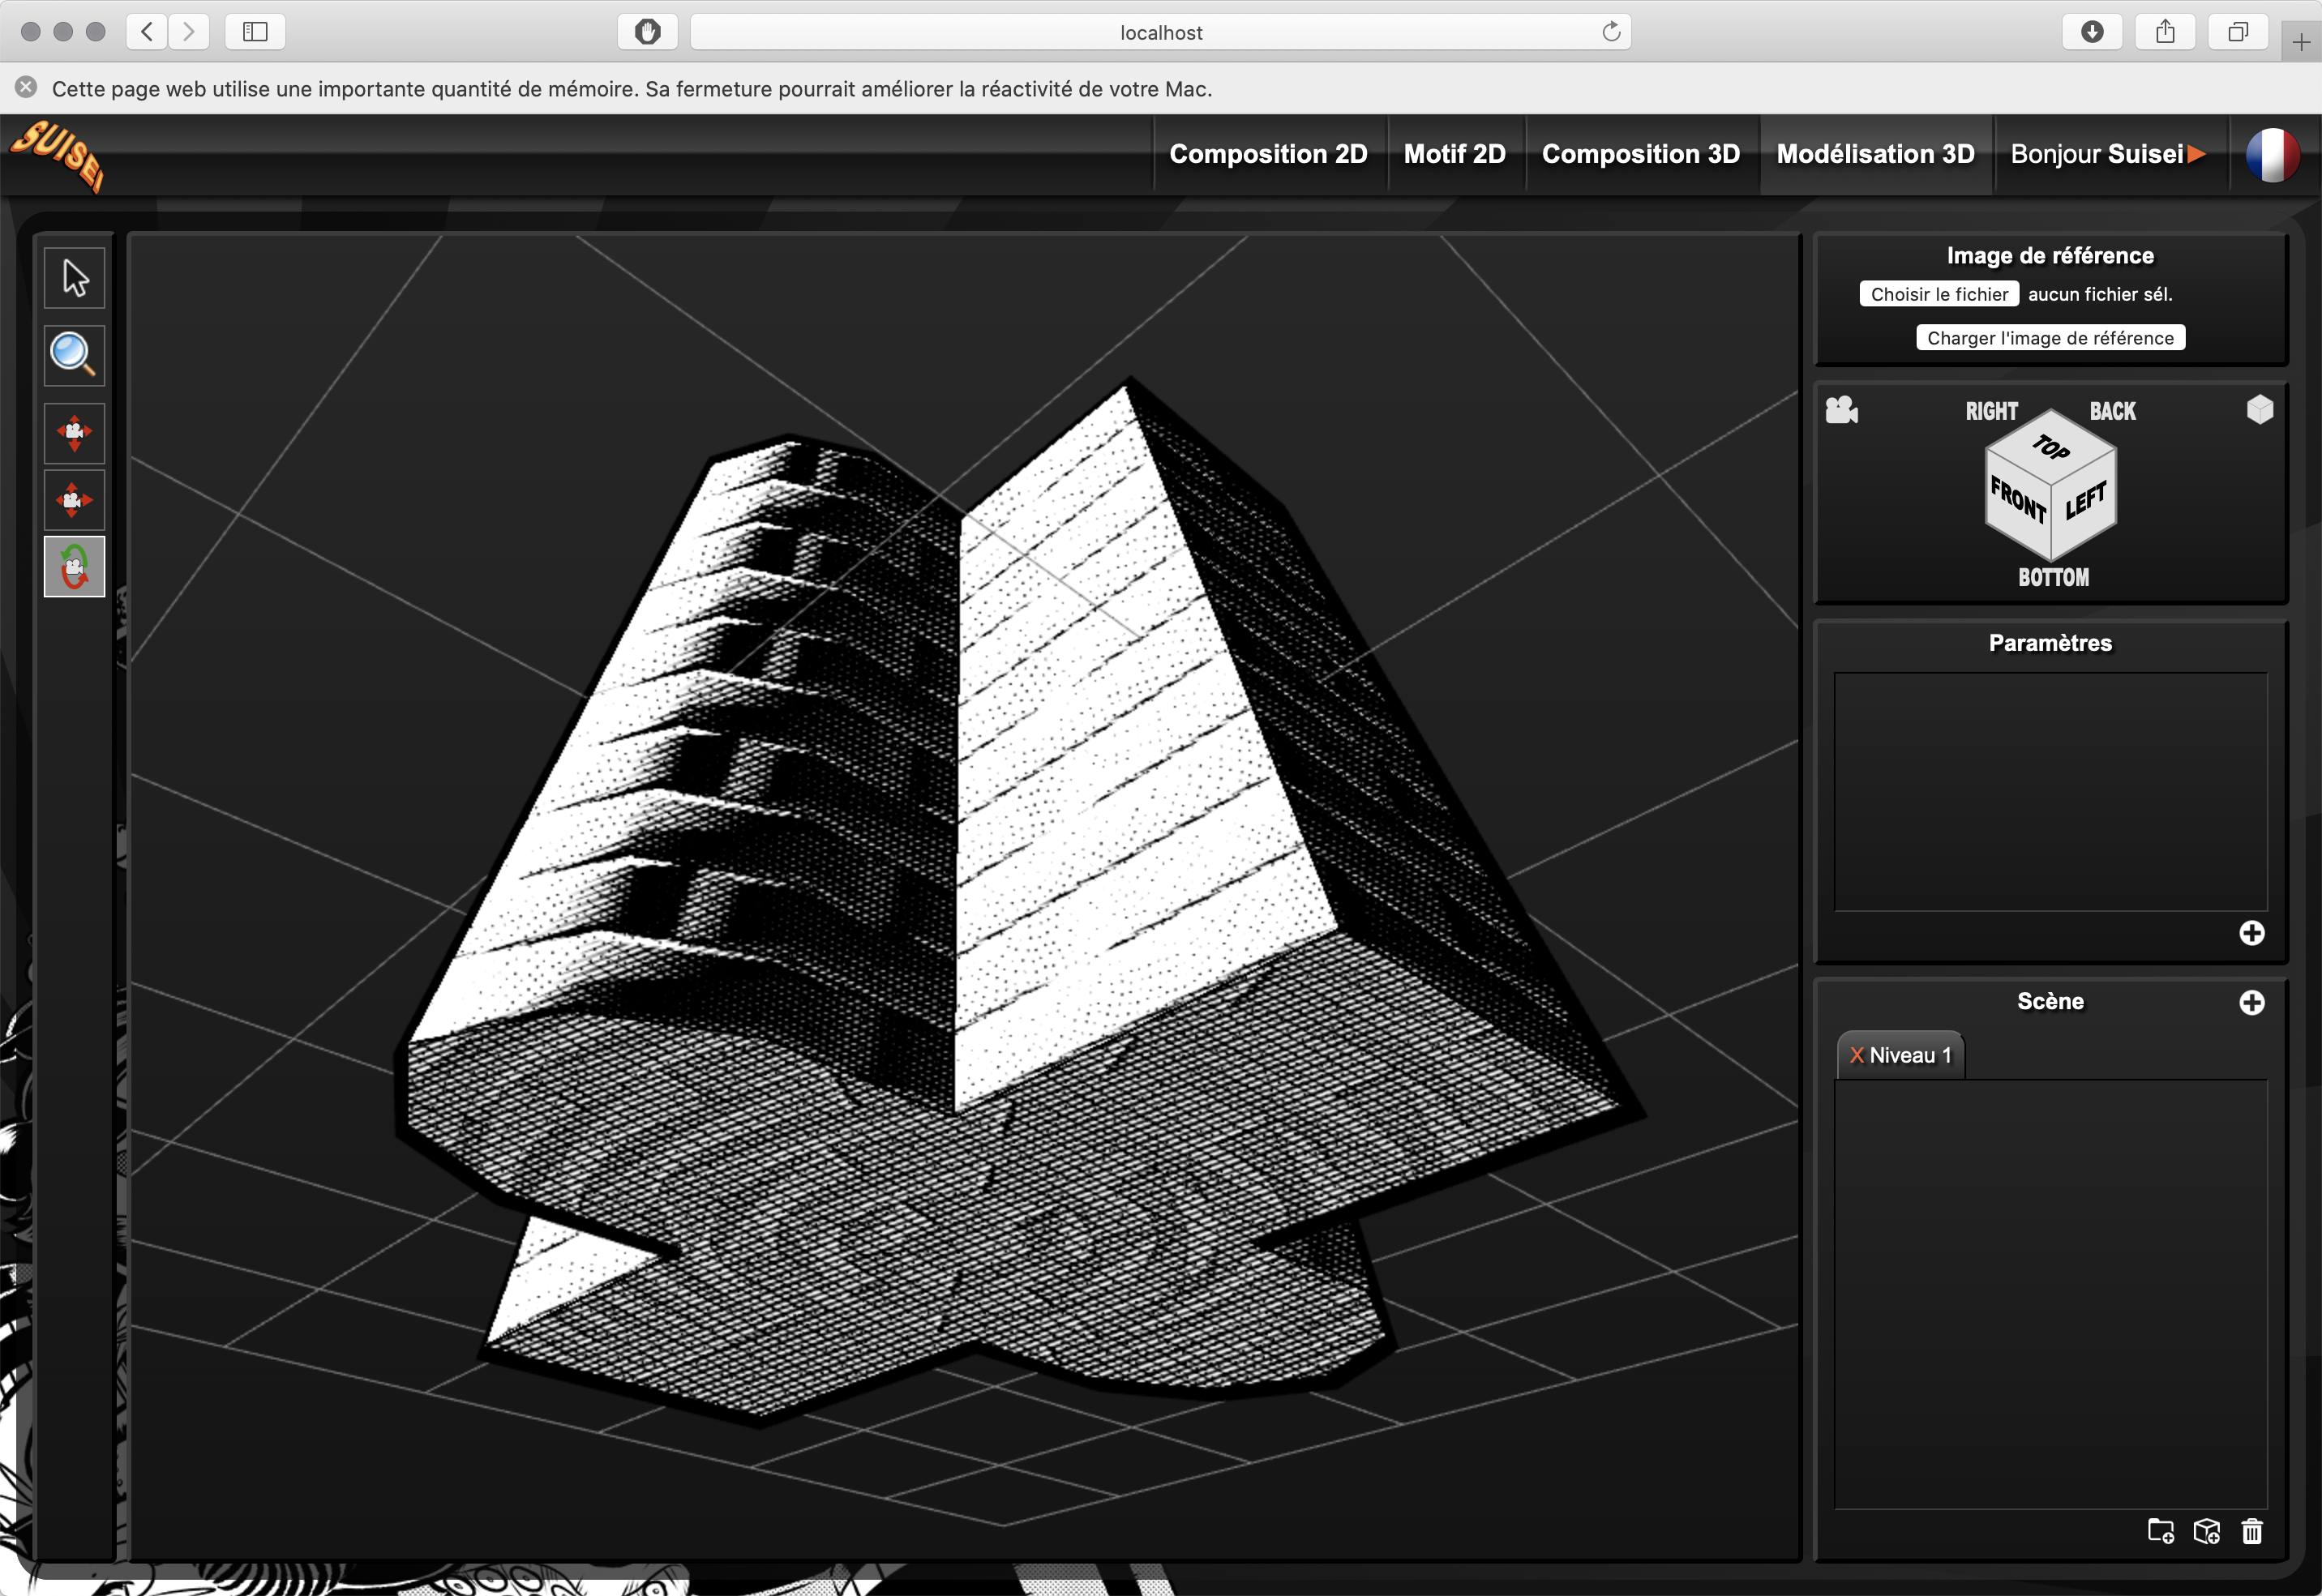
Extrusion from a 2D shape. This is also a must-have feature.
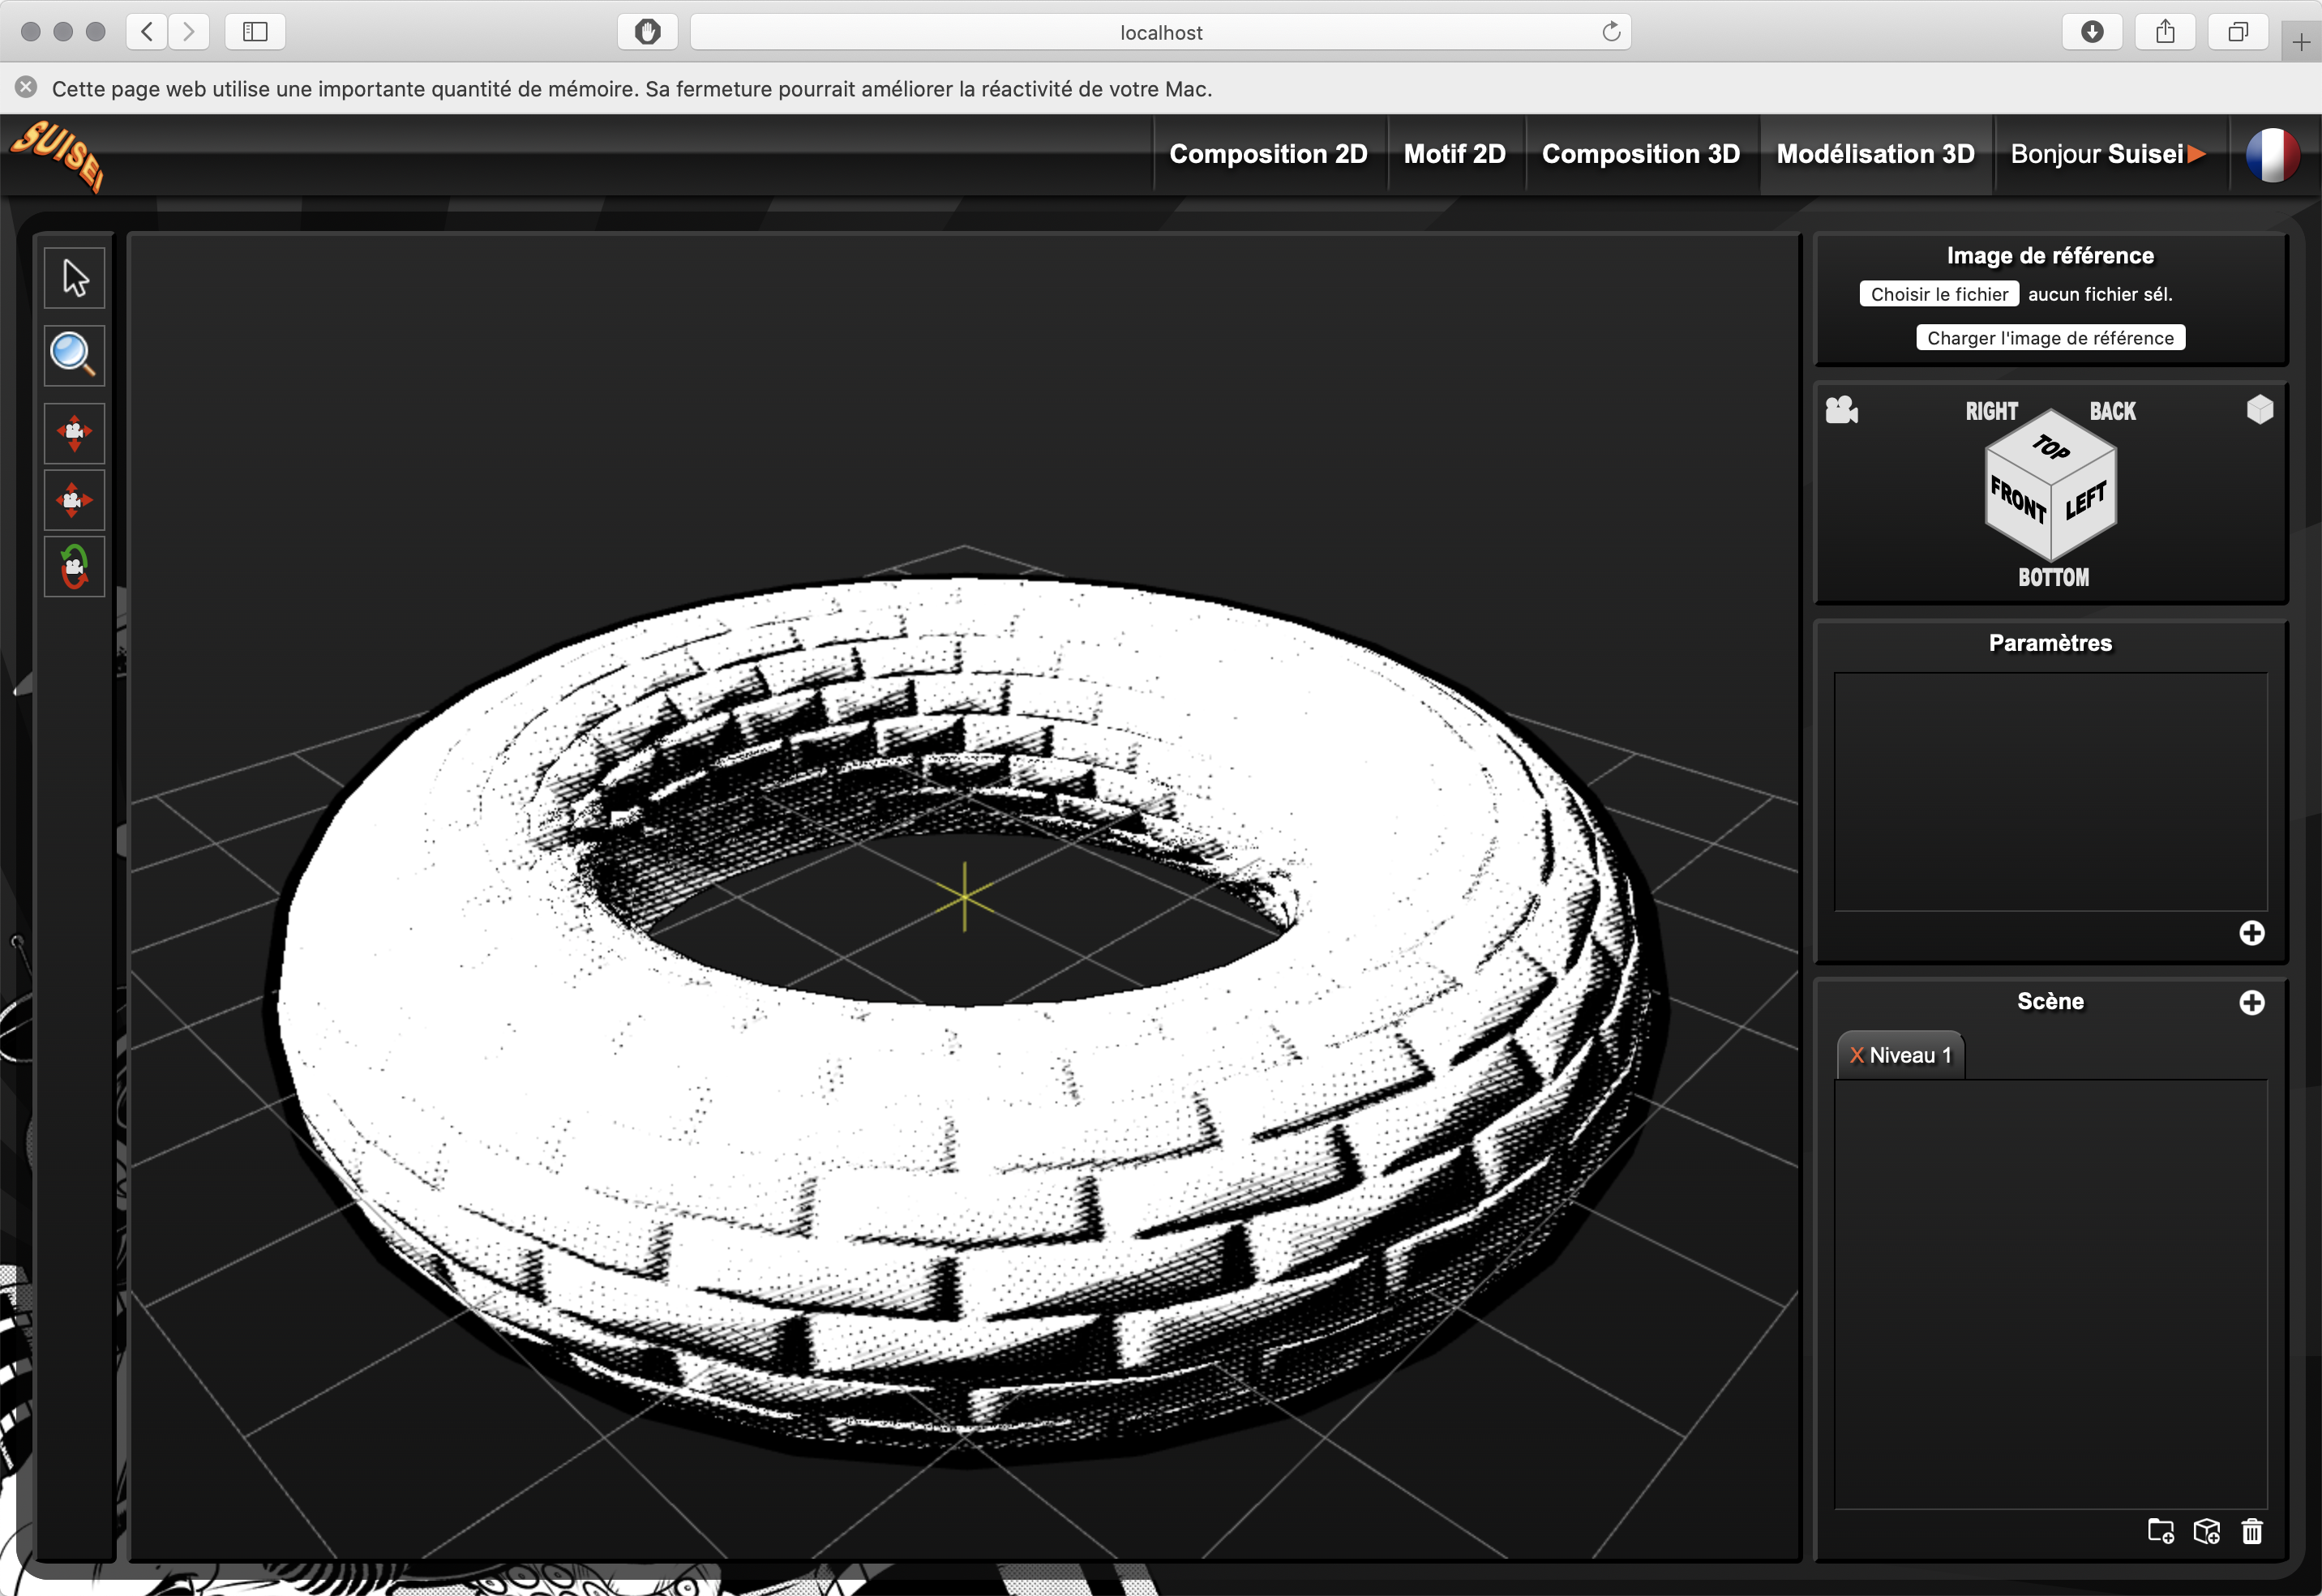
New primitives (basic geometric shapes).
A little donut for the road?
On the other hand, I did a lot of research and also developed small independent tools that will be interesting to integrate into the application in the future.
FreeCAD and the Python language
In January 2021, my dad decided to learn 3D modeling so that he could model small mechanical parts to be manufactured by online 3D printing services.
The idea was to be able to replace small broken or lost parts.
The software he started using for this is called FreeCAD.
It is a free and open source computer-aided design (CAD) software.
It is a technical software. It is designed to model mechanical parts, architecture, but not really to make art (video game, animation, illustration... all that).
For my comics, I'm interested in using 3D for architectural scenery or vehicles, I thought it would be interesting to take a look at it...
Just out of curiosity...
While doing my research, I discovered that the software was customizable with scripts or plugins written with the Python language, like many 3D softwares.
But the most interesting thing is that FreeCAD functions can be called from an independent Python program without opening FreeCAD!
I really found this very interesting, so I rushed to do some tests.

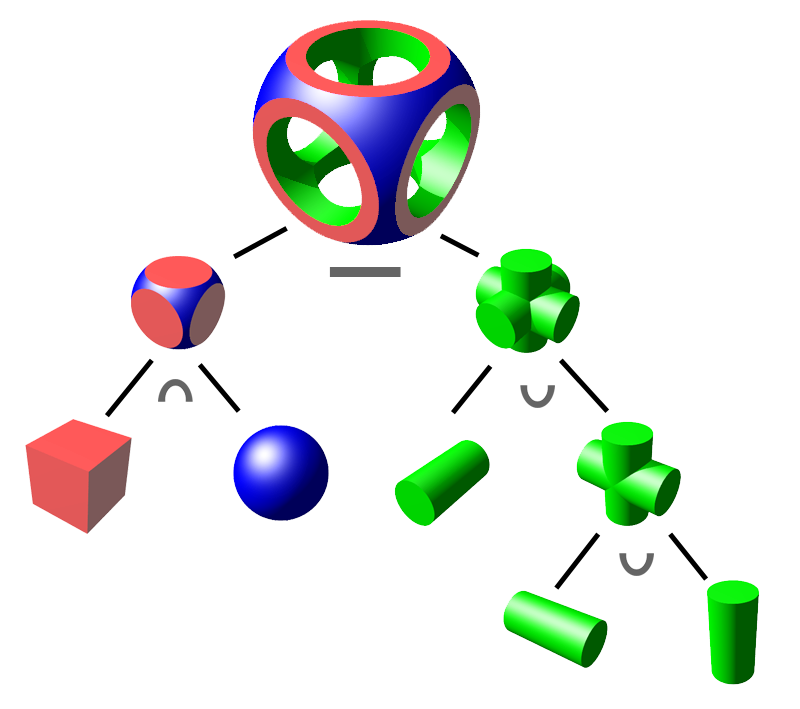
This is one of my very first tests.
It was sculpted using the boolean principle.
Basically, the idea is to create shapes by adding or subtracting simpler ones from each other or by taking the intersection of 2 shapes.
This little diagram found on Wikipedia is more telling than long words.
Until now I had never really gotten serious about 3D modeling because the software I had studied up until then was more for art. When I wanted to model objects or structures whose geometry I knew with mathematical accuracy, I was very frustrated by the imprecision of these software.
The problem was that they didn't allow you to express shapes by entering custom mathematical formulas and you had to struggle to do things freehand that could have been quick and easy with a little math.
The idea of making 3D generation programs where I am not hindered by a user interface quickly became apparent.
I had started to study the subject with Java.
Since I discovered FreeCAD, I have developed lots and lots of programs with it.
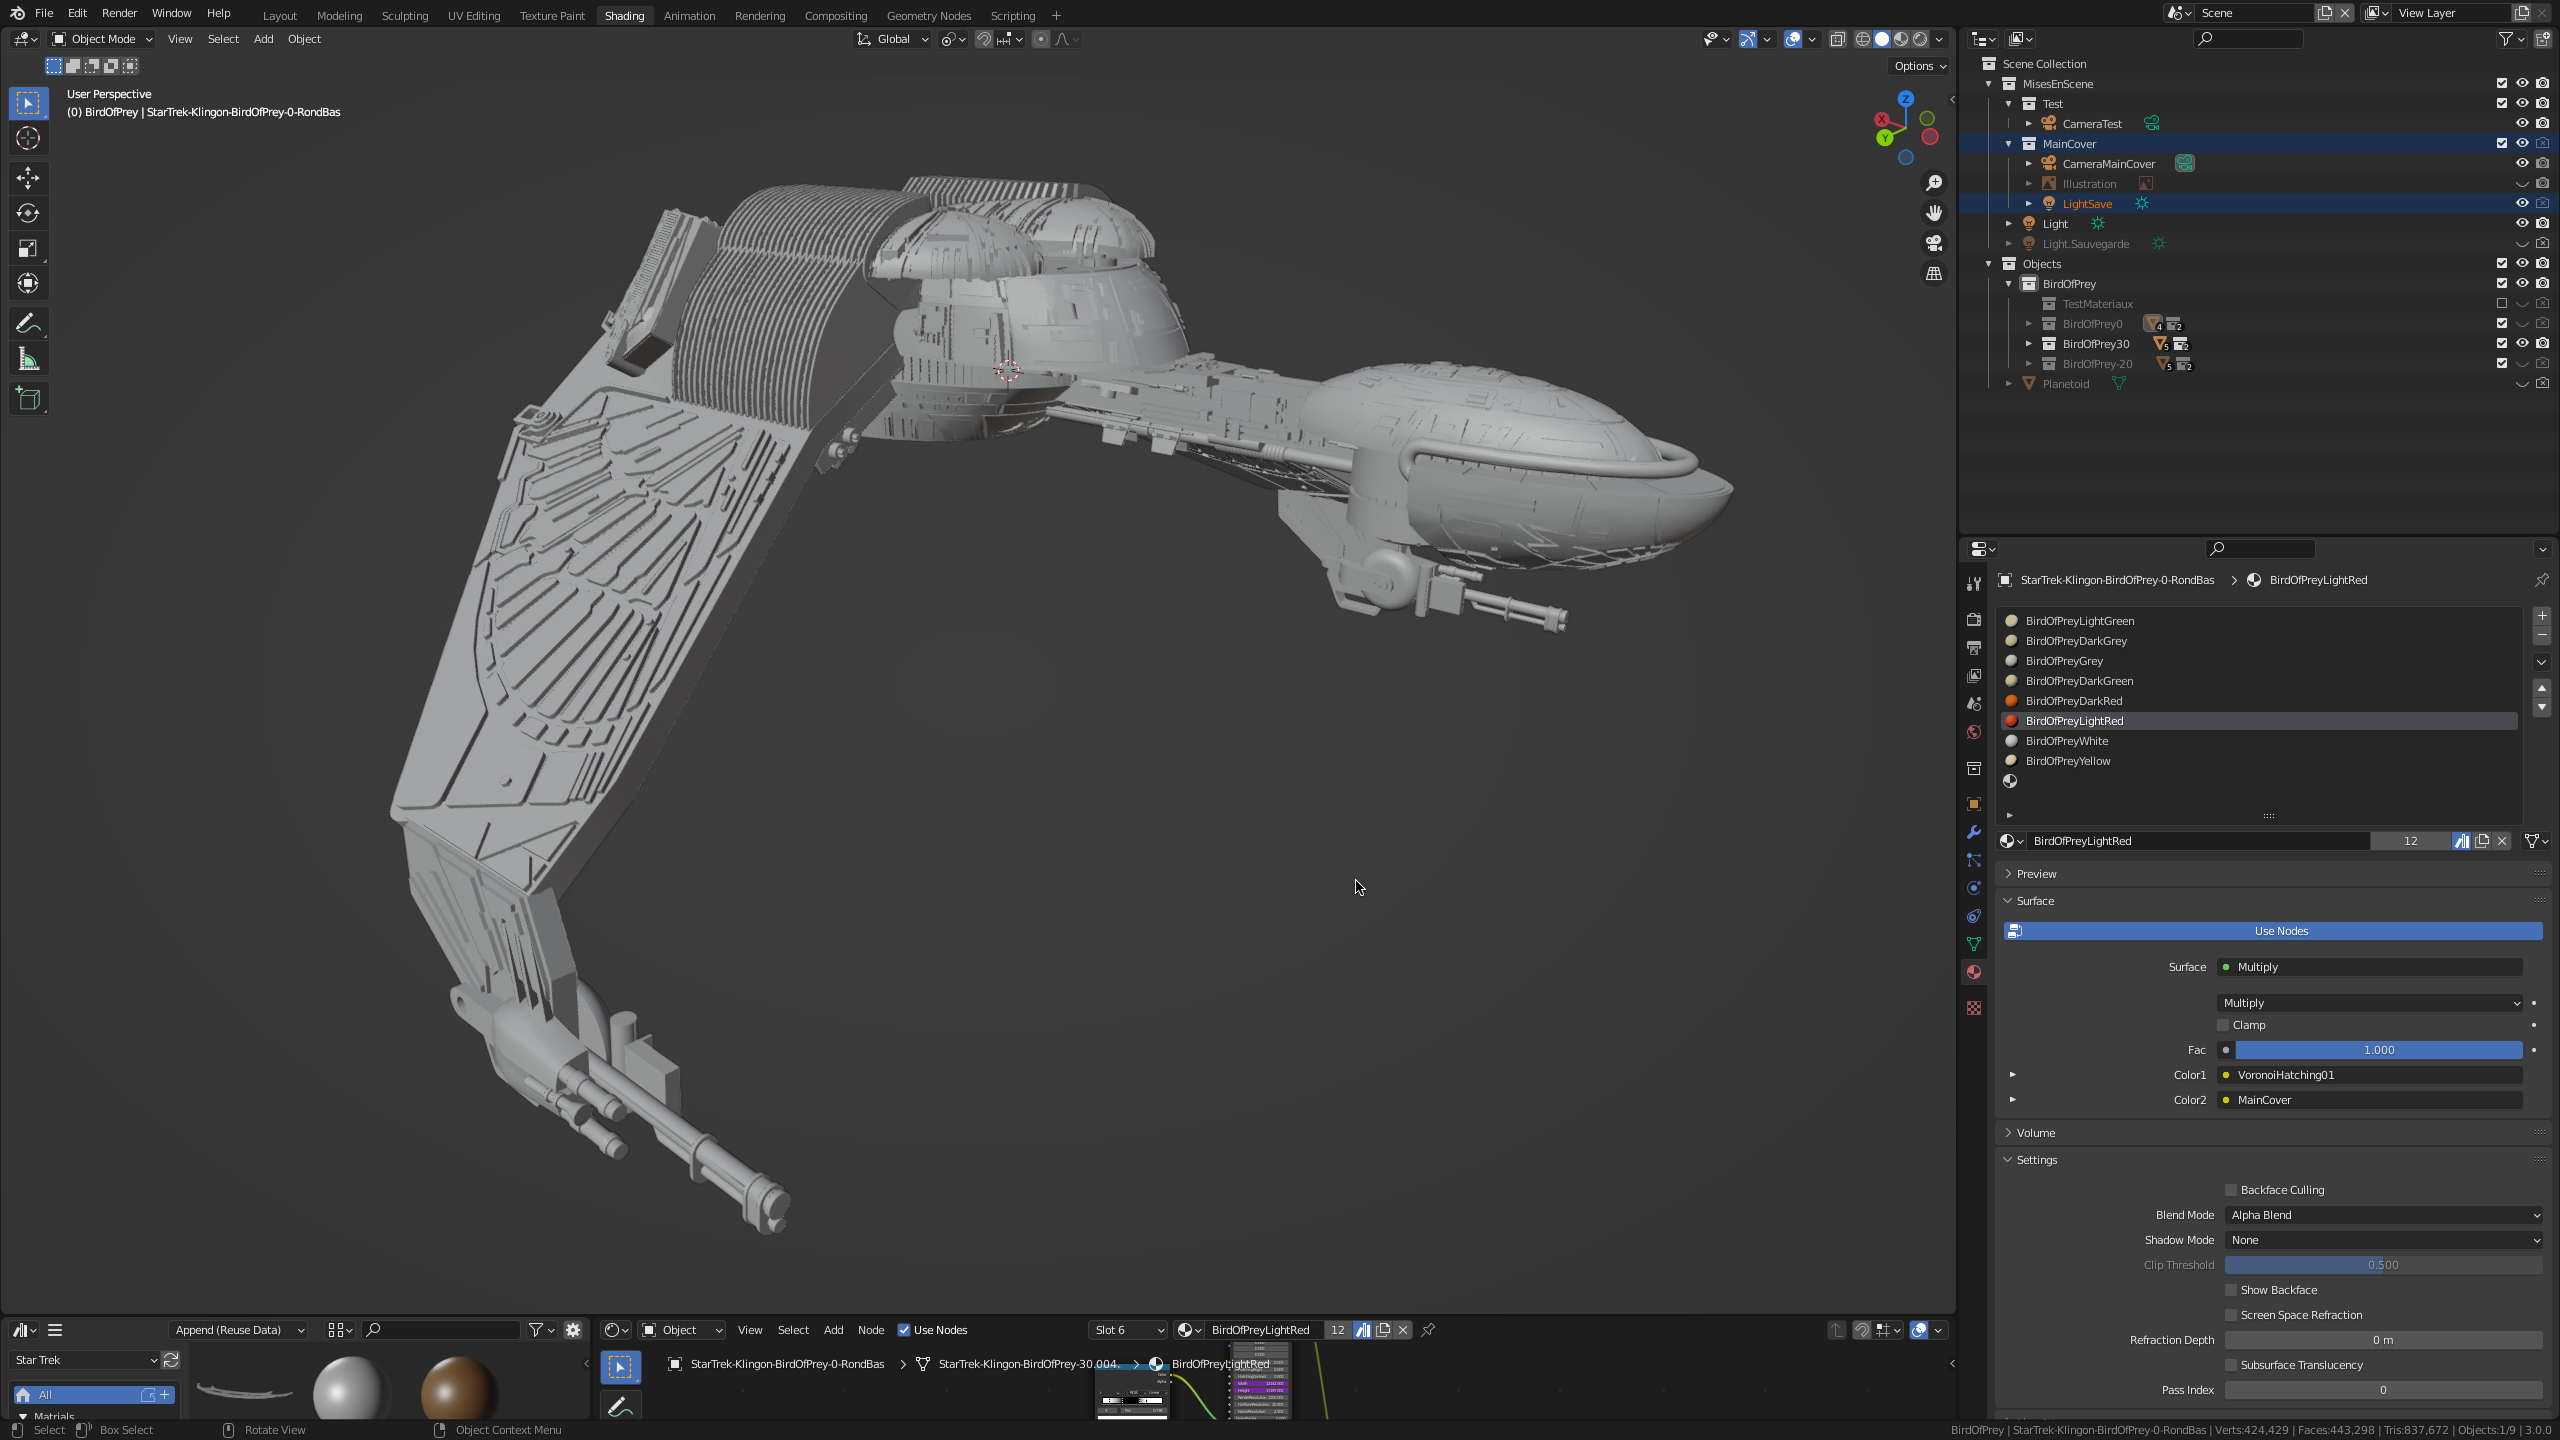
Sets and ships for the Star Trek webtoon project.
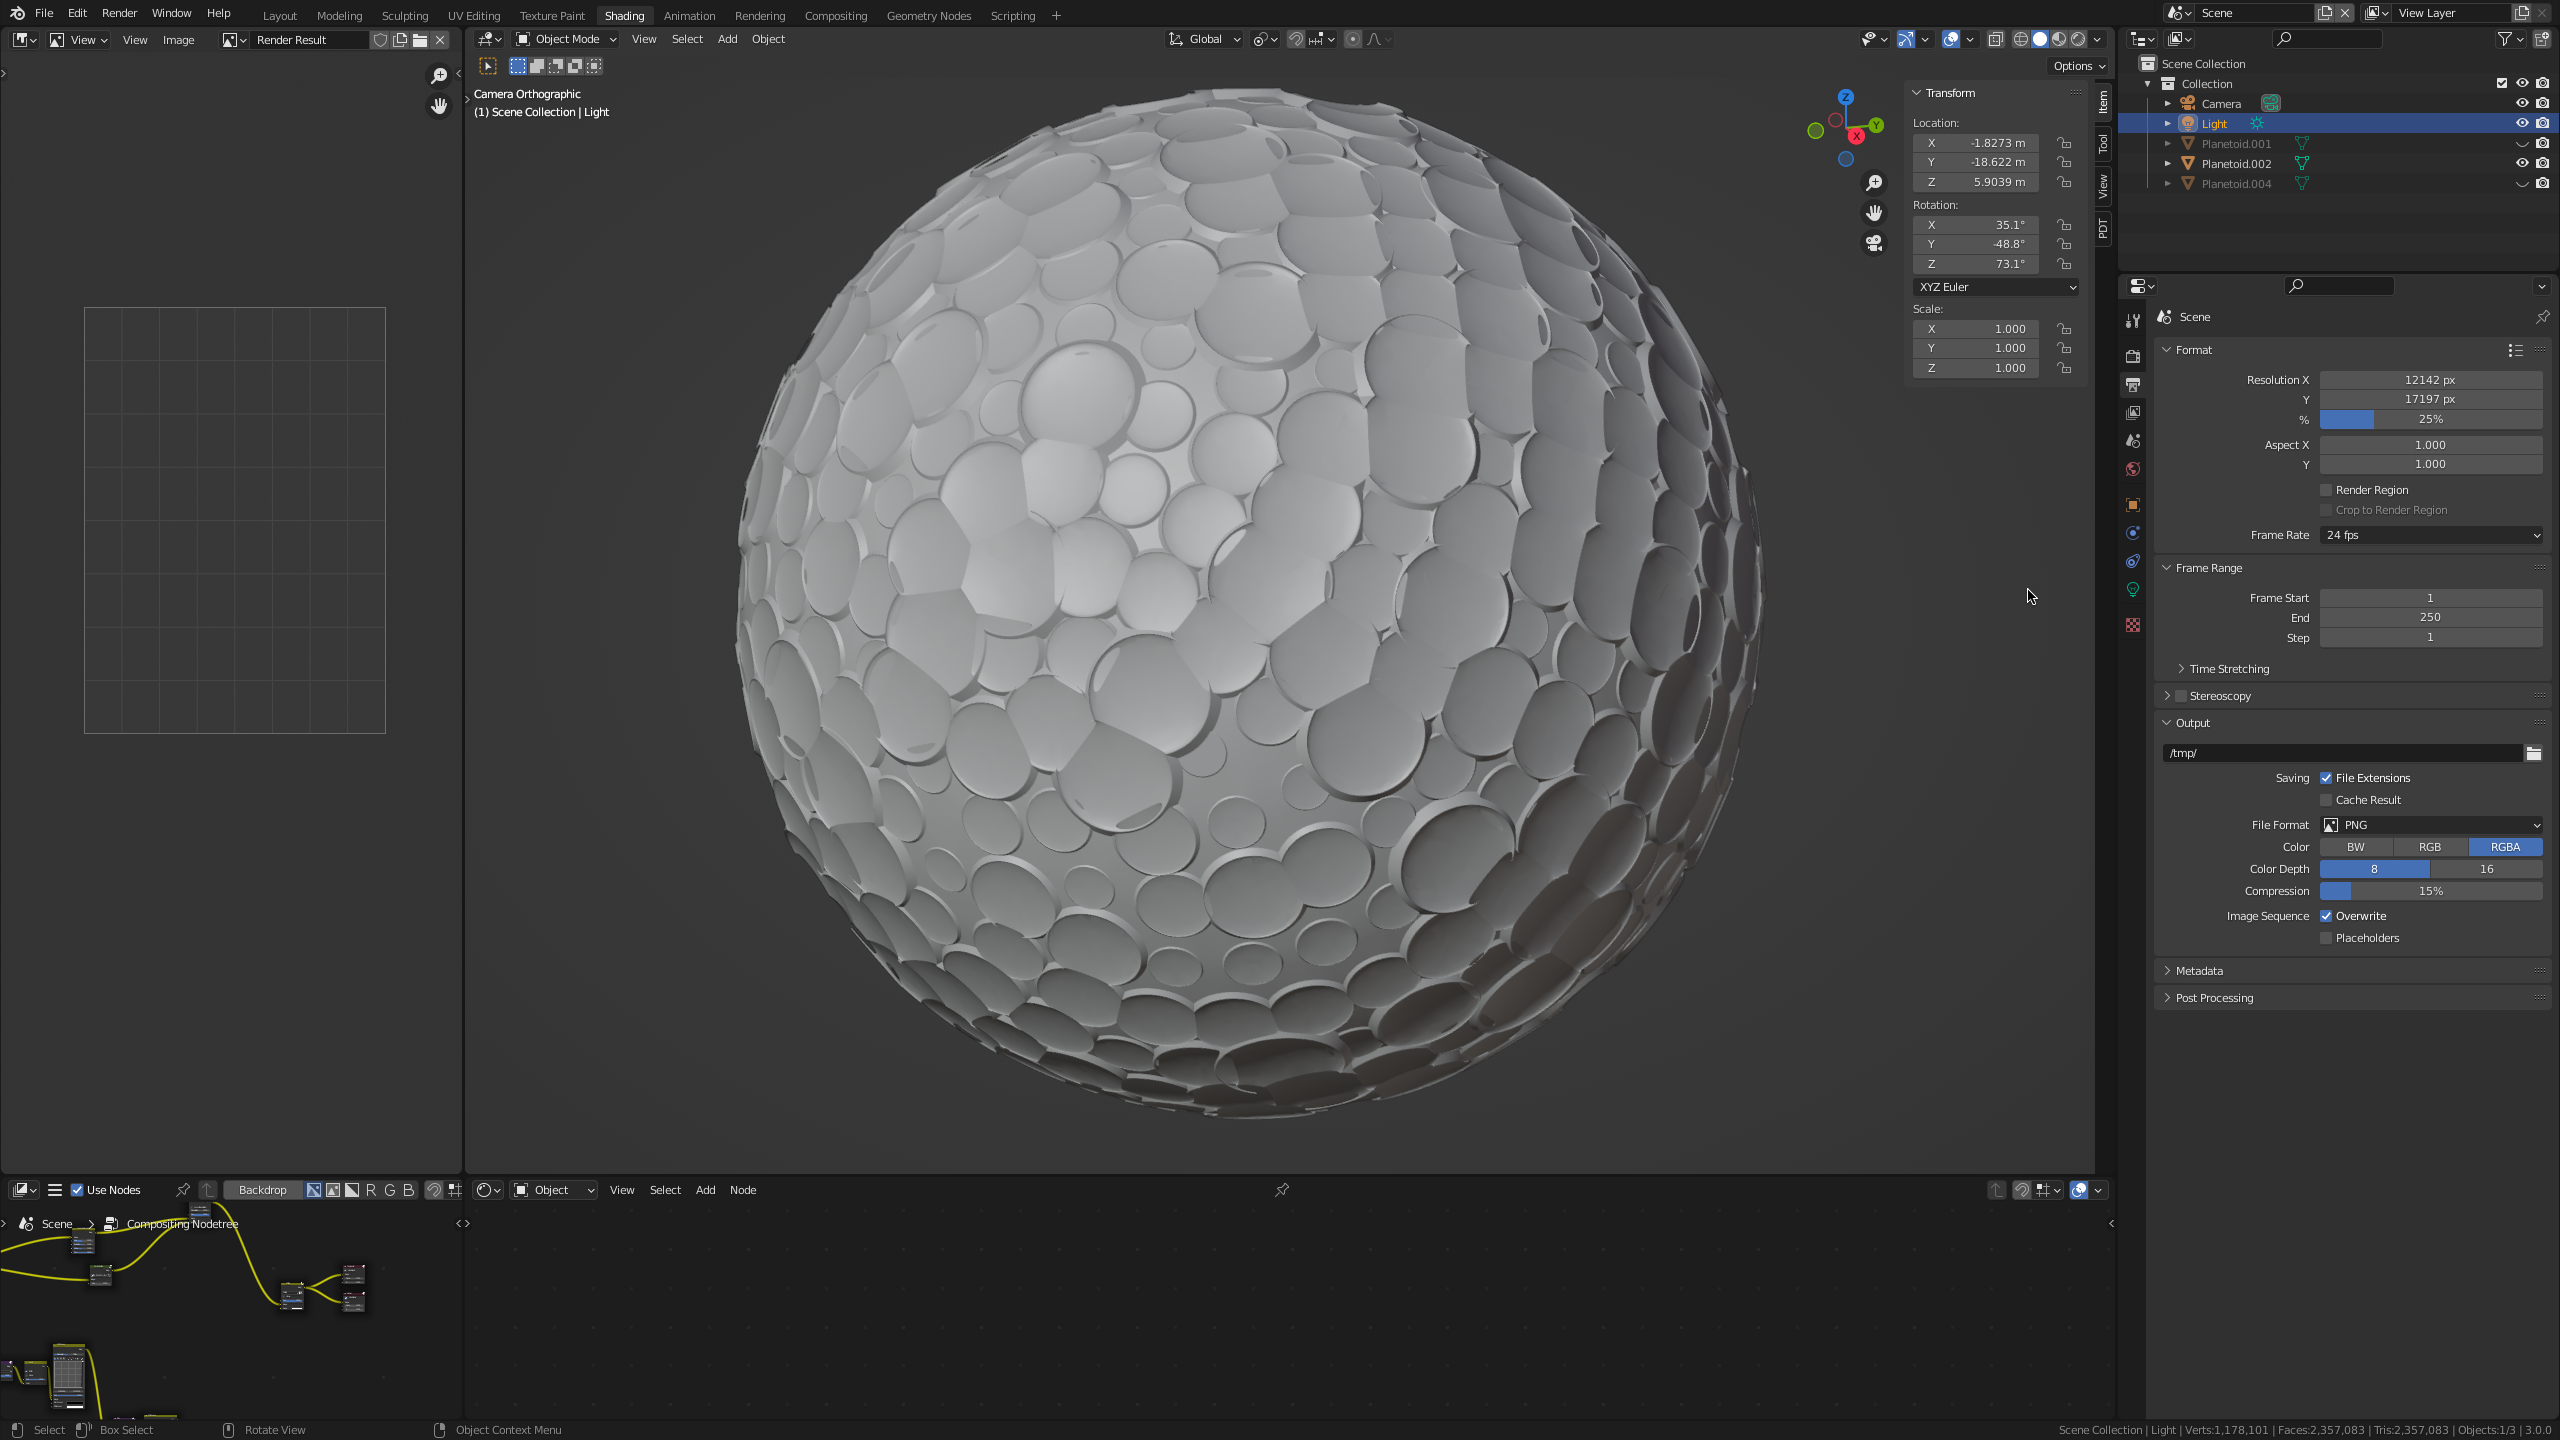
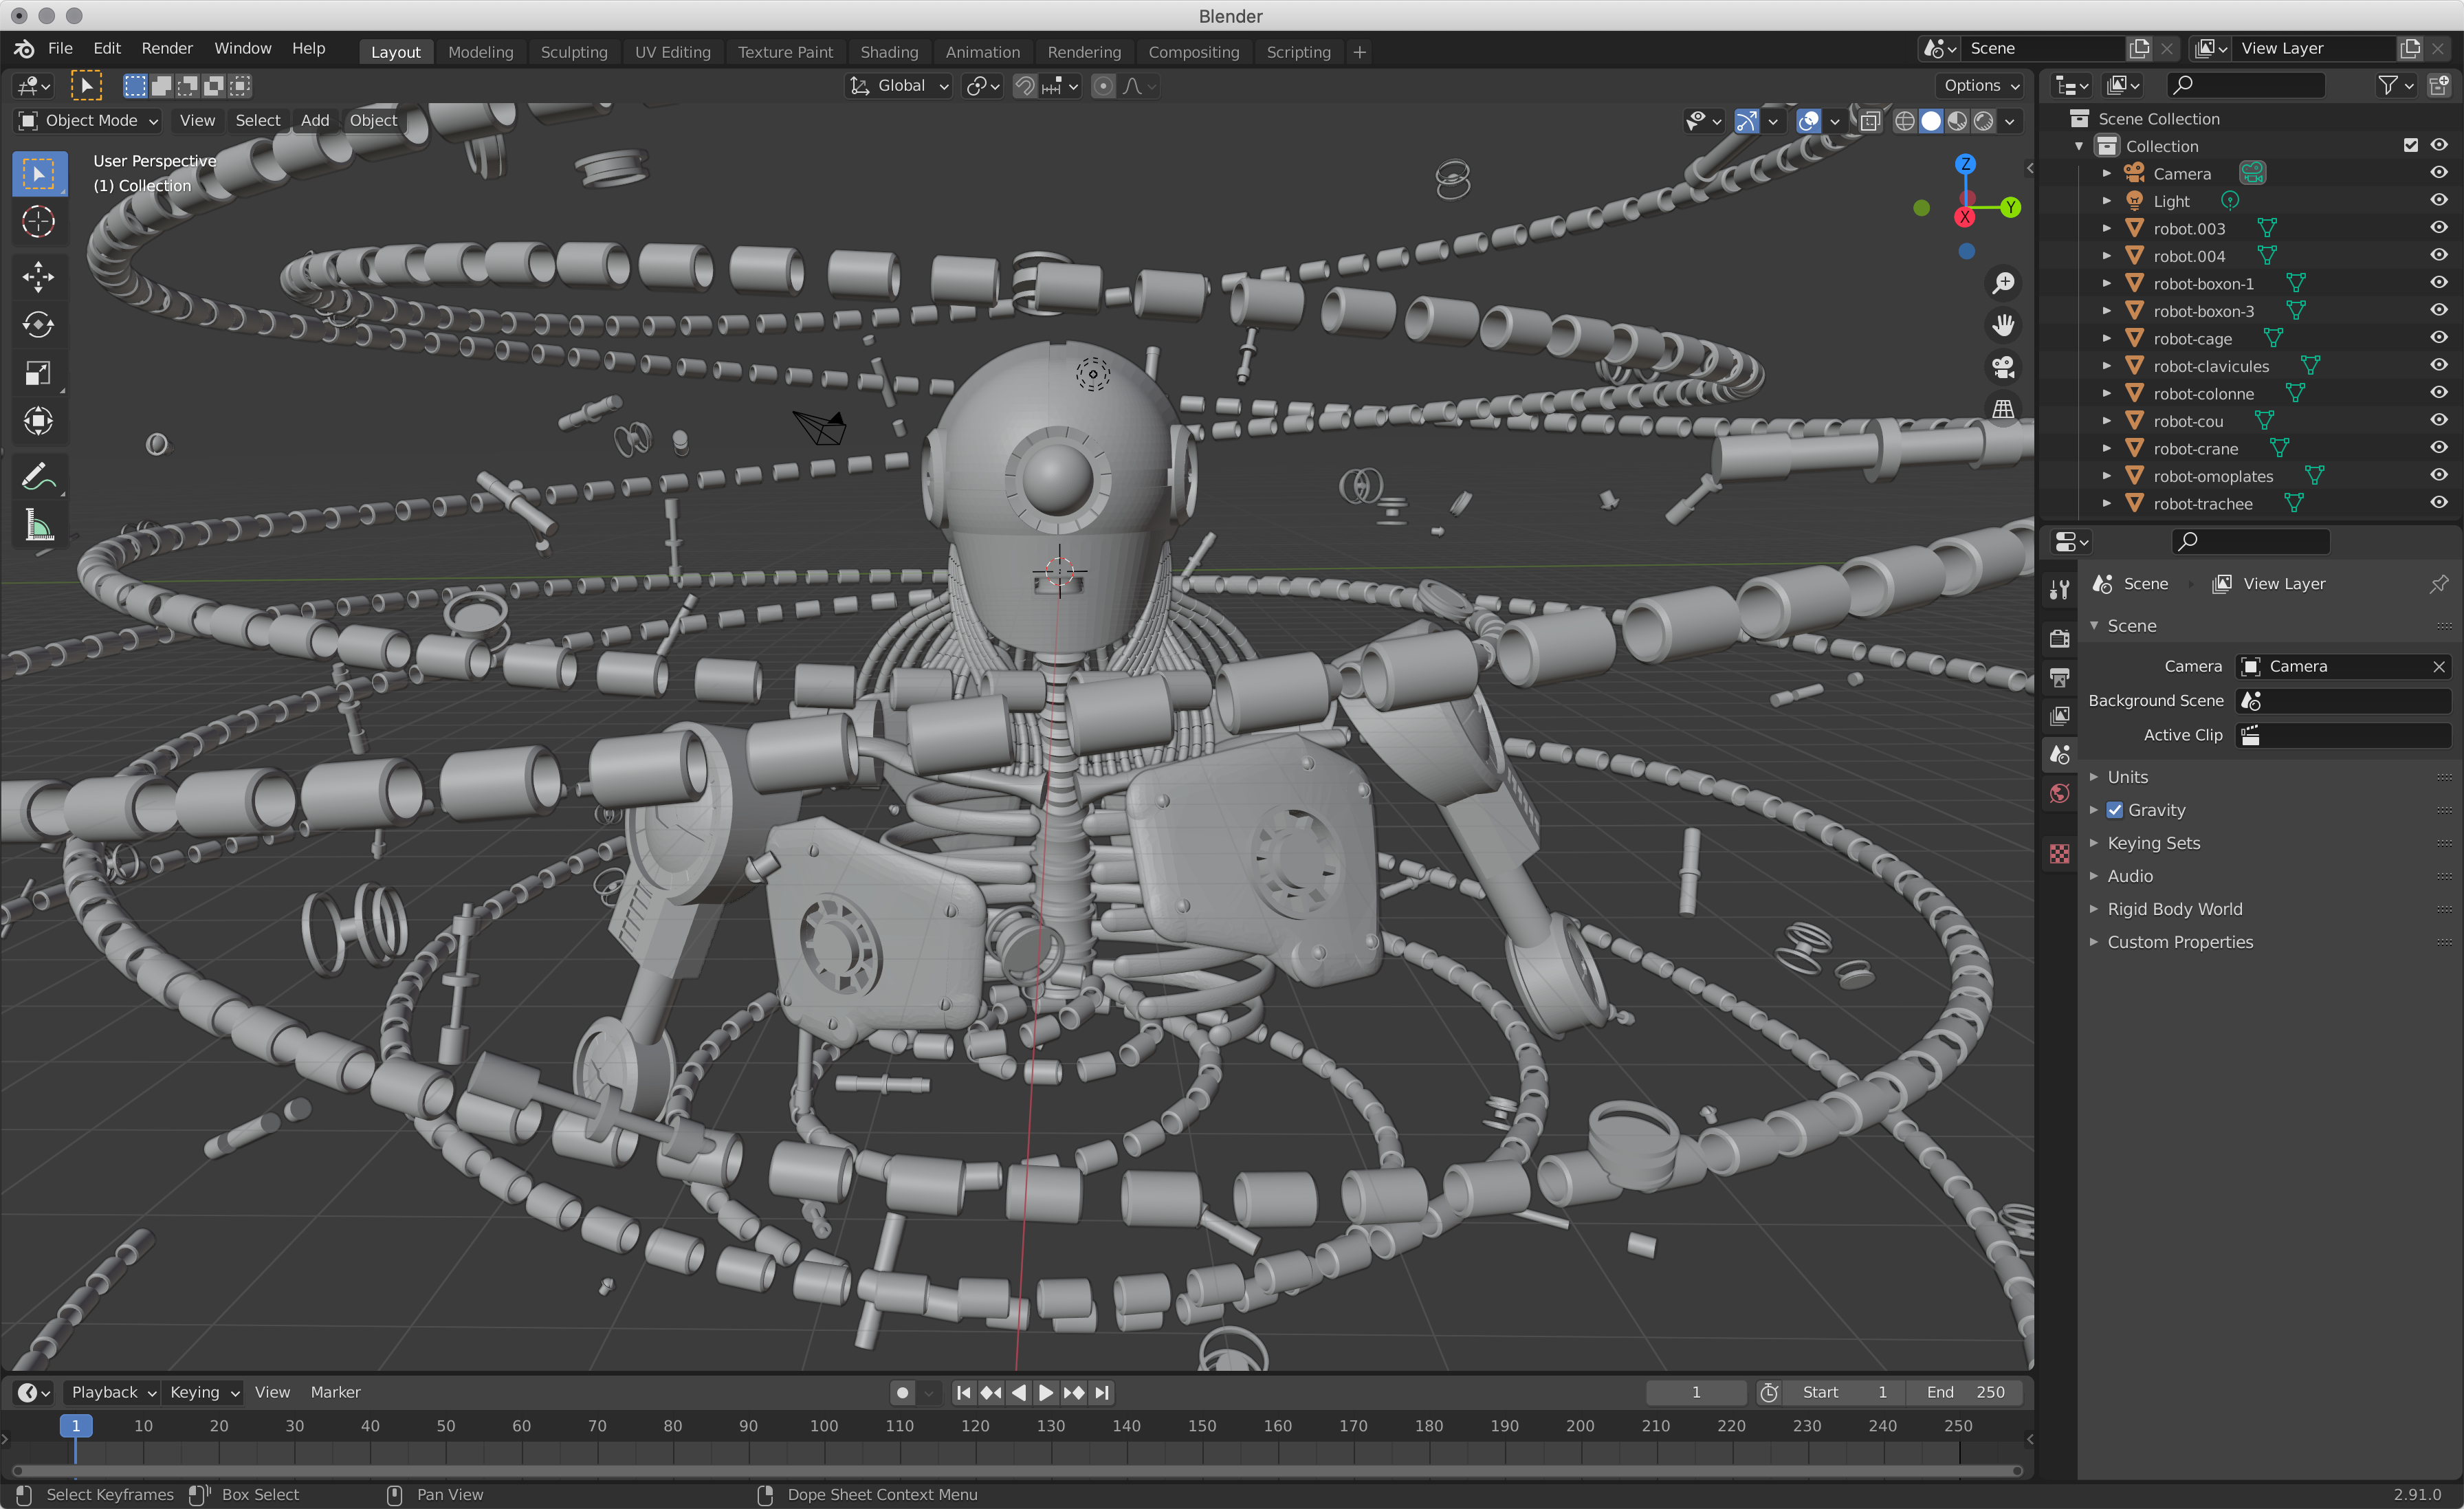
Robots and planetoids.
Vector drawing
The other revelation of the year in 3D modeling was... 2D vector drawing!
Yes! Who would have thought it? A 2D tool!
In fact, I quickly realized that if I just entered mathematical formulas and numbers in my head or with 2 or 3 calculations on a corner of the table, I would quickly hit a snag.
How to deal with more complex shapes, especially curves?
So I quickly wondered if there was a way to import vector drawing files into a program using FreeCAD.
And the answer is YES :D
In 2020 I took advantage of a promotion to buy the Affinity Designer software, but I wasn't sure how to use it.
Well, since I discovered the possibility of using vector drawing in 3D, I use it all the time. 8D
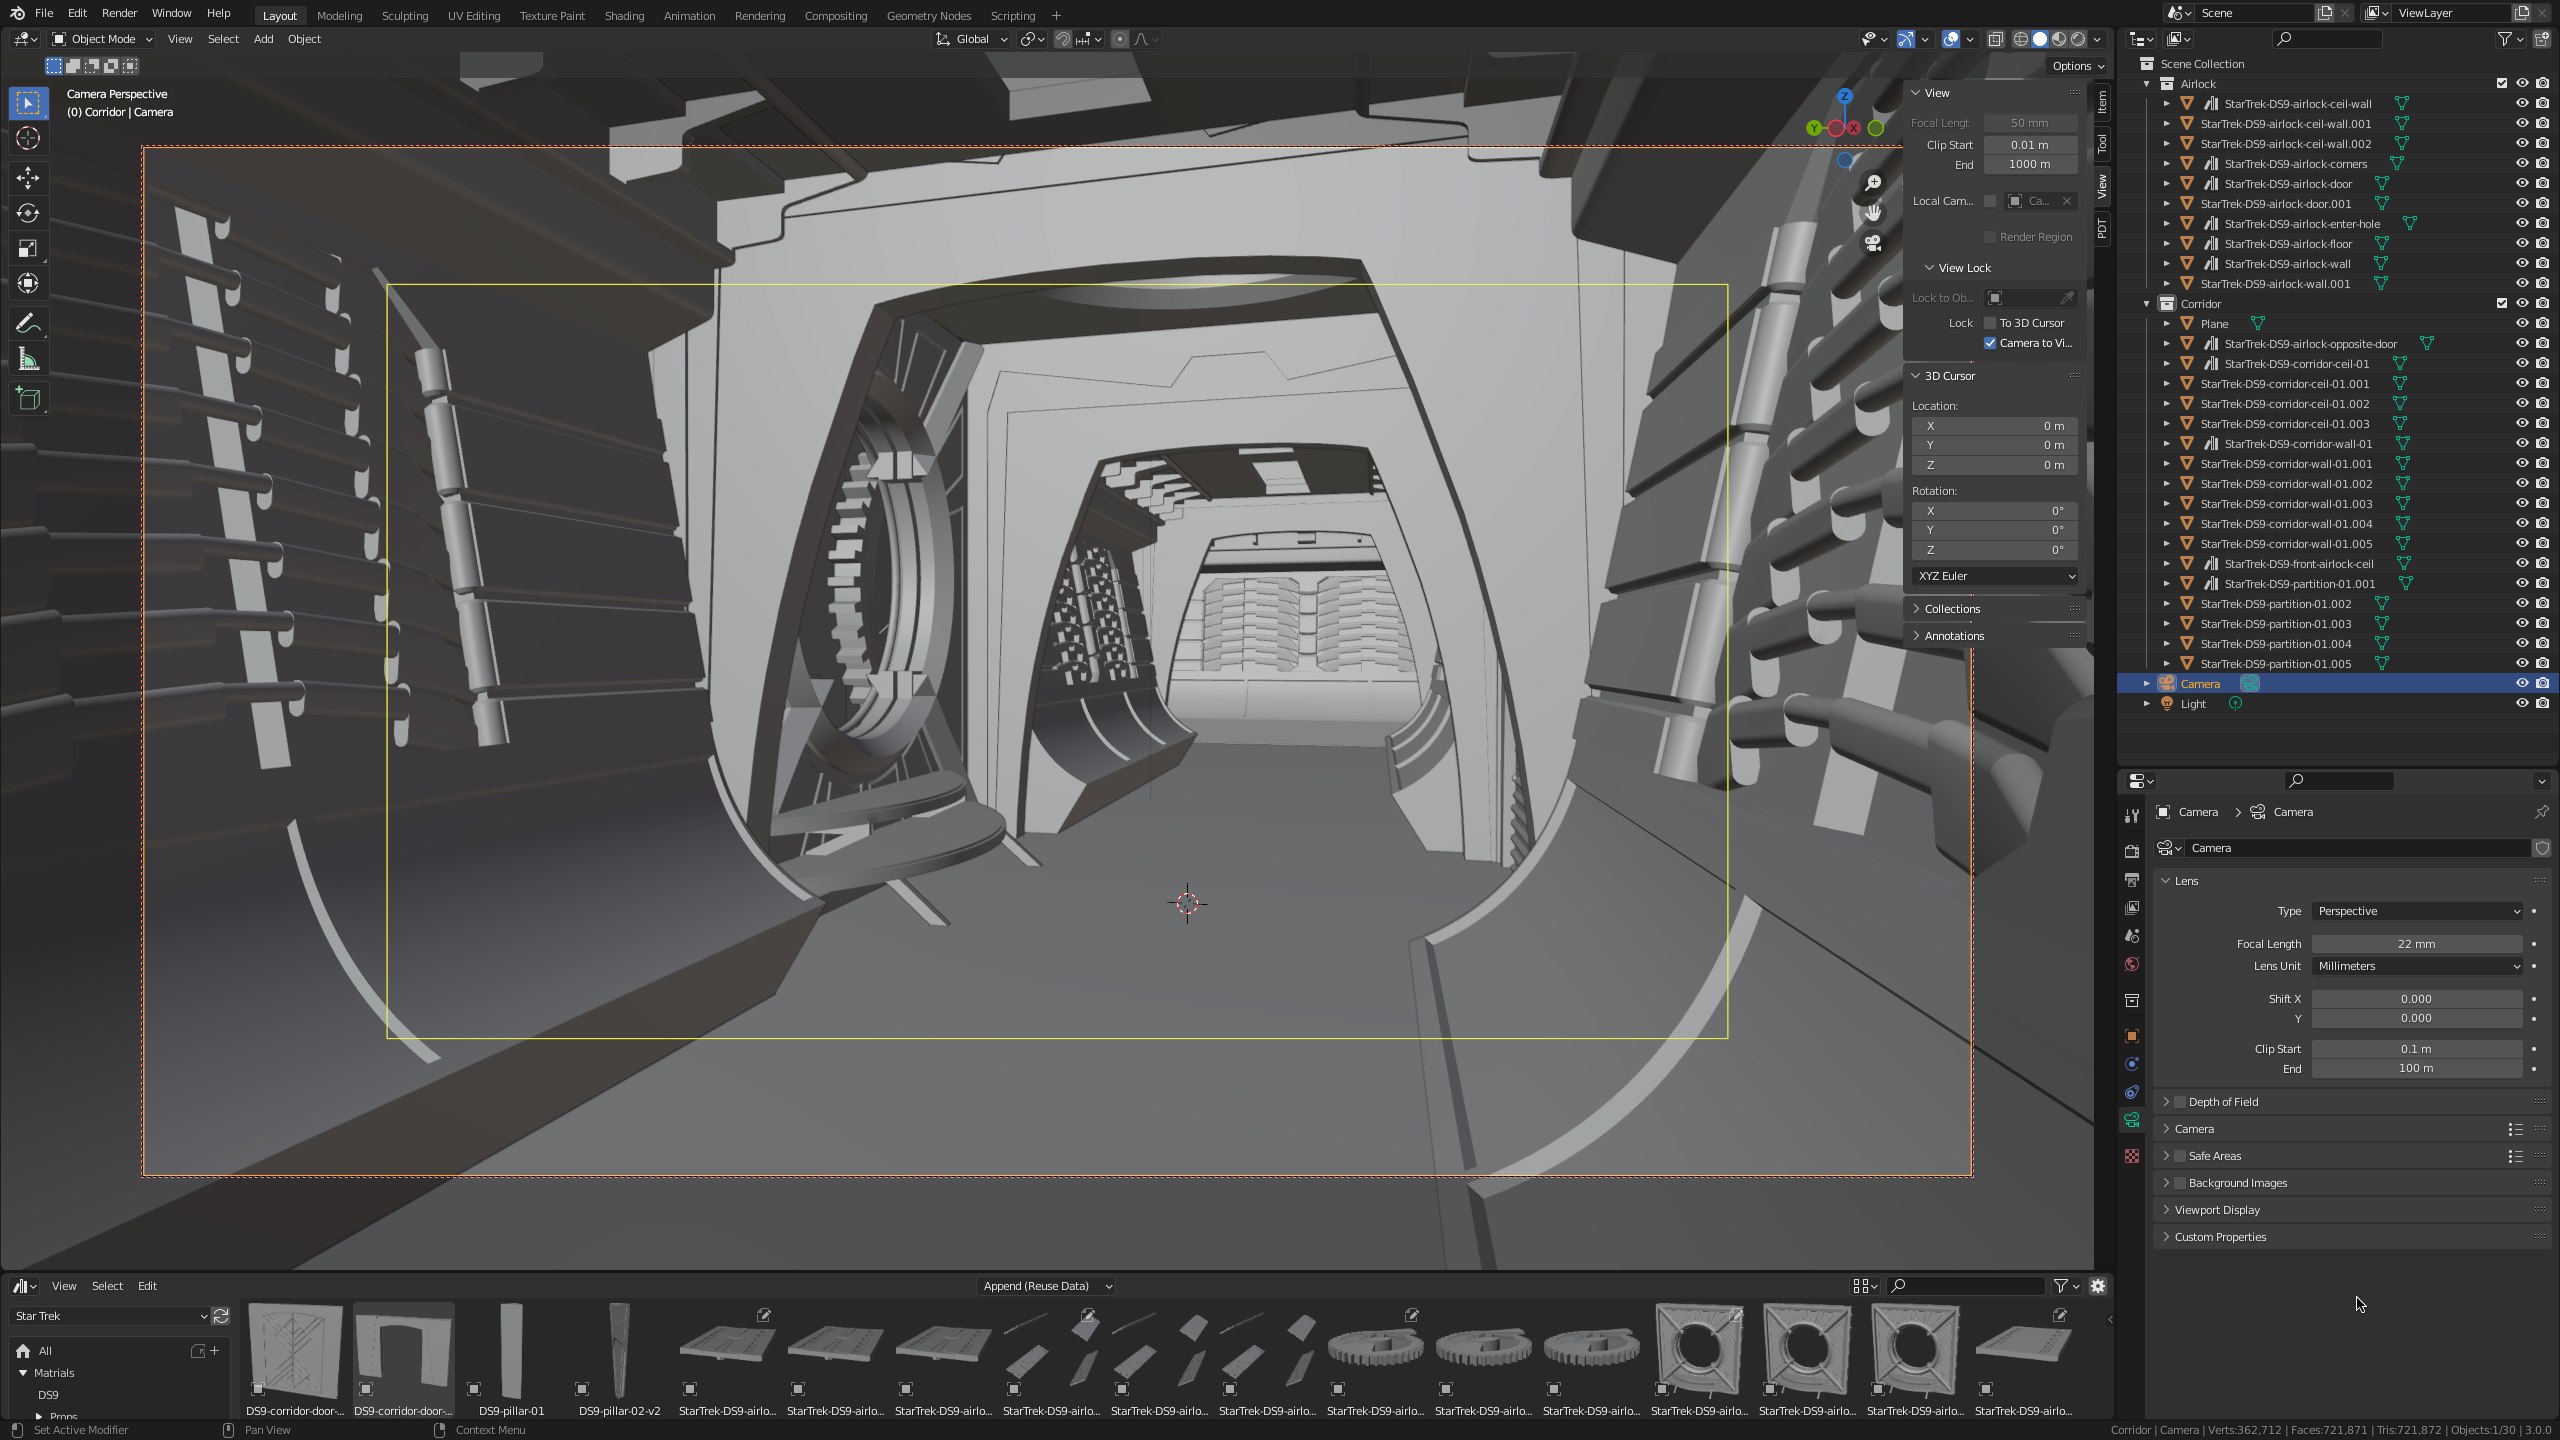
Now my method is to draw 2D plans of my objects and convert them into 3D objects, either by extrusion or by revolution, either with FreeCAD or with Blender.
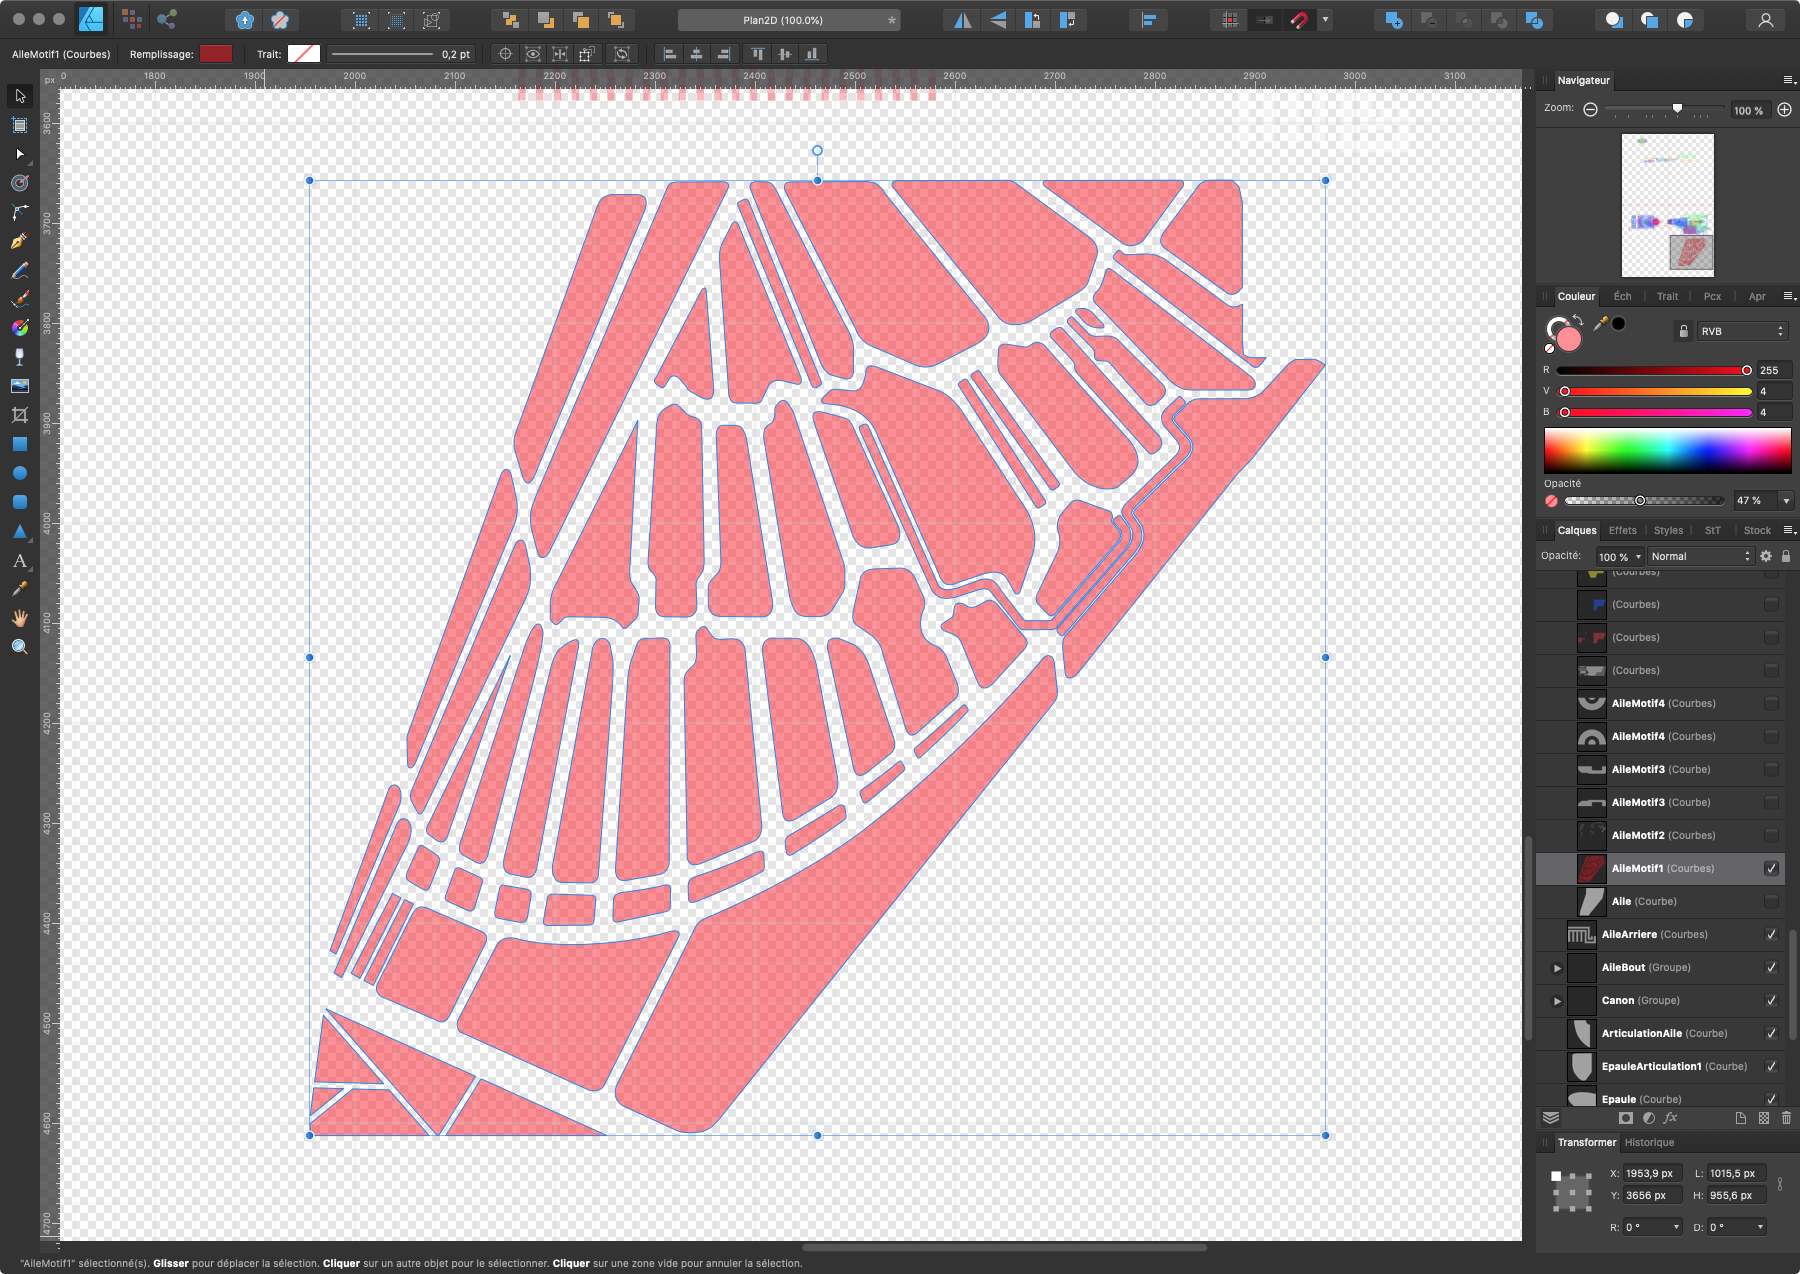
The wing pattern of the Klingon bird-of-prey is a typical example of what I couldn't do with just lines of code.


The door of the sickbay of Deep Space Nine was modeled on the same principle but with Blender instead of FreeCAD and Python.
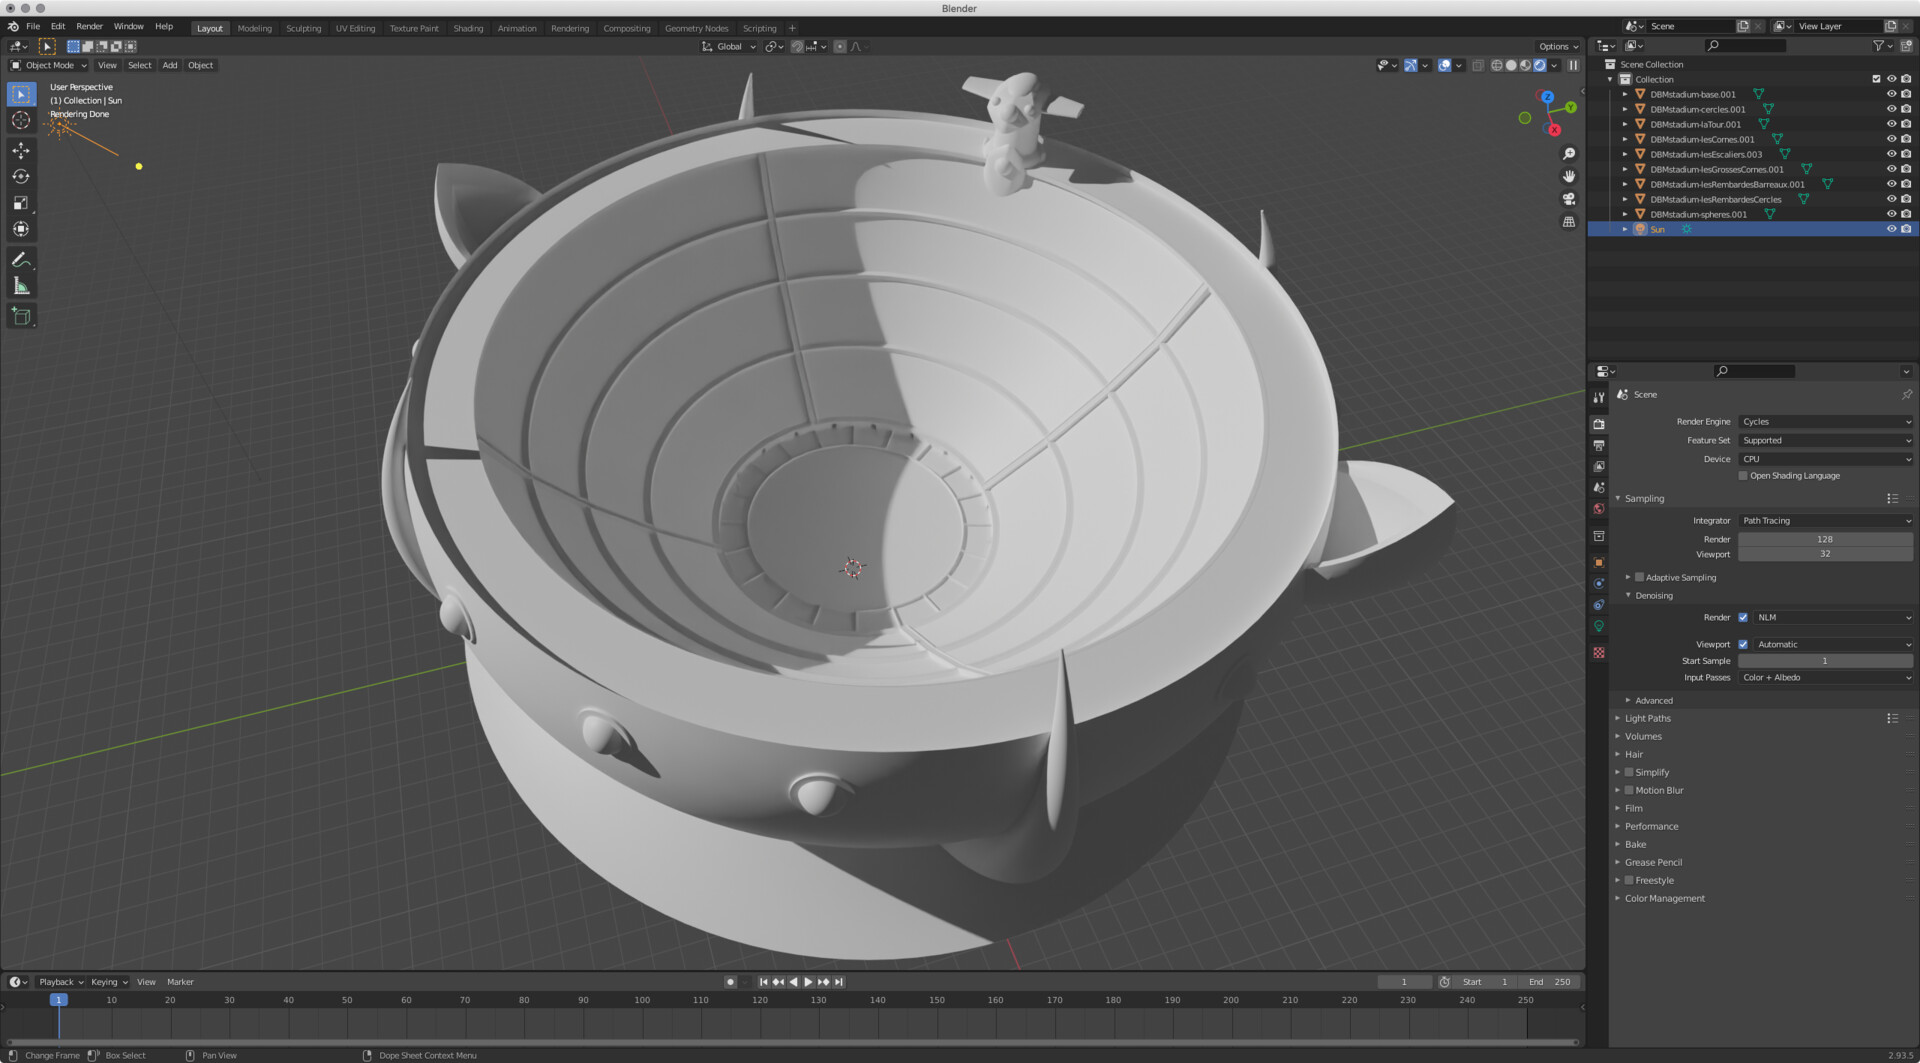
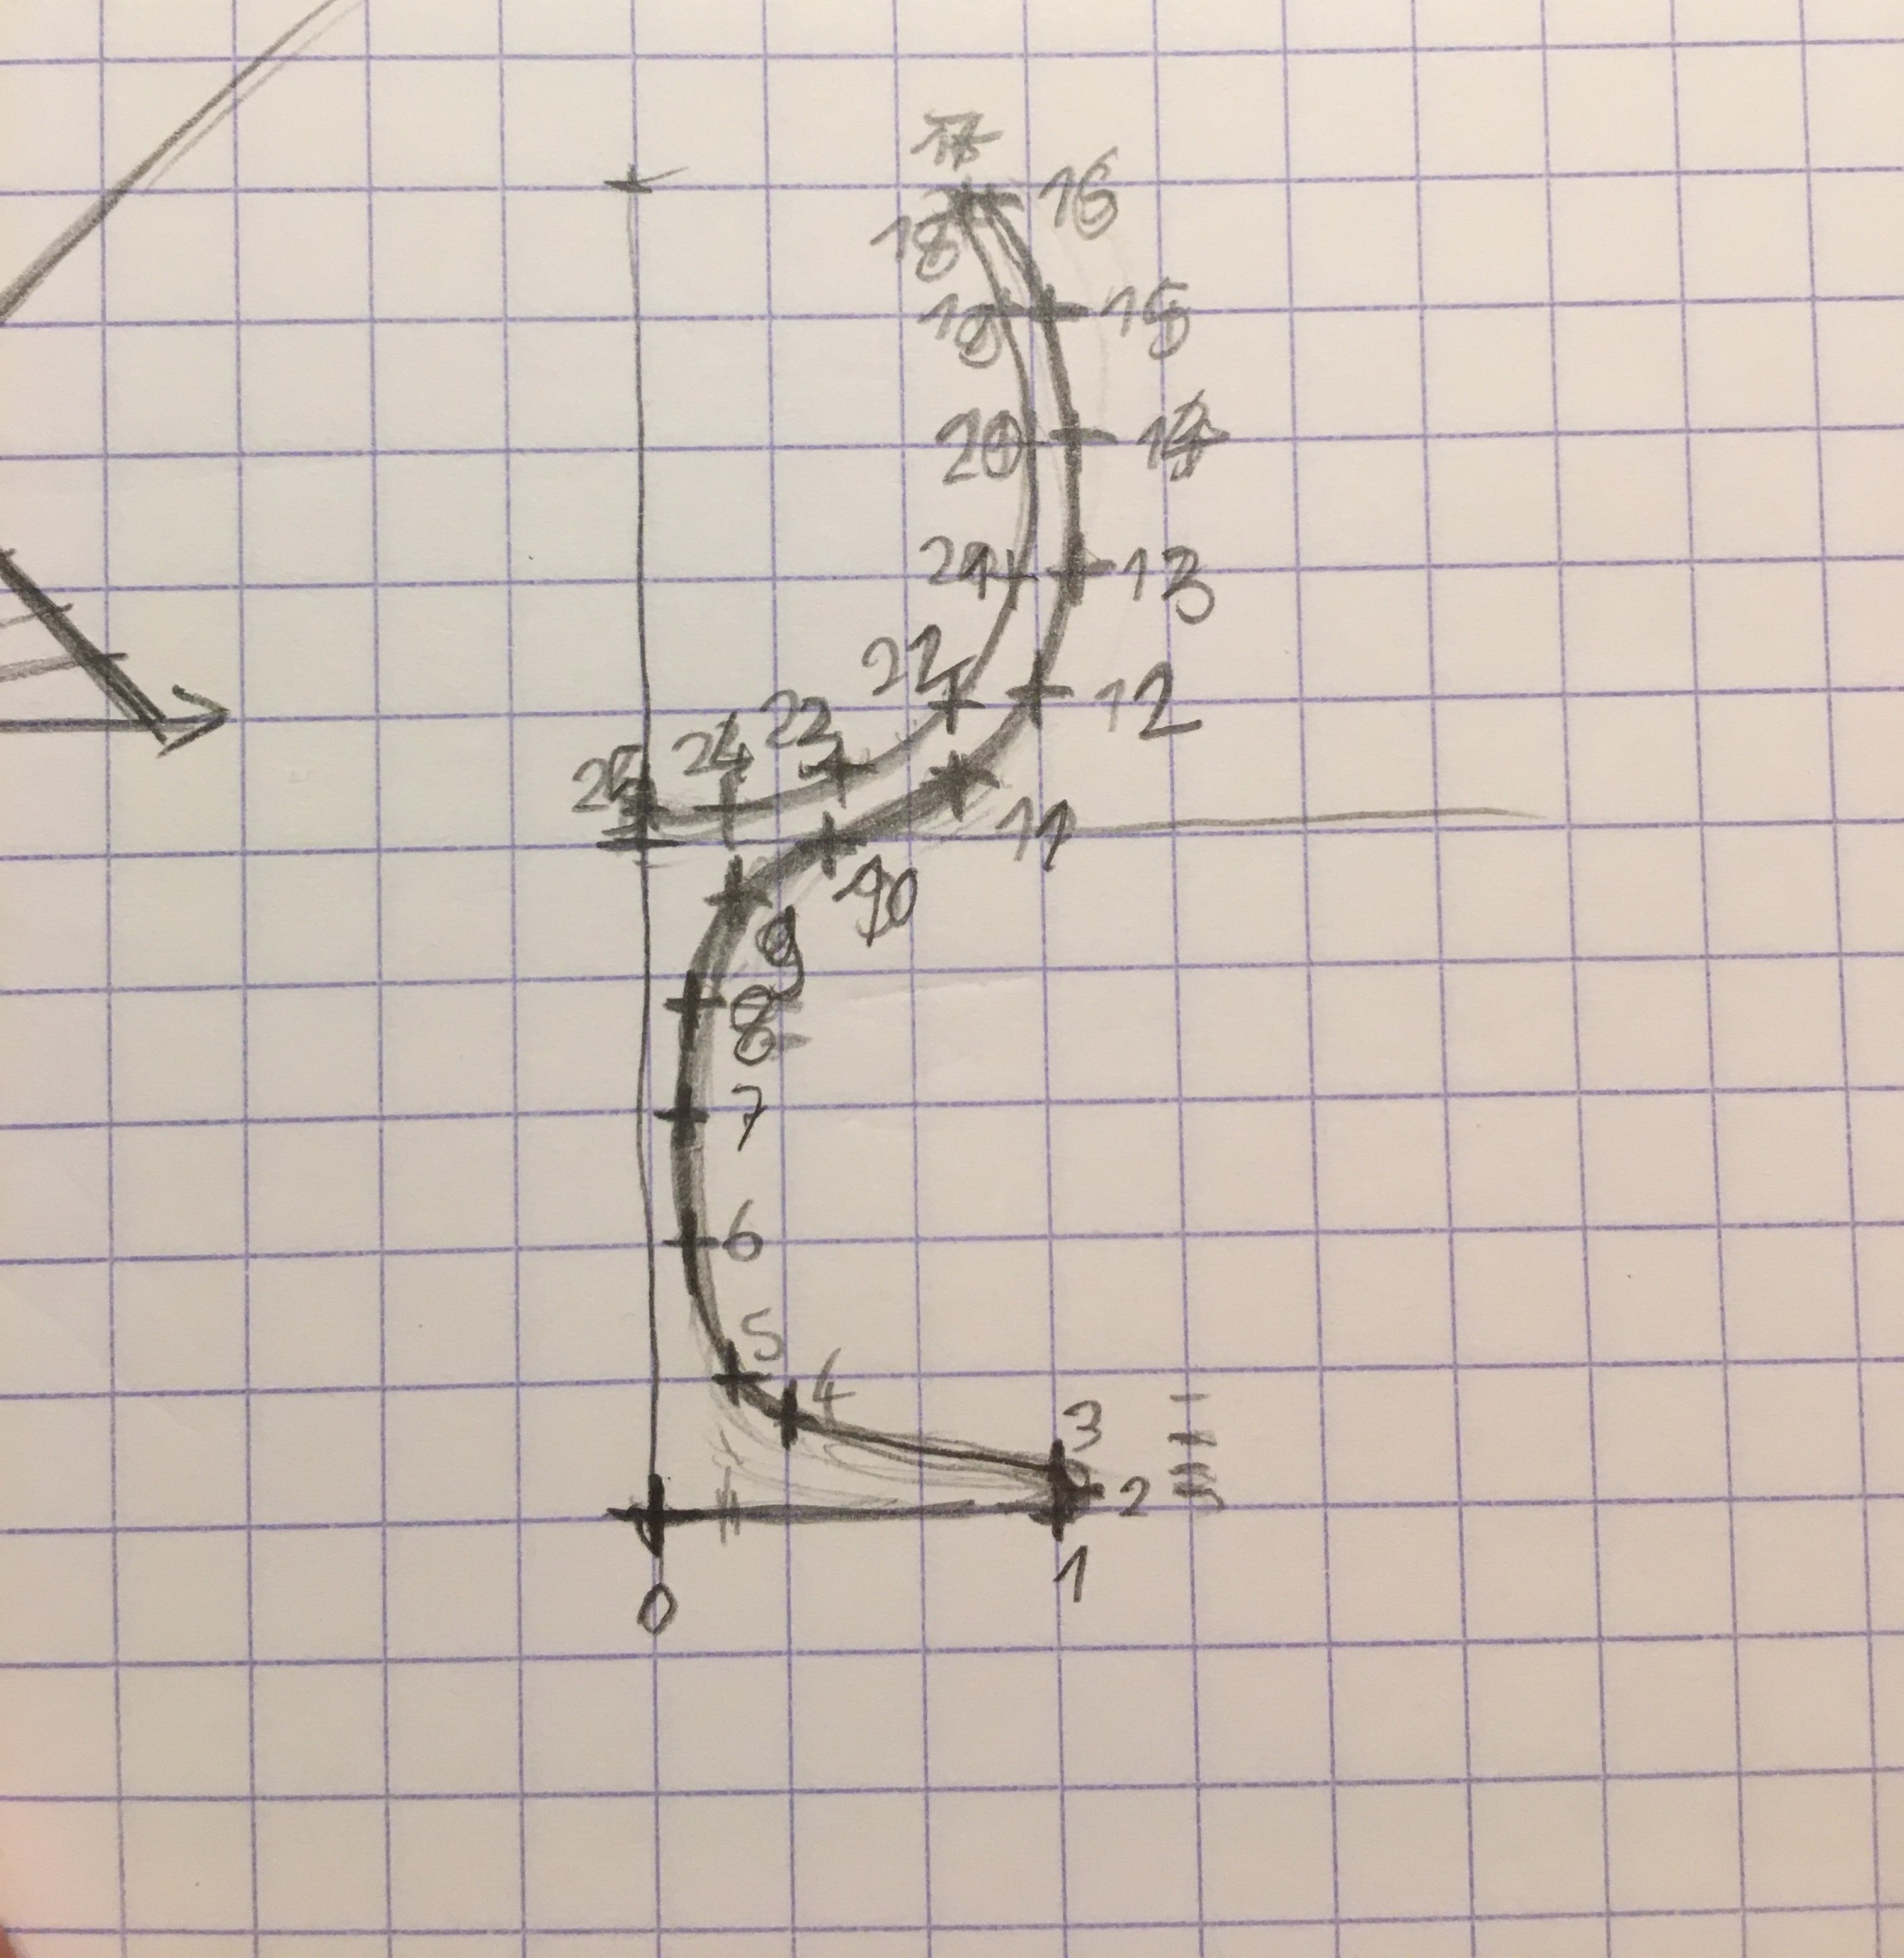
This is the tournament arena in Dragon Ball Multiverse.
I modeled its main structure by applying a revolution from a curve I drew in Affinity Designer.
Small independent applications
Well, coding everything by hand and declaring one by one all the vector files imports can sometimes be laborious, and above all, it's perfectly unusable for the general public.
So, I started to code little tools that allow me to make the link between my vector drawing files and my Python programs.
Eventually, the idea is to combine my FreeCAD programs with my interfaces developped with web technologies.
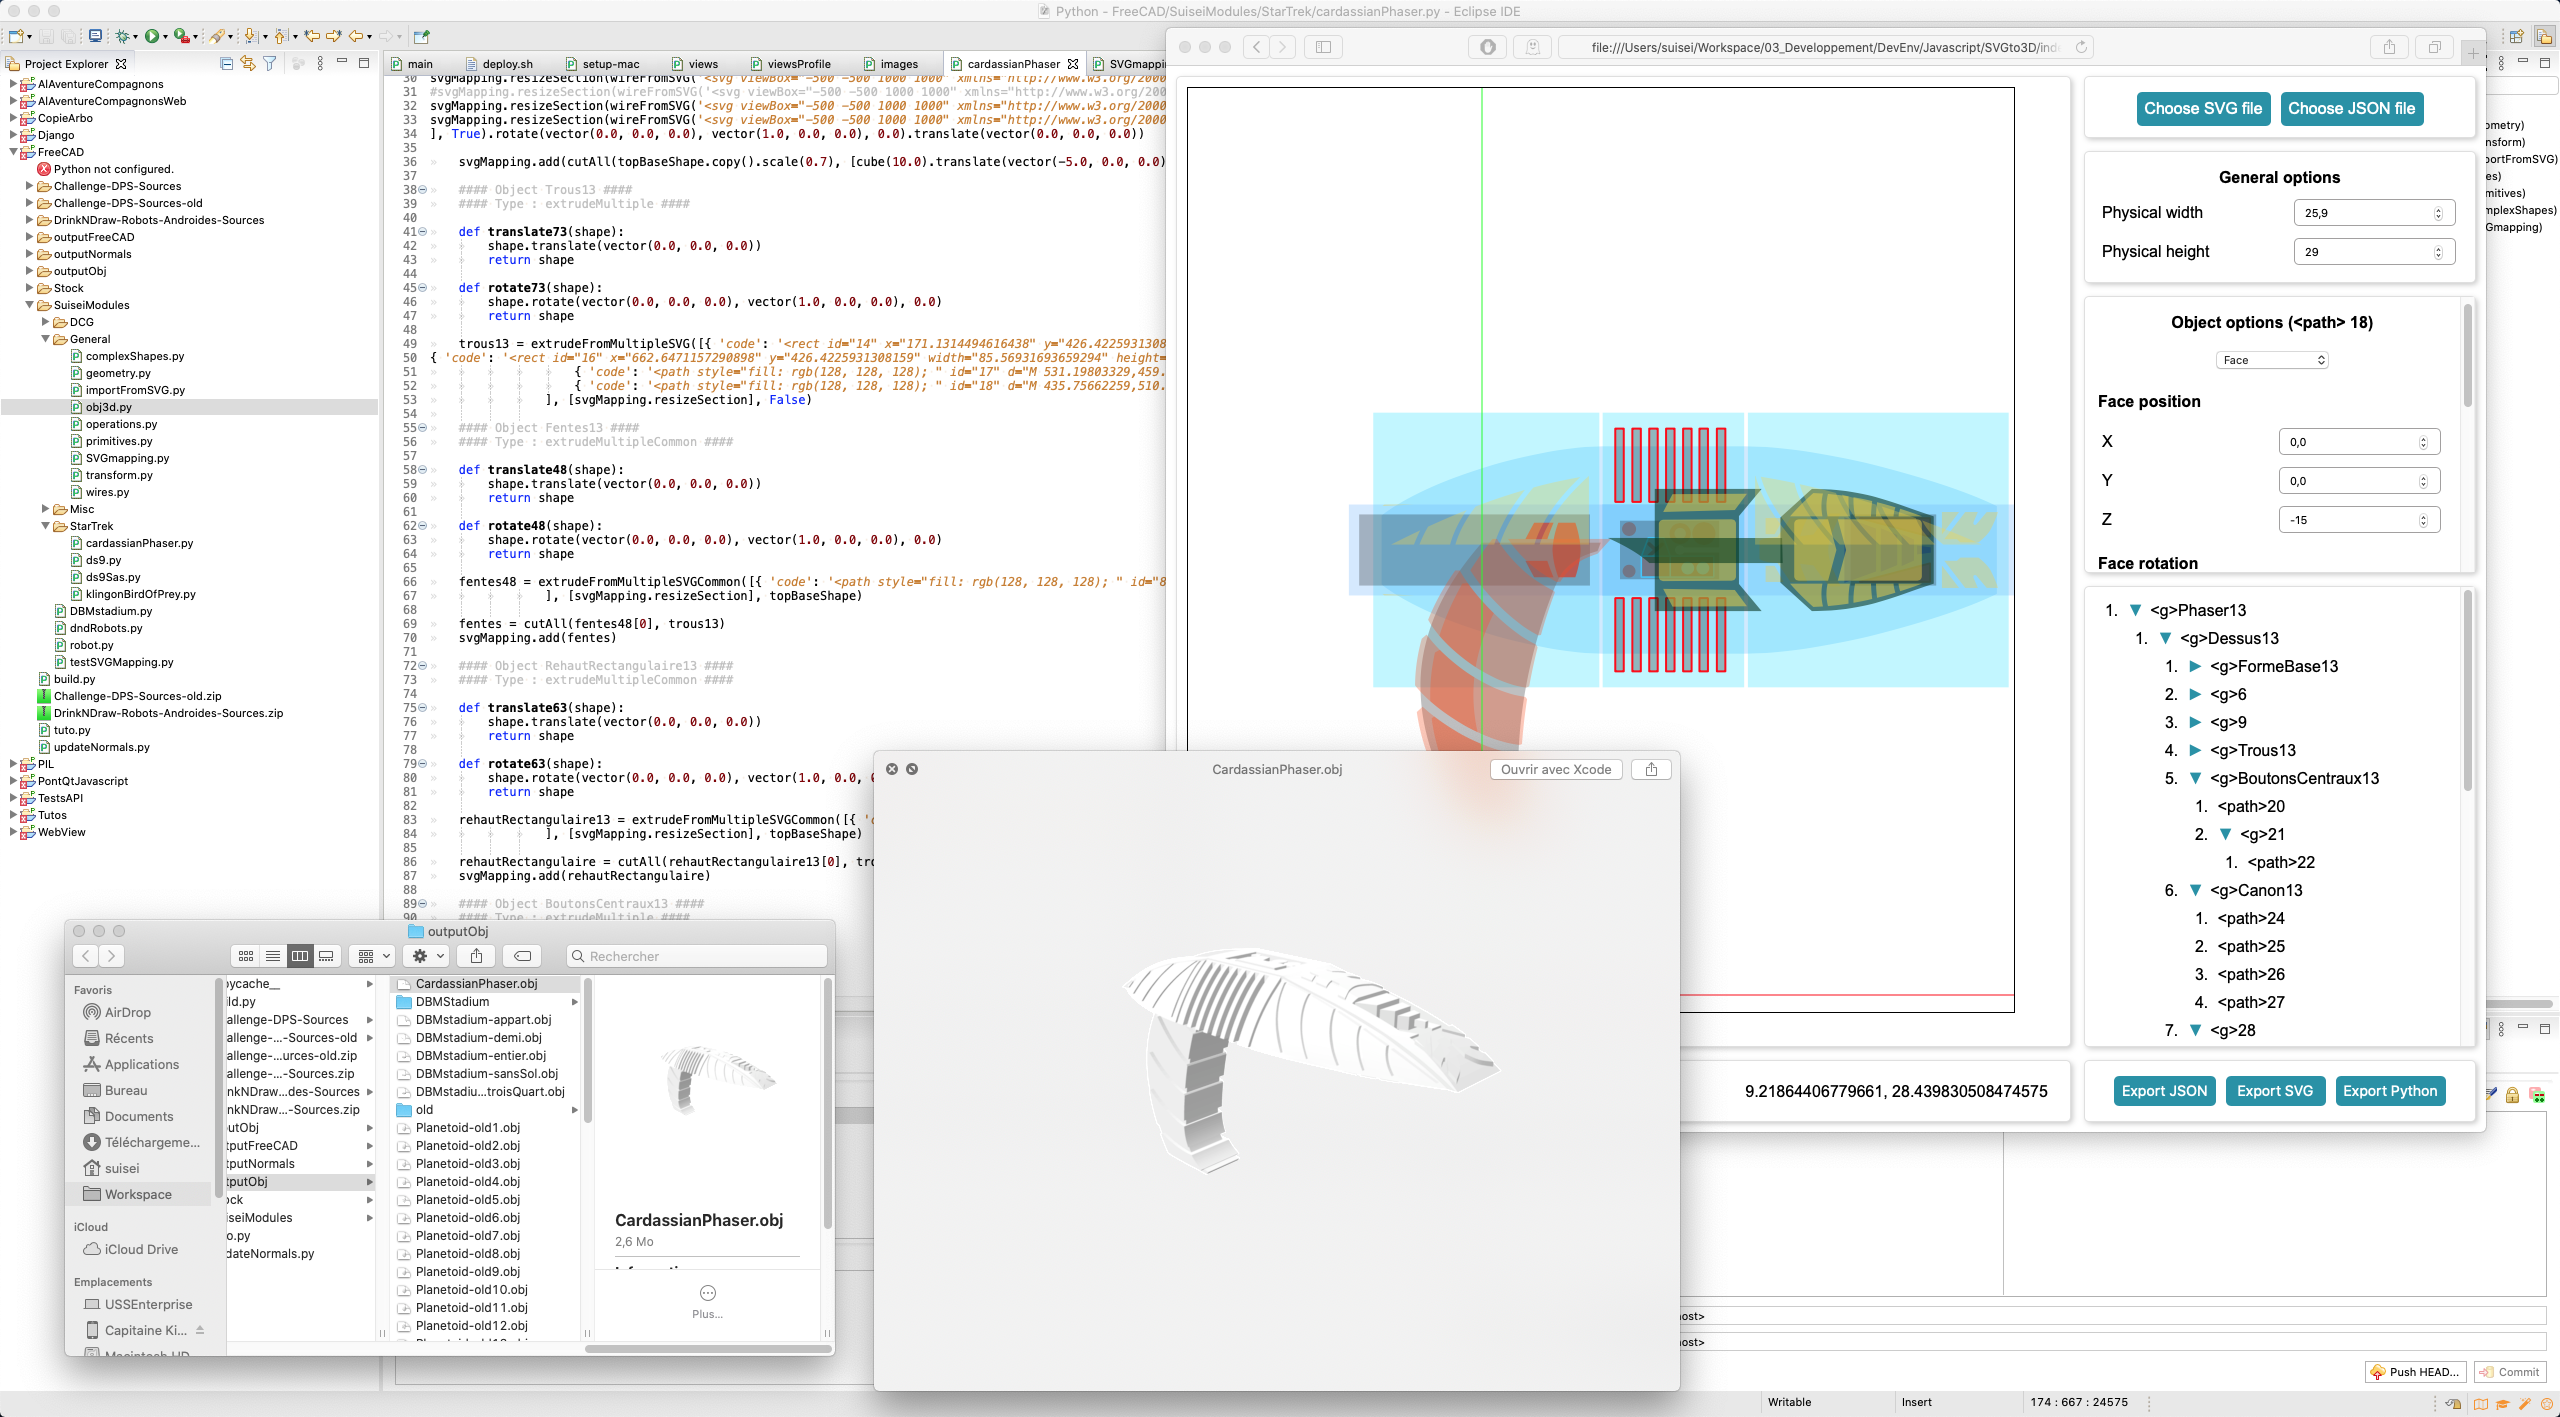
This little tool allows me to load a vector file and to associate to each 2D element parameters that allow to define which transformation will convert it into 3D.
As it is, it generates a Python program.
Then, I copy and paste this program to run it and generate a 3D object.
Nodal languages
In the Péguy project there are 2 ideas that I wanted to develop.
The first, an interface accessible to the general public that can be used like a Lego set.
The second, a graphical programming interface to create more complex and dynamic objects reserved for more experienced users.
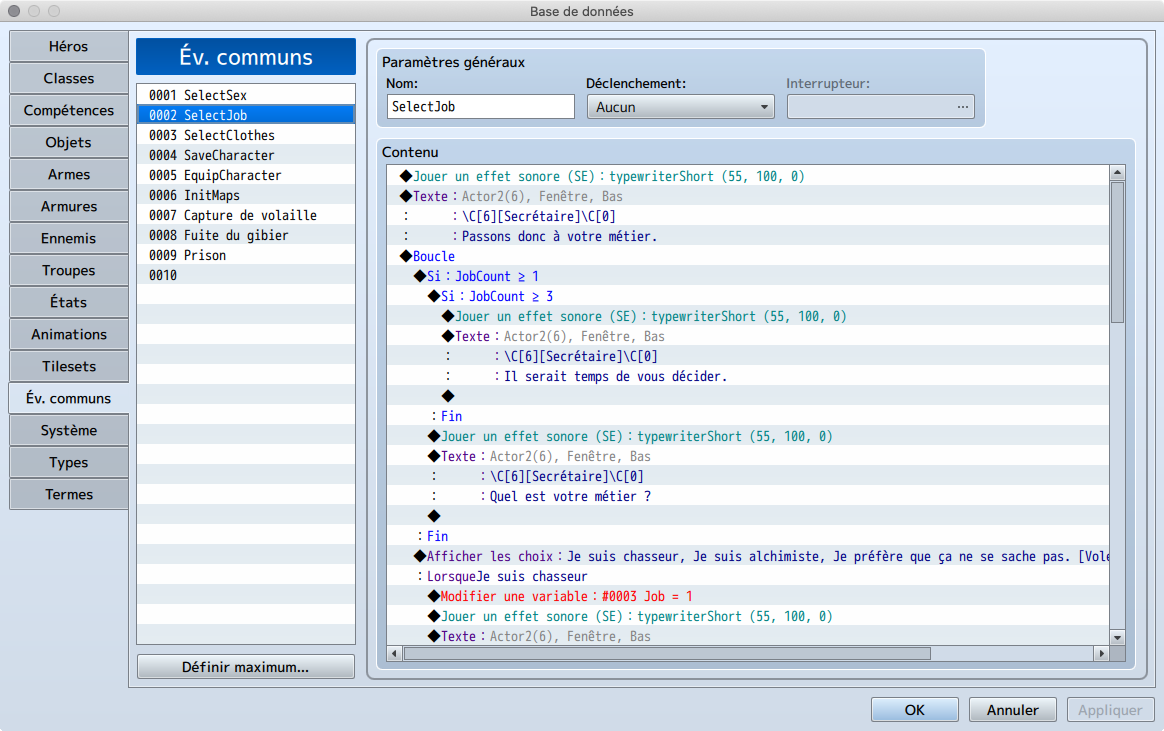
At first I was planning to use the event scheduling system of RPG Maker as a model.
But after some research and some exchanges with friends who also practice 3D, I discovered that there was software based on this principle: a graphical programming language in the form of nodes that can generate complex scenes in an automated way with great freedom.
The most famous in the field is called Houdini and is widely used to generate special effects in movies among others.
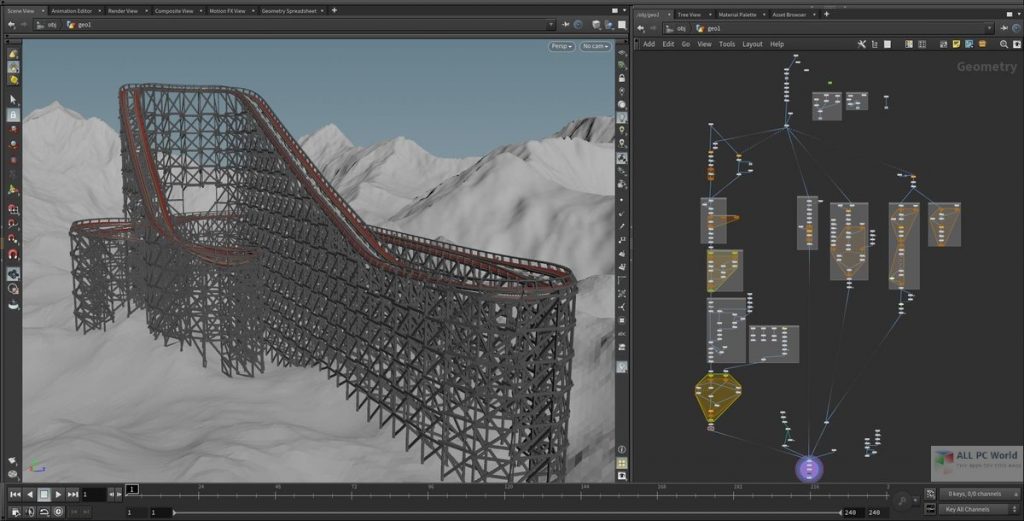
There is a free version to learn how to use it, but as soon as you want to use it for commercial projects, the price stings!
It's a product that is aimed at companies and not at small independent artists.
I will surely study it out of curiosity.
While wandering around itch.io I found a small open source tool based on the same principle but much simpler.
This software is called Sceelix.

This example is provided directly with the software.
Well, it doesn't seem to be really maintained anymore and it's a bit broken.
I only managed to run it on a Windows 10 virtual machine and another Ubuntu 20 and even then it was a bit buggy.
But on Mac OS X, on other versions of Windows or Linux, it crashed.
In short! It's interesting to study the concept but it seems to me hardly usable as it is.
And then recently, there's good old Blender which has integrated geometry nodes which are based on the same principle.

I haven't looked into it yet, but knowing the node system for materials, the current quality of Blender's interface, and seeing the captures of work done with geometry nodes on the internet, I think it's a powerful tool.
I'll be sure to take a closer look.
Having said that, after a quick exploration, it still seems to lack some existing node types in the 2 previous tools, namely if blocks or for loops.
When you're used to programming for a long time like me, having to do without them and tinkering with them to be able to emulate them quickly overloads the interface with the number of nodes.
In summary, there are two possible approaches: either the nodal model which is currently the most commonly used in 3D software, or the RPG Maker approach which looks more like a written program and has less risk of becoming messy and unreadable.
If you have an opinion on the subject, I am all ears.
Blender
In absolute terms, since its last versions released during the year 2021, Blender is now able to do most of the things I'm looking to do with the Péguy project, at least for the 3D part (not for the 2D part).
Most of them...
I've been training intensively in Blender for about 5 months now and there are shapes that I could do with my Python programs that I still can't do in Blender, even with plugins.
3D CAD tools still have some little tricks in terms of pure modeling that artistic 3D softwares don't have yet.
So, for my own use, Blender would do the trick by combining it from time to time with Affinity Designer, FreeCAD and some Python scripts.
But doing all this with general 3D software like Blender is devilishly technical and is clearly not accessible to everyone.
If you're not a bit of a mathematician, mastering raster and other manga effects in general 3D software is not an option.
And I know that many comic artists are alergic to math and technique. :p
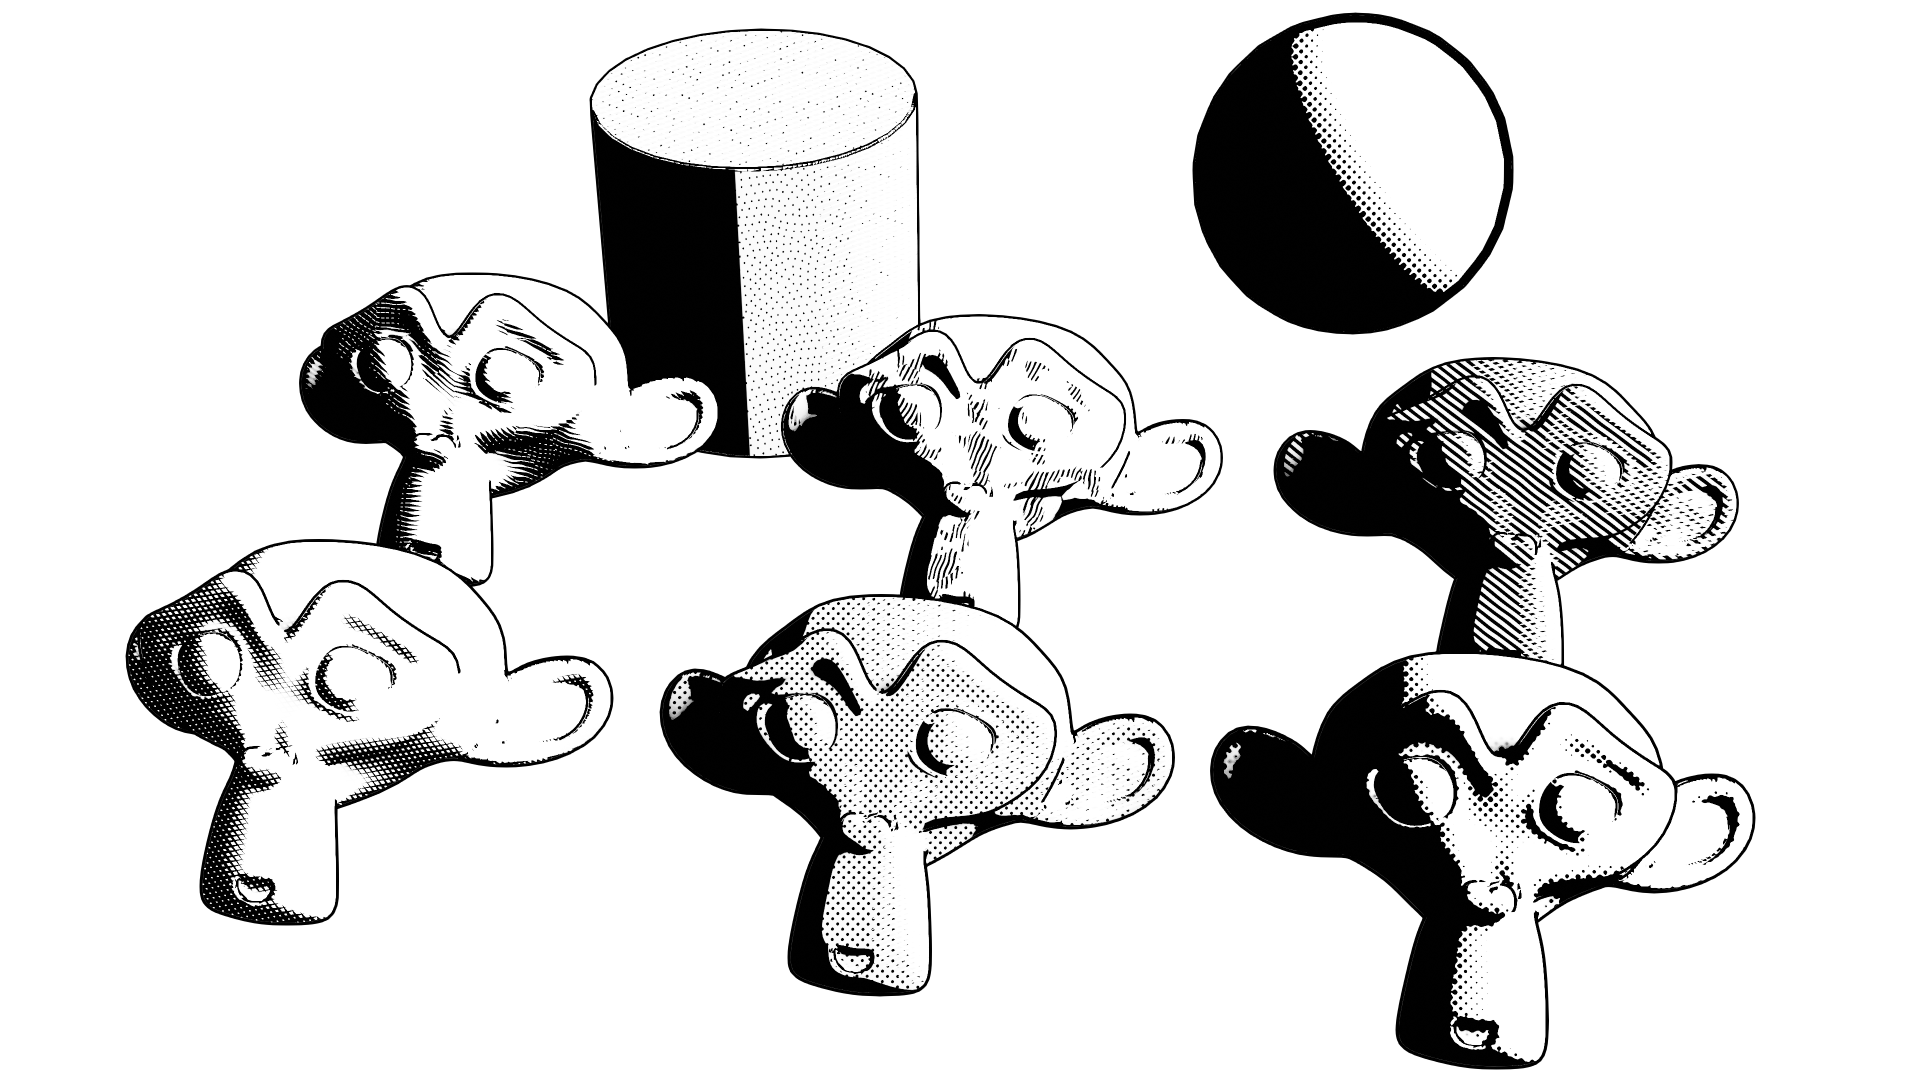
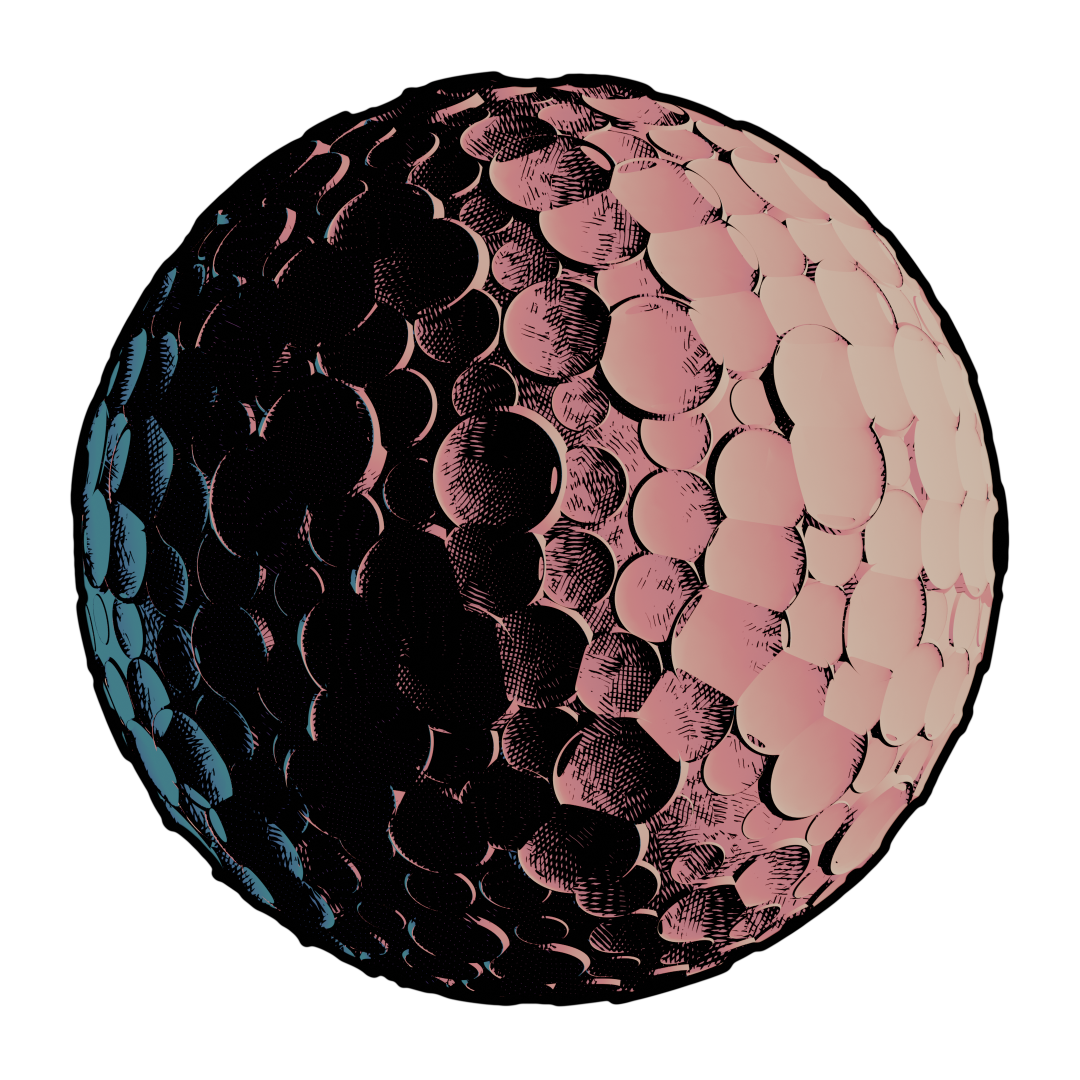
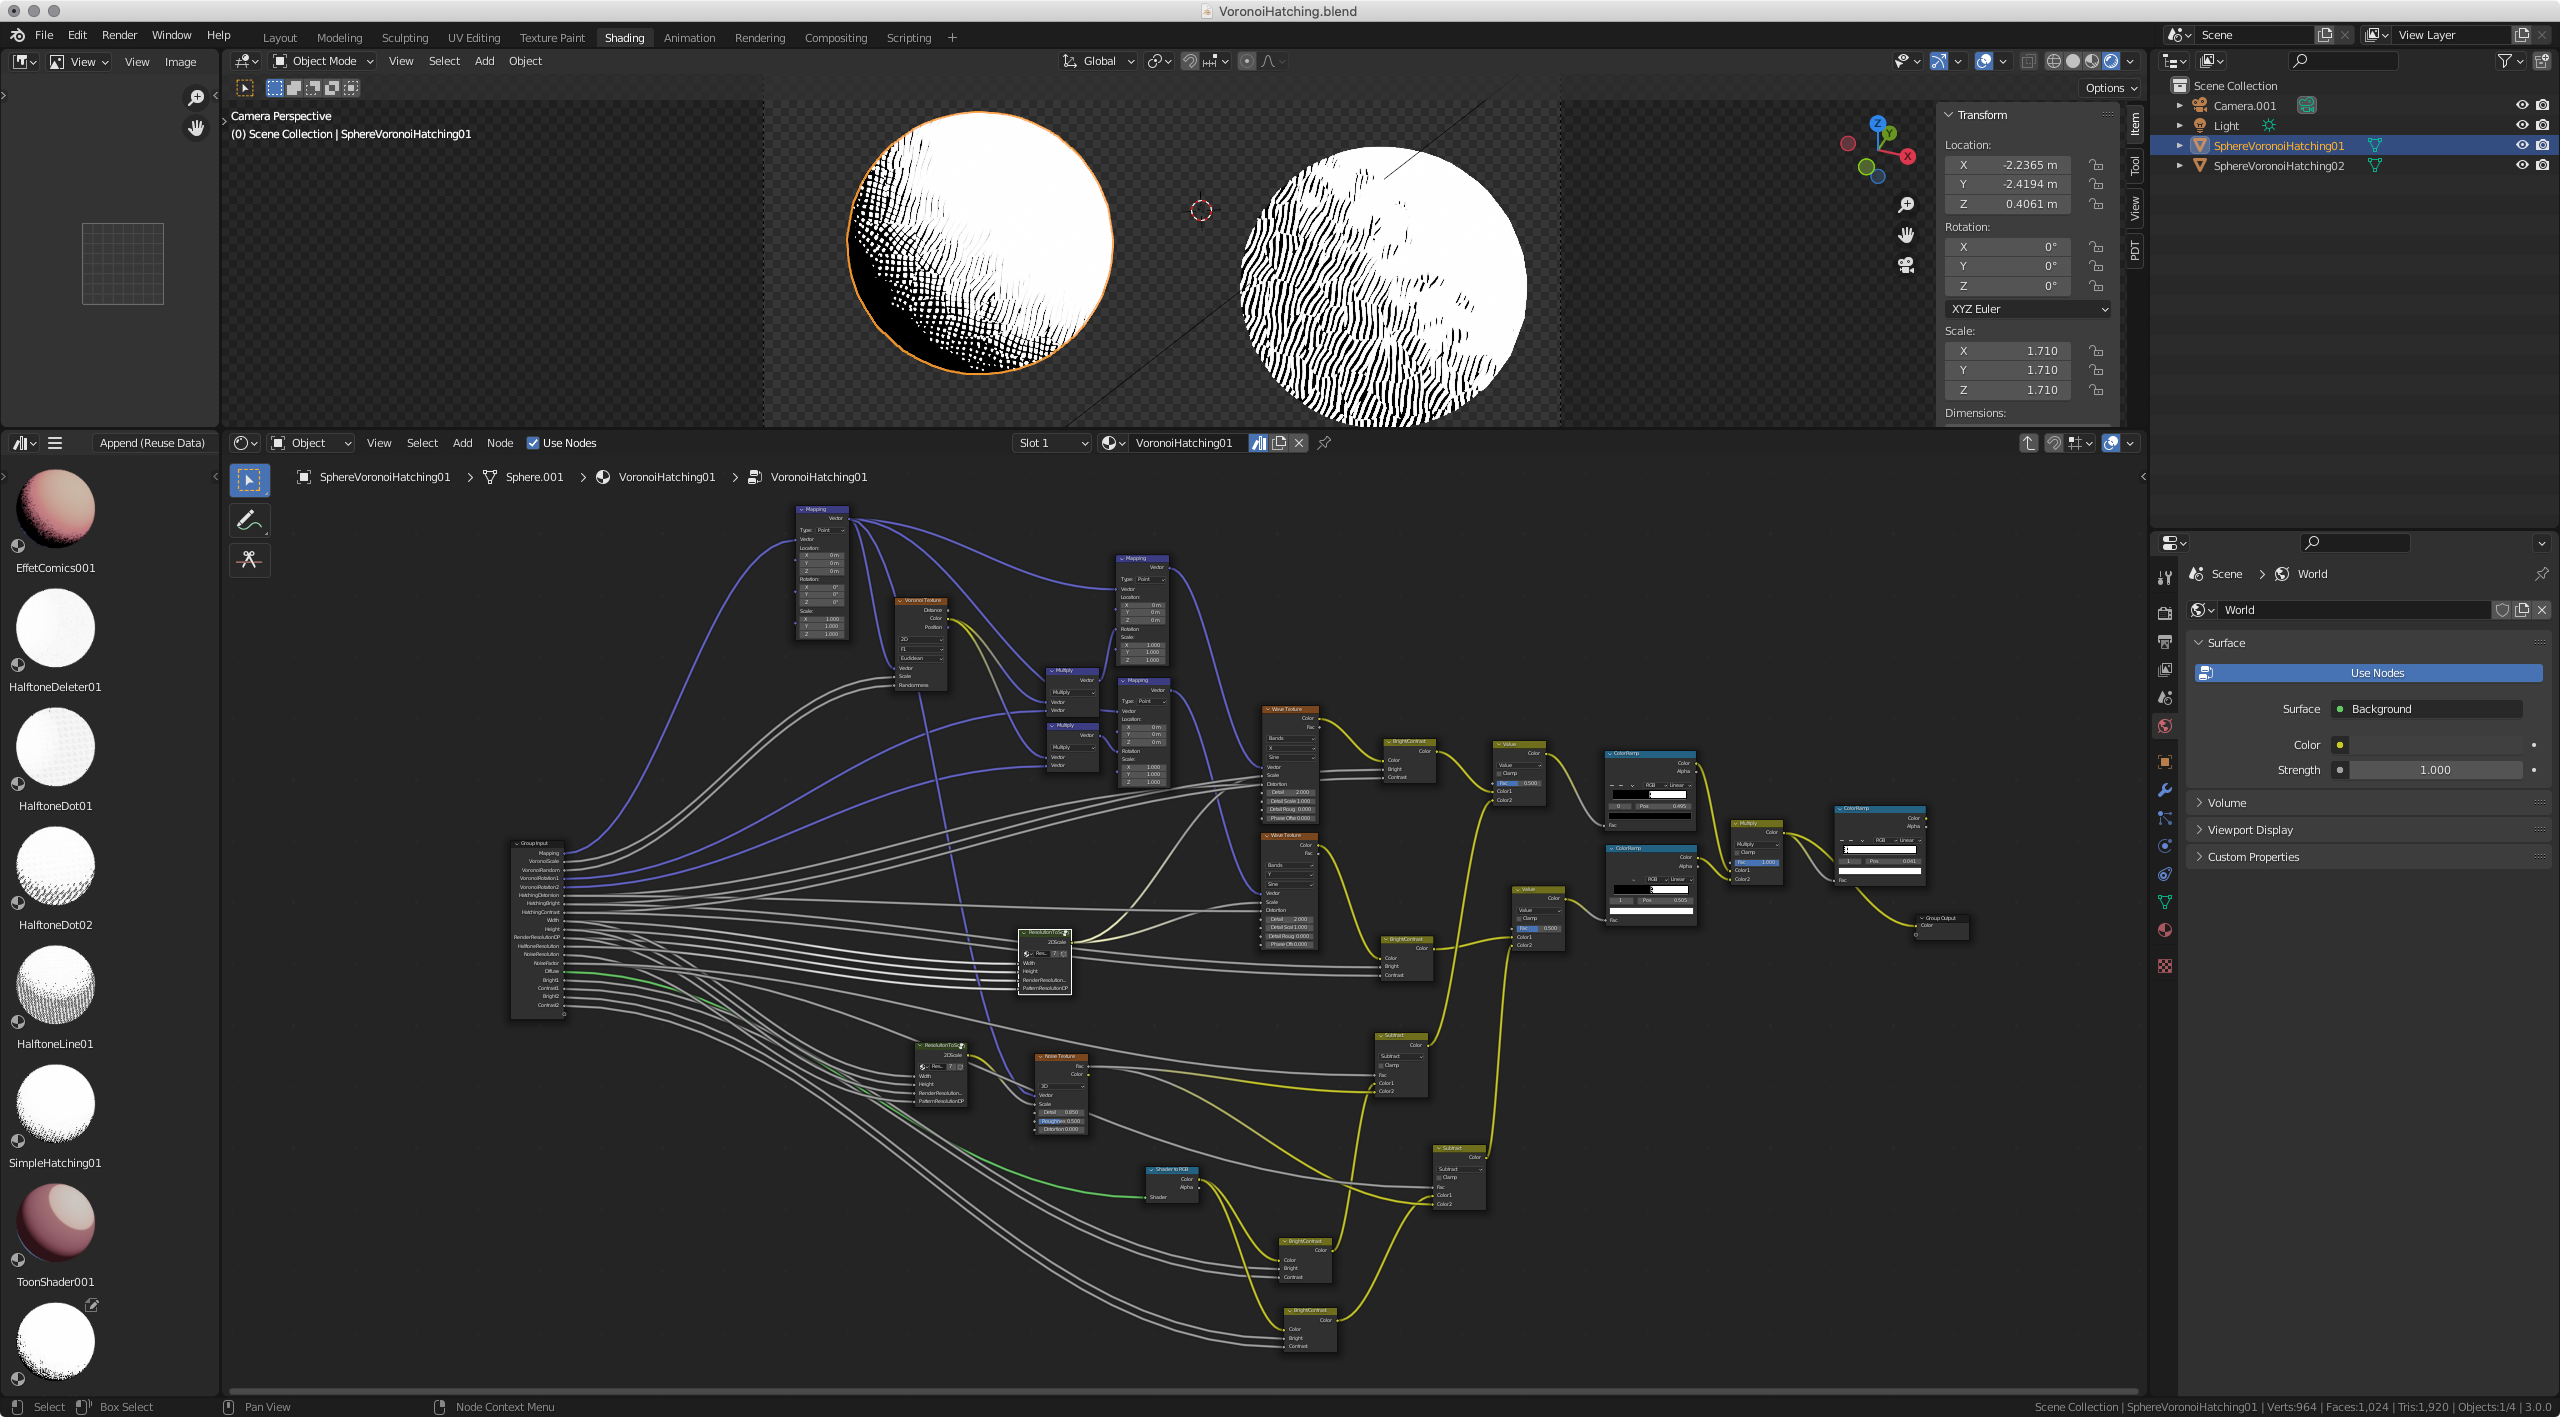
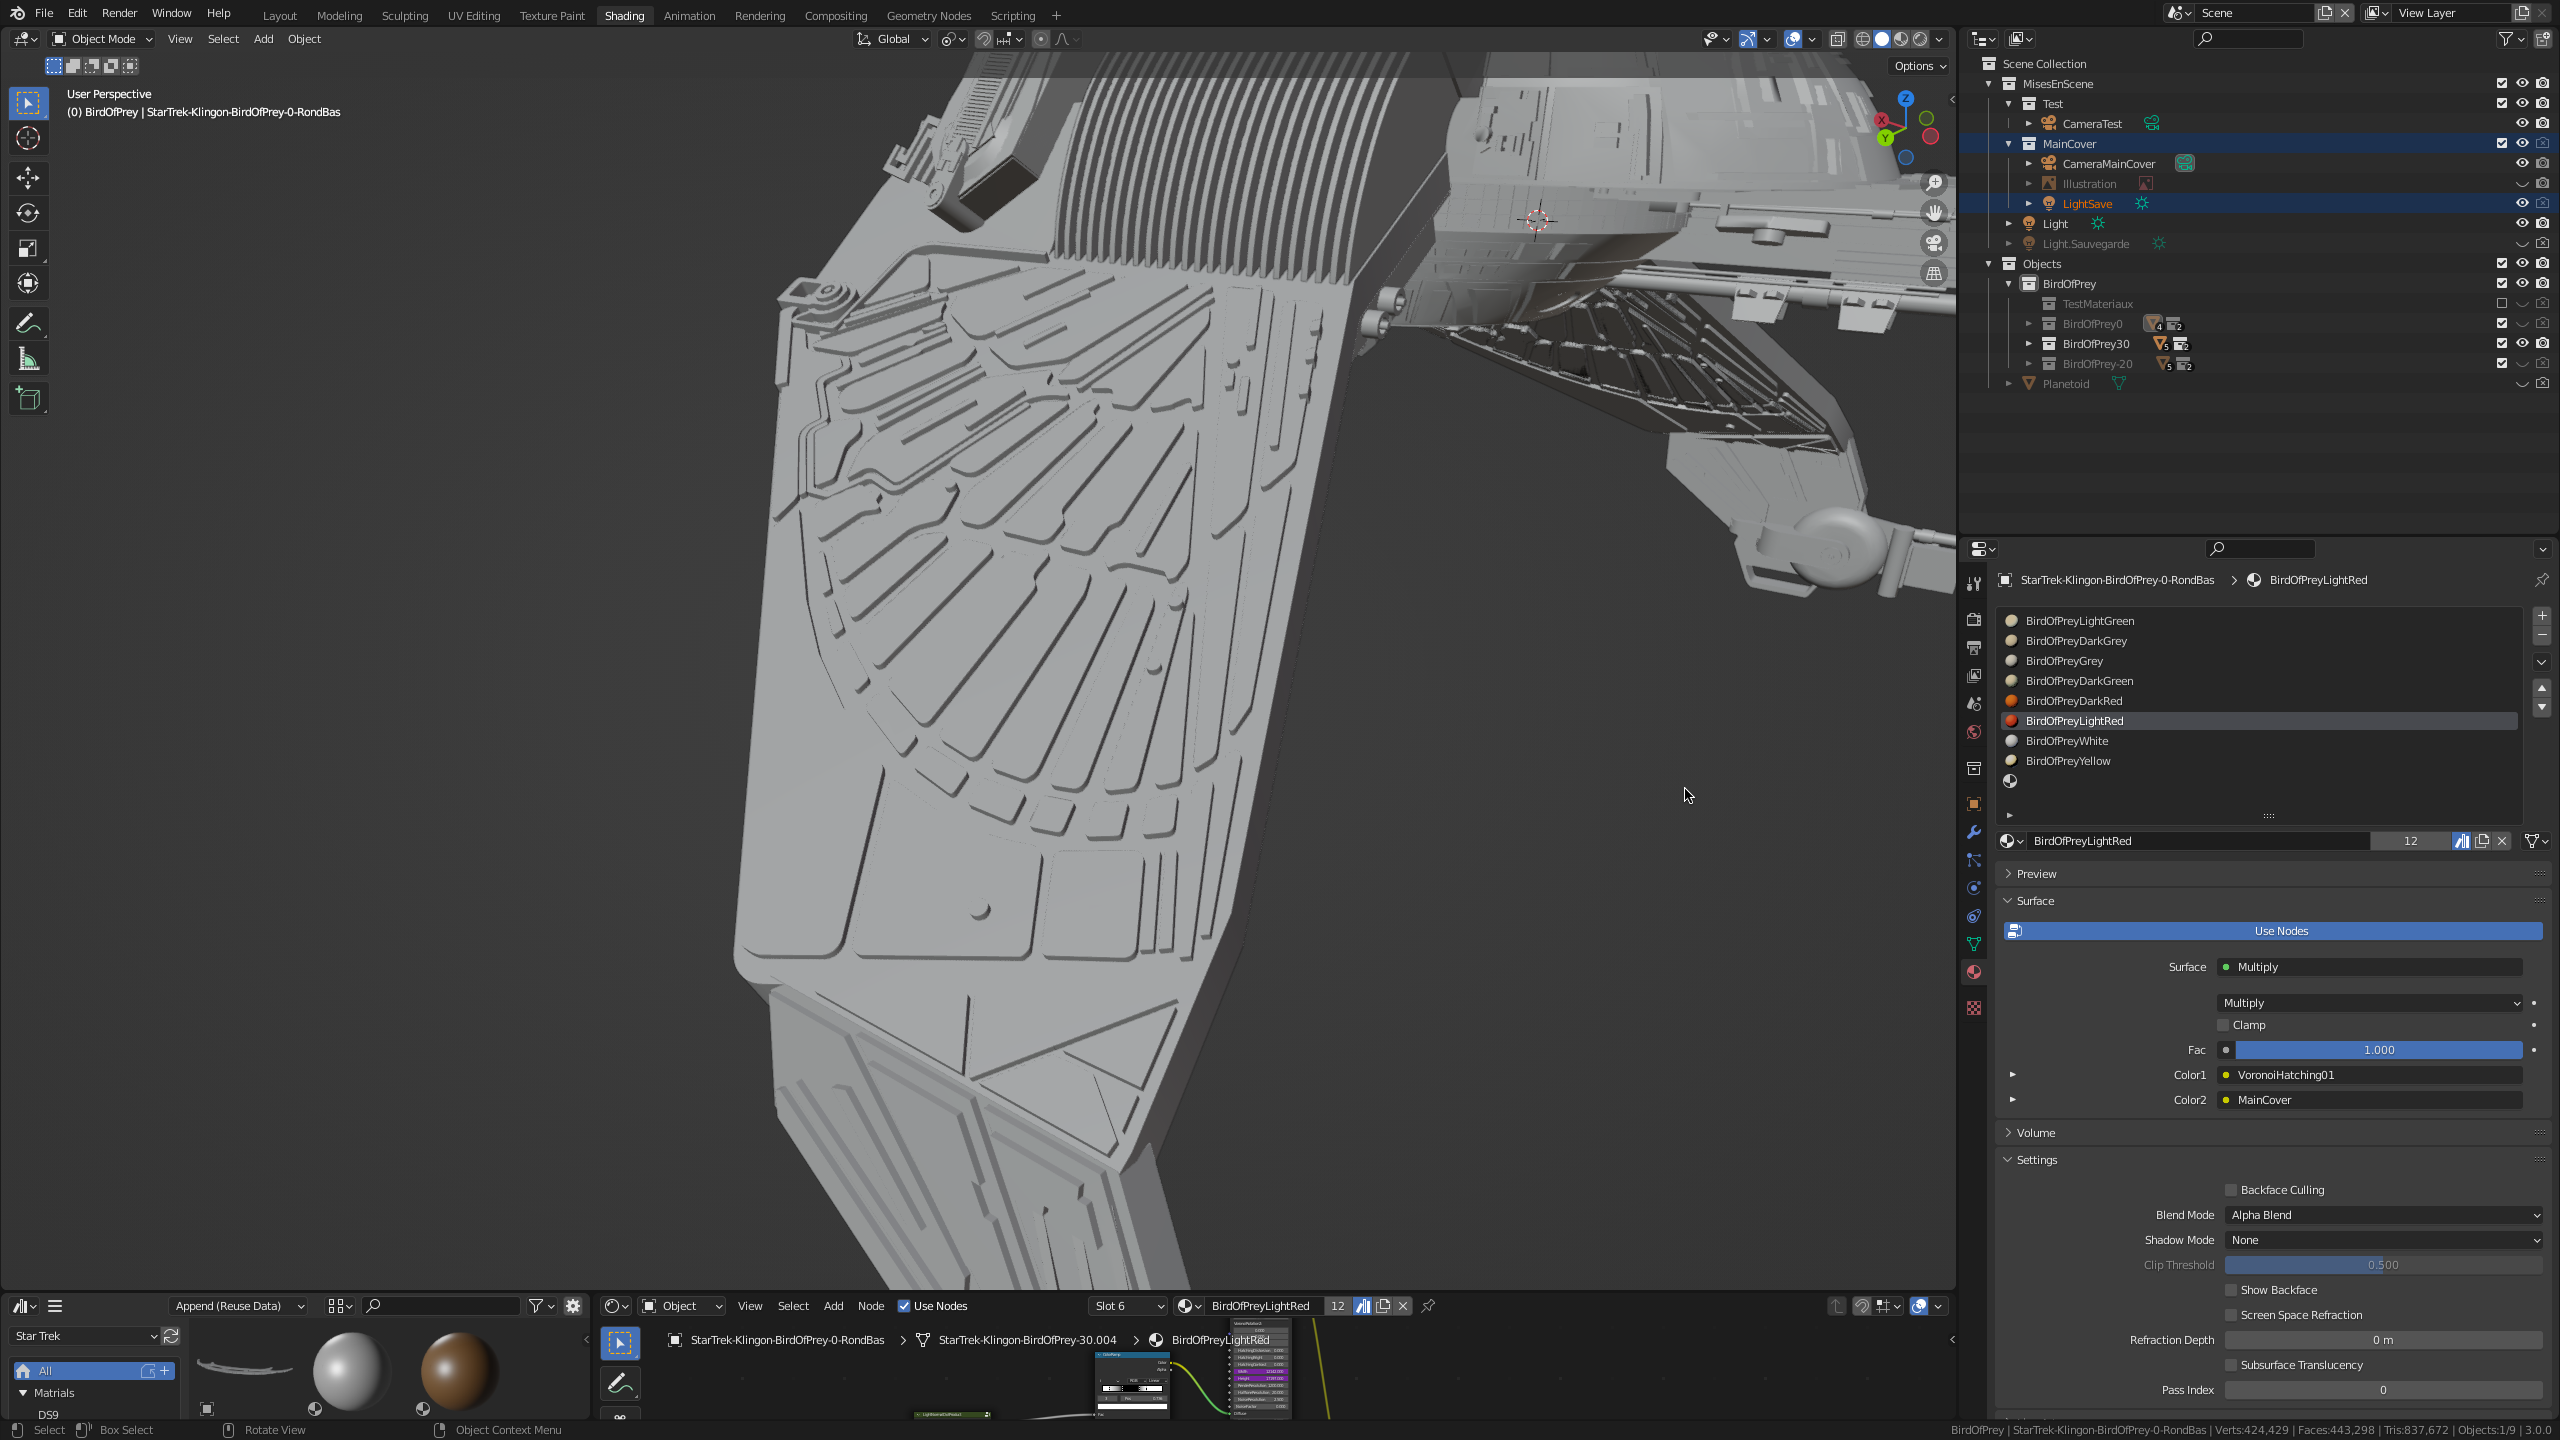
Black and white and color comic book renderings.
And to do this, nodes, with sub-nodes and sub-sub-nodes...
This gives me a more precise idea of how to orientate the Péguy project: to specialize it for comics, or even illustration, and make it accessible to non-technical profiles.
Roadmap
Now that I have a clearer idea of what I am going to do, here is how I plan to do it.
The first step will be to make a first version only with the 2D features (including the manga effects you already know).
I found that the vector drawing really helped me so I think it's important to make it a central part of the project.
Moreover, if nodal languages are multiplying to do procedural 3D, I have not yet found an equivalent in vector drawing.
I think it could be really interesting to explore this idea.
The 3D will come in a second time.
The overall philosophy will be to ensure accessibility to non-technical profiles, that it is a lego game for them, but also to offer a little more to the more comfortable users.
Well, I think I've covered it all the subject.
I realize that I've explored a lot of things over the past year when it comes to 3D.
It's a fascinating subject. :D
Okay! I'll stop bothering you.
I wish you a nice week and see you soon!
Suisei
Categories : 3D, Graphic research, News and chitchat,
Review of the year 2021
Published by Suisei at 28/02/2022 à 20h15
Hello everyone!
It's been a long time since I've given any news.
I have been very busy these last months.
It is therefore time to give some news!
To begin with, it seems that this is the first news of 2022, so, I wish you all a happy new year a little late! :D
Today, we're going to take a look back at a very, very busy year in 2021.
So busy that some of the topics mentioned today will be the subject of separate news in the coming weeks.
Here is a small summary of the topics I will cover.
- Péguy
- 13th Digital Painting School's Challenge
- Illustrations
- TGCM Comics
- Dragon Ball Multiverse
- Blender 3D courses
- The Cardassian Bird-of-Prey
- Update of Go on an Adventure Comrades!
- In conclusion
Péguy
I already told you about this project in a news early last year, an app that allows you to generate a number of patterns and effects in an automated way for comics and mangas.
The application itself has not progressed much since then, but I have done a lot of research on 3D programming and have developed new separate tools to speed up my work processes.
I went beyond web technologies and worked a lot with the Python language.
Now I have to think of a way to put all this together in an intelligent and accessible way for the general public.
New effects in the application
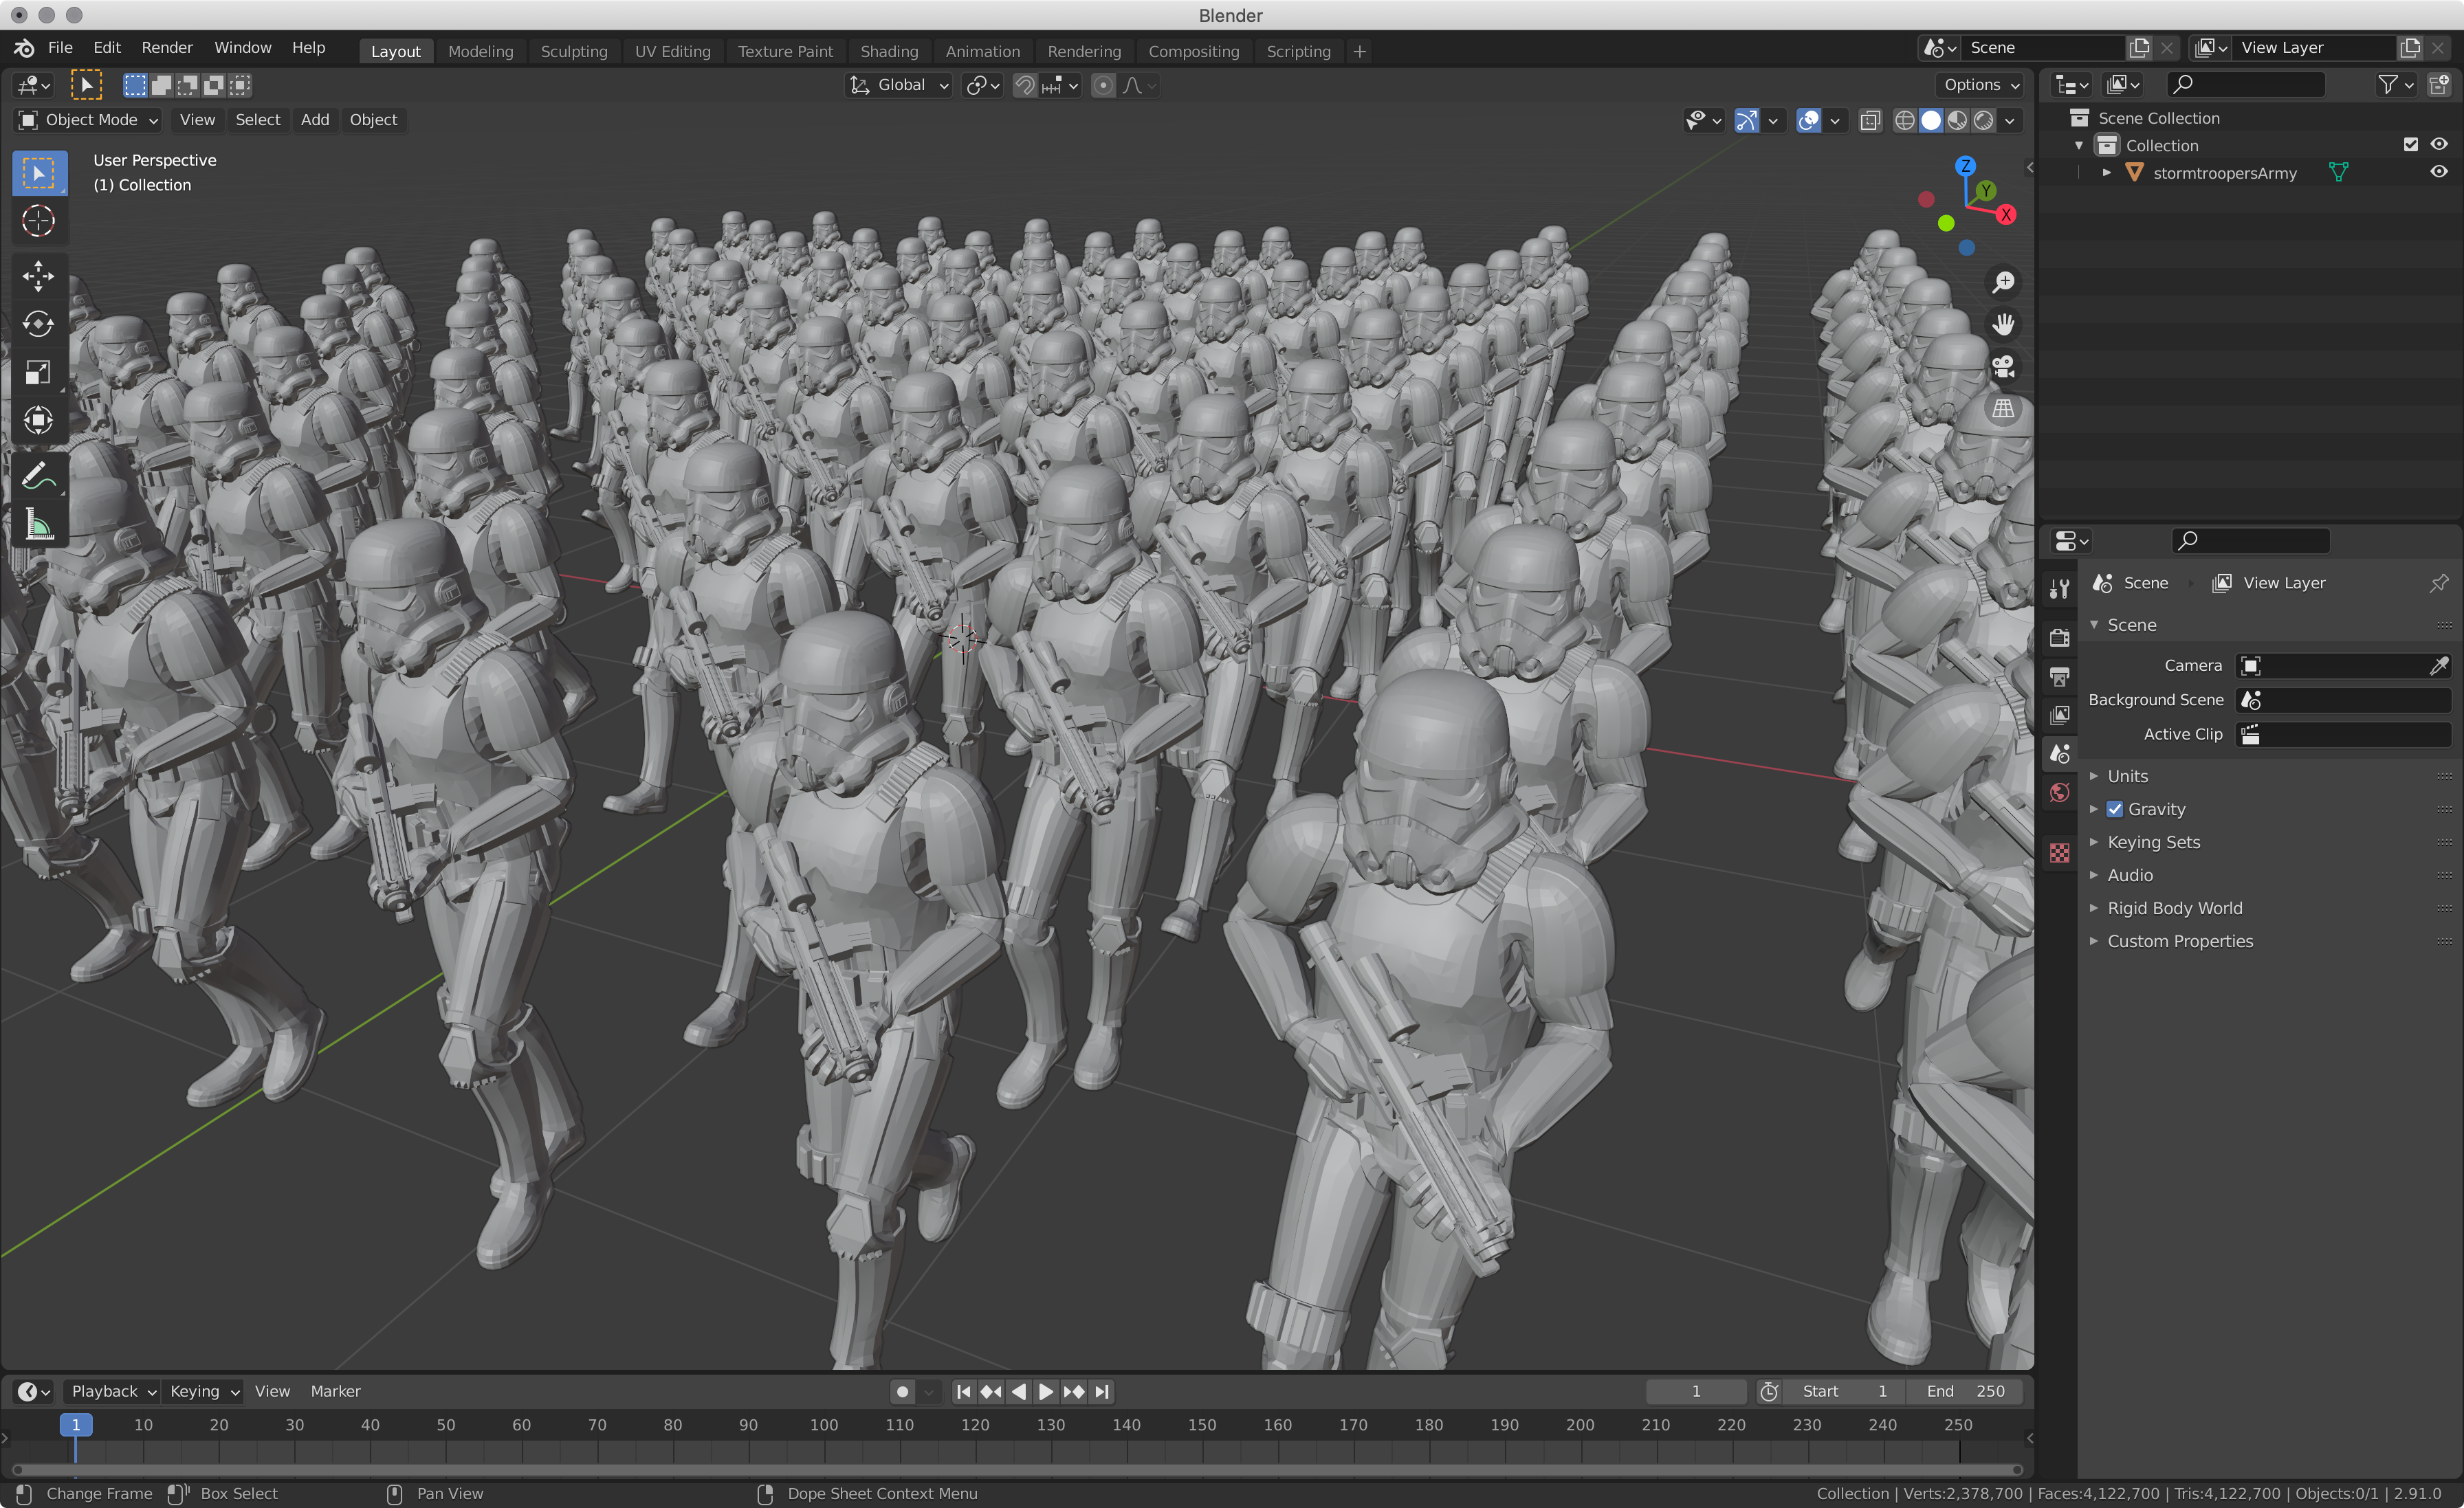
Automated 3D scene generation with the Python language.
We don't need to introduce you to these good old stormtroopers anymore.
An application that generates a program that itself generates a 3D object... Yes, the delirium goes far. x)
The object generated here is a Cardassian weapon (Star Trek).
There is a lot more to say about it, so this topic will be the subject of a more complete news in the coming weeks.
13th Digital Painting School's Challenge
In line with my research for the Peguy project, in the spring of 2021 I participated in a contest organized by Digital Painting School, a French speaking online digital art school.
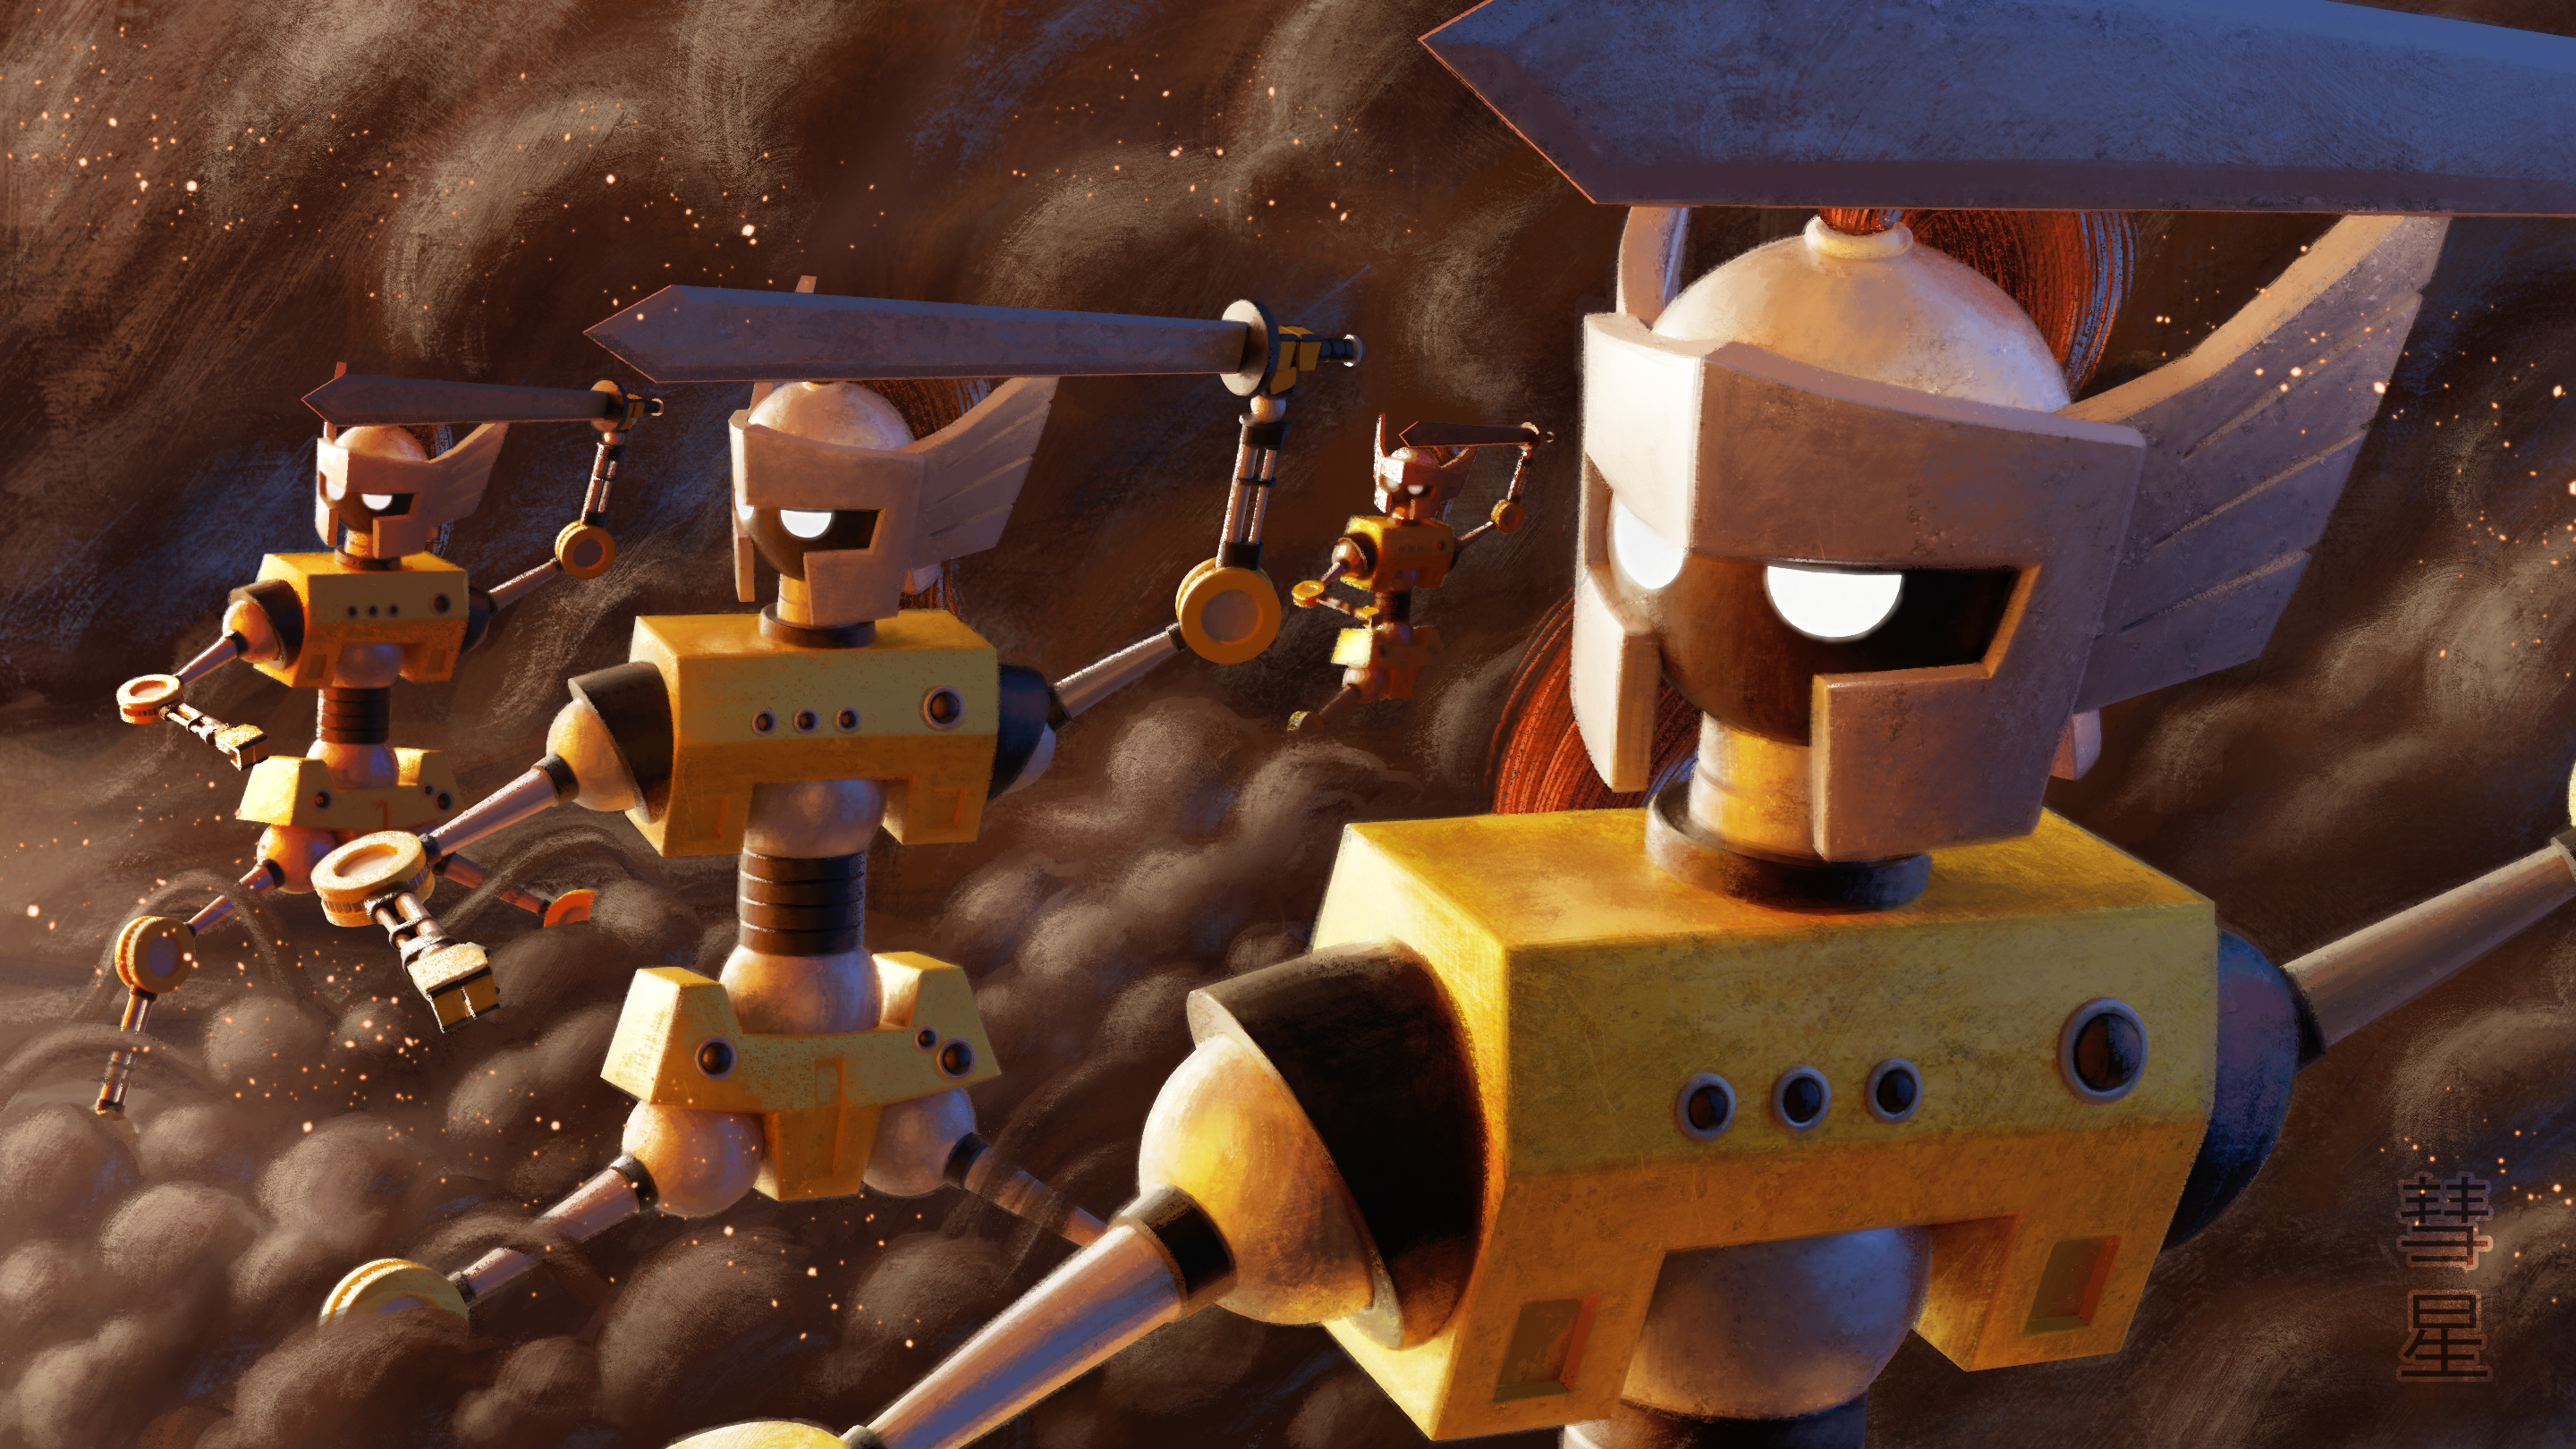
The proposed theme left quite a bit of creative freedom, so I took the opportunity to submit a drawing not drawn with a pencil or stylus, but drawn with lines of code.
Basically, I wrote a program in Python that generated a robot and a 3D setting.
Then I loaded this 3D scene into Clip Studio Paint and applied some filters to get a color result.
The concept has been quite successful. :p
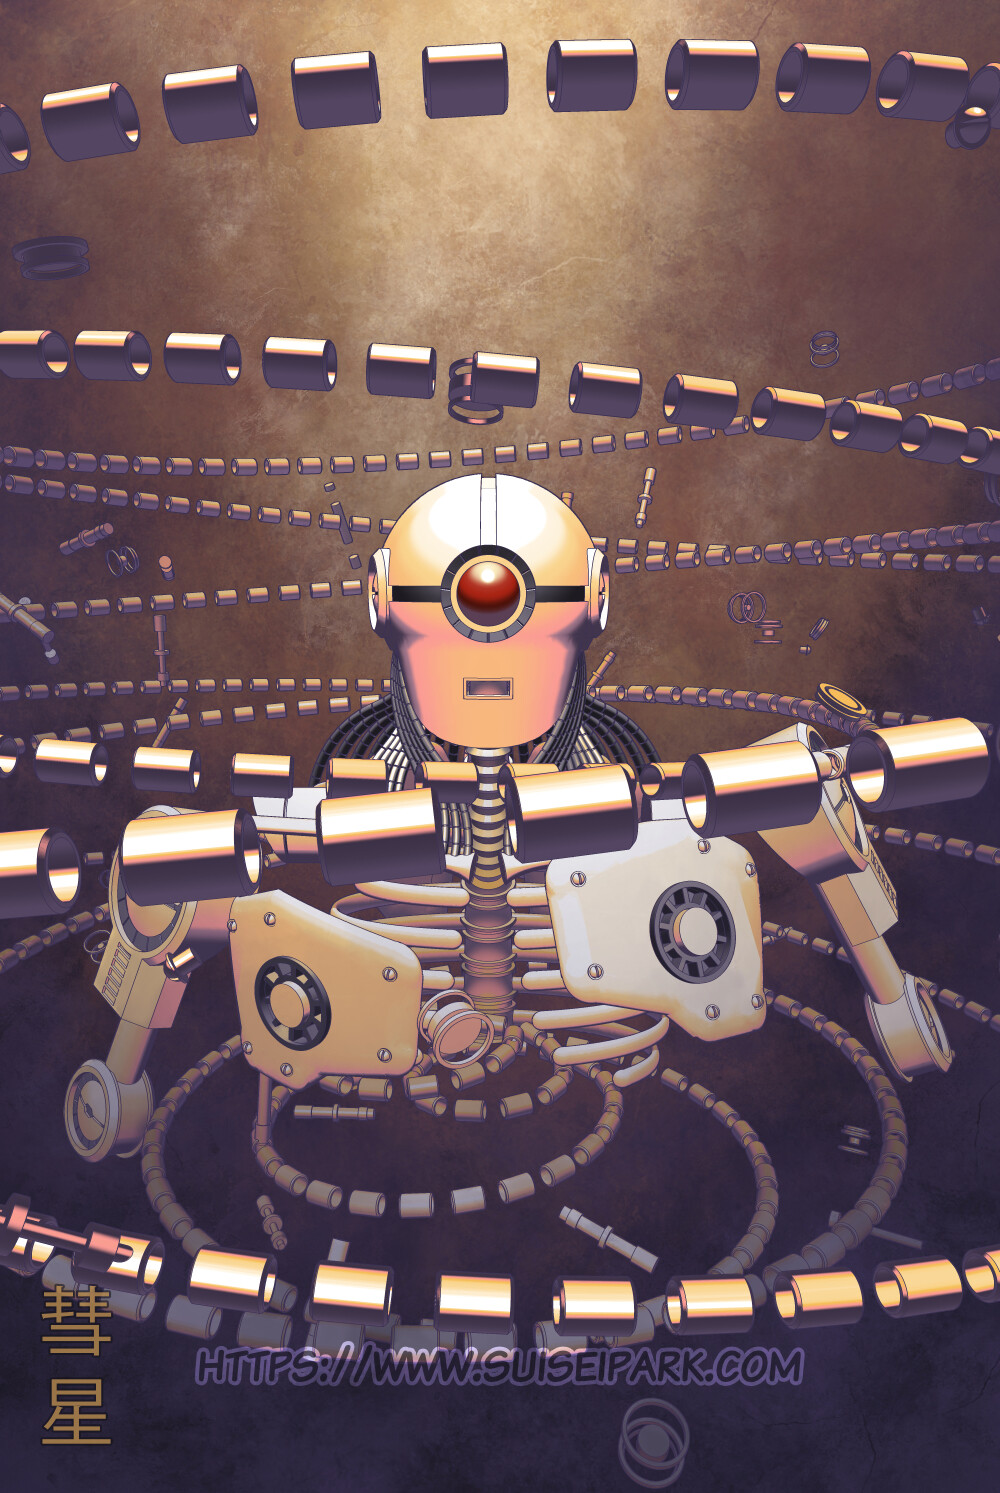
This project allowed me to develop a bunch of new features that will be usable in Peguy in the future.
The next big DP School challenge is announced for March 2022.
I'm looking forward to it to try new experiences. :D
Illustrations
Pixel Art
Keeping with the illustration theme, last year I did a whole news about the old software of my childhood, AppleWorks and I did a pixel art illustration with for the Drink'N'Draw.
It made me want to explore this style more, but with Clip Studio Paint this time. :D
Feel free to click on the images to see them larger and appreciate the details.
![]()
![]()
Two Dukats (Star Trek - Deep Space Nine). What? You didn't notice that I really like this character? 8D
The first is a makeover I came up with for a story that takes place in an alternate reality where he loses an eye in battle and becomes a space pirate.
The second one, with the red eyes, was a pretext to test my new graphic tablet... Or testing my new graphic tablet was a pretext to draw him... Who knows. 8D
![]()
Kira Nerys and Dukat (Star Trek - Deep Space Nine). I won't tell you the story behind this drawing right now, otherwise it's not funny. I let you imagine. :p
![]()
![]()
Last May, there was a Drink'N'Draw session about Cowboy Bebop, an anime I really like with great music.
So, I bought a new graphics tablet.
My nomadic wacom was very helpful, but as nomadism is no longer relevant with the virus that we know, making regular data transfers between the tablet and the main computer was becoming restrictive.
So I bought a model width screen to plug into my computer but still small enough to carry on vacation.
I was a Wacom customer for a very long time, but the market has evolved in the last few years and new quality brands have emerged at half the price.
So I invested in an XP-Pen Innovator 16 last spring.
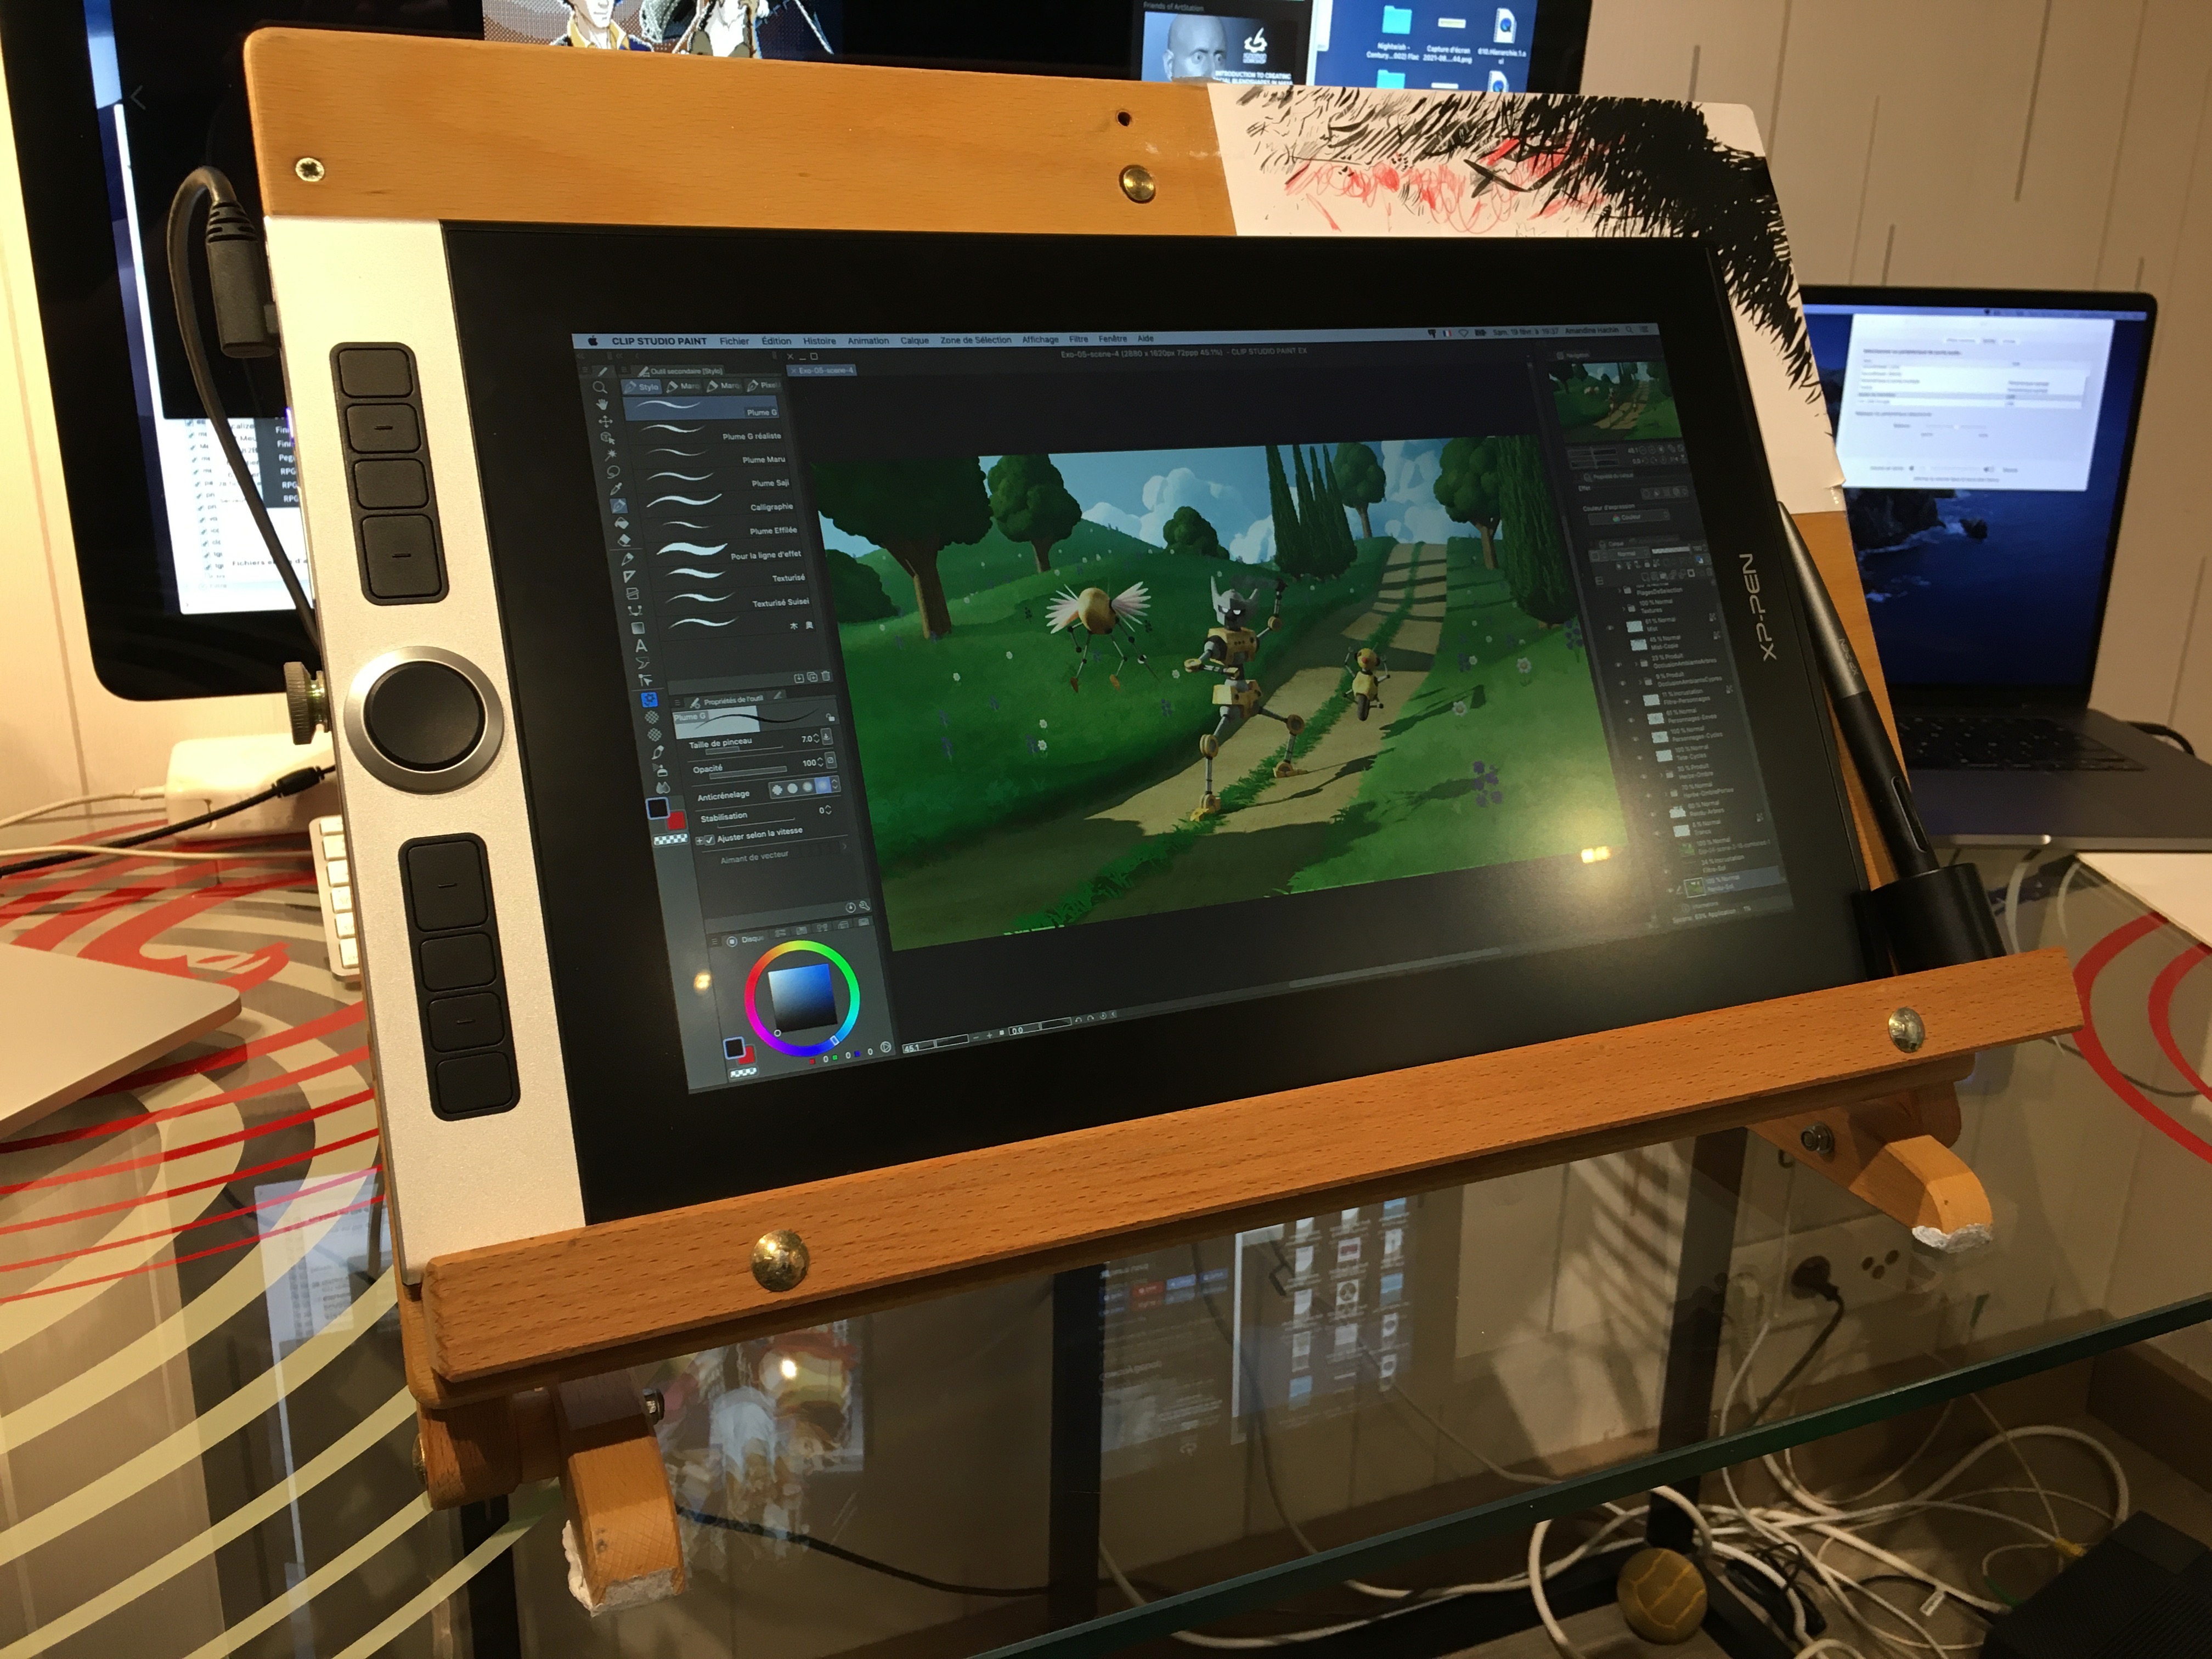
It is the size and weight of an Ituos Pro Large from Wacom.
It is the price of an Intuos Pro Large from Wacom...
But there's the built-in screen too! :p
It's really great and fits my needs perfectly. I work with it all the time since then.
Draw with the mouse!
Well, working with AppleWorks has made me want to do more experiments in the year 2021.
I made drawings with a mouse!
Yes, it's possible and it's not that difficult. ^^
In fact, I took over a technique I had developed when I was 12 or 13 years old, when my parents did not yet have a scanner.
I had no choice but to do my digital drawings with the mouse.
The trick is not to try to draw the lines freehand with the mouse and the pencil tool, but to use the geometric tools, especially the straight line.
At least with the straight line, you only have to worry about 2 things: the starting point of the line and its end point.
Thus, the lack of dexterity is no longer an issue. It doesn't matter which way you go.
And with a succession of straight lines, you can simulate a curve.
That's it! Now you know how to draw with a mouse! :D
You can even do it while wearing mittens. I tested it as a joke, and it still works. x)

I made these 2 drawings with the mouse on AppleWorks during Dragon Ball Multiverse lives on Twitch with the main artist Asura.
I will try again one of these days with a video to show you the work process in more detail.
ArtStation
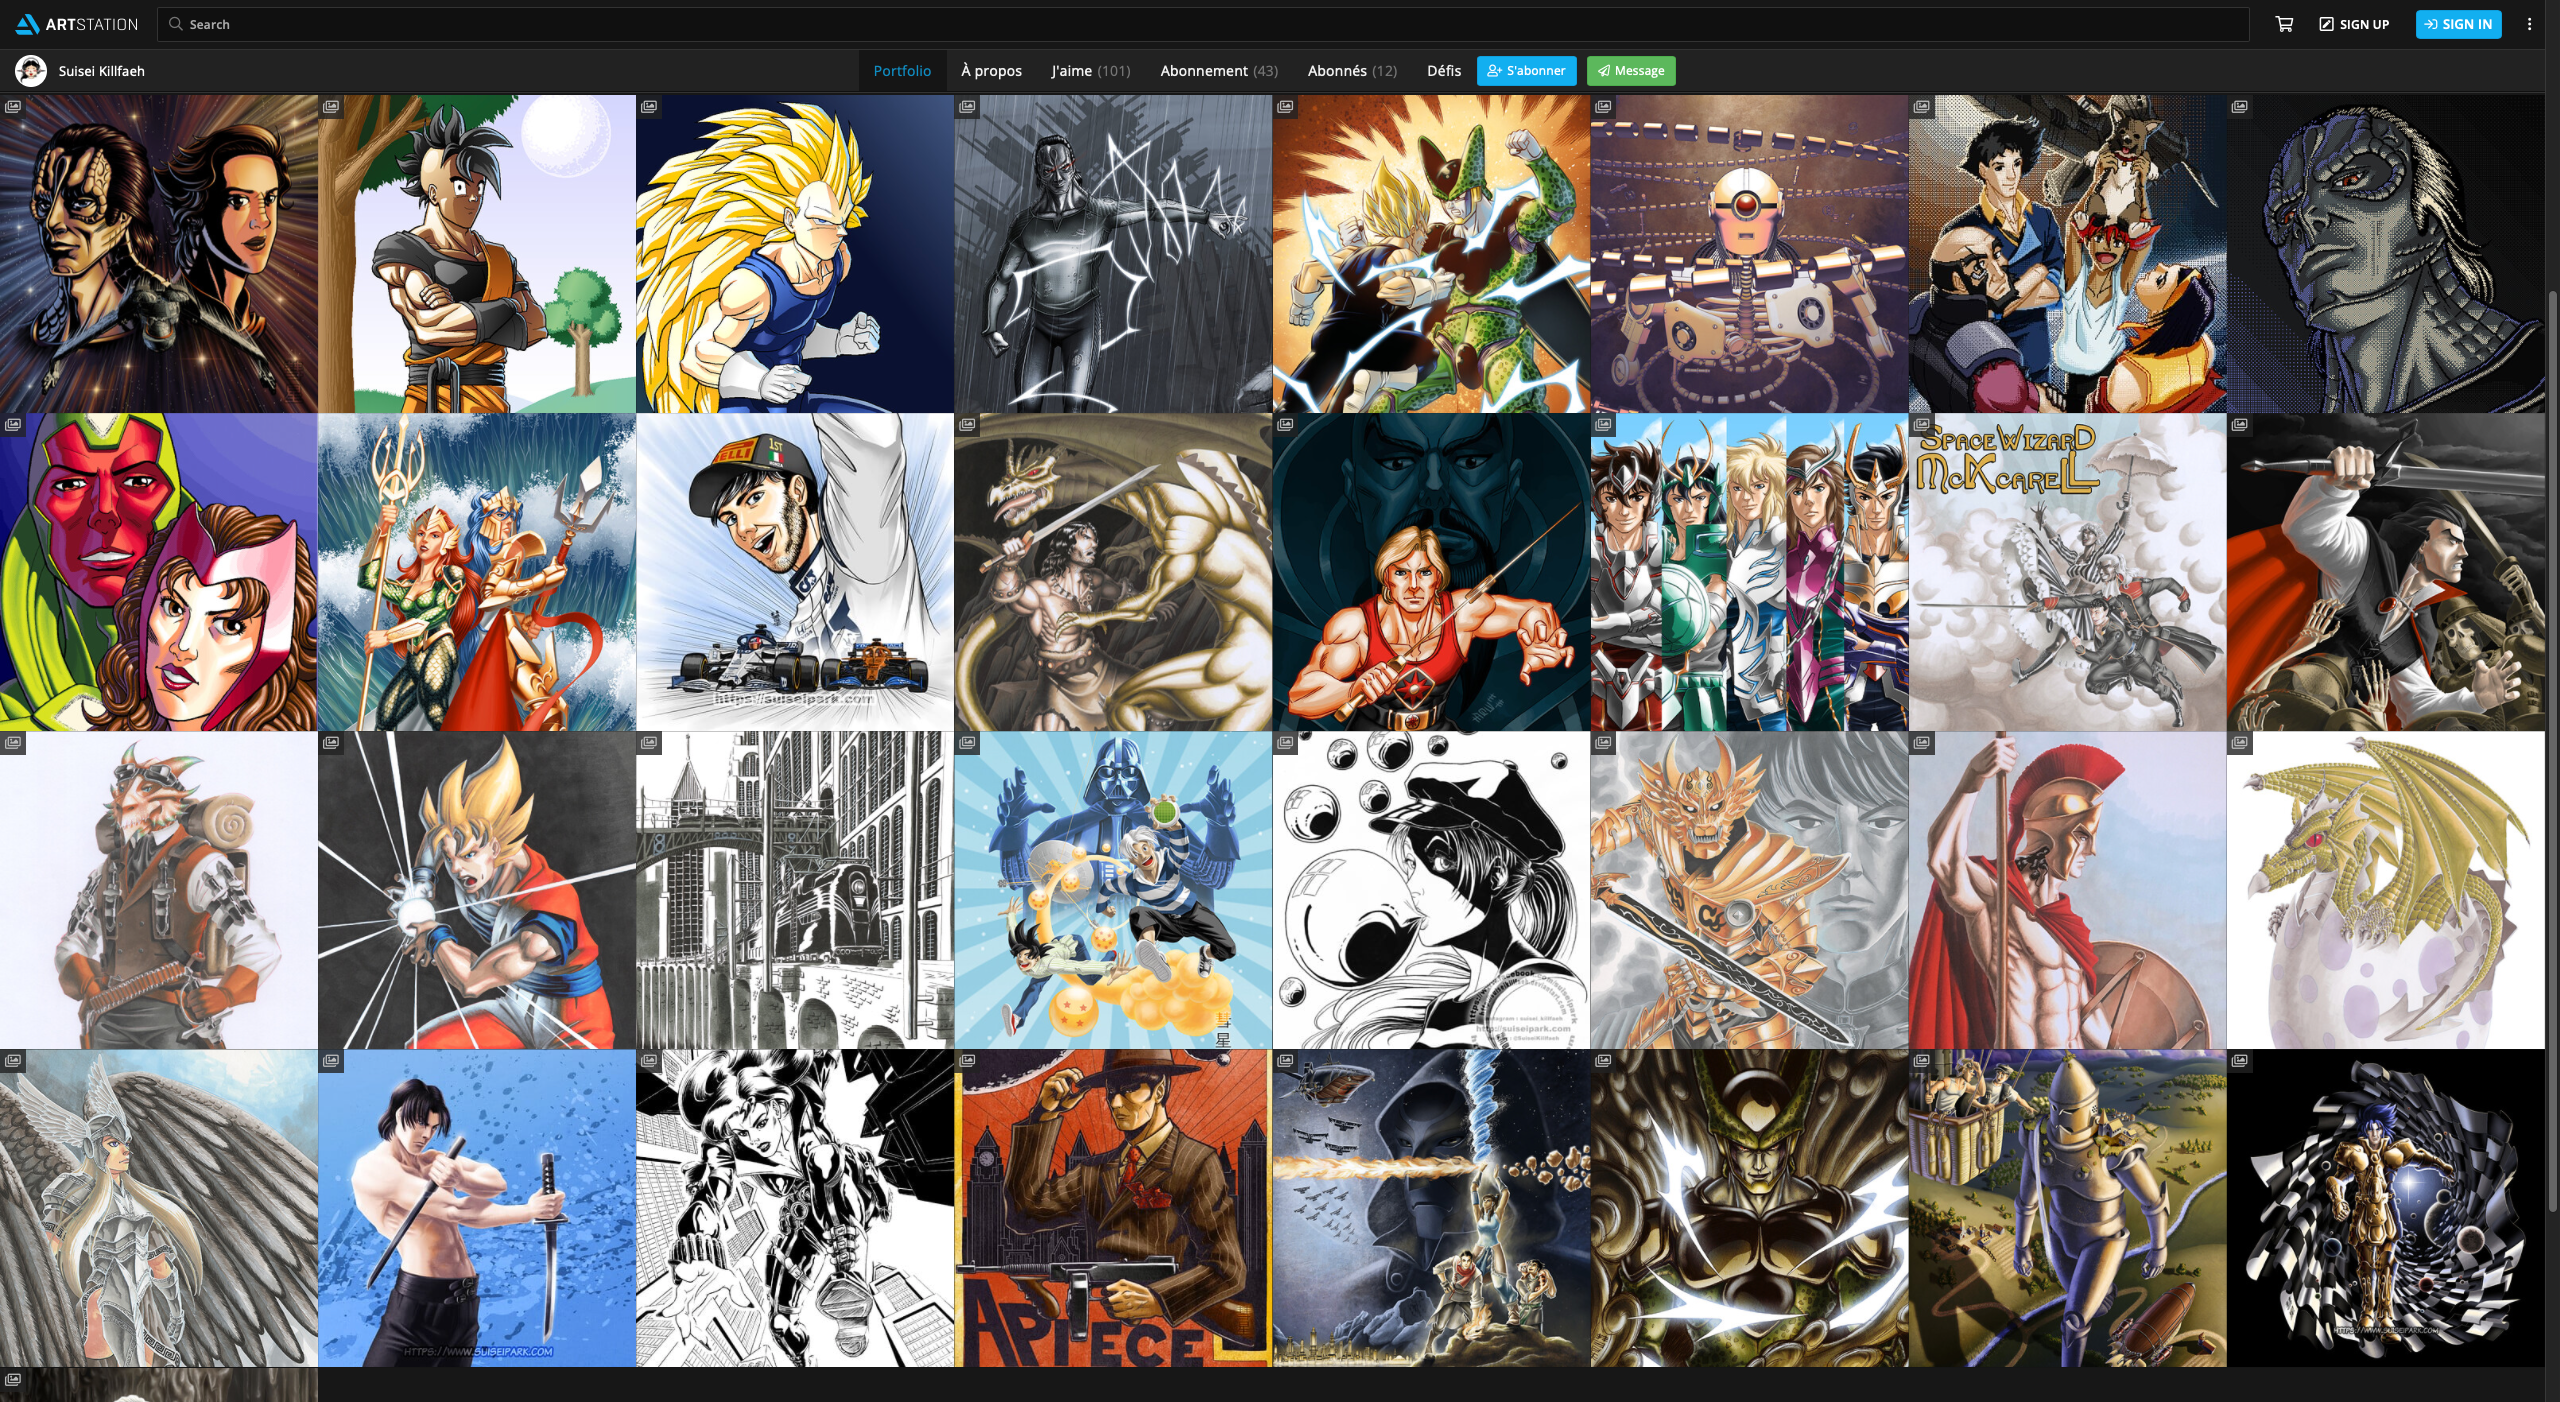
It took me a long time to get interested, but I recently opened a portfolio on ArtStation.
I was expecting a kind of deviantArt bis, but in fact no, it's better, you're more free to organize the content of your portfolio and you can even show your work process (which is what some profesional artists do and it's very instructive).
The quality of the content, at least the one put on the trending page, is also much more professional.
And above all, it's not full of intrusive social networking features! x)
So, if you want to see my latest illustrations from time to time, my ArtStation gallerya> is updated! :D
Just click on the preview below or click on the Illustrations tab of my website to access it.
TGCM Comics
This project progressed more slowly in 2021 than in 2020, but I continued to work on it anyway.
I went back to the blog space, private messaging and comments interface to make it as ergonomic as possible.
I also added an image manager for each user, so you can illustrate your words when you express yourself without having to look for a third party image host.


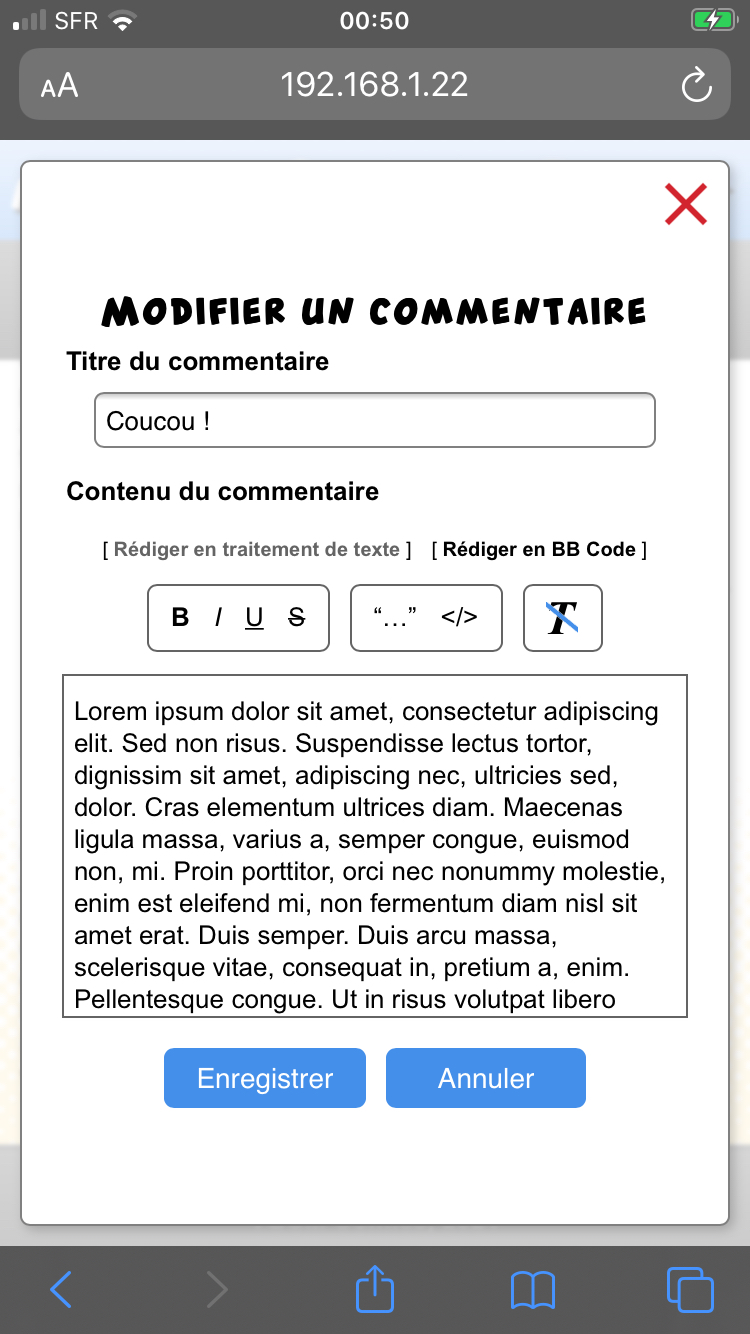
I'm also close to finish the comic pages uploader and I'll soon be able to tackle a big piece, but also one of the most interesting of the platform, namely the online layout and lettering system. Yes, you will be able to draw and fill your dialog bubbles directly online with automatic translation from French to English or from English to French! :D
I hope that this little extra will be one of the strong and innovative points of the platform.
Dragon Ball Multiverse
I didn't release any hard copy comics in 2021, but I didn't walk away from the drawing board.
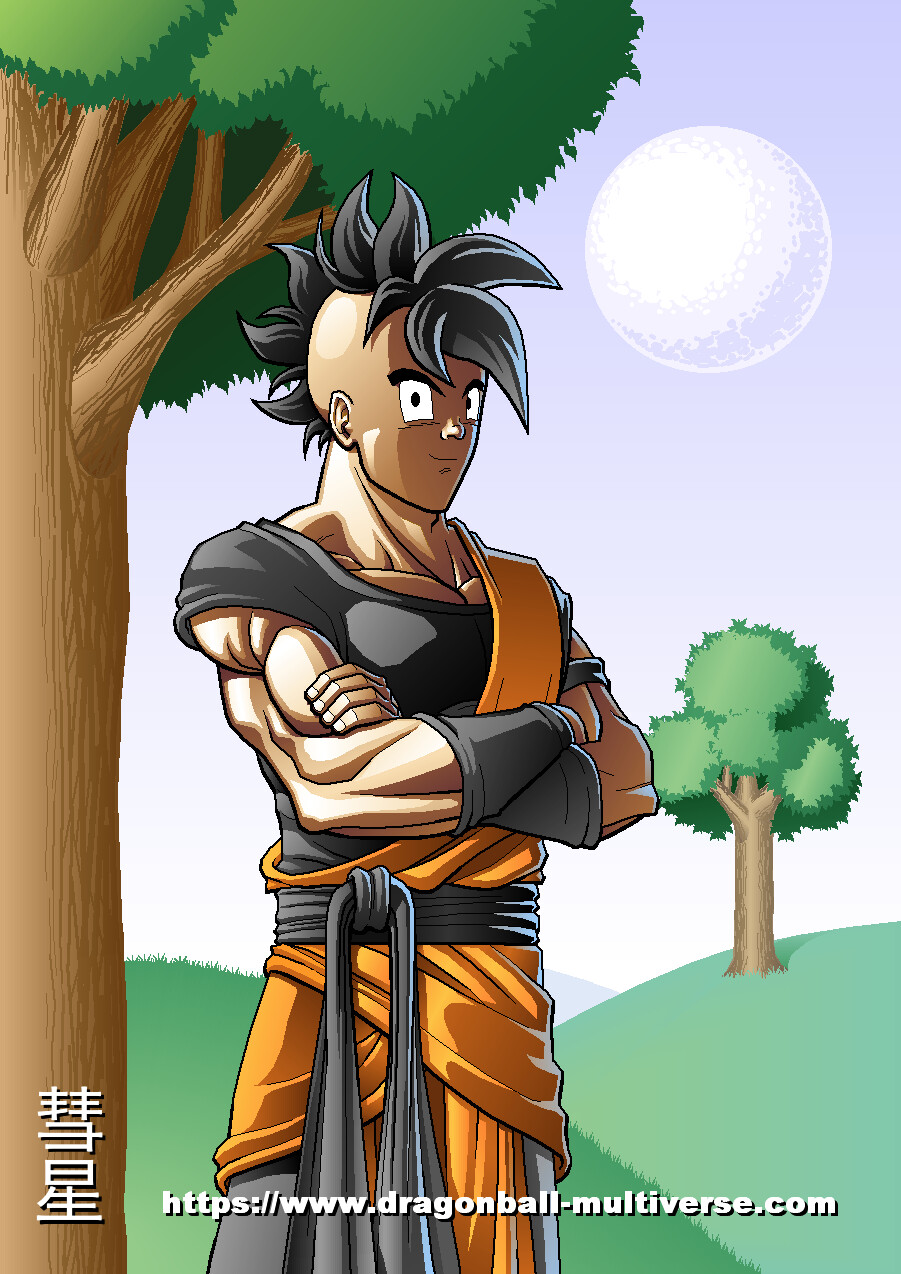
This summer I participated in the realization of about fifteen pages of the collective amateur comic Dragon Ball Multiverse! :D
For those who don't know yet, DBM, it's a fan comic that tells a sequel to Dragon Ball Z.
The story is set 10 years later and does not take into account neither Dragon Ball GT, nor Dragon Ball Super (which did not exist yet when DBM was created).
It was created by Salagir (the writer) and Gogeta Jr in 2008.
Today the main artist is Asura and dozens of other artists participate in the creation of special chapters.
To read the entire comic, it's here!
The chapter I participated in was published during the fall of 2021 and begins here.
I had to get used to Akira Toriyama's style again, which I had hardly practiced for about 20 years.
I'm doing not too bad. little by little it's coming back. x)
A more complete news is planned on the subject.
I will show you the working process I used to make the pages.
You should already know that I have applied all the research I had done until then... Which I have already completed since. :p
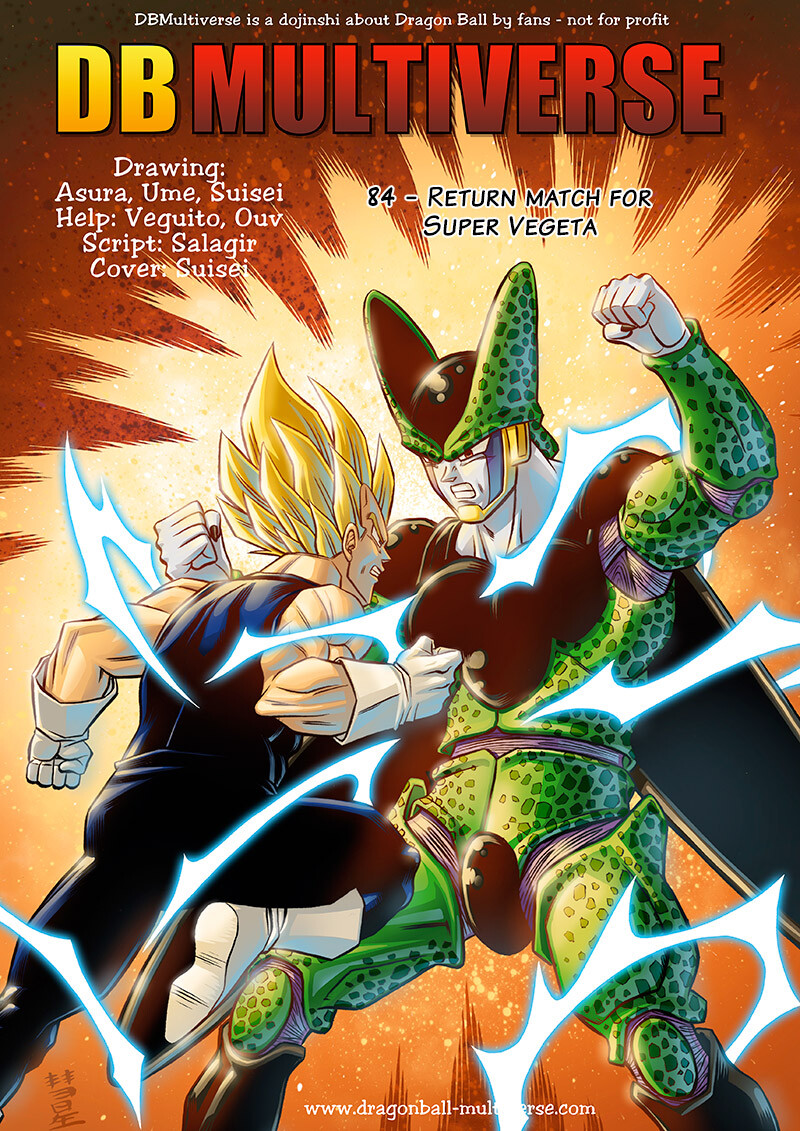
The cover of chapter number 84.
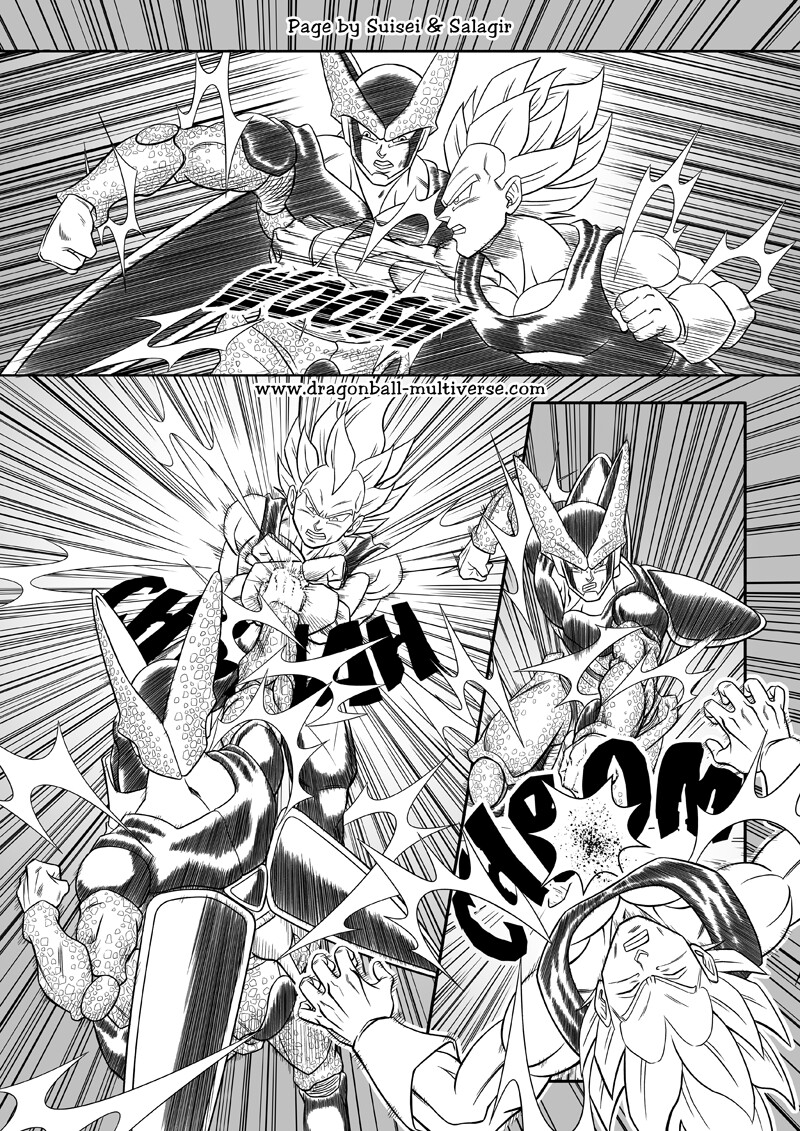
Page number 1944.
Blender 3D courses
Speaking of research to improve my work processes, in the early fall of 2021 I started taking an online course about the software Blender.
Blender is a free and open source 3D modeling software.
It is increasingly recognized and used by professional 3D artists.
The course I'm taking is provided by Digital Painting School and focuses on the use of 3D for 2D (illustration, comics...), which is very precisely what I need. :D
I had started a course on this same software 14 years ago.
The interface and ergonomics at that time were absolutely bad!
Things have changed a lot!
Today Blender has become much more pleasant and easy to use and has been enriched with many powerful features.
Now I'm using it all the time. x)
Here are some of the works that I have done or that are still being done as part of the course.

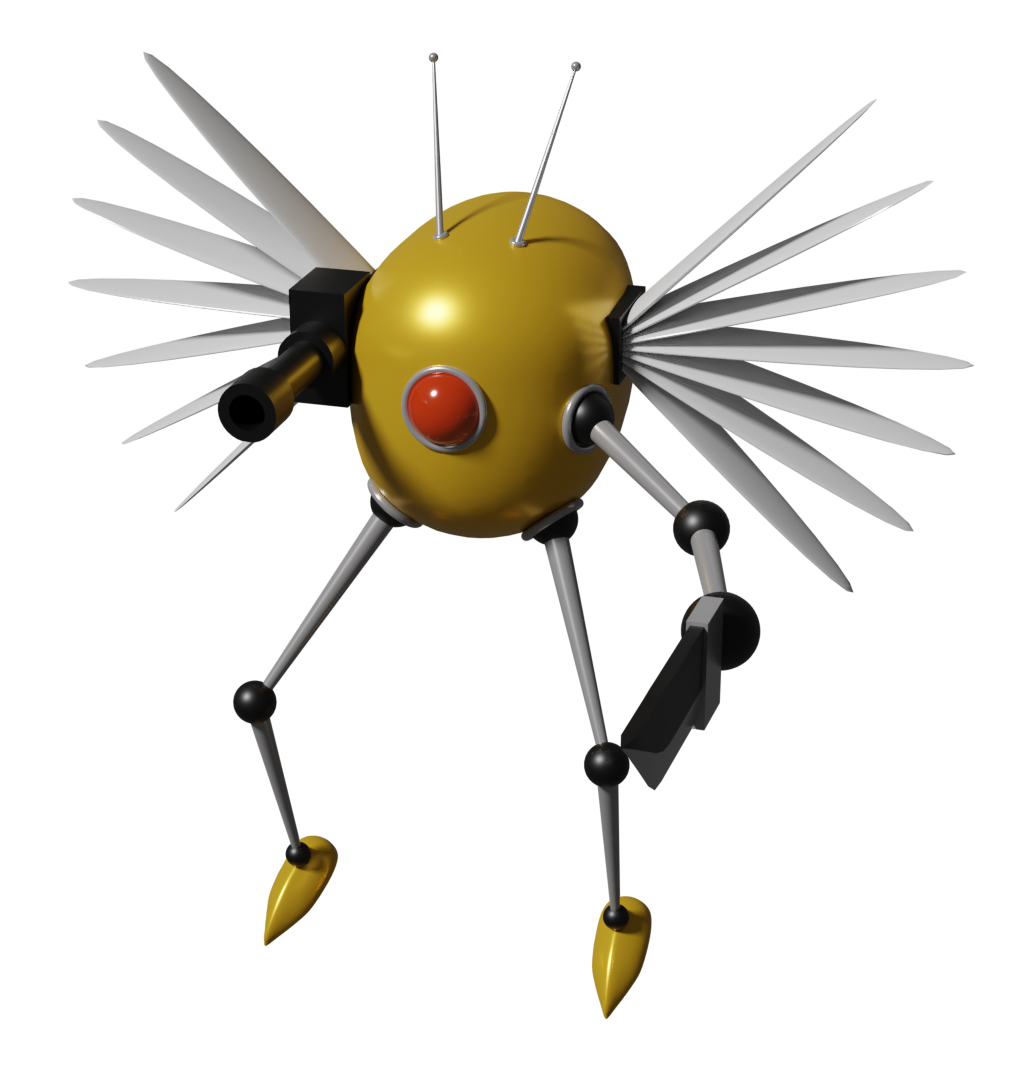
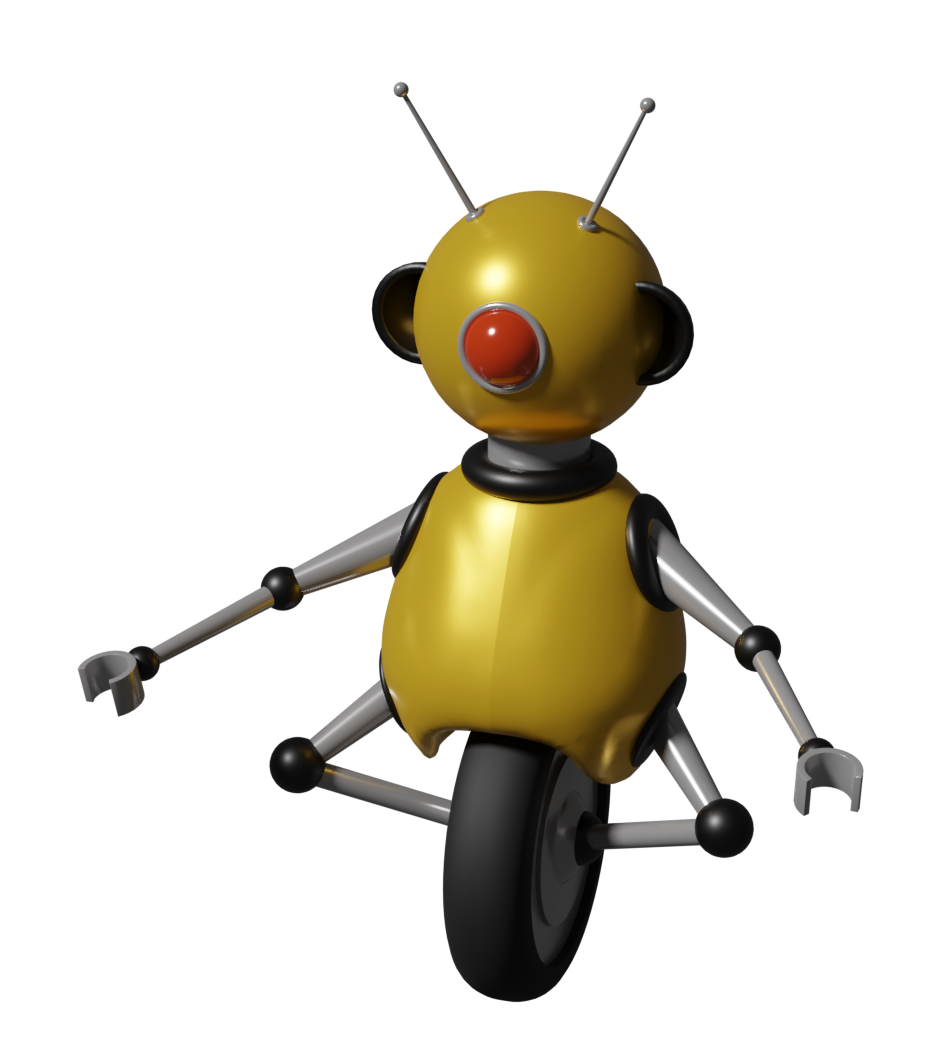
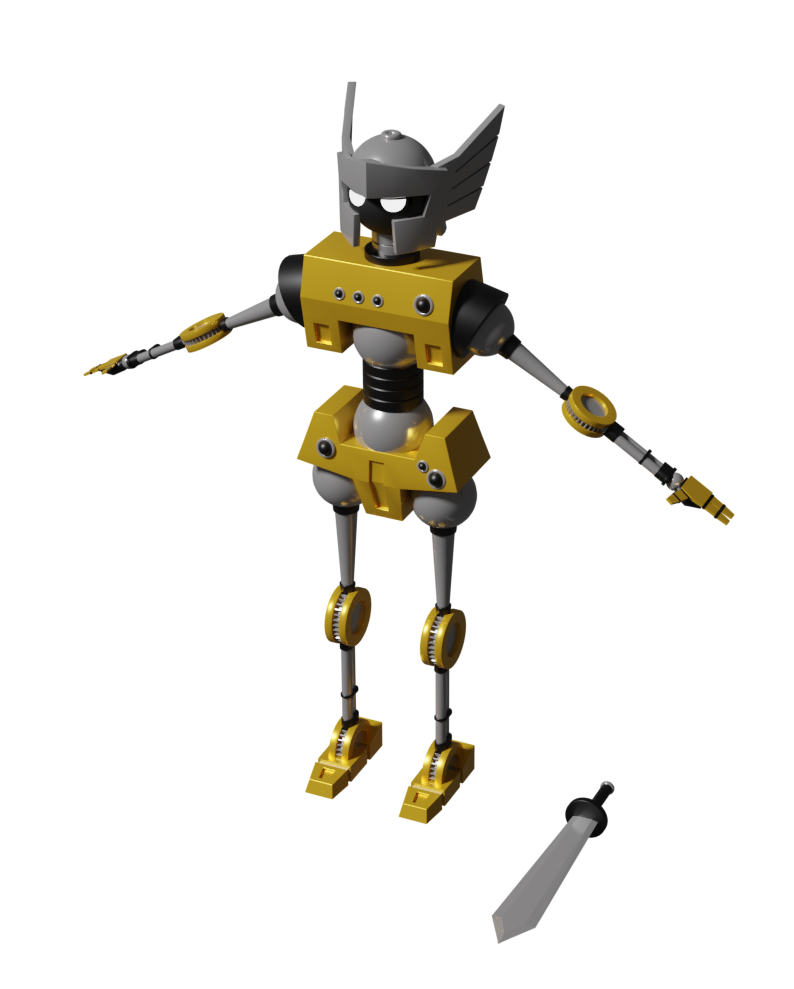
The orange robot is the model that the instructor proposes to make step by step in his videos. The 3 others are original creations.
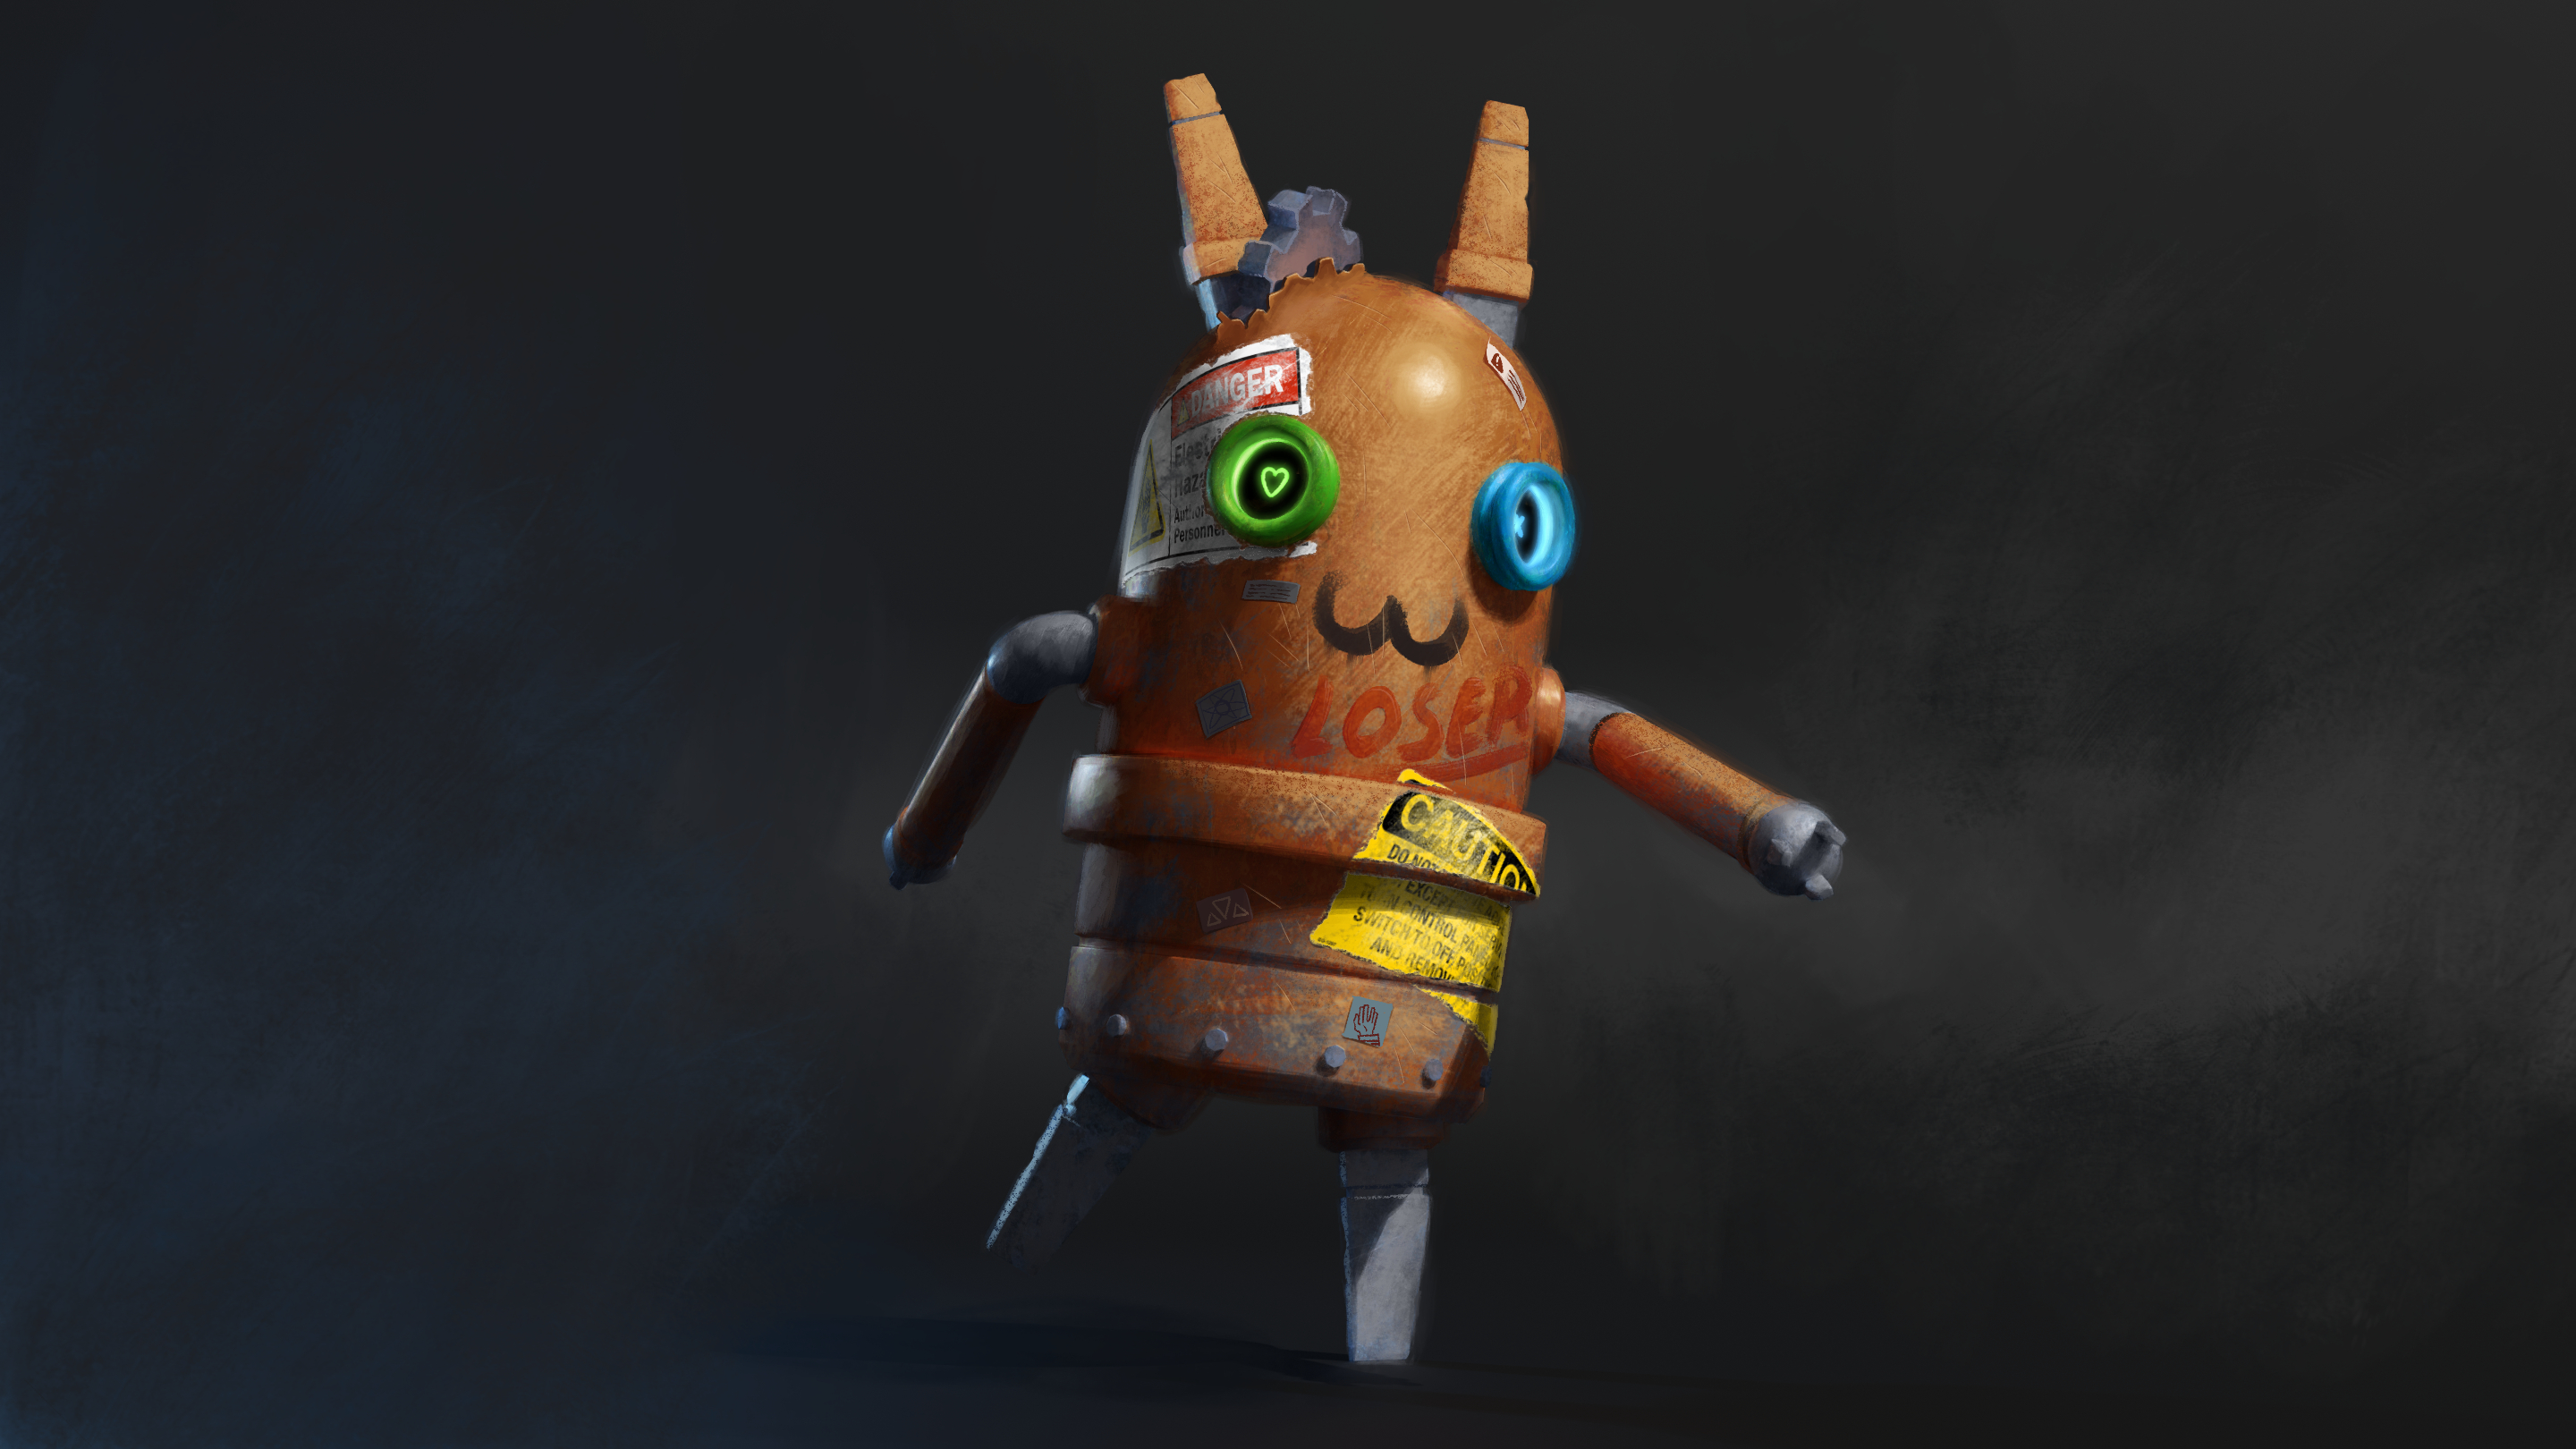
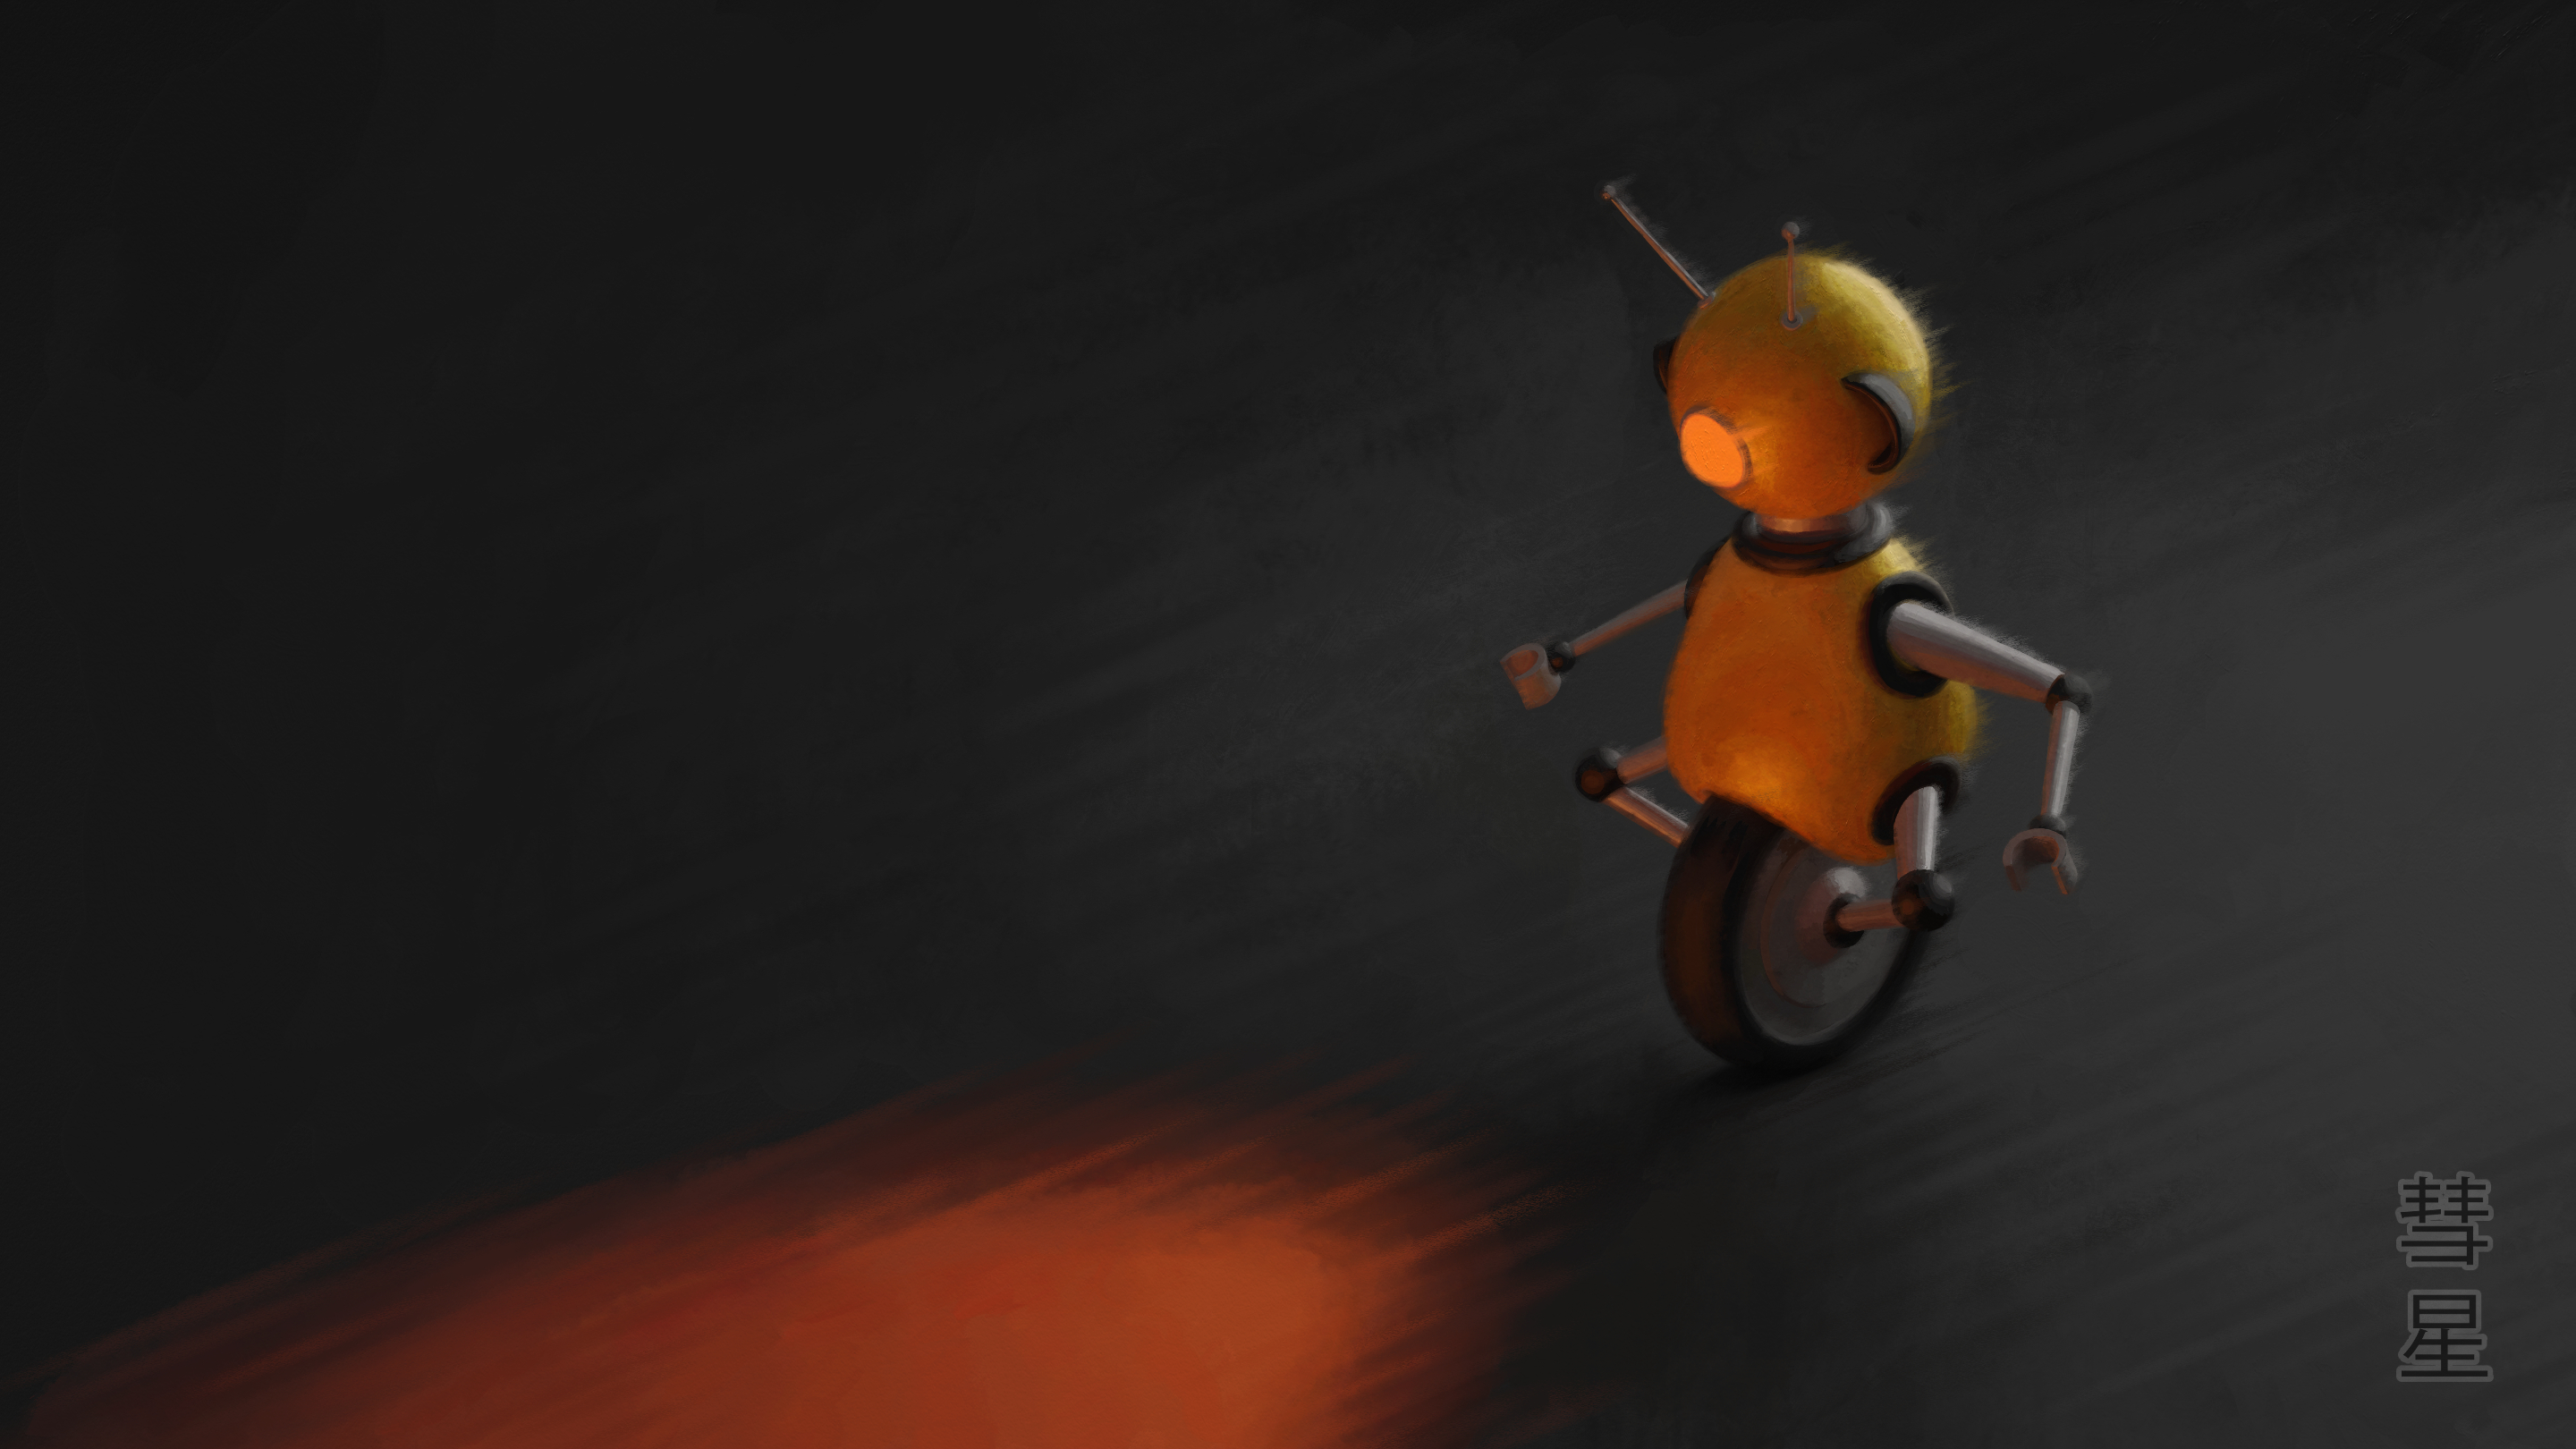
These first 3 images are finished.


For these last 2 it still lacks the so-called paintover phase which consists of repainting over it in 2D software to break up the 3D look and add the missing details that it would have been too laborious to do directly in 3D. The goal of the work technique is to save time wherever possible.
The Cardassian Bird-of-Prey
Going back to a comic topic, in 2021 I started working with my great accomplice Marialexie on a comic project, more precisely a webtoon, about Star Trek.
More exactly on Star Trek - Deep Space Nine.
It's been a long time that we wanted to do something about Star Trek, which is a universe that is really close to our hearts, and it's while watching Deep Space Nine that we finally had an idea.
Without going into details, we didn't like the way the treatment of some of our favorite characters ended to a frustrating degree, and since the concept of alternate realities has always been part of Star Trek, we decided to imagine one where things would have happened differently.
The fork in the road comes at the end of episode 14 of season 4, when Dukat decides to go fight the Klingons alone.
I pulled out a dirty word a few lines back: webtoon.
What is a webtoon?
Basically it is a comic format optimized for reading on touch screen phones.
The comic panels are read one after the other in vertical scrolling.
It gives a different narrative rhythm than a classic comic and the authors play more and more with the vertical scrolling effect.
The popularity of this format is soaring.
I think that in addition to the convenience of reading on a phone, the addictive effect (which social media well konw) of vertical scrolling associated with the fact of telling a story is a contributing factor.
I've been wanting to try this format for a long time and I thought this project would do just fine.
Since it's not humorous or parodic like Dragon Cat's, it's out of the question to exploit it commercially, so I might as well choose this project for a purely web format.
And as this format is becoming more and more popular, I plan to be able to host it on TGCM Comics, so I need to make sure I have a project like this so that there will be content in the webtoon section when the site launches.
To get an idea of what the project is going to look like and what a webtoon is, there is a prototype that mixes finished and pencil panels available online, you can read it here.
The other objective of this project is to apply all that I have learned and developed before and thus to use 3D massively for the scenery and the ships.
In short! A project to propose content on TGCM Comics and use Péguy and 3D... Everything is linked ! x)
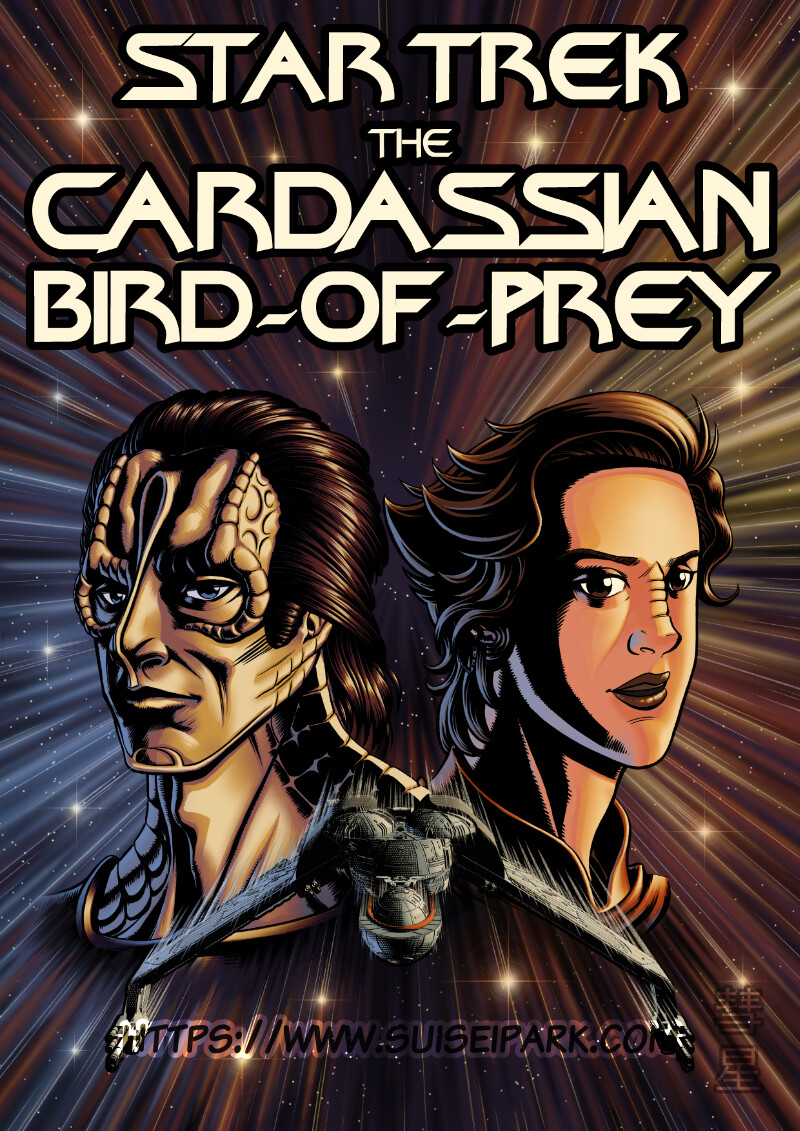
The cover illustration for the project.
I took a lot of inspiration from the Star Trek movies posters to make it.
3D, traditional drawing, digital painting... There is already everything in this image.
Update of Go on an Adventure Comrades!
And finally, let's talk about games!
At the end of last spring I made a major update to my online mini adventure game.
Now you don't need to download the game to play it.
You can play it from your browser.
To do so, just go to the game page and click on Play.
The server is no longer hosted by me, but by a real professional host now. So it is always running.
I will detail a bit more in a dedicated news.
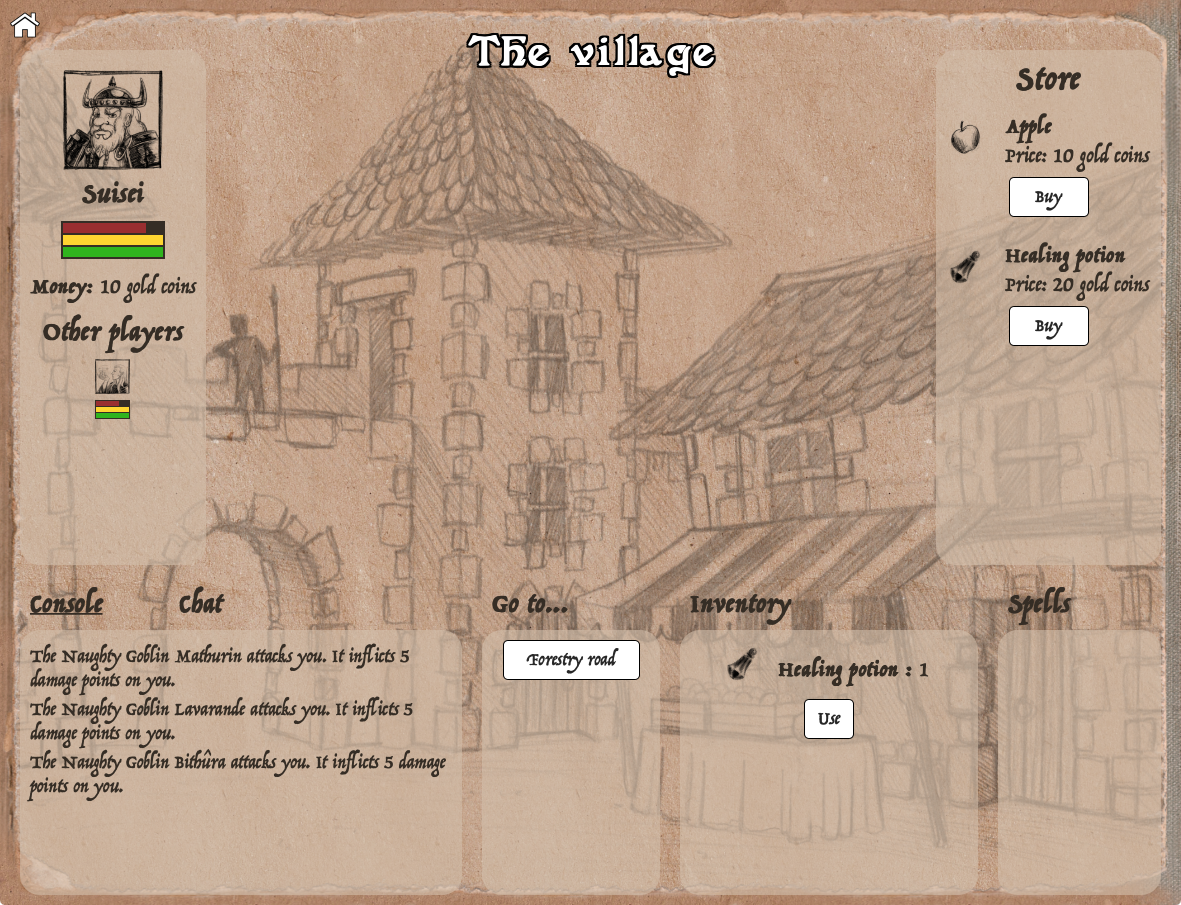
A much neater and sexier web interface than with the python language.
In conclusion
Well, I told you that the year 2021 was very busy. x)
To summarize, this year has been marked by the learning and development of new methods and tools to improve my working process.
The year 2022 should continue along the same way.
Its objectives are:
Finishing the exercises of the Blender courses, finishing the development of TGCM Comics, resuming a more regular rhythm of realization of my comics and finally studying some software of video game creation.
Yes, because developing games entirely from scratch while having to take care of all the technical aspects of simulating the physics and the display system was fine 14 years ago, because it was formative and these creation tools were in their infancy and not very accessible to the general public.
Nowadays almost nobody does that anymore and game creators focus on the content, which makes a game unique, and I would like to do the same.
Anyway! I'm going to spend a lot time learning a lot of things.
On that note, I wish you a nice week and see you soon for new adventures!
Suisei
Categories : 3D, Comics, Graphic research, Illustrations, Games, News and chitchat,
Back to childhood with AppleWorks
Published by Suisei at 10/03/2021 à 15h45
Hi everyone!
Today I'm going to tell you about a very old software that kept me busy for many, many hours during my teenage years and that I've had the pleasure of rediscovering these days.
Apple fans will have glitter of nostalgia in their eyes, others will have the opportunity to discover a beautiful tool that has not forgotten to be compatible with Windows.
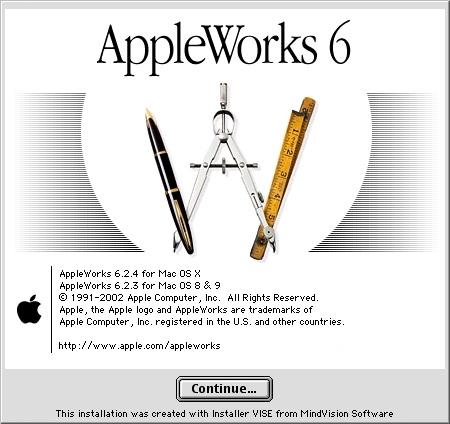
It is AppleWorks!
AppleWorks was an office suite, installed on all Apple computers of the time, which, in addition to the classic word processor, spreadsheet and Power Point presentation, also offered a vector drawing tool and a bitmap drawing tool. It was my first experience in digital drawing and photo manipulation and with a bit of inventiveness, I was able to get some amazing things out of it.
Behind its apparent simplicity, this little soft hides an unsuspected power.
Let's go for a little trip back in time!
- Small overview
- The painting module
- Gallery of illustrations
- Install AppleWorks (Yes! It still works! )
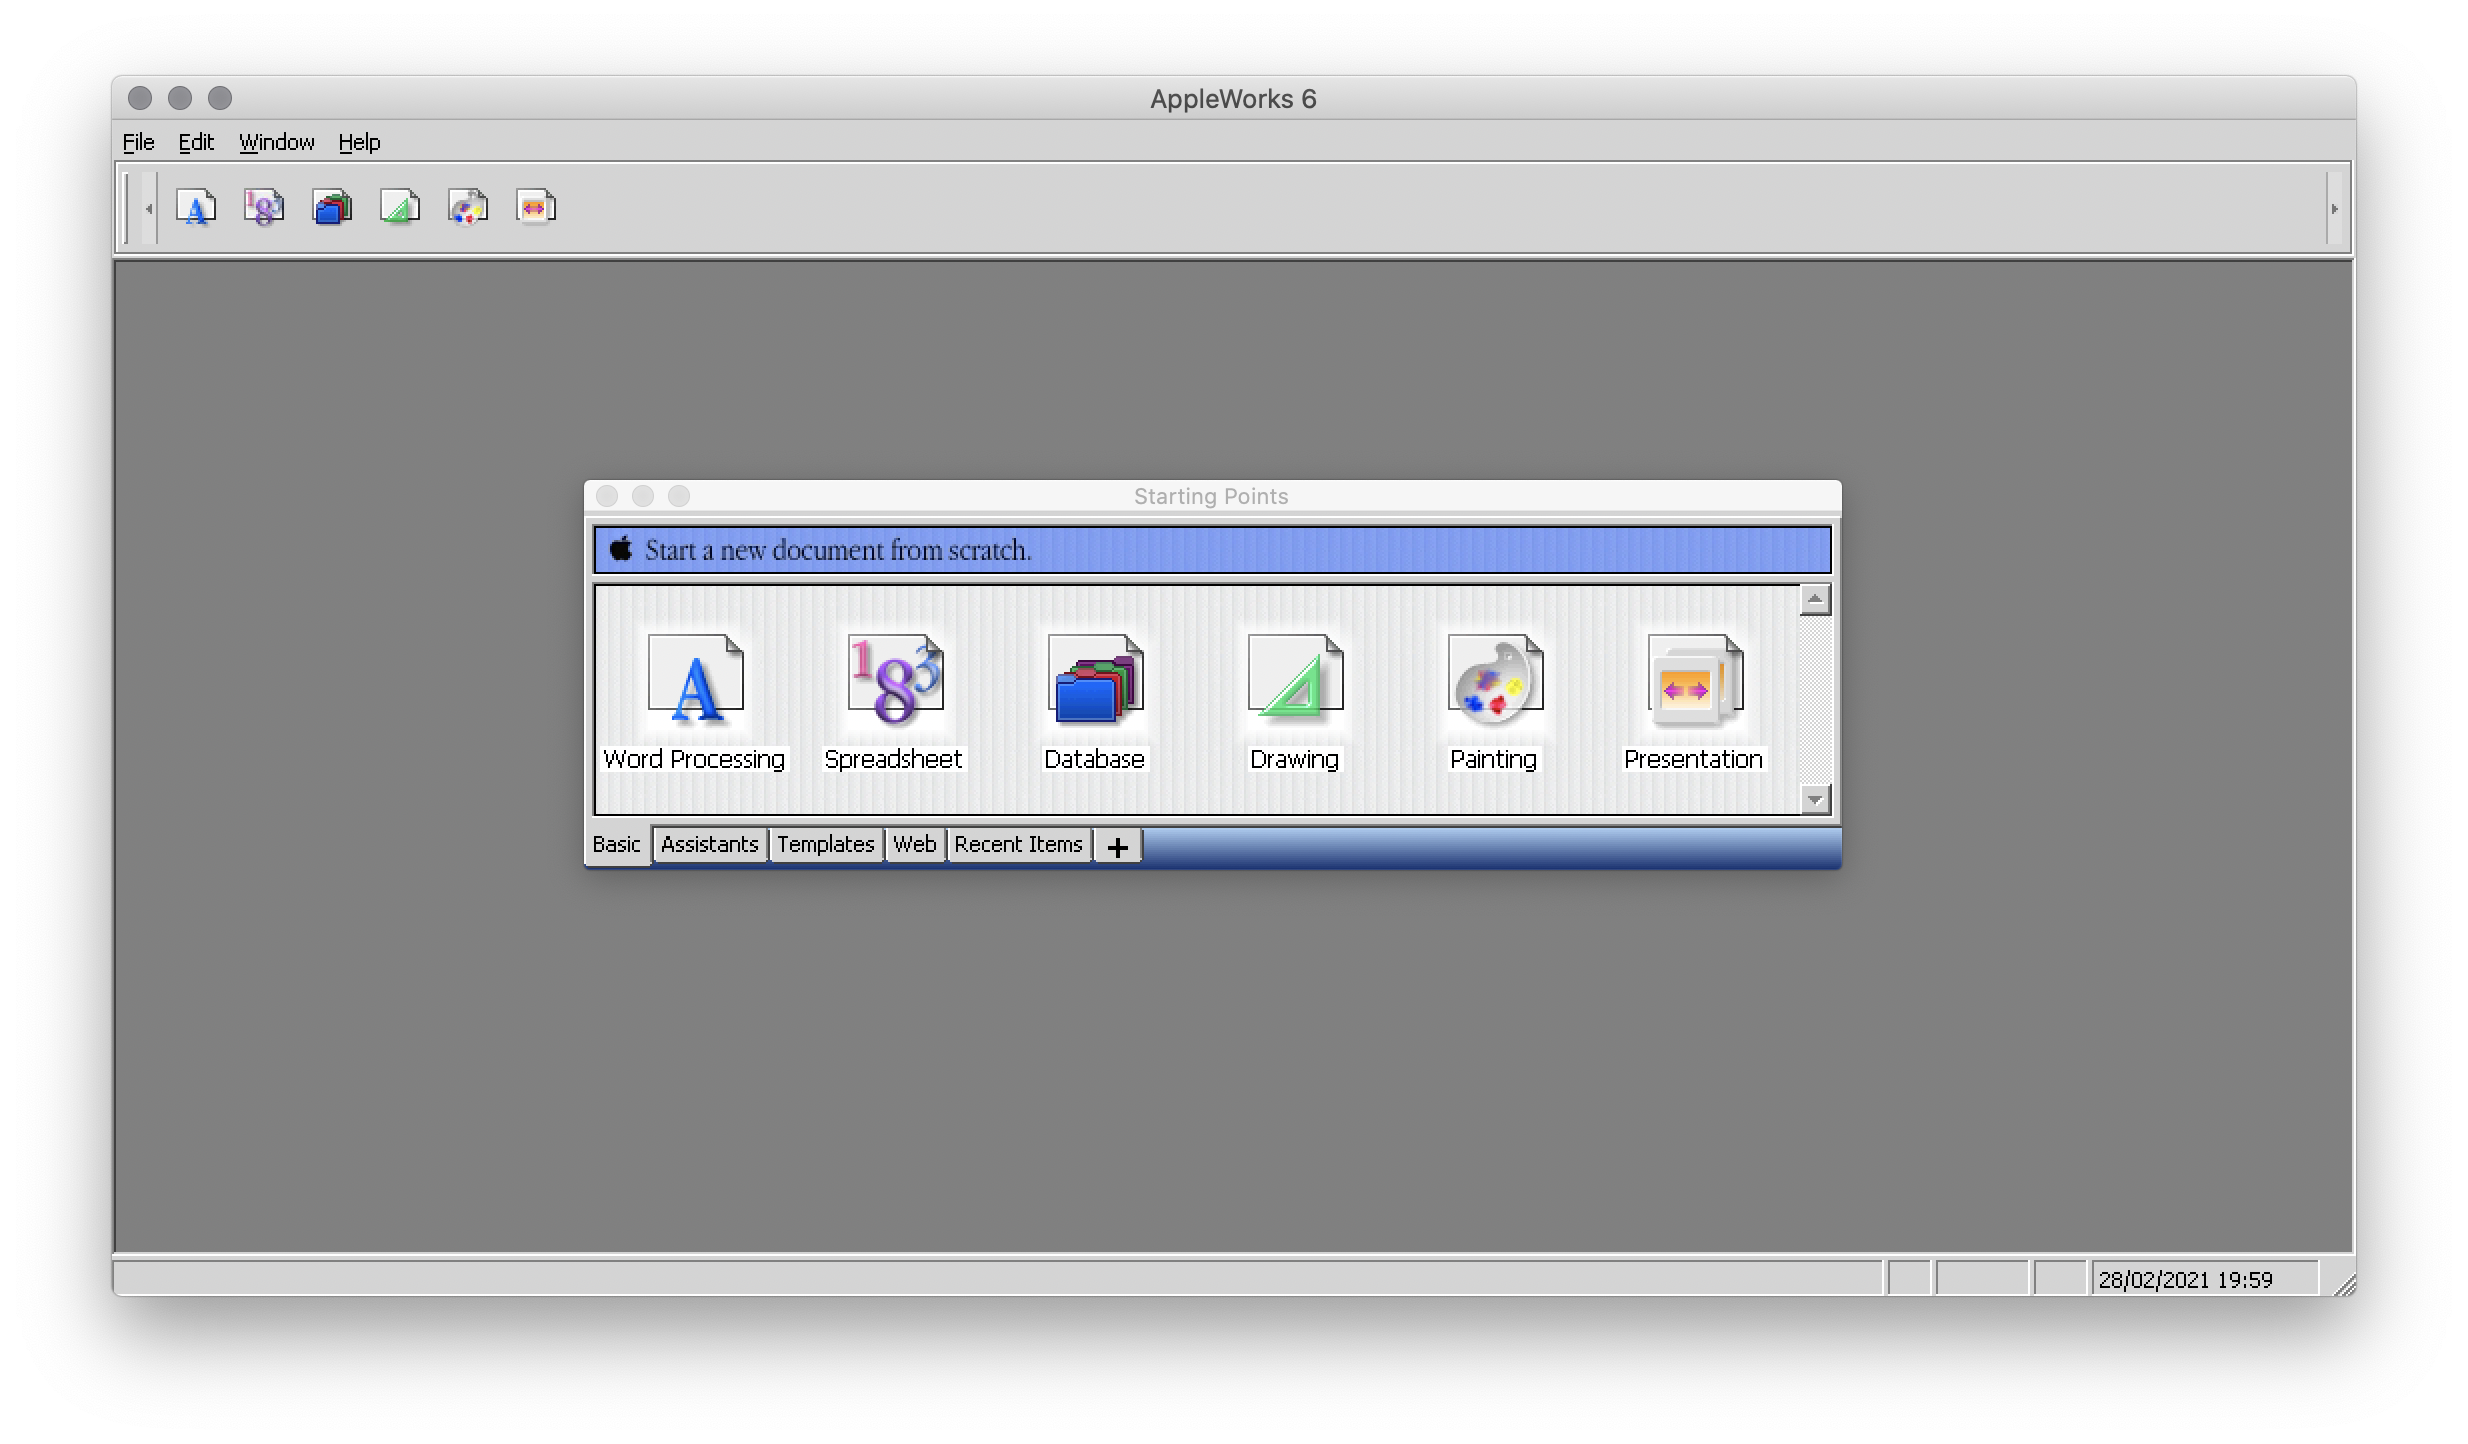
Small overview
AppleWorks is 6 softwares grouped into one.
When you launch it, it offers you the possibility to create 6 types of documents: word processor, spreadsheet, database, presentation, bitmap drawing, vector drawing.
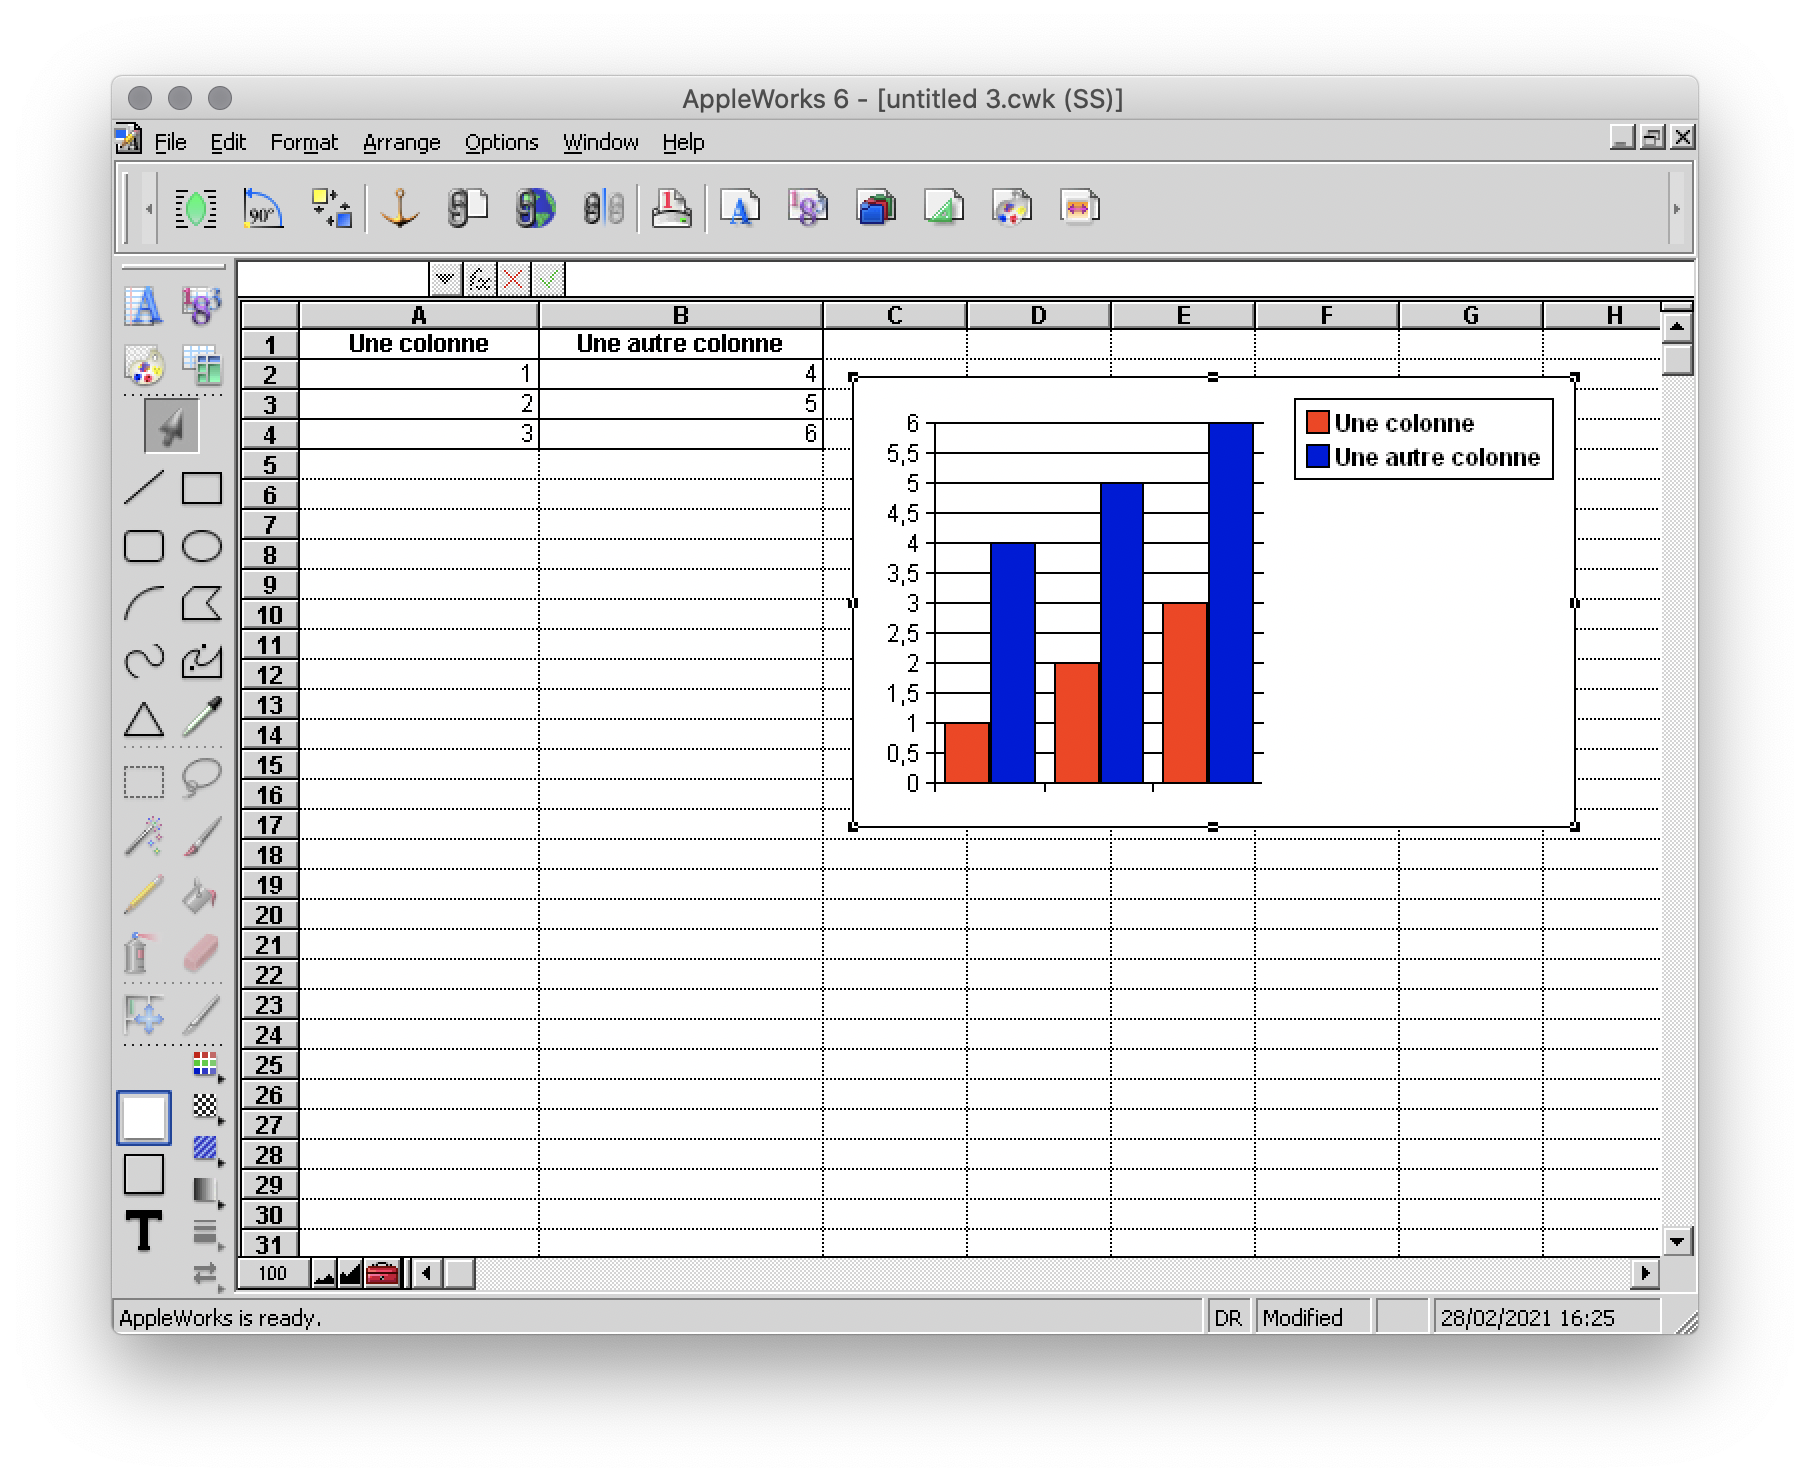
I quickly talk about Spreadsheet, Database and Presentation because I never used these modules.
Anyway, know that with Spreadsheet you could make like with Excel, with Database, create databases and with Presentation, make like with Power Point.
(You can click on the images to enlarge them to full size.)


And here are, then, the 3 modules that I really used!
The word processor
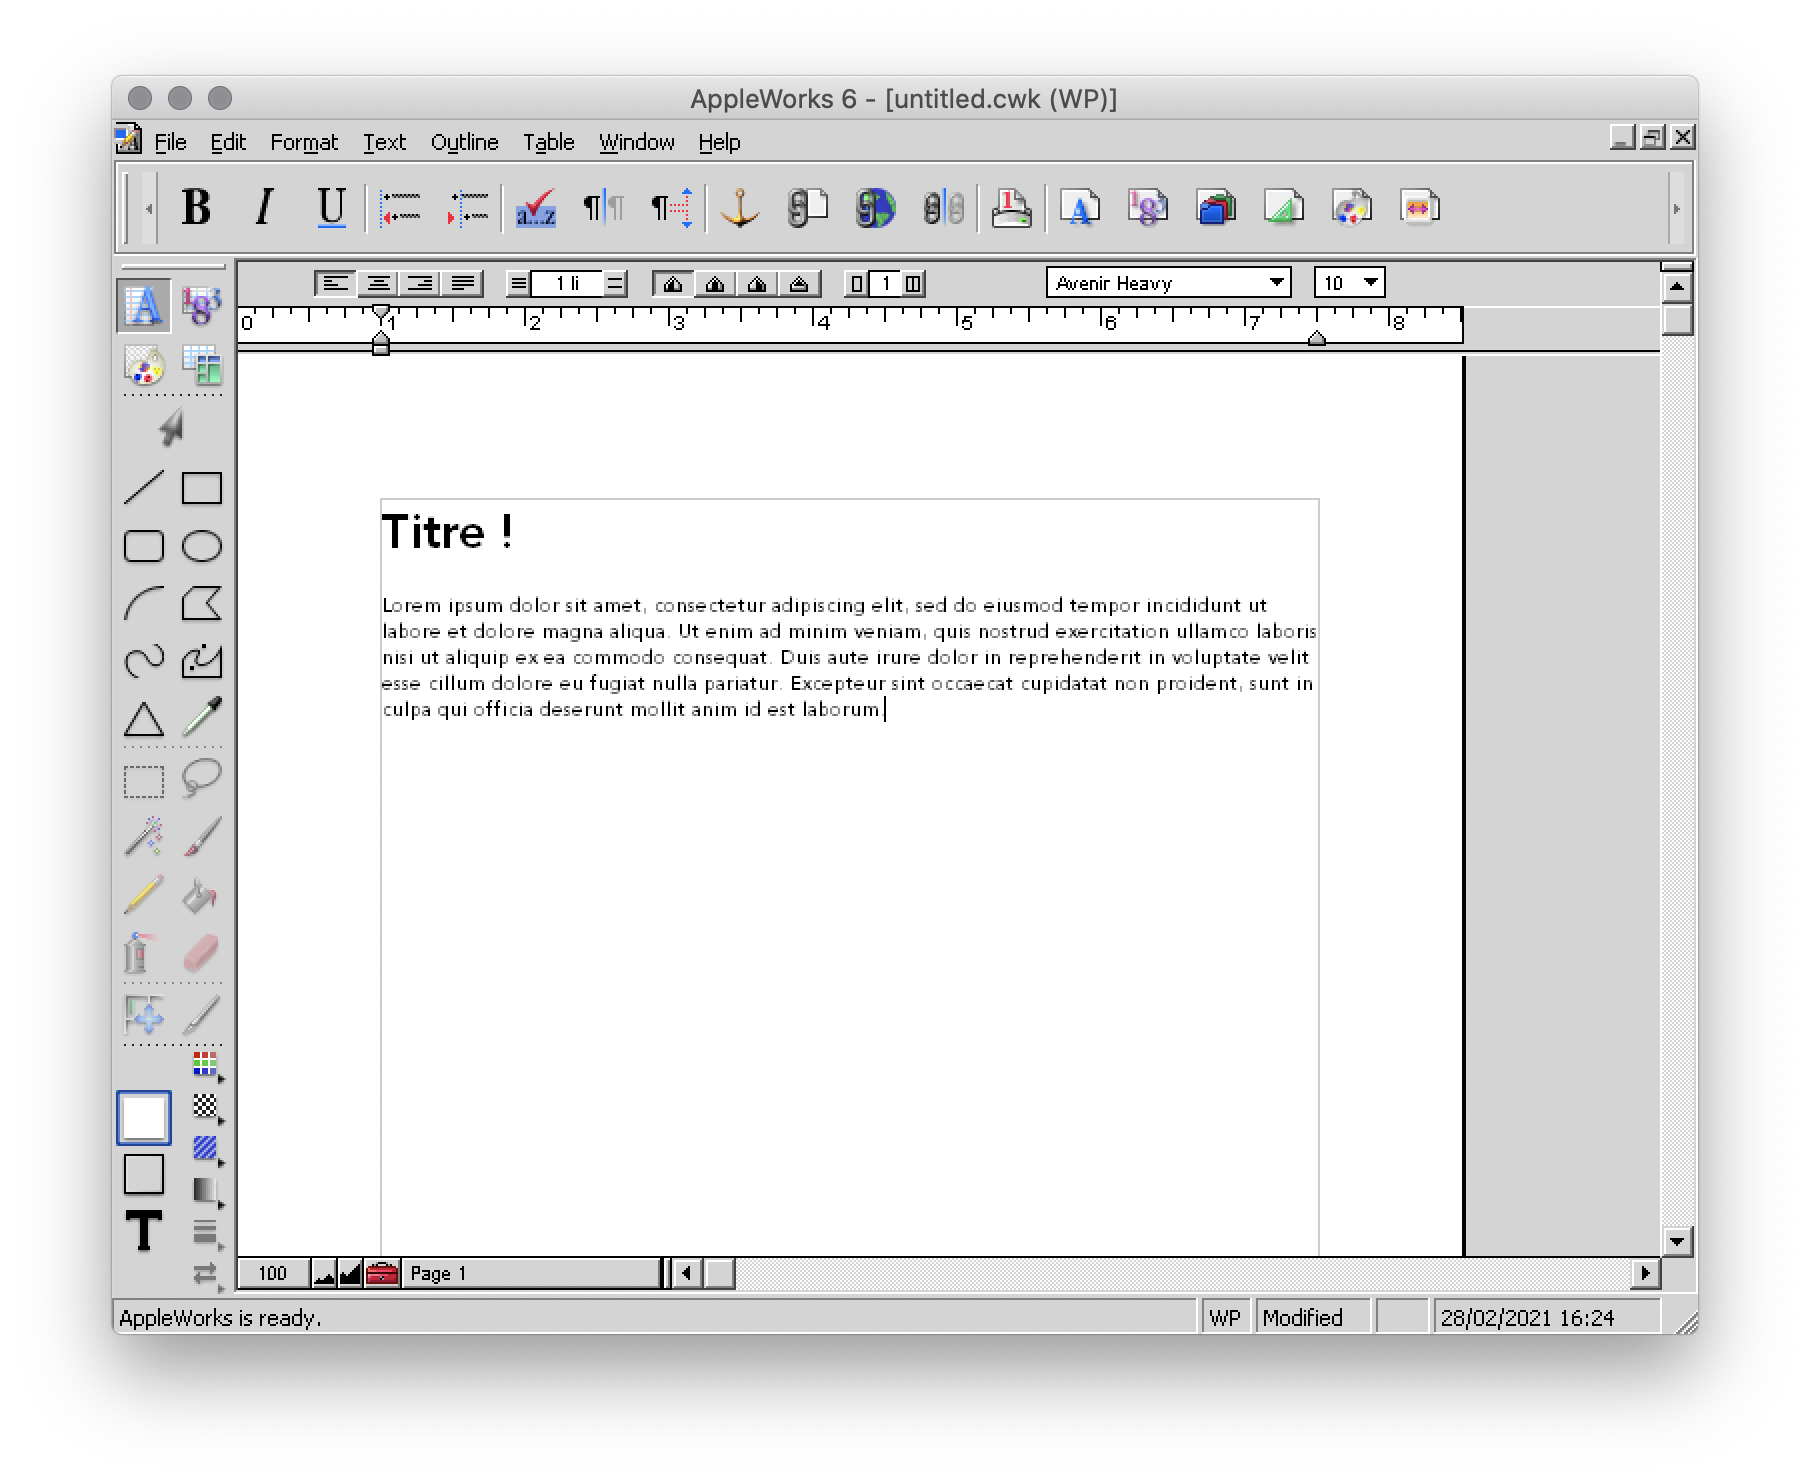
I wrote all my comics scripts, presentations and internship reports there when I was at school, until my dad bought Microsoft Office. Hard to compete with the Word arts. 8D
Except that Microsoft Office did not offer vector drawing software, nor bitmap drawing software. So it was not about to dethrone AppleWorks.
The vector drawing module
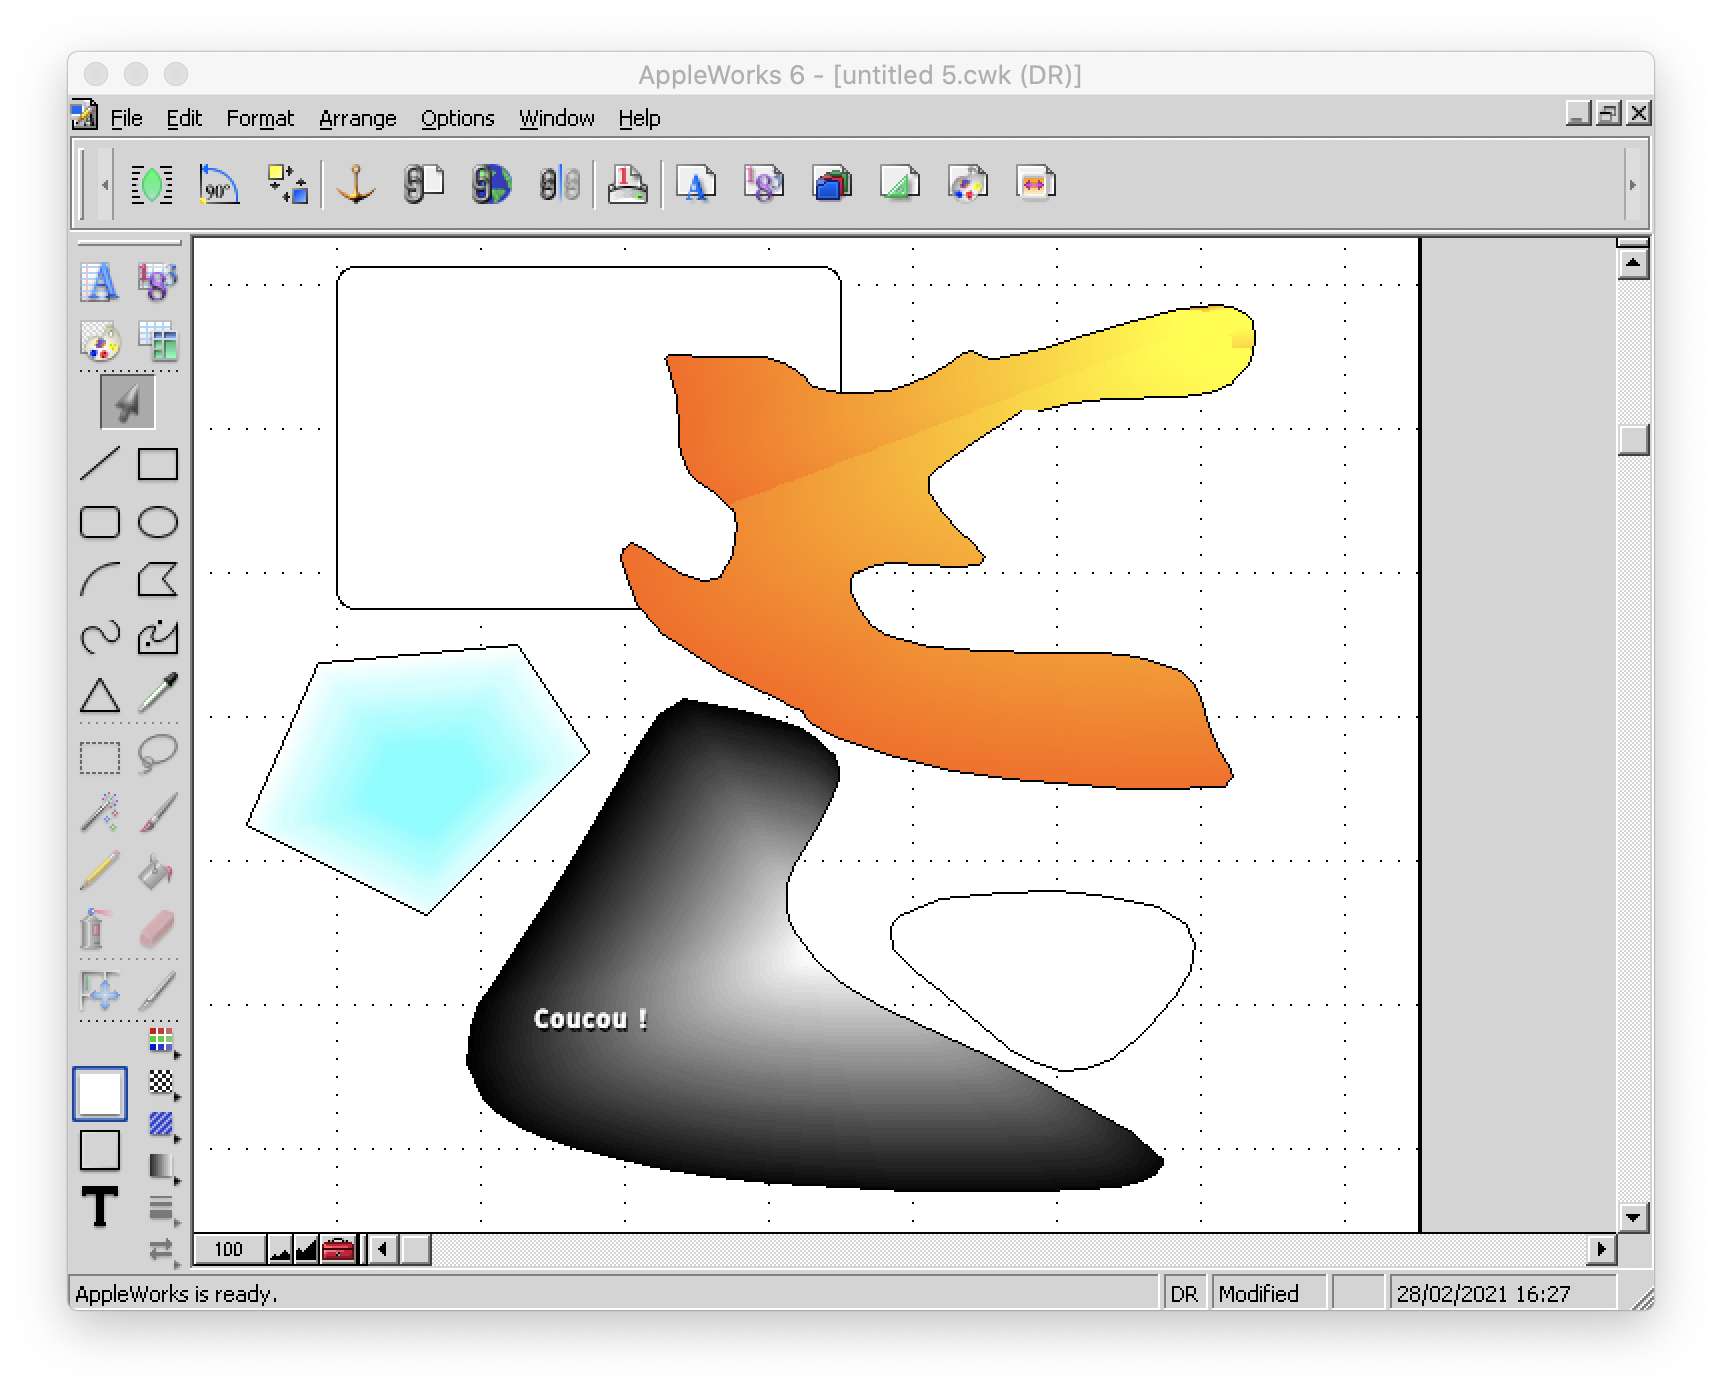
This module helped me a lot to make diagrams to integrate in the word processor, draw dungeon plans for our Donjons and Dragons sessions, make some logos or paste editable text on images like my comics pages.
I particularly liked its ability to generate gradients that roughly matched the shape in which they were applied, and there are recent vector drawing technologies that still can't do that and that's a little bit annoying to me.
And finally, here is the module where I really spent the most time!
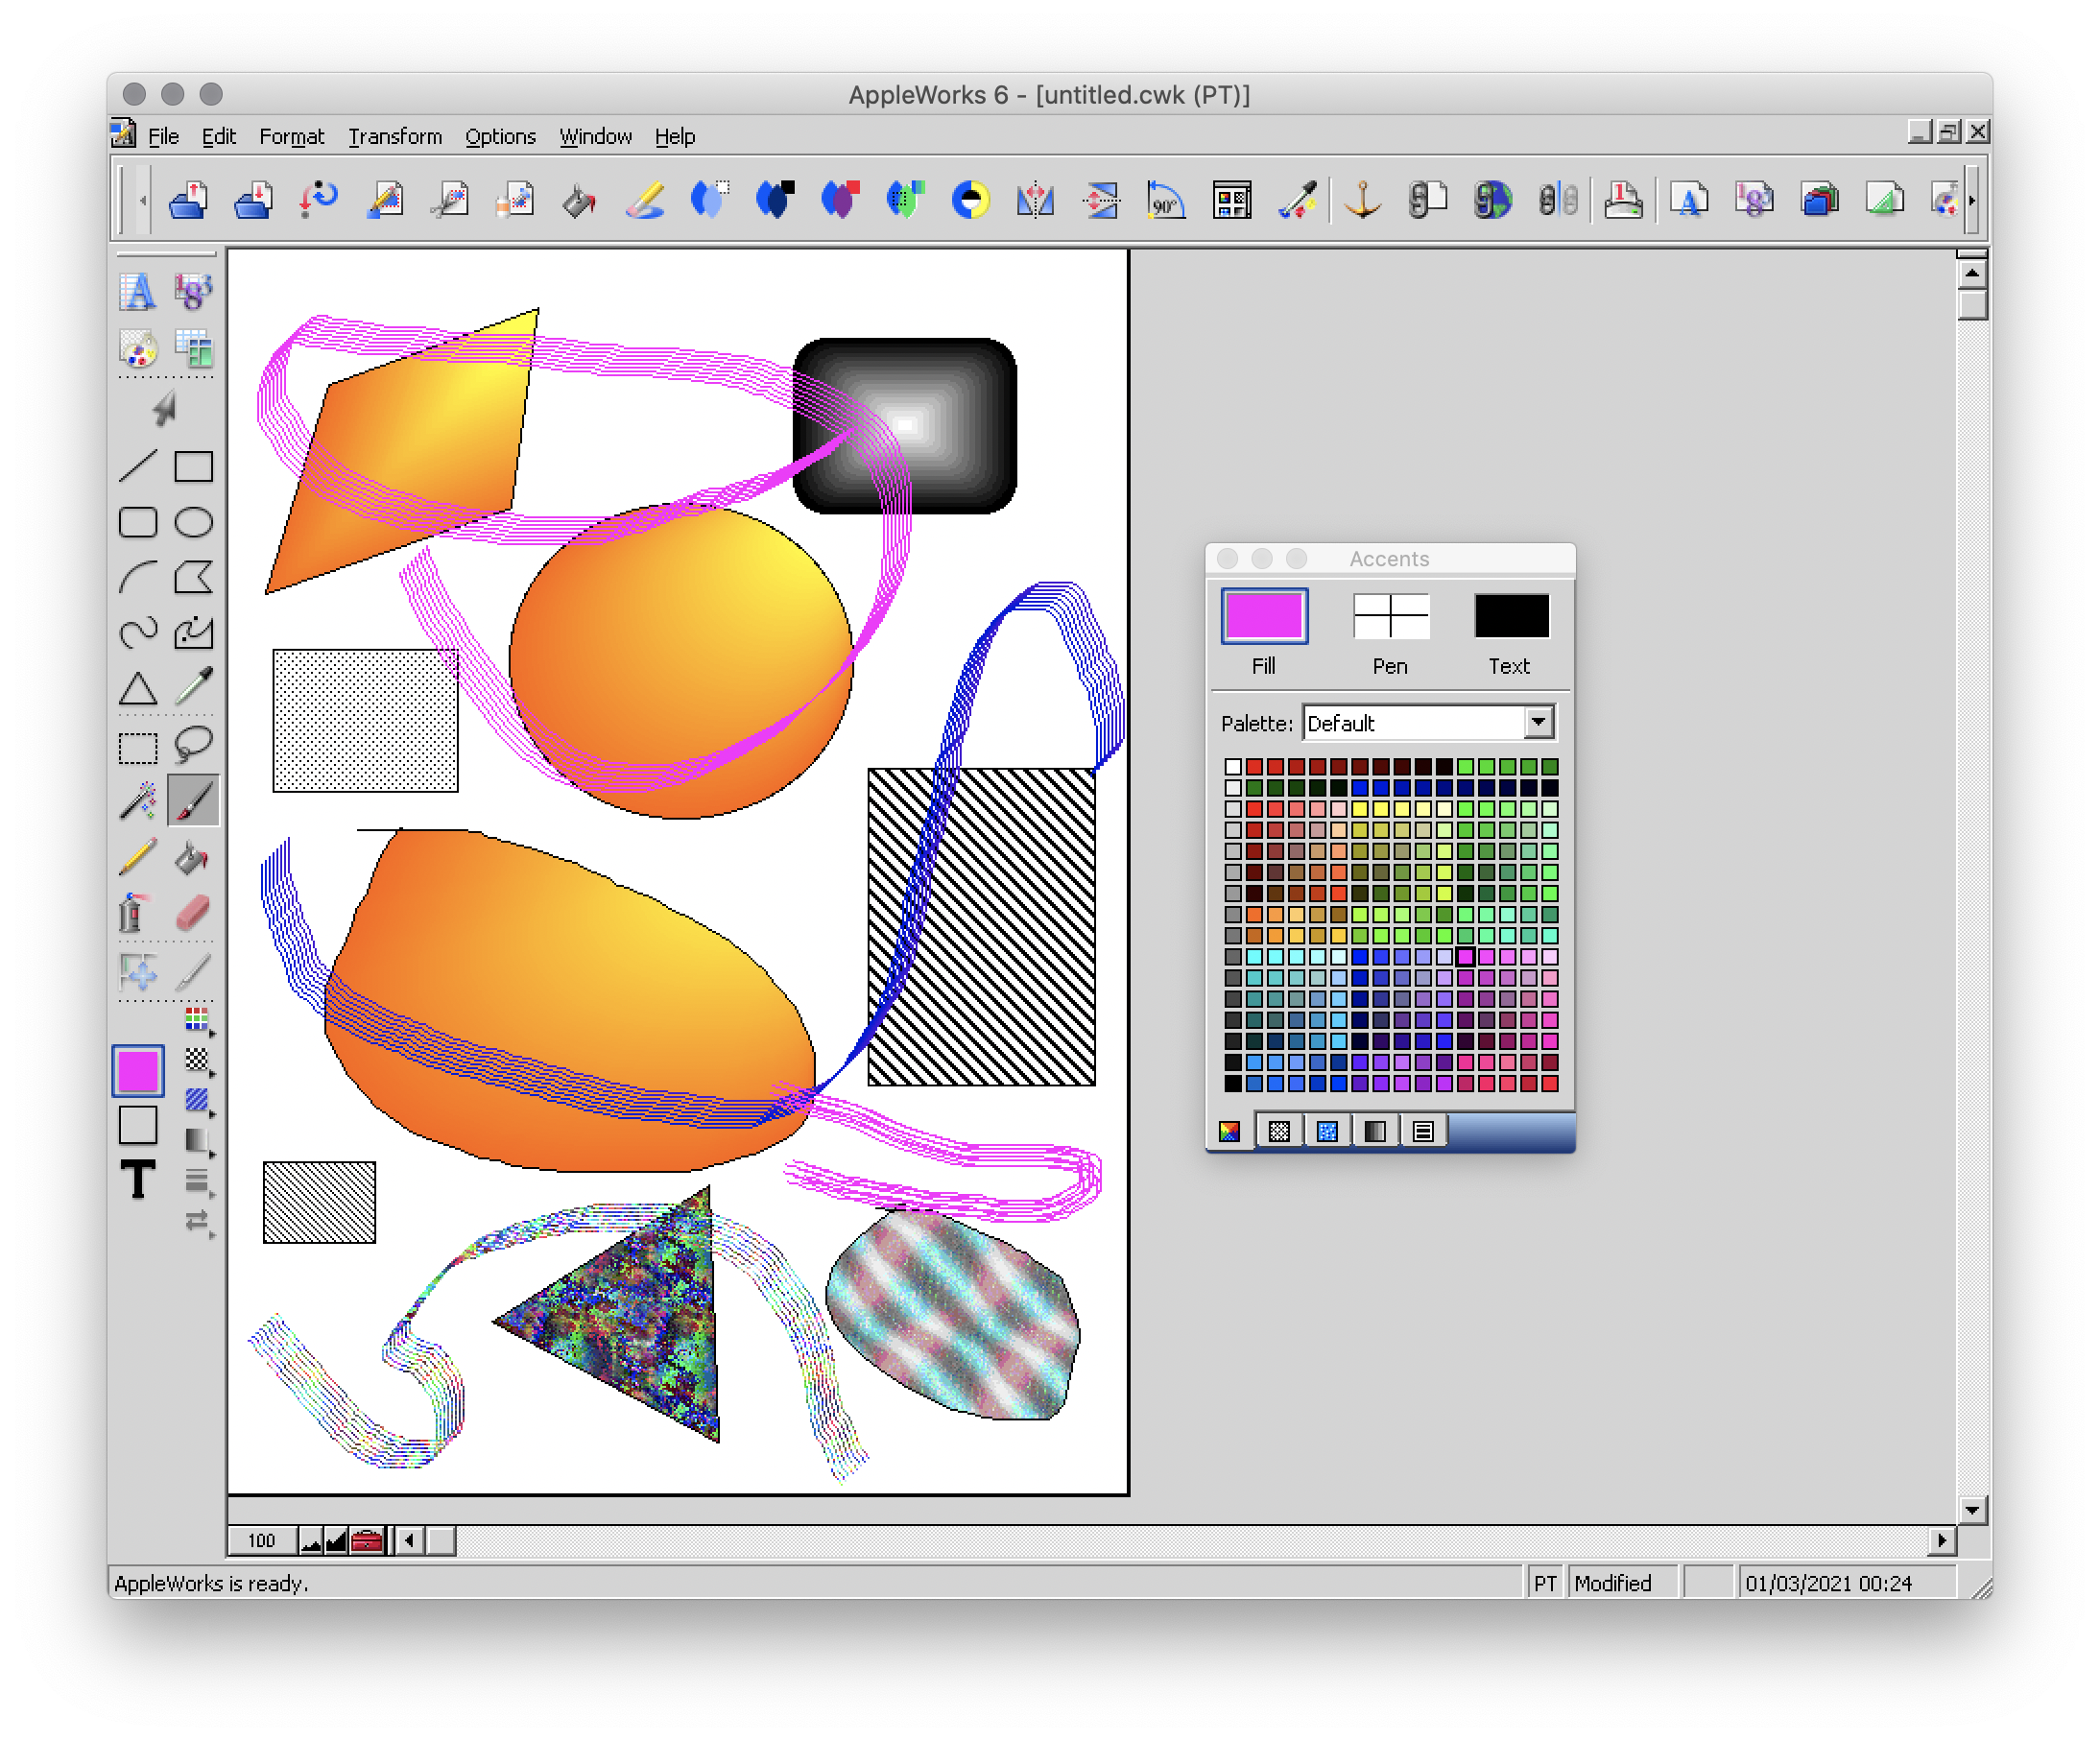
The bitmap drawing module
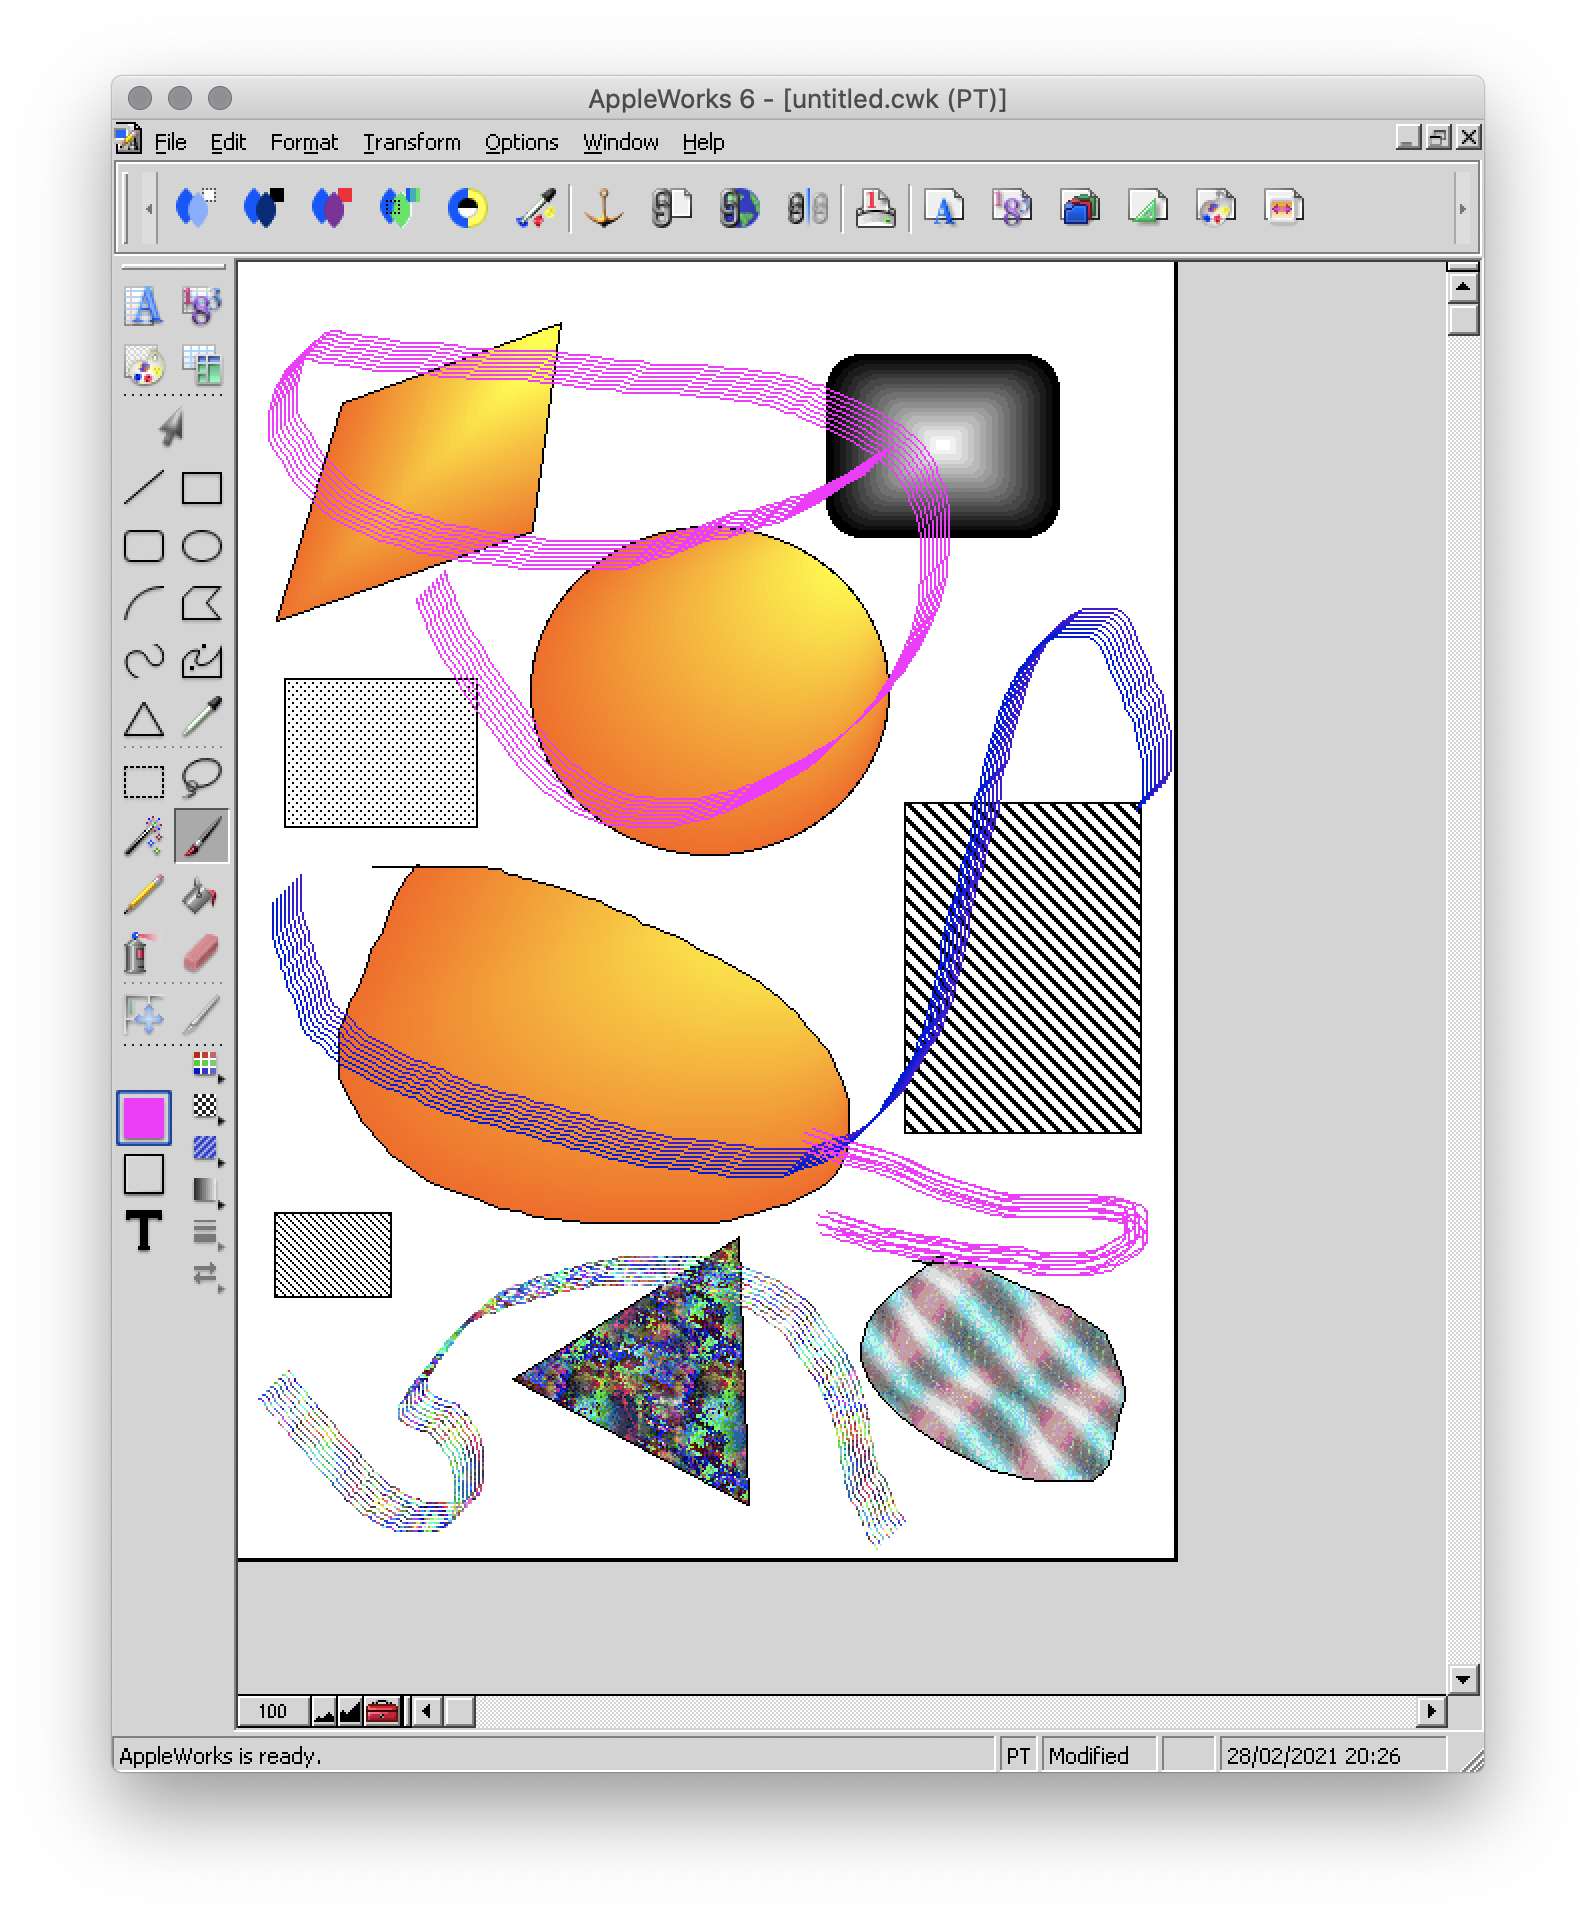
Well...
Some geometrical shapes, a pencil, a brush, a filling tool, an eraser...
So far it doesn't look much different from Paint.
Wait until you see what it is capable of. :p
The painting module (bitmap drawing)
To begin, AppleWorks 6 is not the first version of AppleWorks that I worked with and already at that time, I had my little habits and what a disappointment for me when I didn't find my favorite features !!
Looking for a little bit it turned out that they were just a little hidden and just needed to be tidied up a bit.
Because yes! This small software already had a customizable interface by drag and drop as on a modern Photoshop!

Now all is clear, we can get to the heart of the matter: drawing! :p
I've already mentioned the toolbar on the side earlyer, which is already familiar to you if you've ever used Paint.
Now, let's move on to the area just below: the palettes.
AppleWorks offers a limited palette of colors.
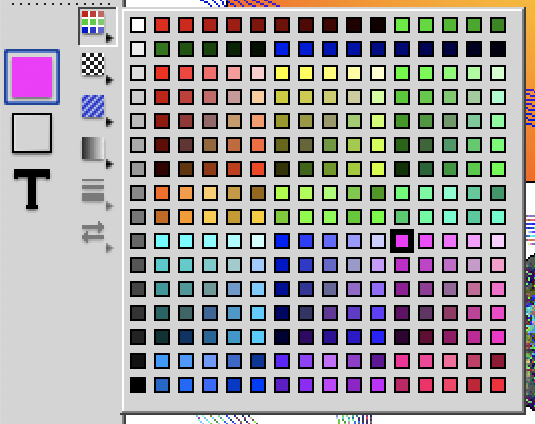
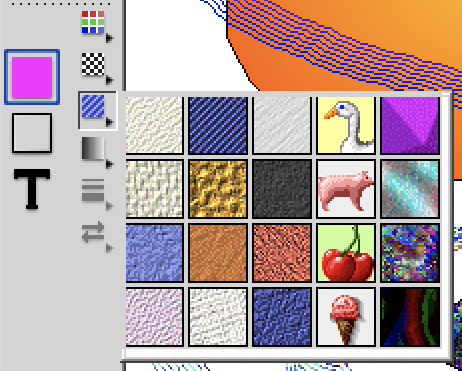
You can combine the selected color with a pattern to apply. Some of them look like manga screentones.

Some fun colorful patterns are also available.
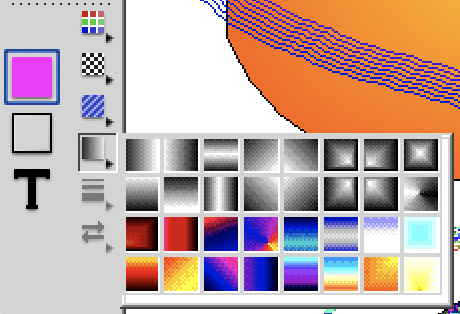
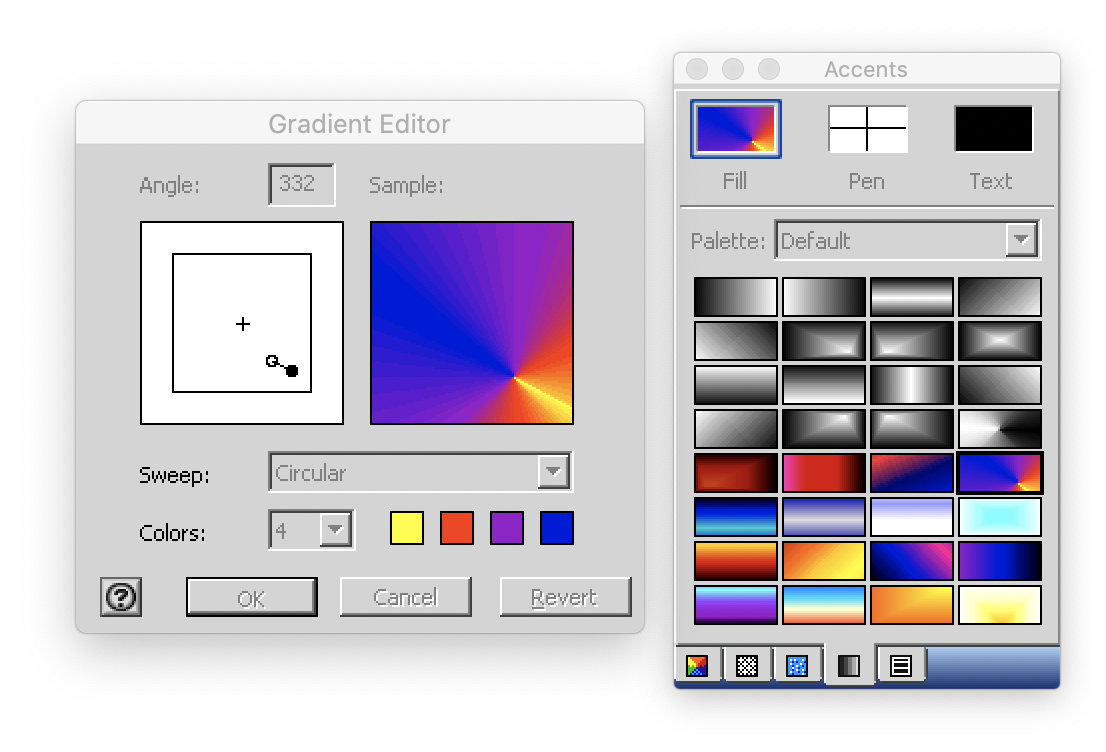
And finally a small palette of gradients is also available.
Well... A few funny patterns, some gradients. It's enough to have fun for 5 minutes, but nothing special. We will going not very far.
That's where the real work begins. :p
Do you remember? A few moments ago I added buttons in the horizontal bar at the top, including this one.

And this is what it opens!
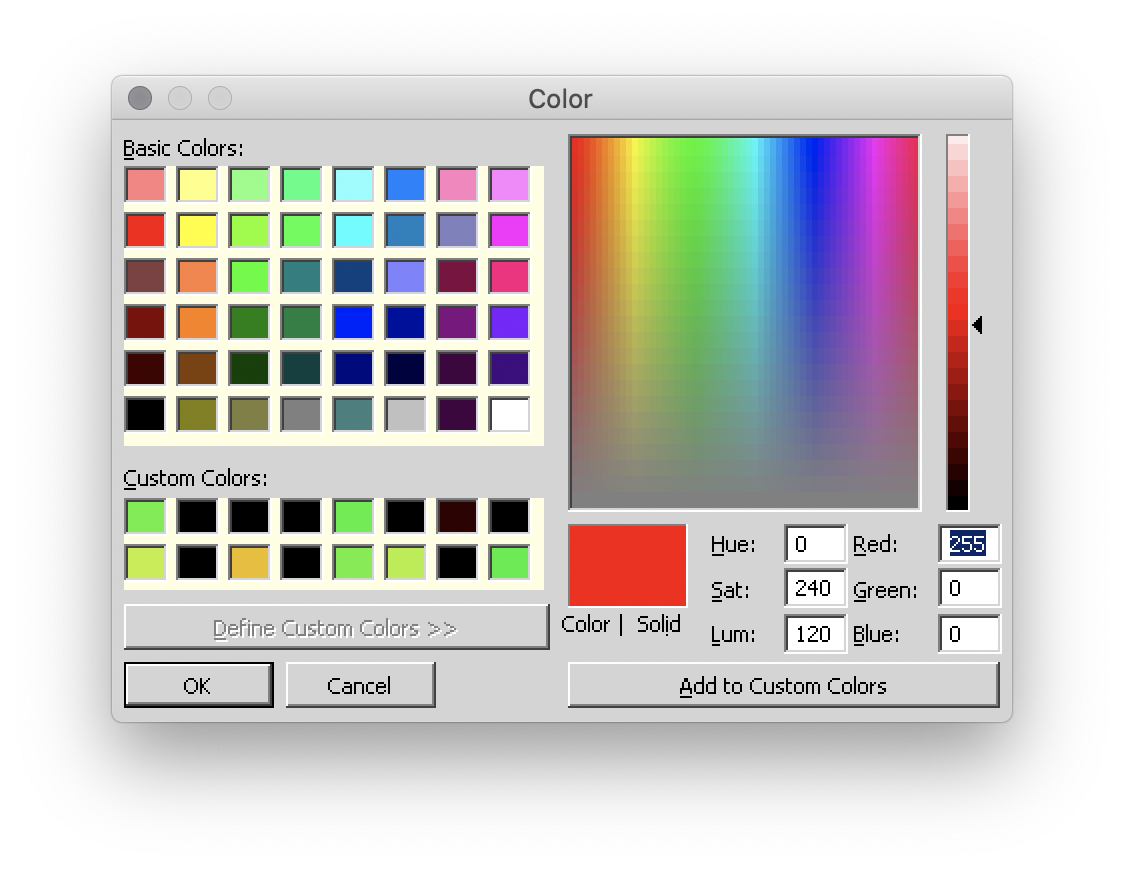
A customization window! :D
Not enough colors in the default palette?
Never mind! You can create as many color palettes as you want.
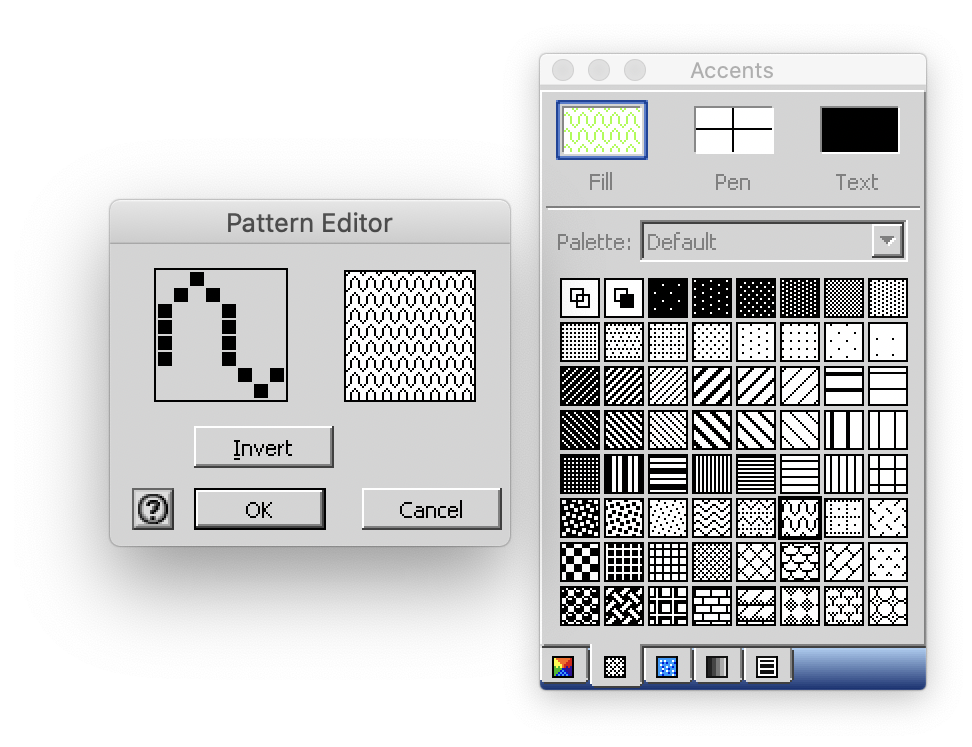
Not enough patterns either in black and white or in color?
You can create as many pattern palettes as you want!
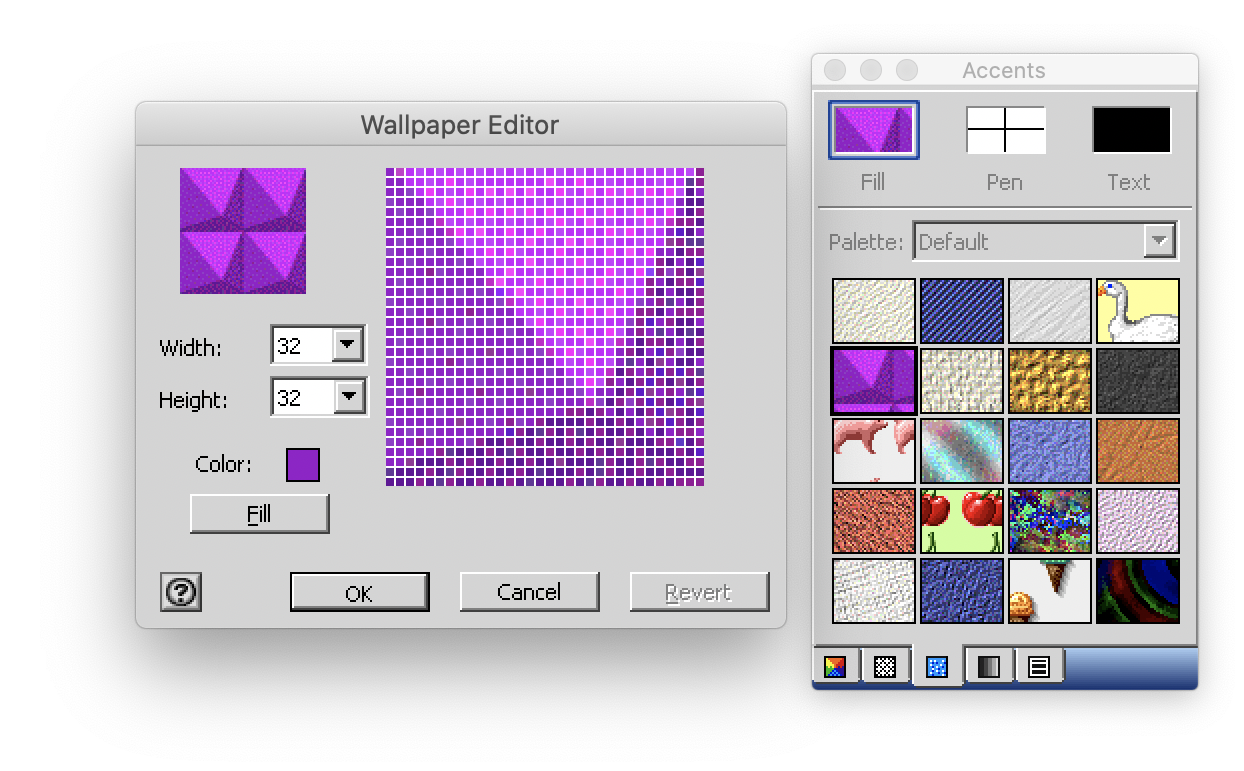
The default gradients palettes is too poor?
No problem! You can create as many gradient palettes as you want!
And for the moment, I spent a lot, a lot, a lot of time on this section!
You can make circular gradients.
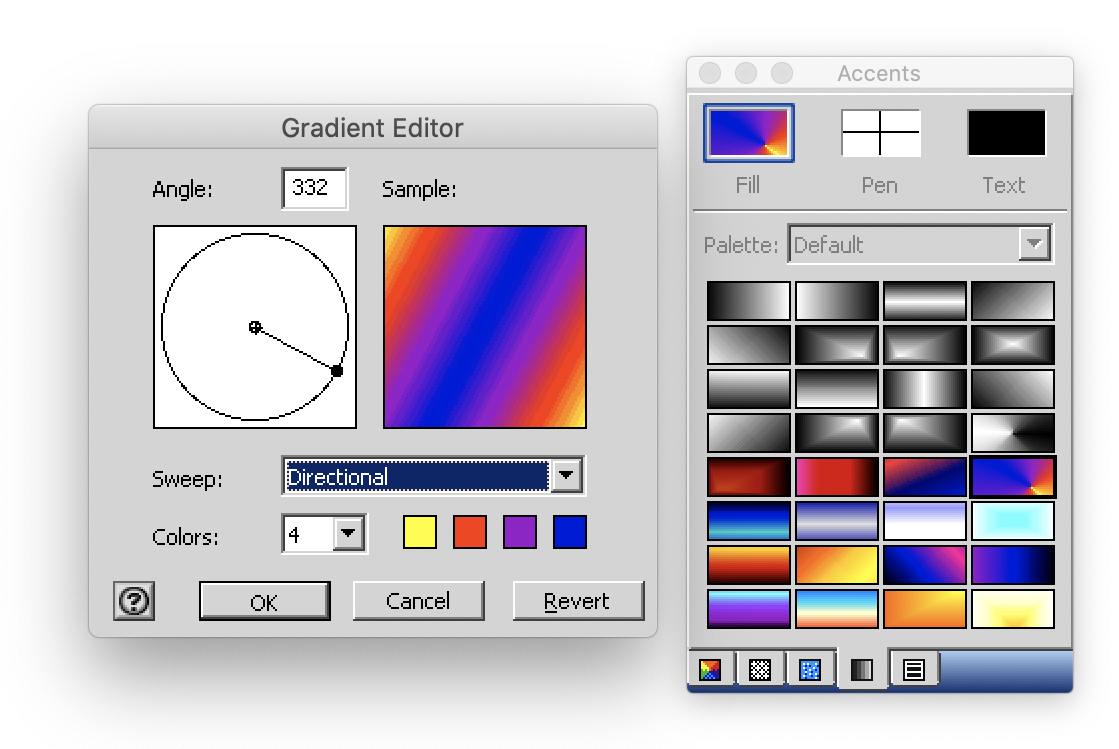
Linear gradients.
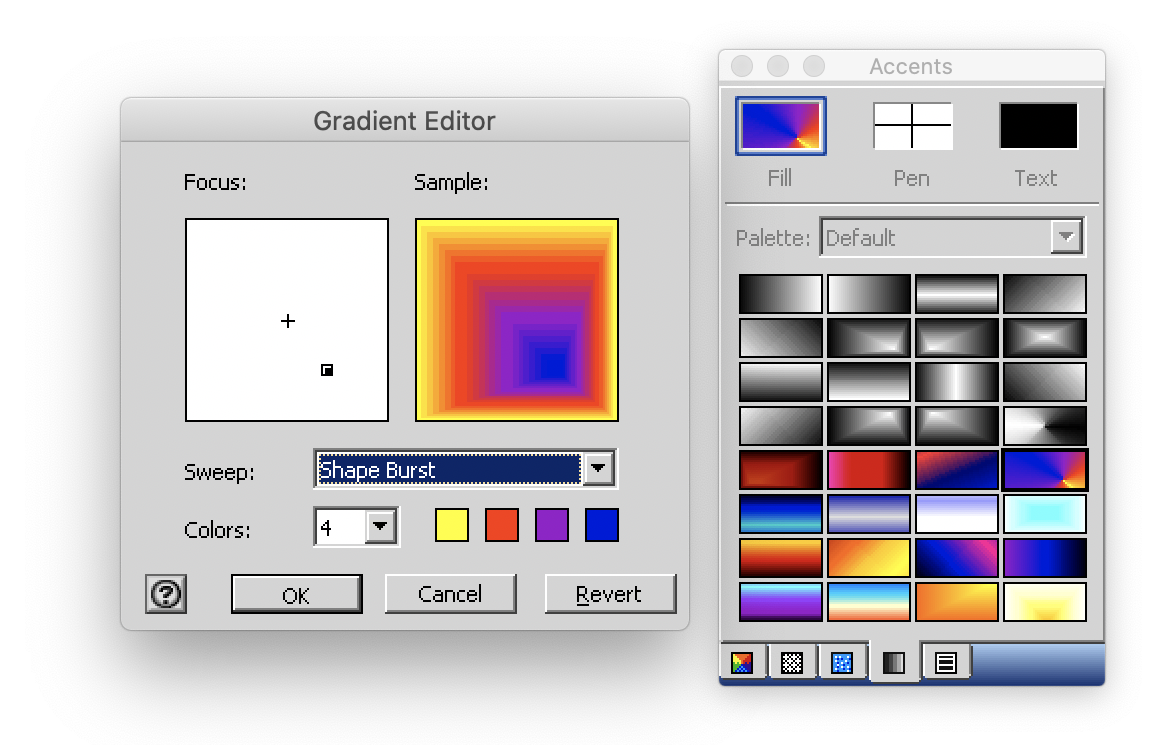
And gradients that fit the shape in which you apply them. Well, it's far from perfect with concave shapes, but it already allows for interesting things.
And to give the coup de grace to Paint, with AppleWorks you could even create your own brushes! :p

There are even some effects available such as blurring.
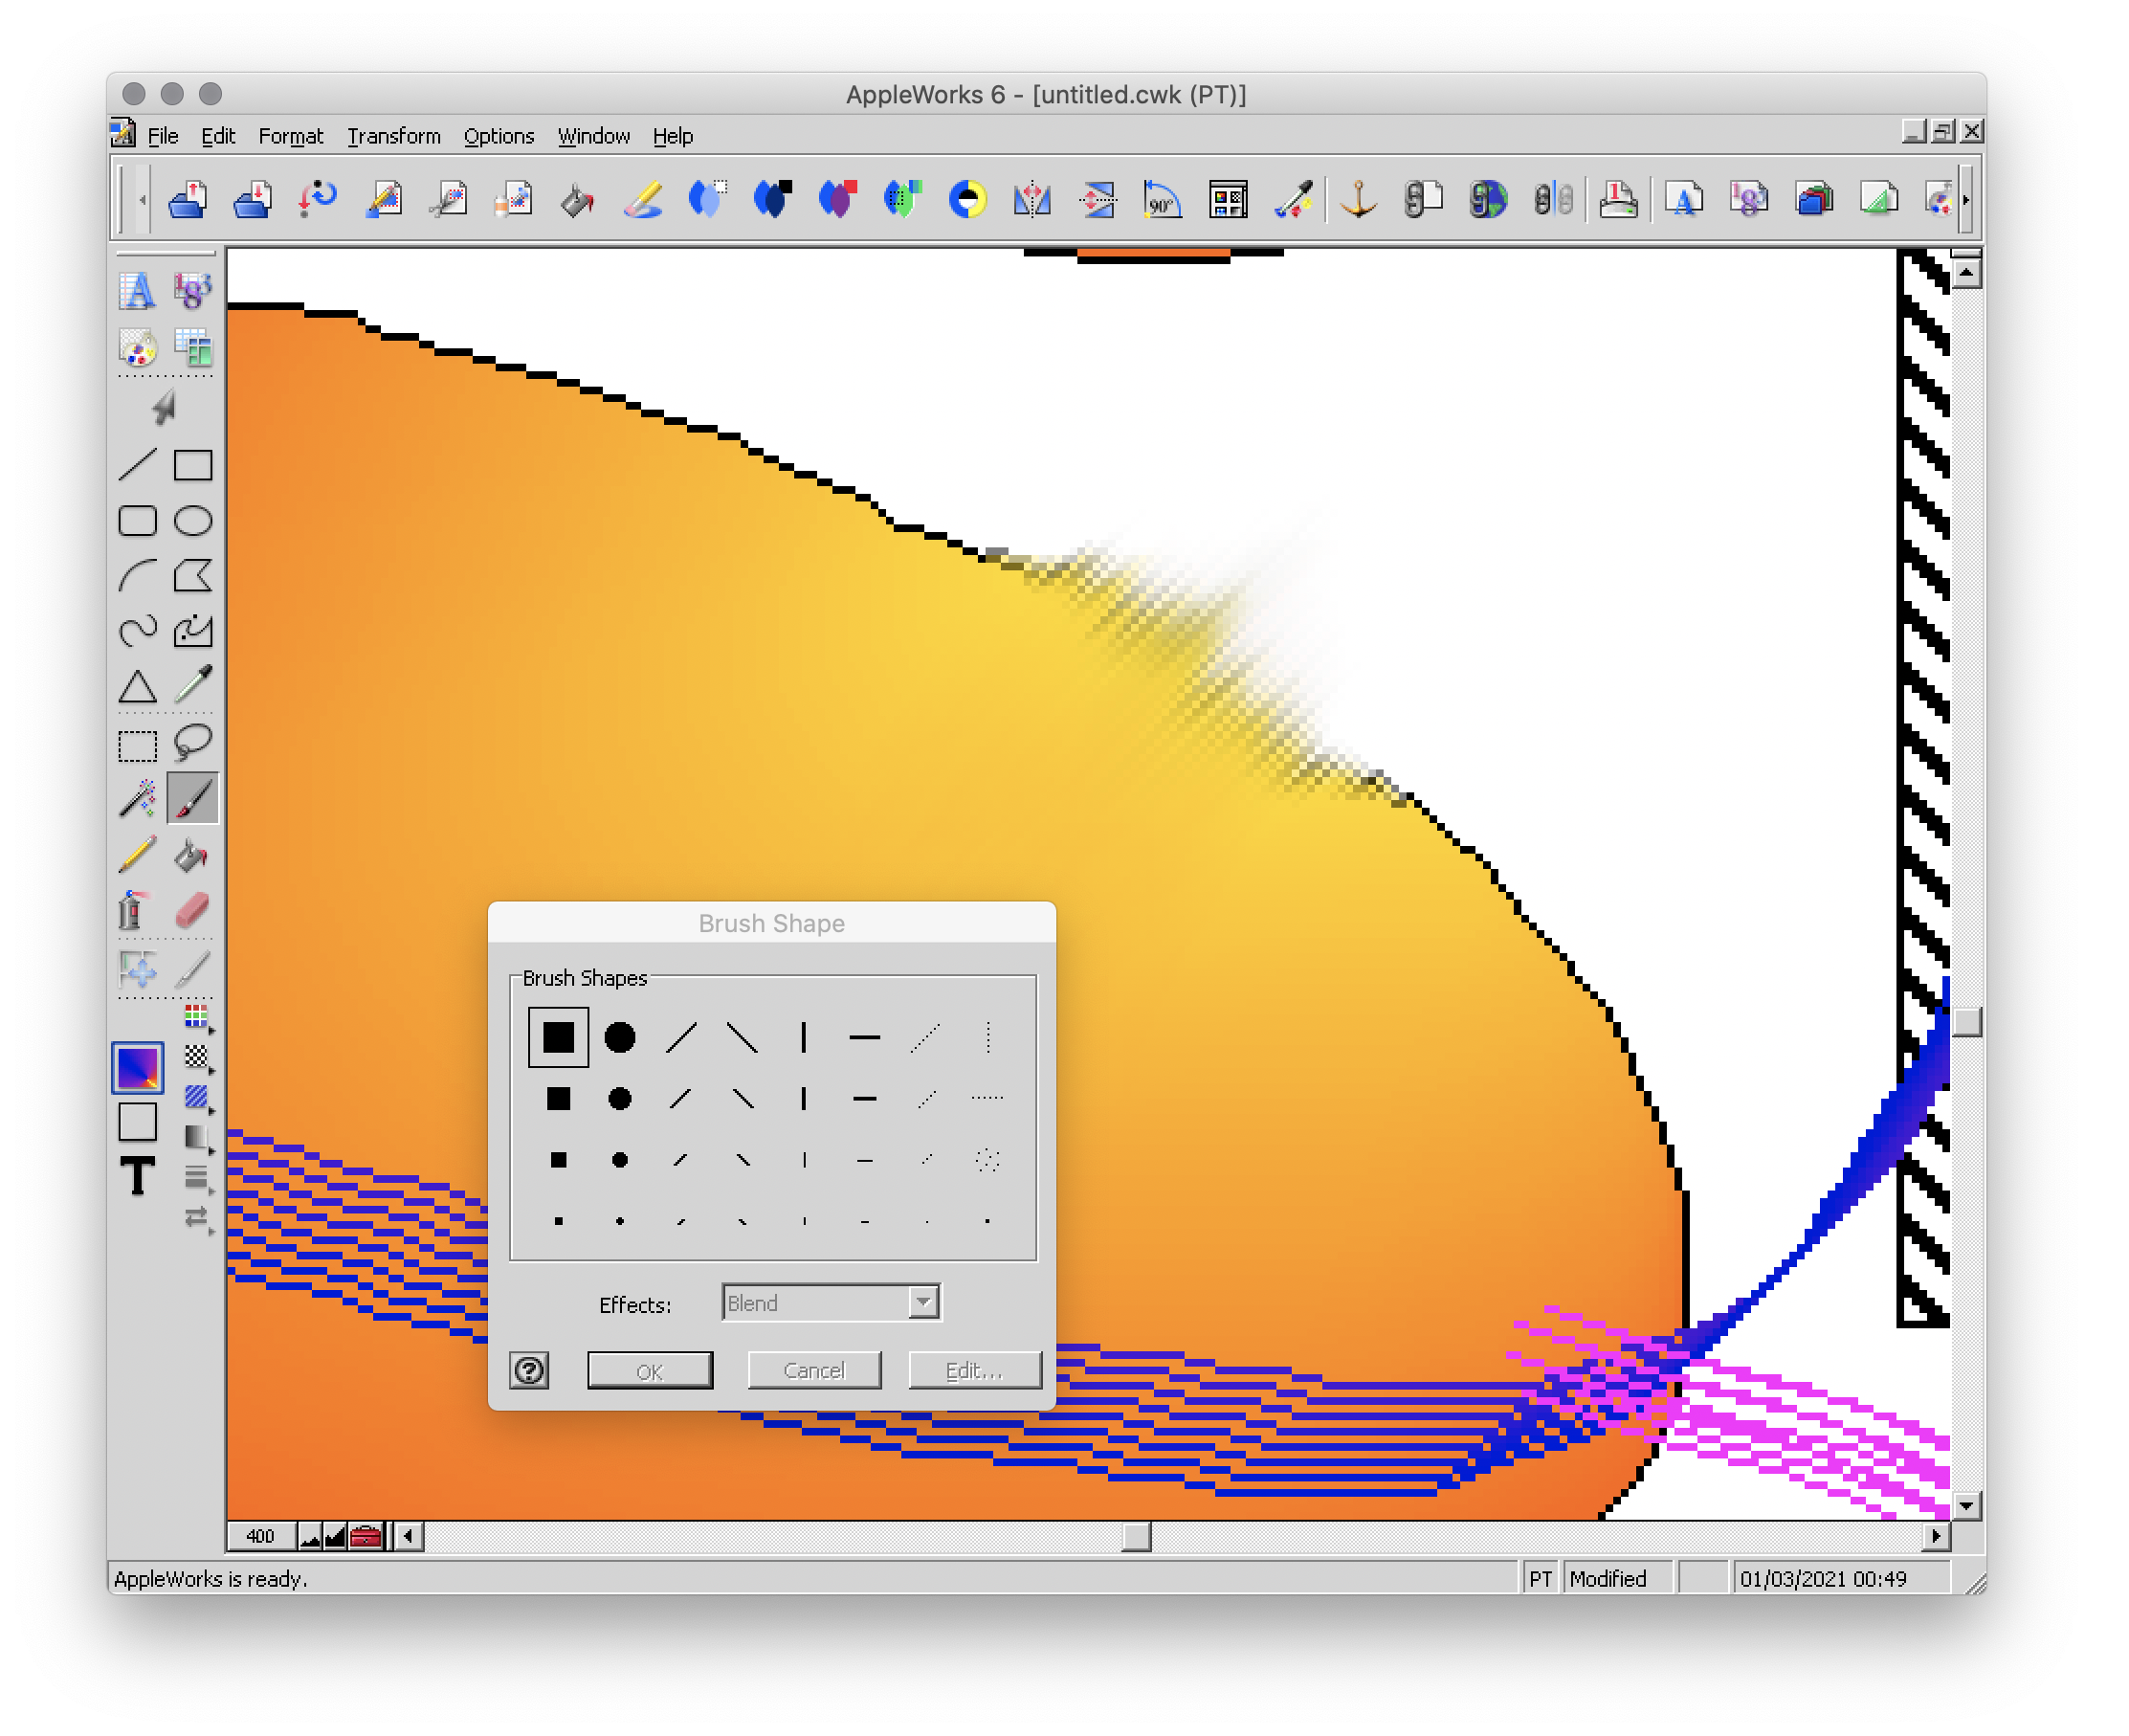
This AppleWorks is a piece of cake in the belly! :D
Now that we know about its possibilities, I propose to show you a small gallery of what I was able to do with this software from end of nineties to middle of 2000s. :D
Gallery of illustrations
Let's start with the very first drawing I made with AppleWorks in 1998.
We didn't have a scanner at the time, so I had to do it entirely with the mouse.
It was also a time when I didn't have much notion of saving the original files and I considered that as soon as I had printed the drawing, it was no longer worth keeping it on the computer to save space (the hard drive was 4 GB).
So this is a scan of the printed version you see here. x)
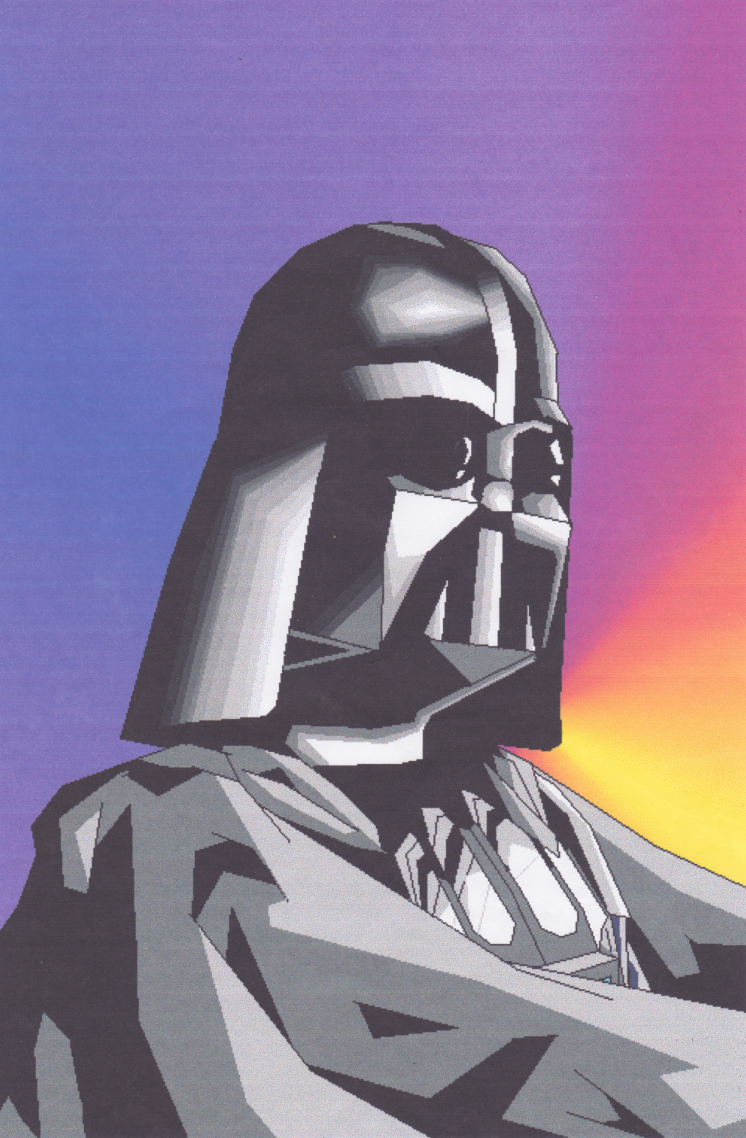
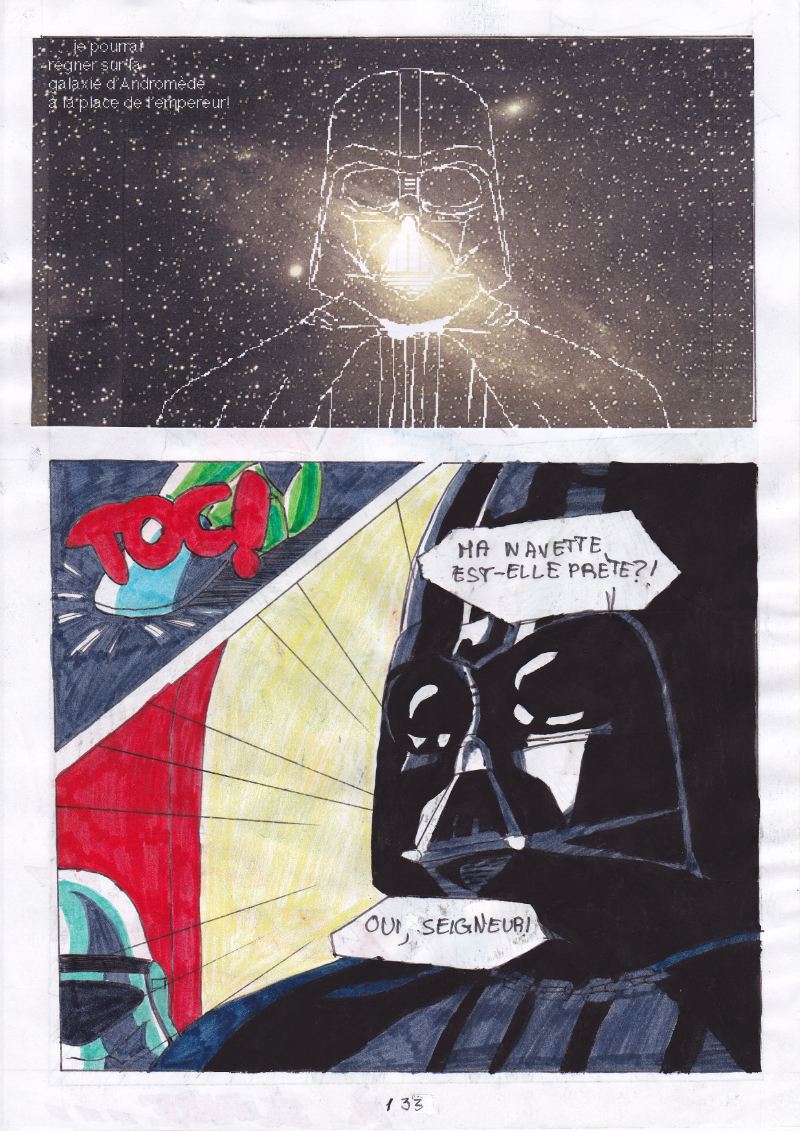
A good old Darth Vader! (1998)
Well, making a drawing from A to Z entirely with the mouse was laborious, so I also used AppleWorks to create backgrounds and print them. Then I would do my drawing by hand and cut it out and paste it onto the printed background.
I was able to make interesting effects by understanding the limitations of the software and exploiting them. By understanding that gradients were composed of a series of solid color bands, I could make focus line effects by filling them with the filling tool with a different patterns or gradients.
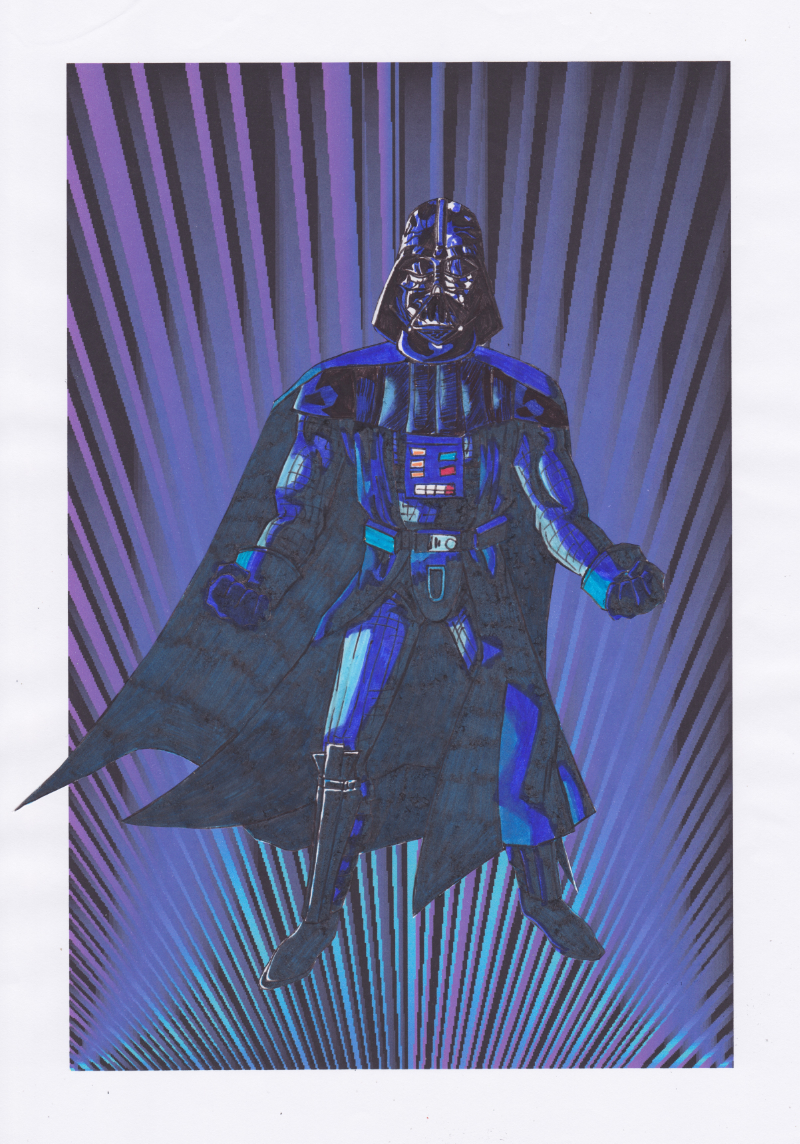
This posing remind some Dragon Ball character (Between 1998 and 2000)
It is also with AppleWorks that I made my first attempts at photo manipulation. I used photos from an encyclopedia we had on CD-ROM and manipulate them by tinkering them and copying and pasting small pieces here and there.
Then I printed my montages and paste them onto the comics pages.
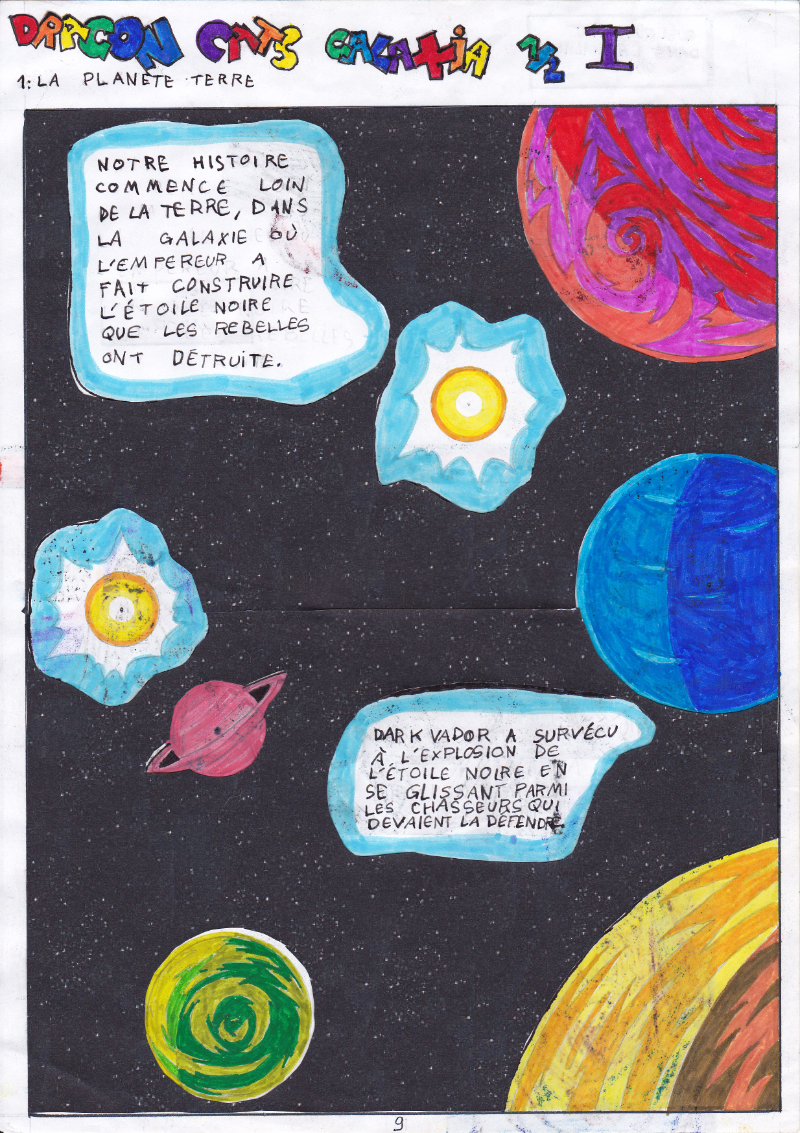
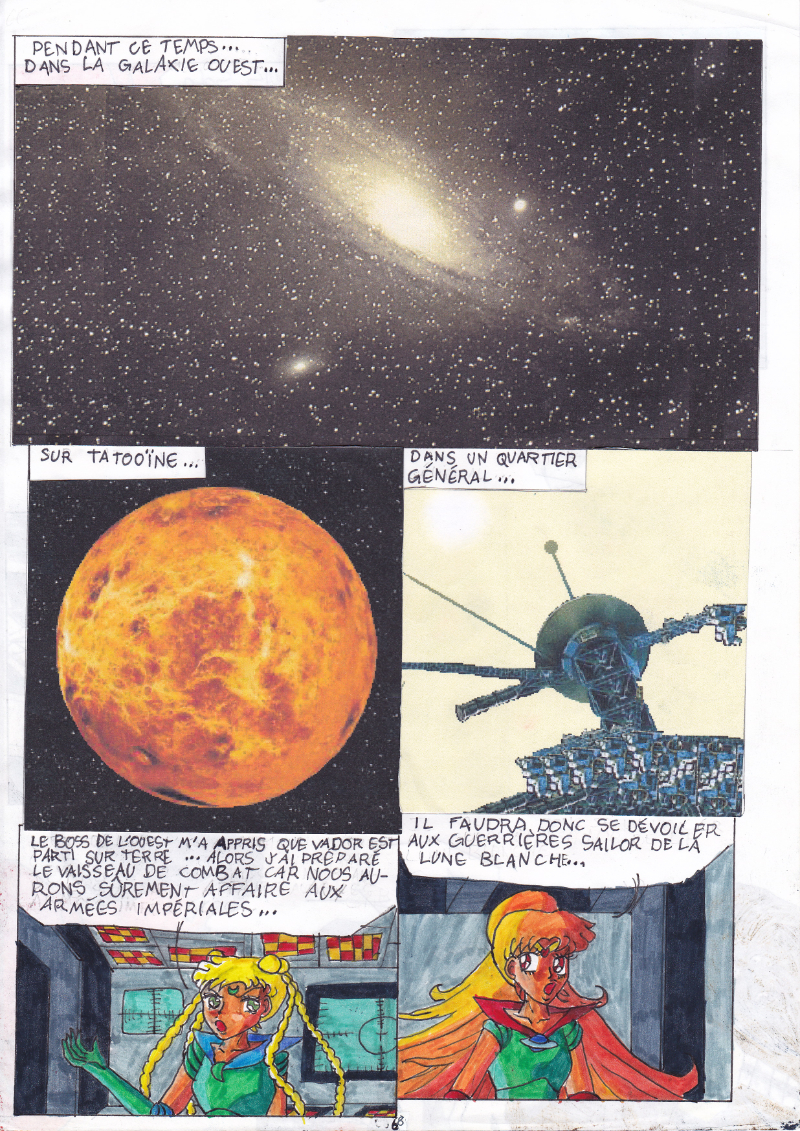
My montages were mainly used for space scenery. (1999 - 2000 in collaboration with my sister)
This software really pushed me to be creative to get what I wanted out of it. I had even managed the tour de force of pasting a white lineart over a photo.
(2000 - 2001)
In the absence of layers, I had to work on 2 files in parallel and with the lasso select tool.
And then one day, our first scanner finally arrived home!
There the serious things could begin!
I was able to stop trying to make drawings with the mouse and use AppleWorks to put in color drawings made with the traditional way.
So I was able to go further from the end of nineties.
It obviously started with Saint Seiya. x)
(You can always click on the images to enlarge them to full size.)
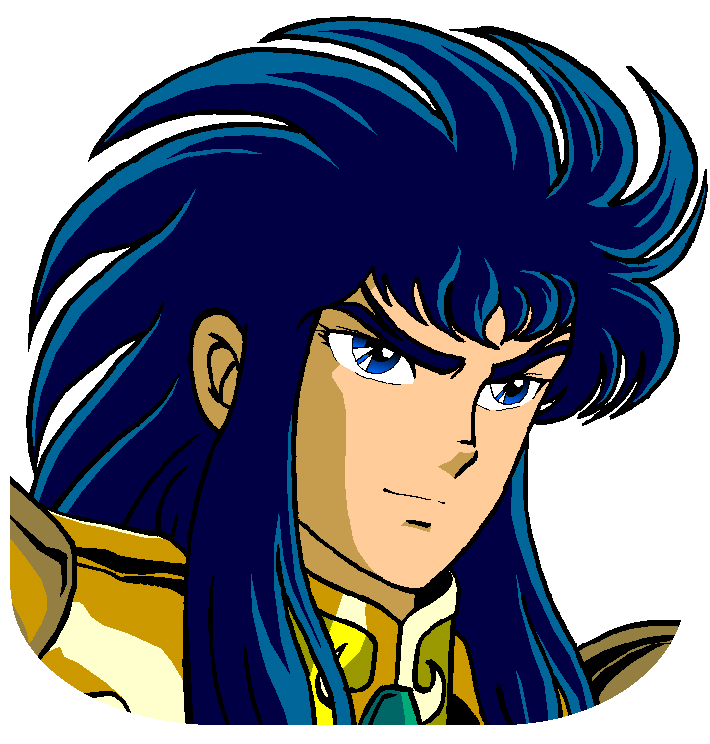

I loved the Aquarius saint. He was my favorite character from Saint Seiya. ^^ (2000 - 2001, this way)
At the beginning I was just doing solid colors, but as I experimented with the features and learned how to combine them, I ended up getting more and more advanced renderings.
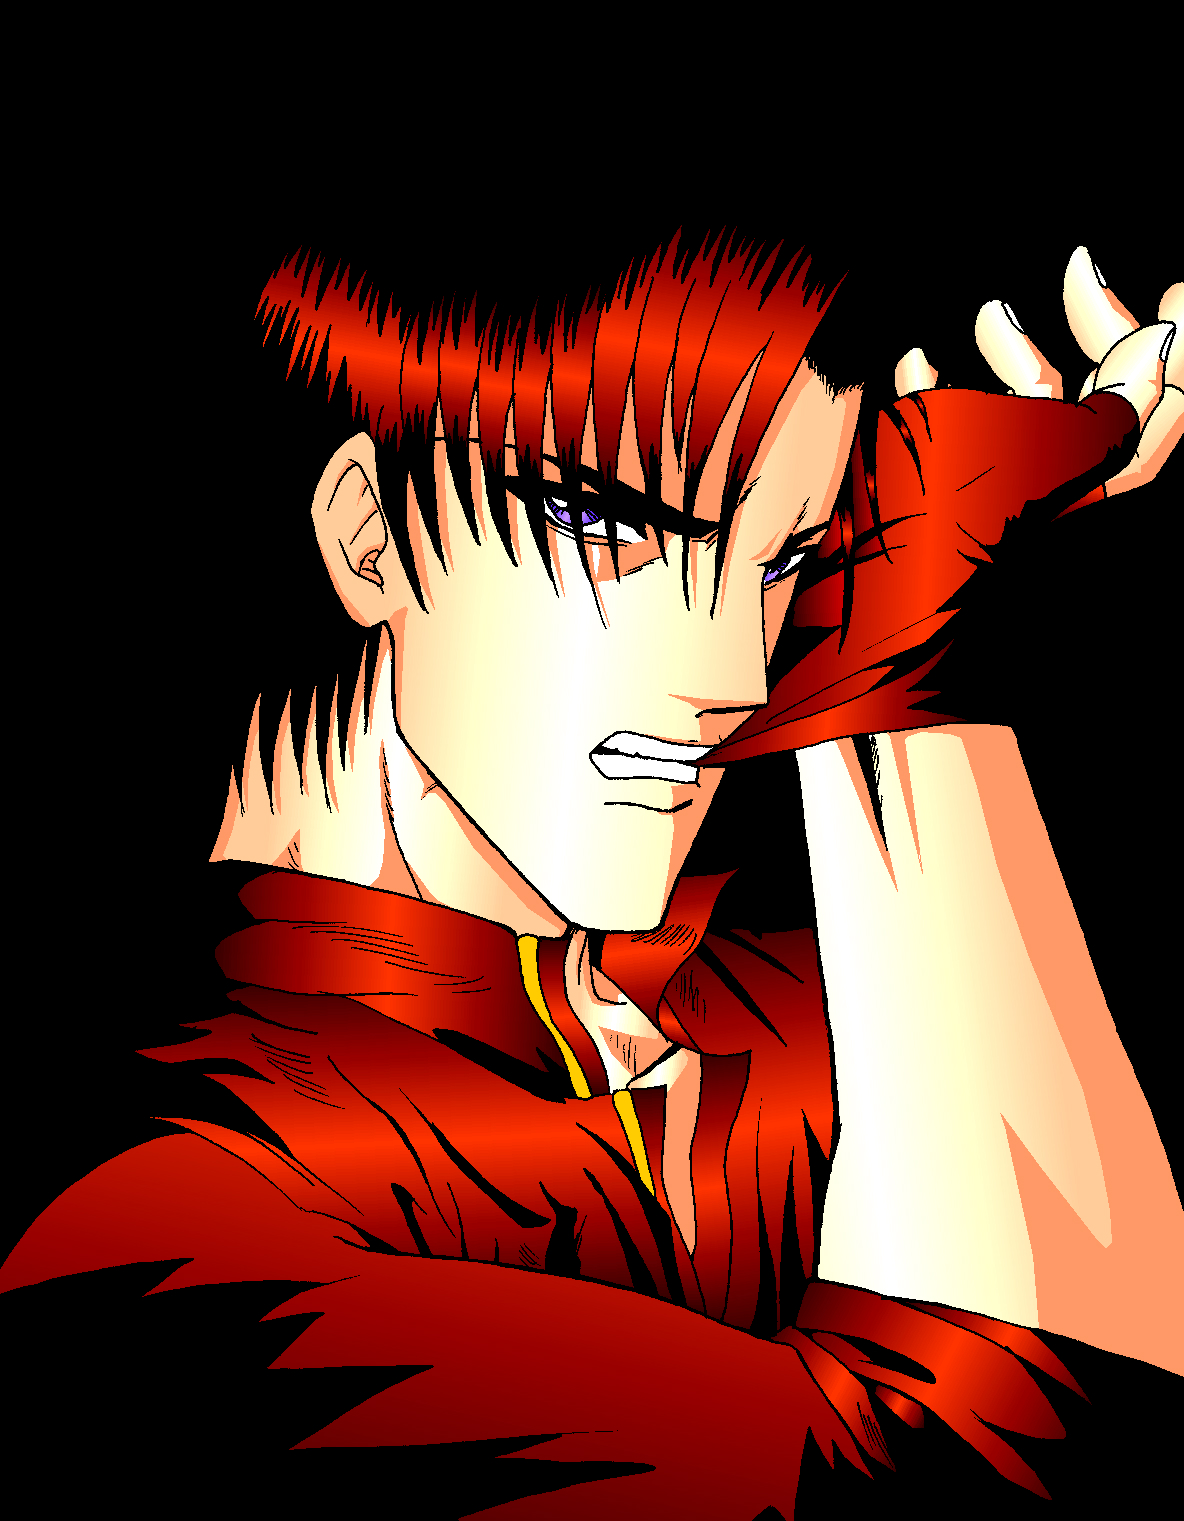

Aoshi Shinomori from Kenshin and Ashram from Record of Lodoss War. These two were also my favorites characters at one time. (Between 2004 and 2006)
If you have enlarged the images you must have noticed that the line is particularly crenellated. There was no antialiasing, no layer system with opacity levels, no tolerance threshold for the filling tool. So it had to be black, or white, but not in between.
As a result, AppleWorks was not really adapted to work on drawings with small details, hatching or heavily detailled backgrounds...


I tried anyway. :p
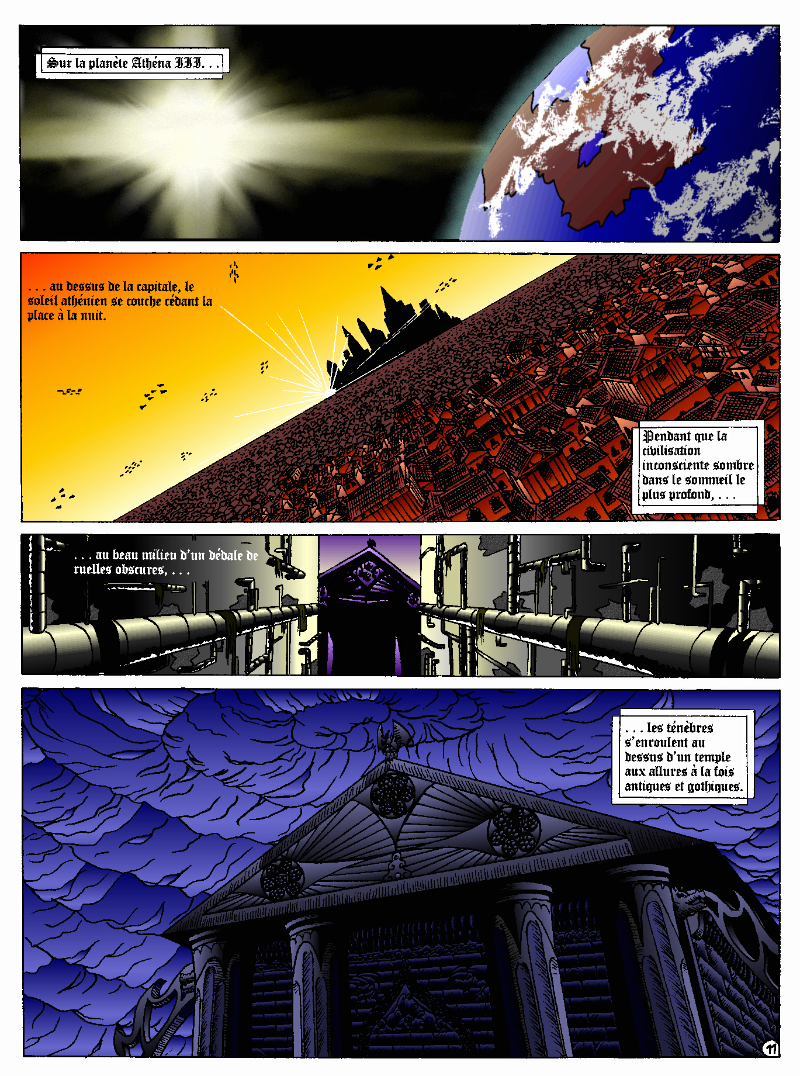
These last 4 examples I think I made them between 2004 and 2006.
The comics pages come from the first version of the Nécrotech project which is currently in a dormant state (but which I intend to resume one day). You'll notice on the first image of the last page some effects whose style stands out a bit from the rest. It's normal, I made them in another old painting software, Art Dabbler, but this is another story. :p
In 2007, I got tired of suffering, I started to use The Gimp, in 2008 I bought my first graphics tablet, in 2009 I embarked on the Photoshop adventure and you know the rest: I sold my soul to Promarkers and Clip Studio Paint.
And then there are days like that, we fall back into childhood.
(Click on the image to see it at full size and distinguish the pixel patterns. I know, I repeat myself, but the devil is in the details. :p )
Last week, I decided to make a theme of the Drink'N'Draw from A to Z with AppleWorks to see what I could get out of it with 15 more years of experience in drawing and illustration. 8D
With some tips you can get a pretty amazing result!
I am happy with the result, especially the colors.
It wasn't done without pain. The feature I wanted to take full advantage of (customizing color patterns) is buggy on the Windows version of the software, so I had to set up a Mac OS X Snow Leopard virtual machine to be able to do the finishing touches. What an adventure!
In any case, AppleWorks is always well adapted to make pixel art and this experience has allowed me to learn new things applicable in recent and professional softwares.
I had never really tried pixel art, which I love, by apprehension of the execution time. I think I found the trigger to get serious about it. I will explore it further. :D
Well, well, well! But in fact, calculating gradient patterns for pixel art with shaders shouldn't be complicated. I think I will add such an effect in Péguy ! :D
Install AppleWorks
You've read it right! You can still install and use AppleWorks in 2021! :D
Windows
I did the test with Windows 8.1 on my Cintiq Companion tablet from Wacom, and in the comments it seems that it also works very well on Windows 10.
To do this you will first install the latest version of QuickTime 7 which you can find on this page. You double click on the installer and you do next, next, next... Even when you are asked if you have a product key. It is not mandatory and useless for our needs.
Then you go to this page and download the first file. You unzip the file and double click on the installer, then same procedure as before: next, next, next...
You can do retro digital painting now! :D
Mac OS X
Apple computers have changed so much in 20 years that it is now impossible or at least very complicated to run the original programs on today's machines. The manipulation therefore consists in using the Windows version with the Wine emulator.
If I had no problem with the procedure, it may seem a bit complicated for non-technical profiles so I simply propose you to download the final application I created myself via this link on Proton Drive. You just have to download it, unzip it (with a double click) and launch it.
If you're a computer geek and want to get a version of AppleWorks without the color pattern bug, you can get the .dmg here and install it in a Snow Leopard virtual machine.
Be reasonable about the size of your files. This is an old software that will have trouble supporting surfaces exceeding 2000px by 2000px. There is a way to cheat a bit, it is by creating a vector drawing file and creating a bitmap drawing surface inside.
That's all for that nostalgic moment.
I think I will come back with some illustrations made with AppleWorks in the future. :D
Have a nice day and see you soon!
Suisei
Categories : Discoveries, Graphic research, Illustrations,
Gul Dukat and timed inking tests
Published by Suisei at 20/02/2021 à 15h45
Hi everyone!
So as promised last time, today I'm going to talk to you about drawing, and even more precisely about inking techniques and timed tests.
I had been thinking for months about making a black and white illustration and inking it several times with different techniques while timing myself to see which one was the fastest.
This approach is part of my search for optimization in the time it takes to produce my comics.
So there are all the drawing tricks, 3D, Clip Studio Paint's tools, the programs and softwares developed by myself with which I saved a lot of time, but there is still this inking phase whose execution time tends to resist any form of compression.
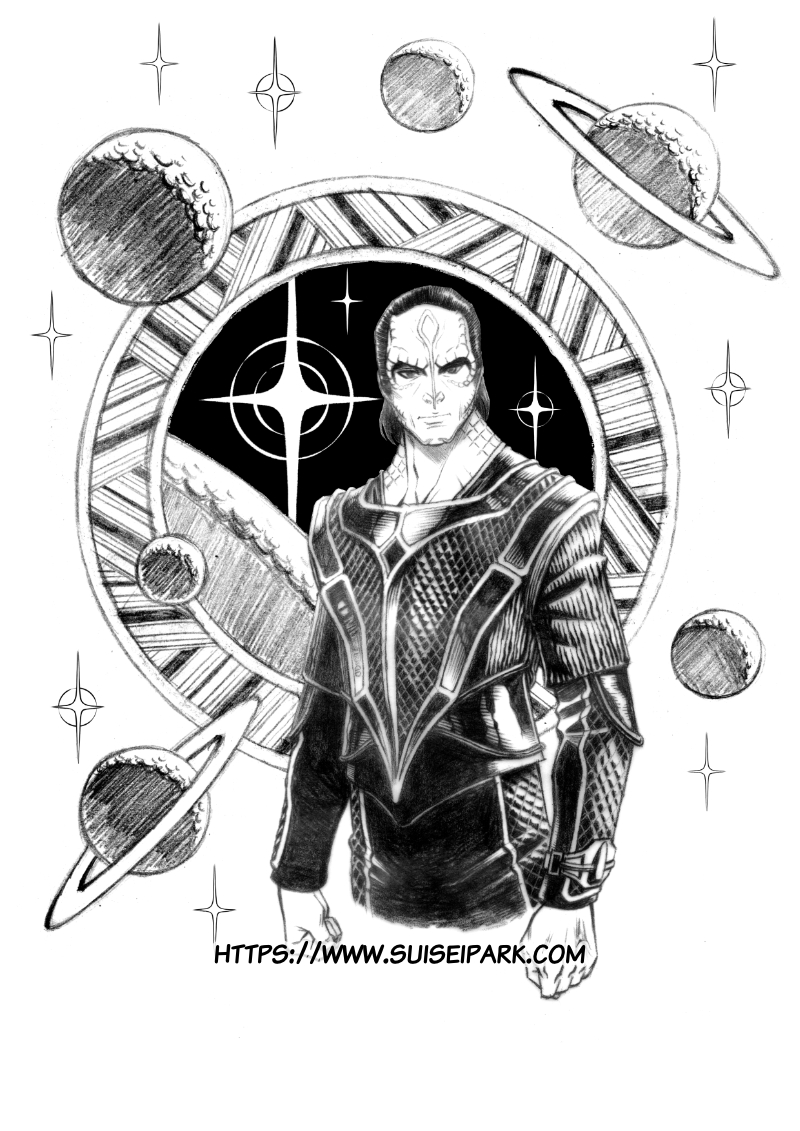
At the beginning of the year 2021 I made a penciled illustration, and it seemed to me to be a perfect candidate for the exercise: a character, scenery elements and various texture effects.
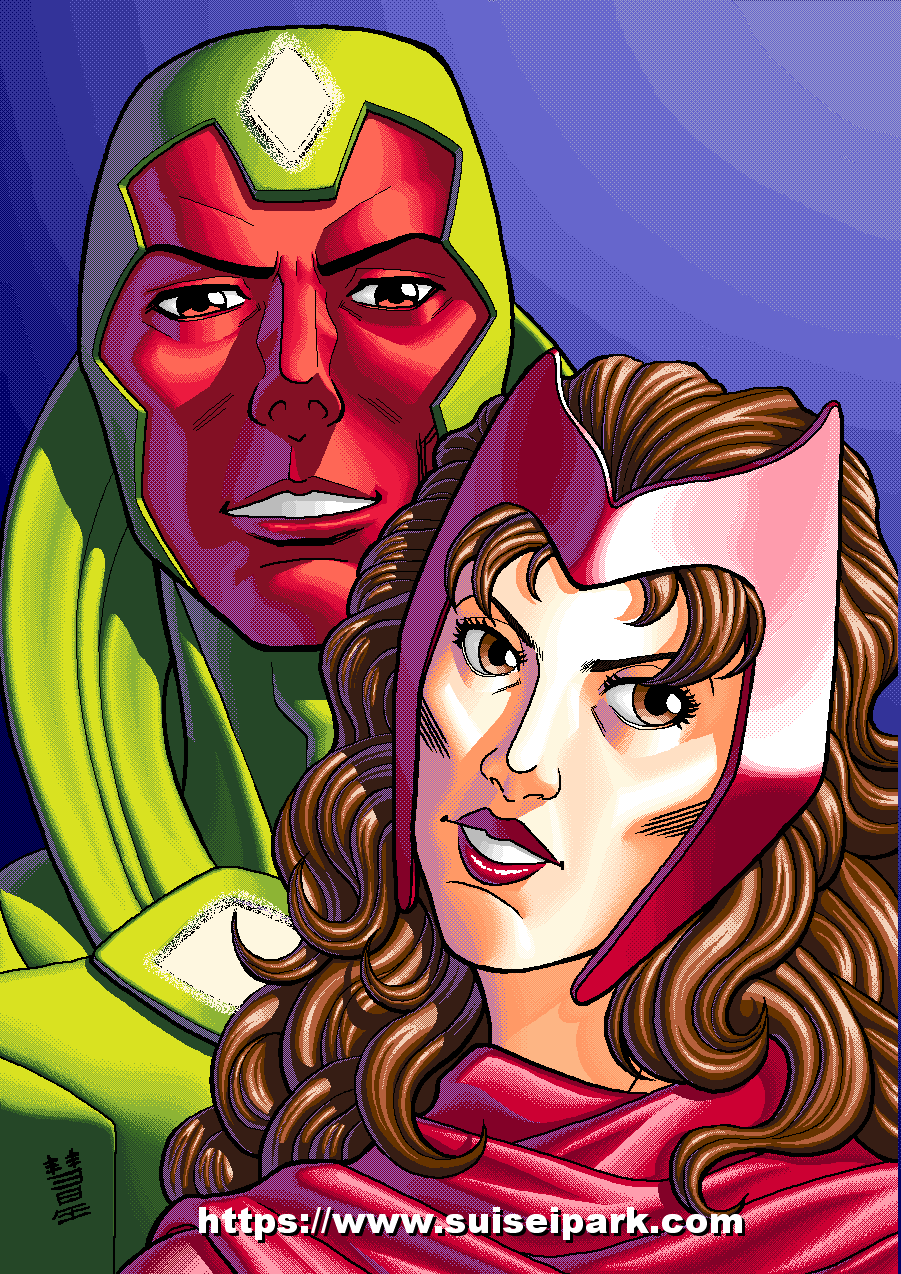
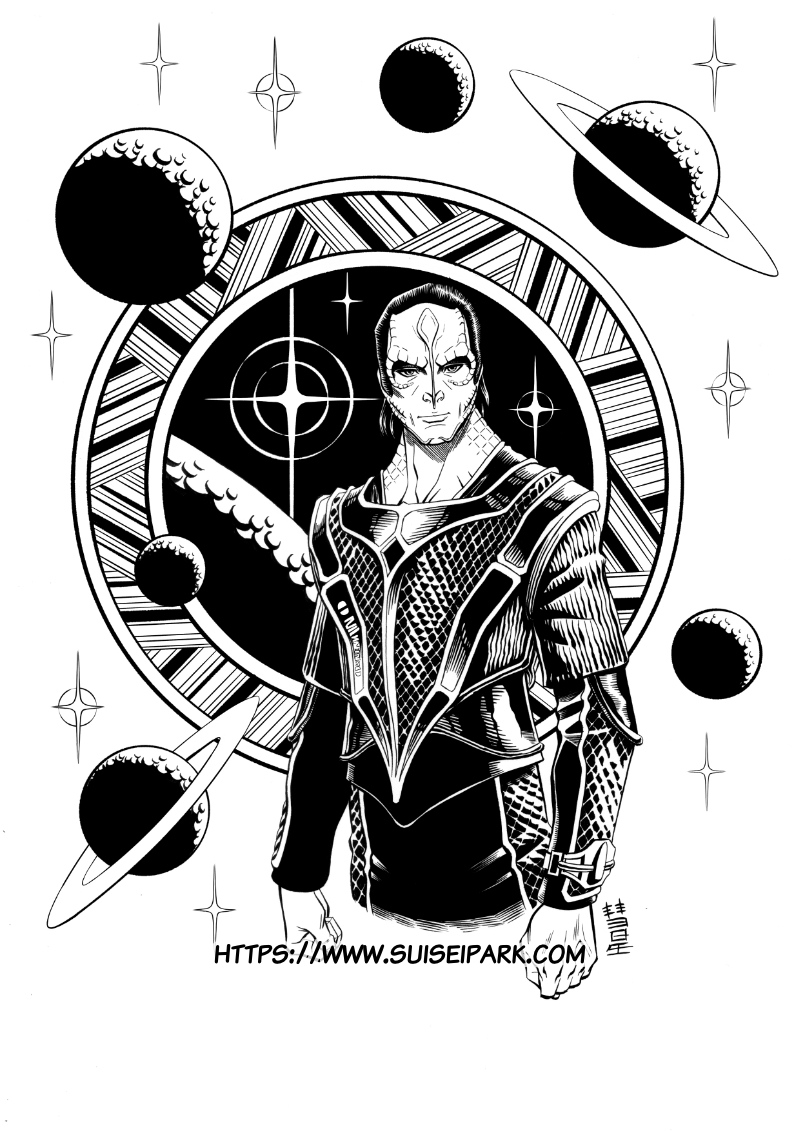
The illustration in question:
To introduce you a little bit to the man, it is Gul Dukat a villain from the Star Trek: Deep Space Nine series, a humanoid alien with some reptilian attributes.
This is my favorite character of the show.
You know me now, I like charismatic bad guys with complicated stories. x)
Let's go back to the illustration itself.
Concerning the pencil phase, I refined it more than necessary, but it's because I wanted to make a beautiful illustration and it was my pleasure.
That said, I still used some tricks to make the work easier.
Basically, I drew the different elements of the illustration separately and then scanned and assembled them by computer. This allowed me to draw them carefully without getting bogged down in their interaction and optimize the final composition.

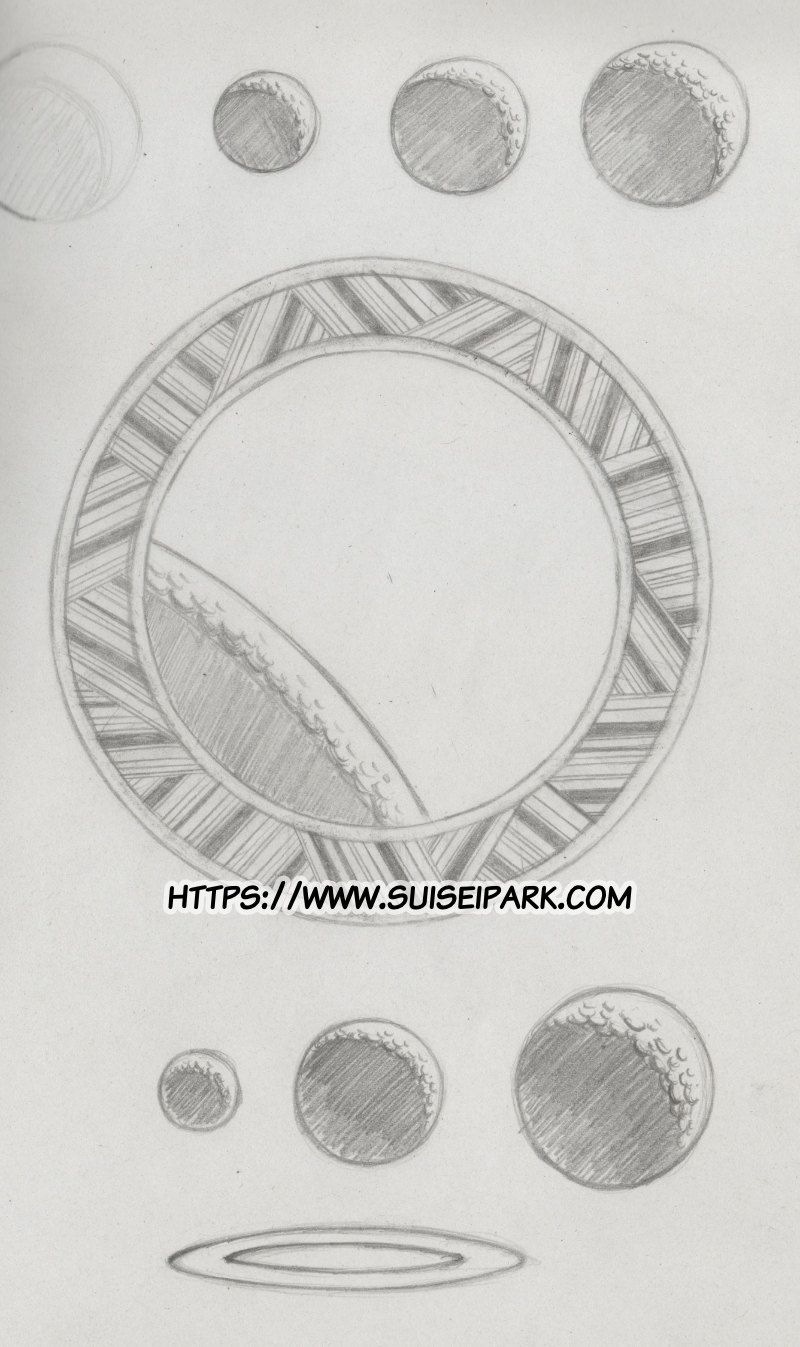
Then I printed copies of the final composition that I have already shown you in magenta for my timed inking experiments.
I have made exactly 6 versions of them, as follows. (You can click on them to enlarge them).

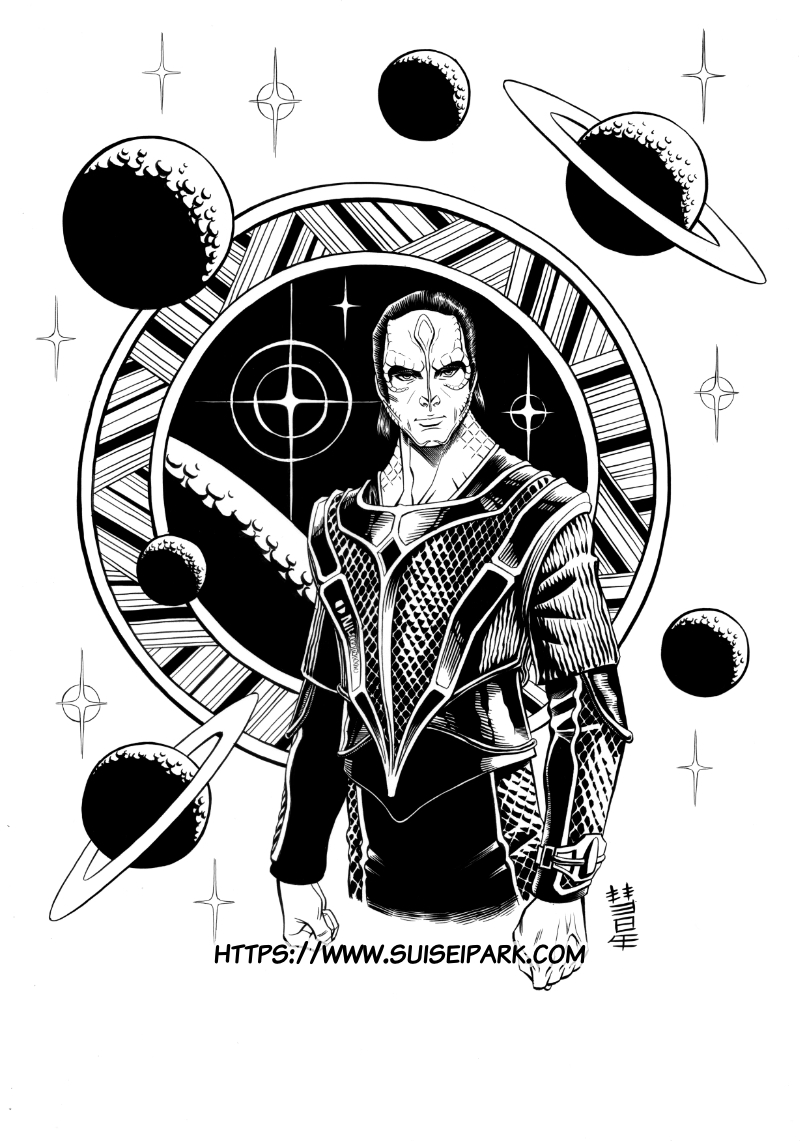


Well, if you have the impression to see 6 times the same thing, it's normal, the goal is obviously to have an identical or almost identical result with different methods, the finality being to get the fastest one to use it on my next comics projects.
Let's go through them to dissect the different methods.
The first version, I made it with liners.
It took me 5 hours. The main drawback of this method is that the clip on the liner cap presses on my « comic artist ball ». A callus ball that formed on my middle finger over time by dint of drawing, where the pencil rests. And after a while it's painful, so it limits the duration of the work sessions.
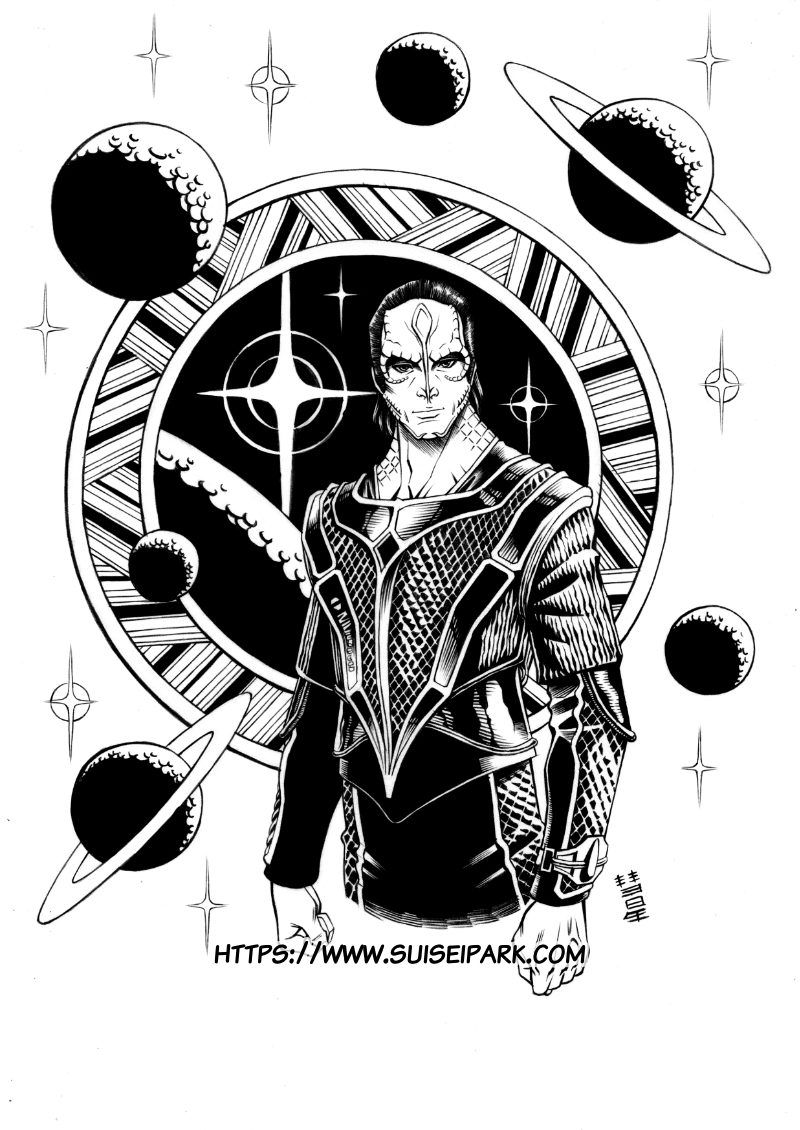
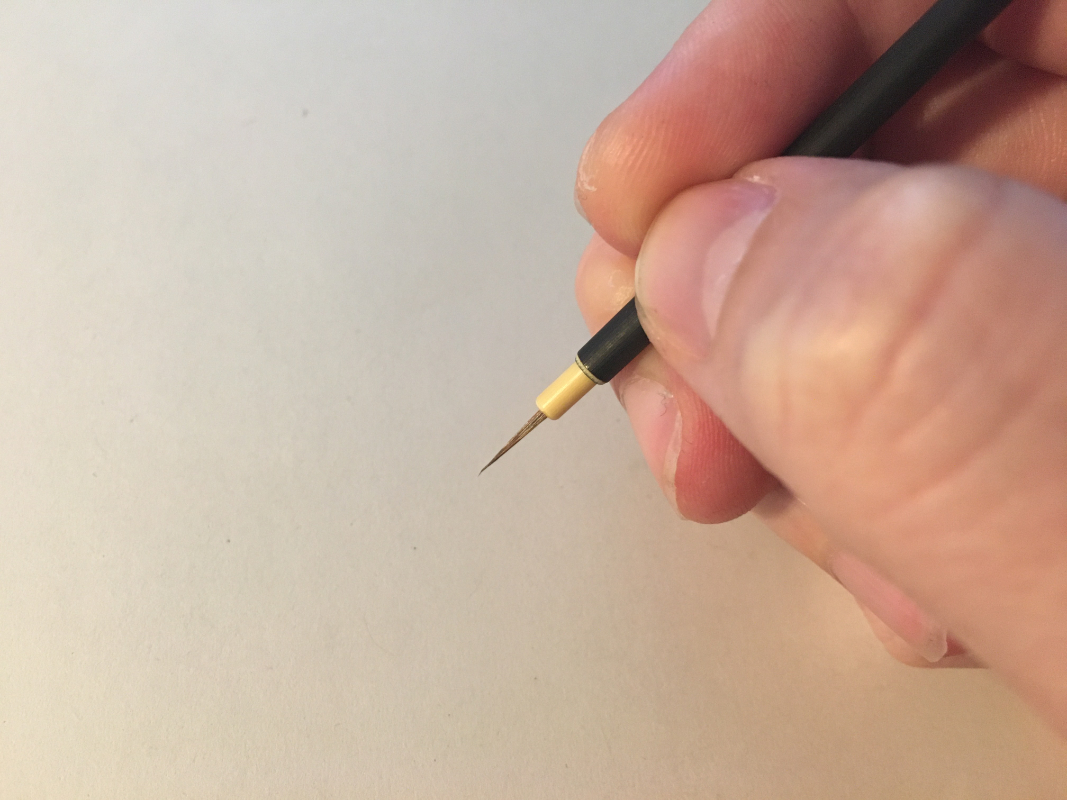
Then comes the brush version.
This is the version that took me the longest: 6 hours and 20 minutes.
The main waste of time is during the inking of the background.
It has many geometrical shapes and the brush is unsuitable for that.
On the other hand, for the character, it goes just as fast.
In any case, the holding of the brush is pleasant, the handle is thin, so it never hurts me.
I can work as long as I want with this technique.
It is difficult to evaluate at this resolution, but overall the lines drawn with the brush are cleaner and sharper than those drawn with a liner.
So! Longer, but prettier and more pleasant.
Then, the 3rd version I made it entirely with the graphics tablet and the software Clip Studio Paint.
This attempt is the fastest so far: 4 hours 15 minutes.
The inking of the character does not go faster the flaw being that the pen slides much more easily on the tablet than a traditional technique on paper, so it is more difficult to control the line and I use a lot of ctrl+Z. Moreover, the pen tip does not deform under pressure, so it is more difficult to anticipate the width of the line and you have to repeat the process several times.
The big advantage on the other hand is for the background and its geometric shapes (circles, parallel lines, ellipses). The rulers integrated in Clip Studio Paint allow you to draw them really quickly and cleanly.
Also, for all textures and particle effects, I created a lot of brushes for Clip Studio Paint. So, I only had to make a click to draw each of the stars.
As on this version I had the impression that I was wastig time on the character, so I decided to try a hybrid technique: the brush for the character, the CSP for the rest.
This version took me as long as the one entirely digital. It seems impossible to reduce the work time on the character below 3 hours and I have confirmation that digital mainly saves time on the geometric patterns and elements and effects that can be drawn with brushes.
I leave these tests a few weeks and then I had a new idea.
Here is the result. I let you guess which tool I used, you have 4 hours before I pick up the papers. :p
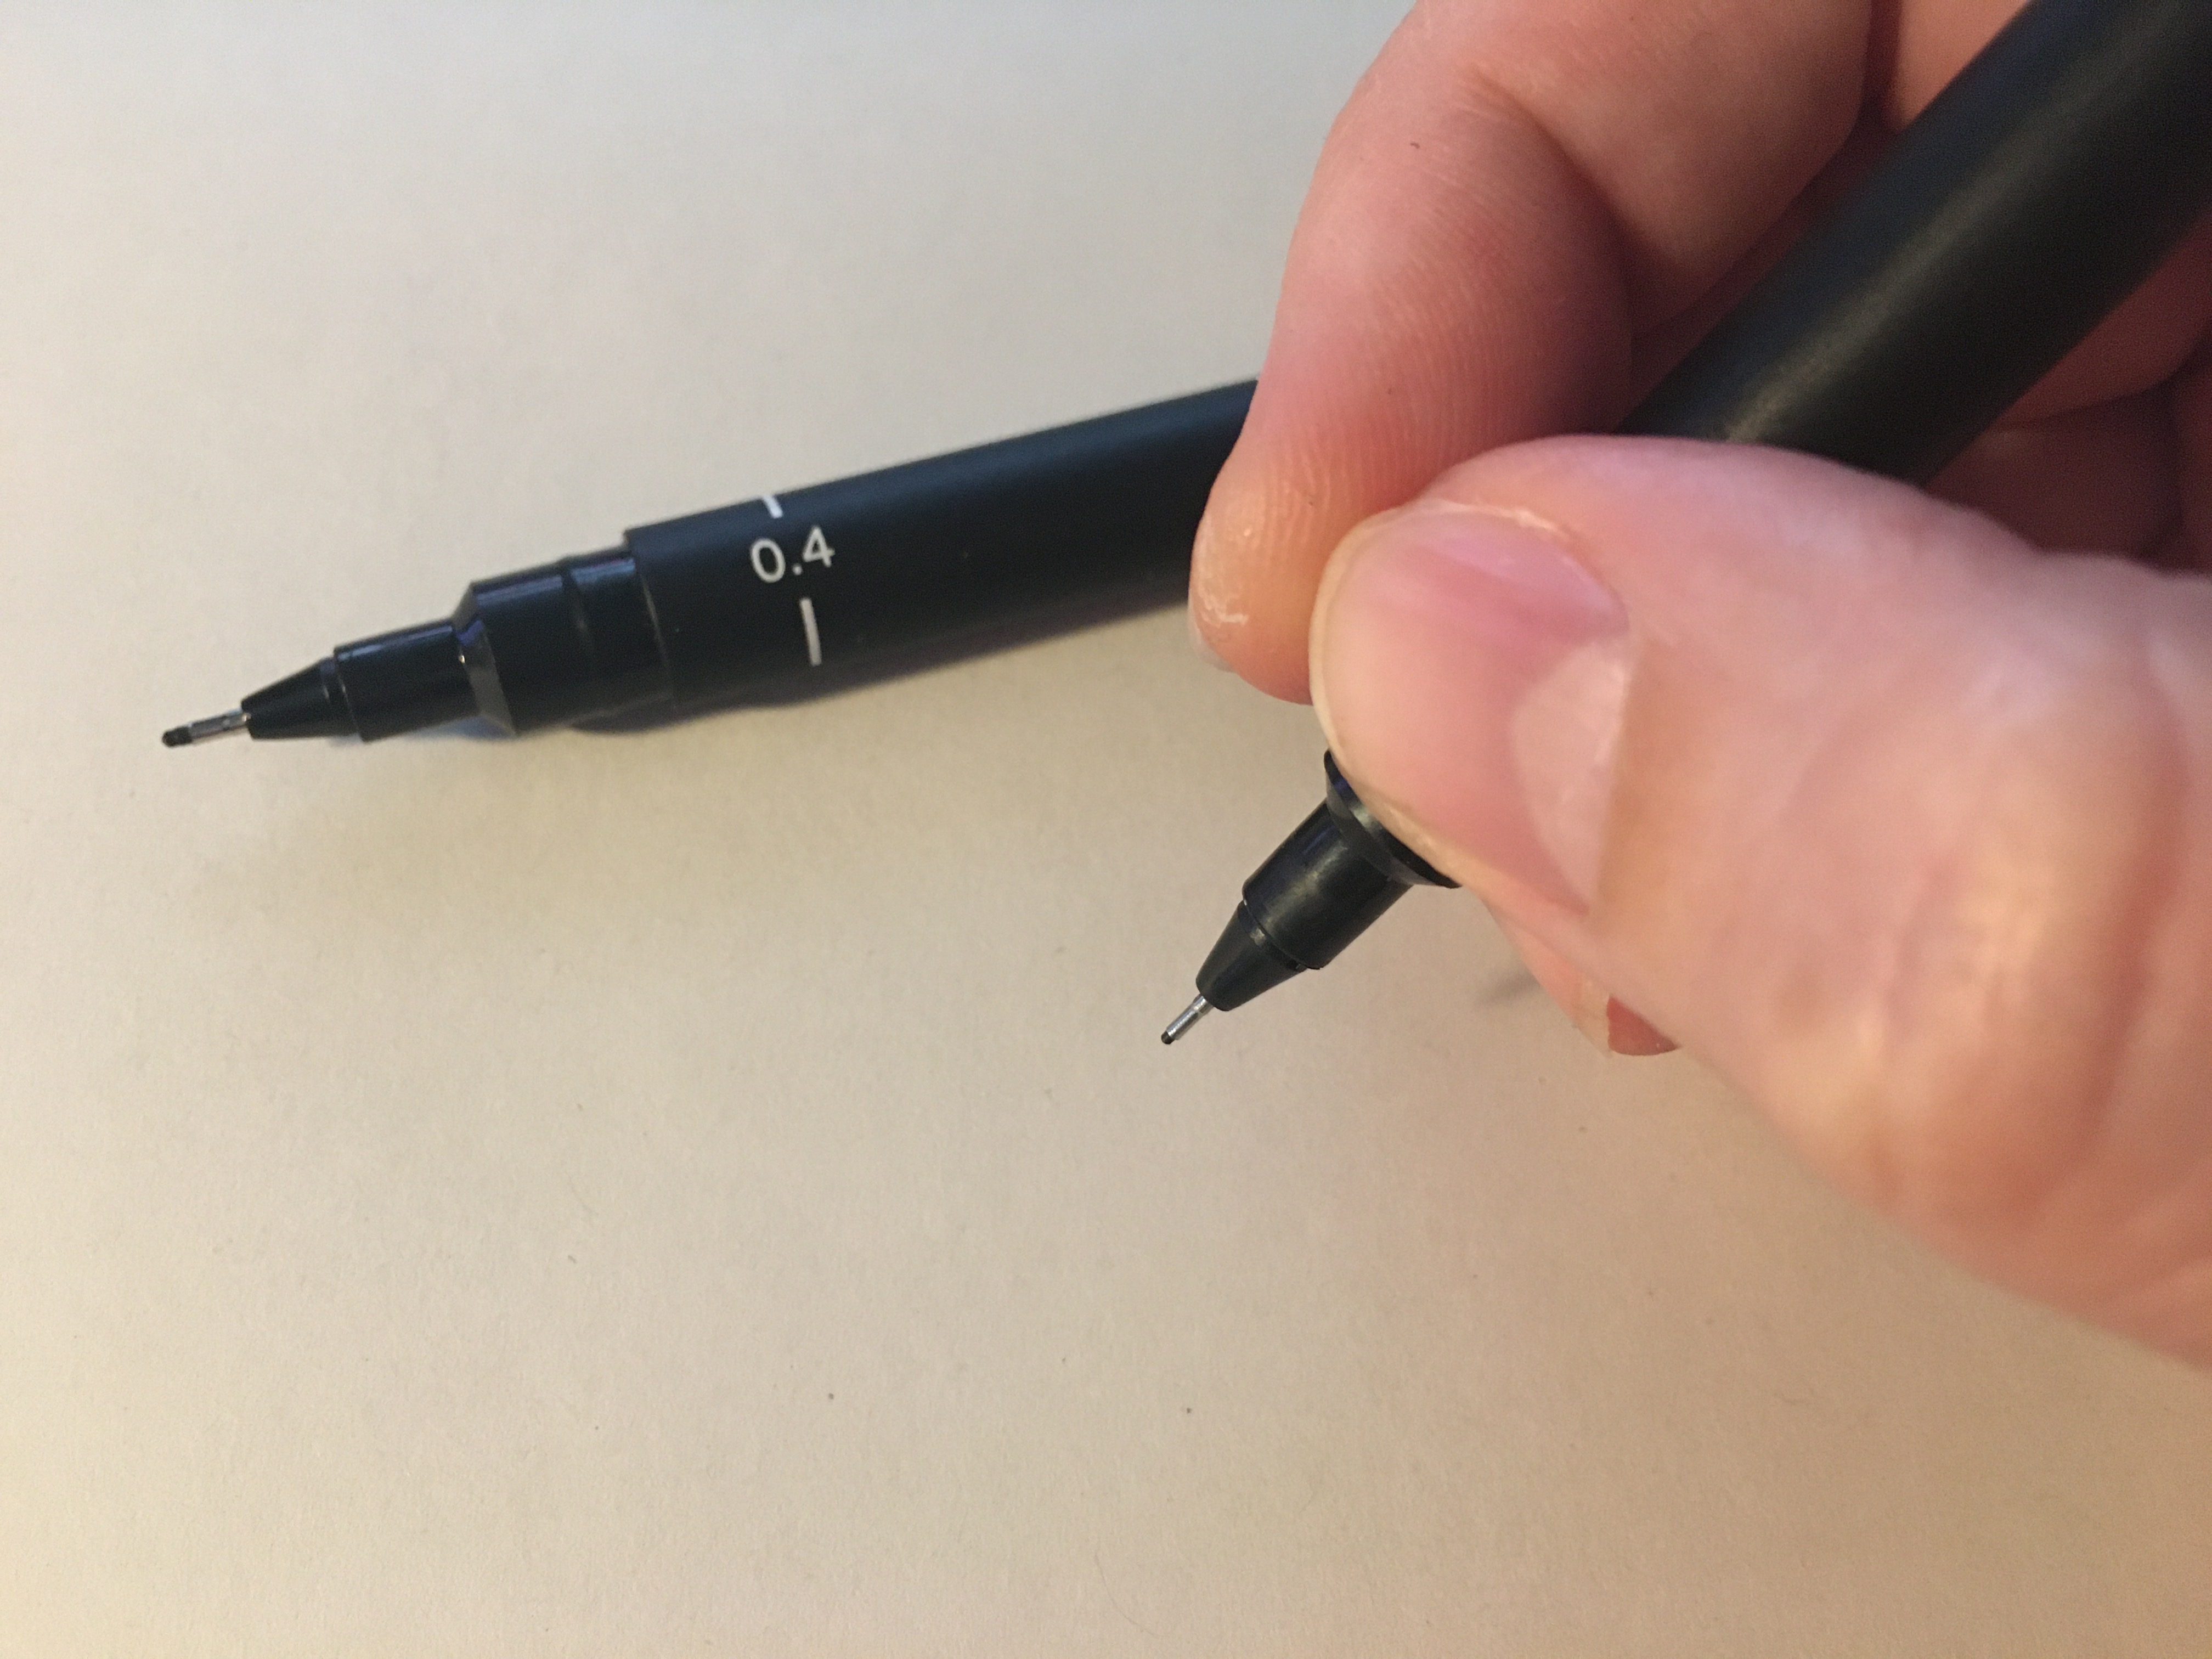
Well, I stop making you marinate, here is the answer in picture. :p
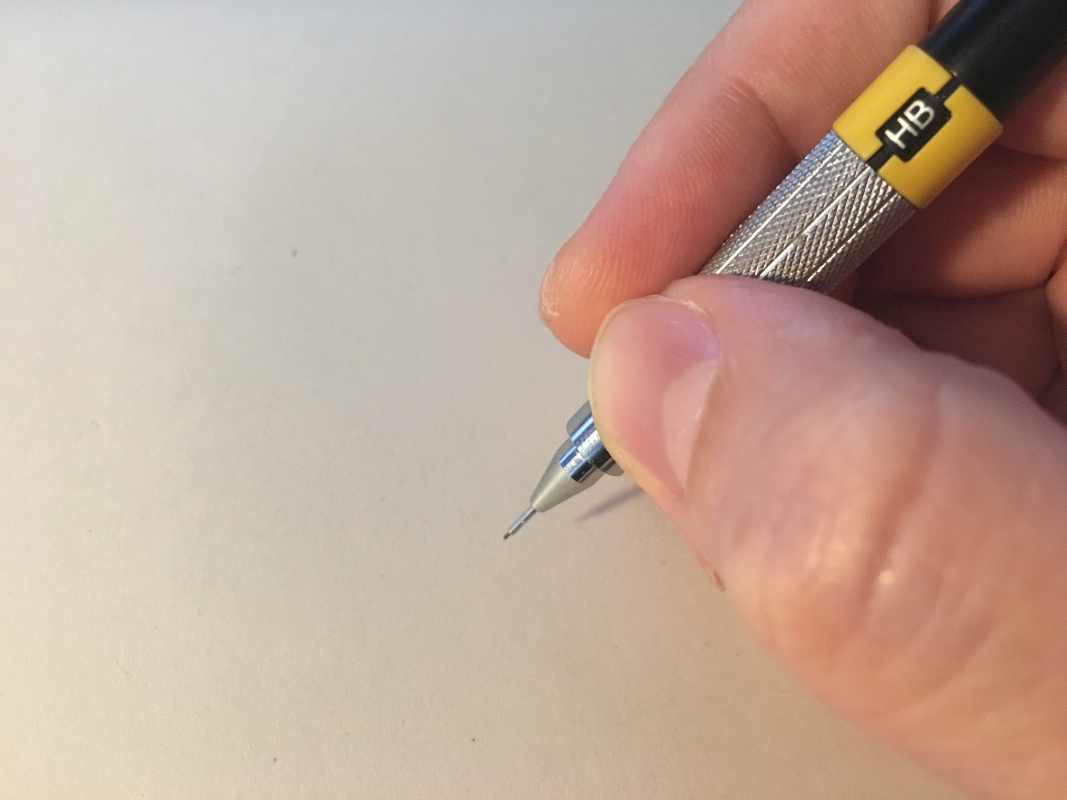
And yes! It's simply a mechanical pencil! :p
The idea was to see if I work faster than with the usual inking methods and if by playing with the contrasts in the scan I could make it look like inking.
For this version, it took me about 5 hours. I was a little faster for the character than the other attempts, but for the background, it's always the digital that wins hands down.
The problem with the mechanical pencil is that to have an intensity of black roughly constant is that I hold it strongly to press down enough for a long time and I ended up crushing my thumb, so I had a hard time finishing the background. I think it slowed me down quite a bit at the end.
So! No tool is perfect on its own.
As a result, I still had one last thing to test: making the character with mechanical pencil and the background with graphic tablet.
And this time I managed to go below 4 hours of work. :D
3 hours and 40 minutes more exactly.
I managed to ink the character in 2h20 then before moving to the background I had to do some cleaning up because of an unwise choice to do some textures partly in pencil and partly in digital. I think I have a way to spare a few more minutes of work by optimizing some choices.
I'm happy to have finally carried out these timed tests.
Used alone, there is no ideal tool. Now I know that, once again, it is in the hybridization of techniques that I will have to look for optimization.
I have the idea that in the future I should imagine a small roadmap to ink or at to clean my comic pages.
I will put all this into practice in the next project.
That's all for today!
Next time I will make again a small compilation of our online Drink'N'Draw sessions.
Have a nice week-end and see you soon! :D
Suisei
Categories : Graphic research, Illustrations,