News
Normandiebulle 2021
Published by Suisei at 21/09/2021 à 20h15
Hello everyone!
After more than a year and a half without convention, we will be able to meet again! :D
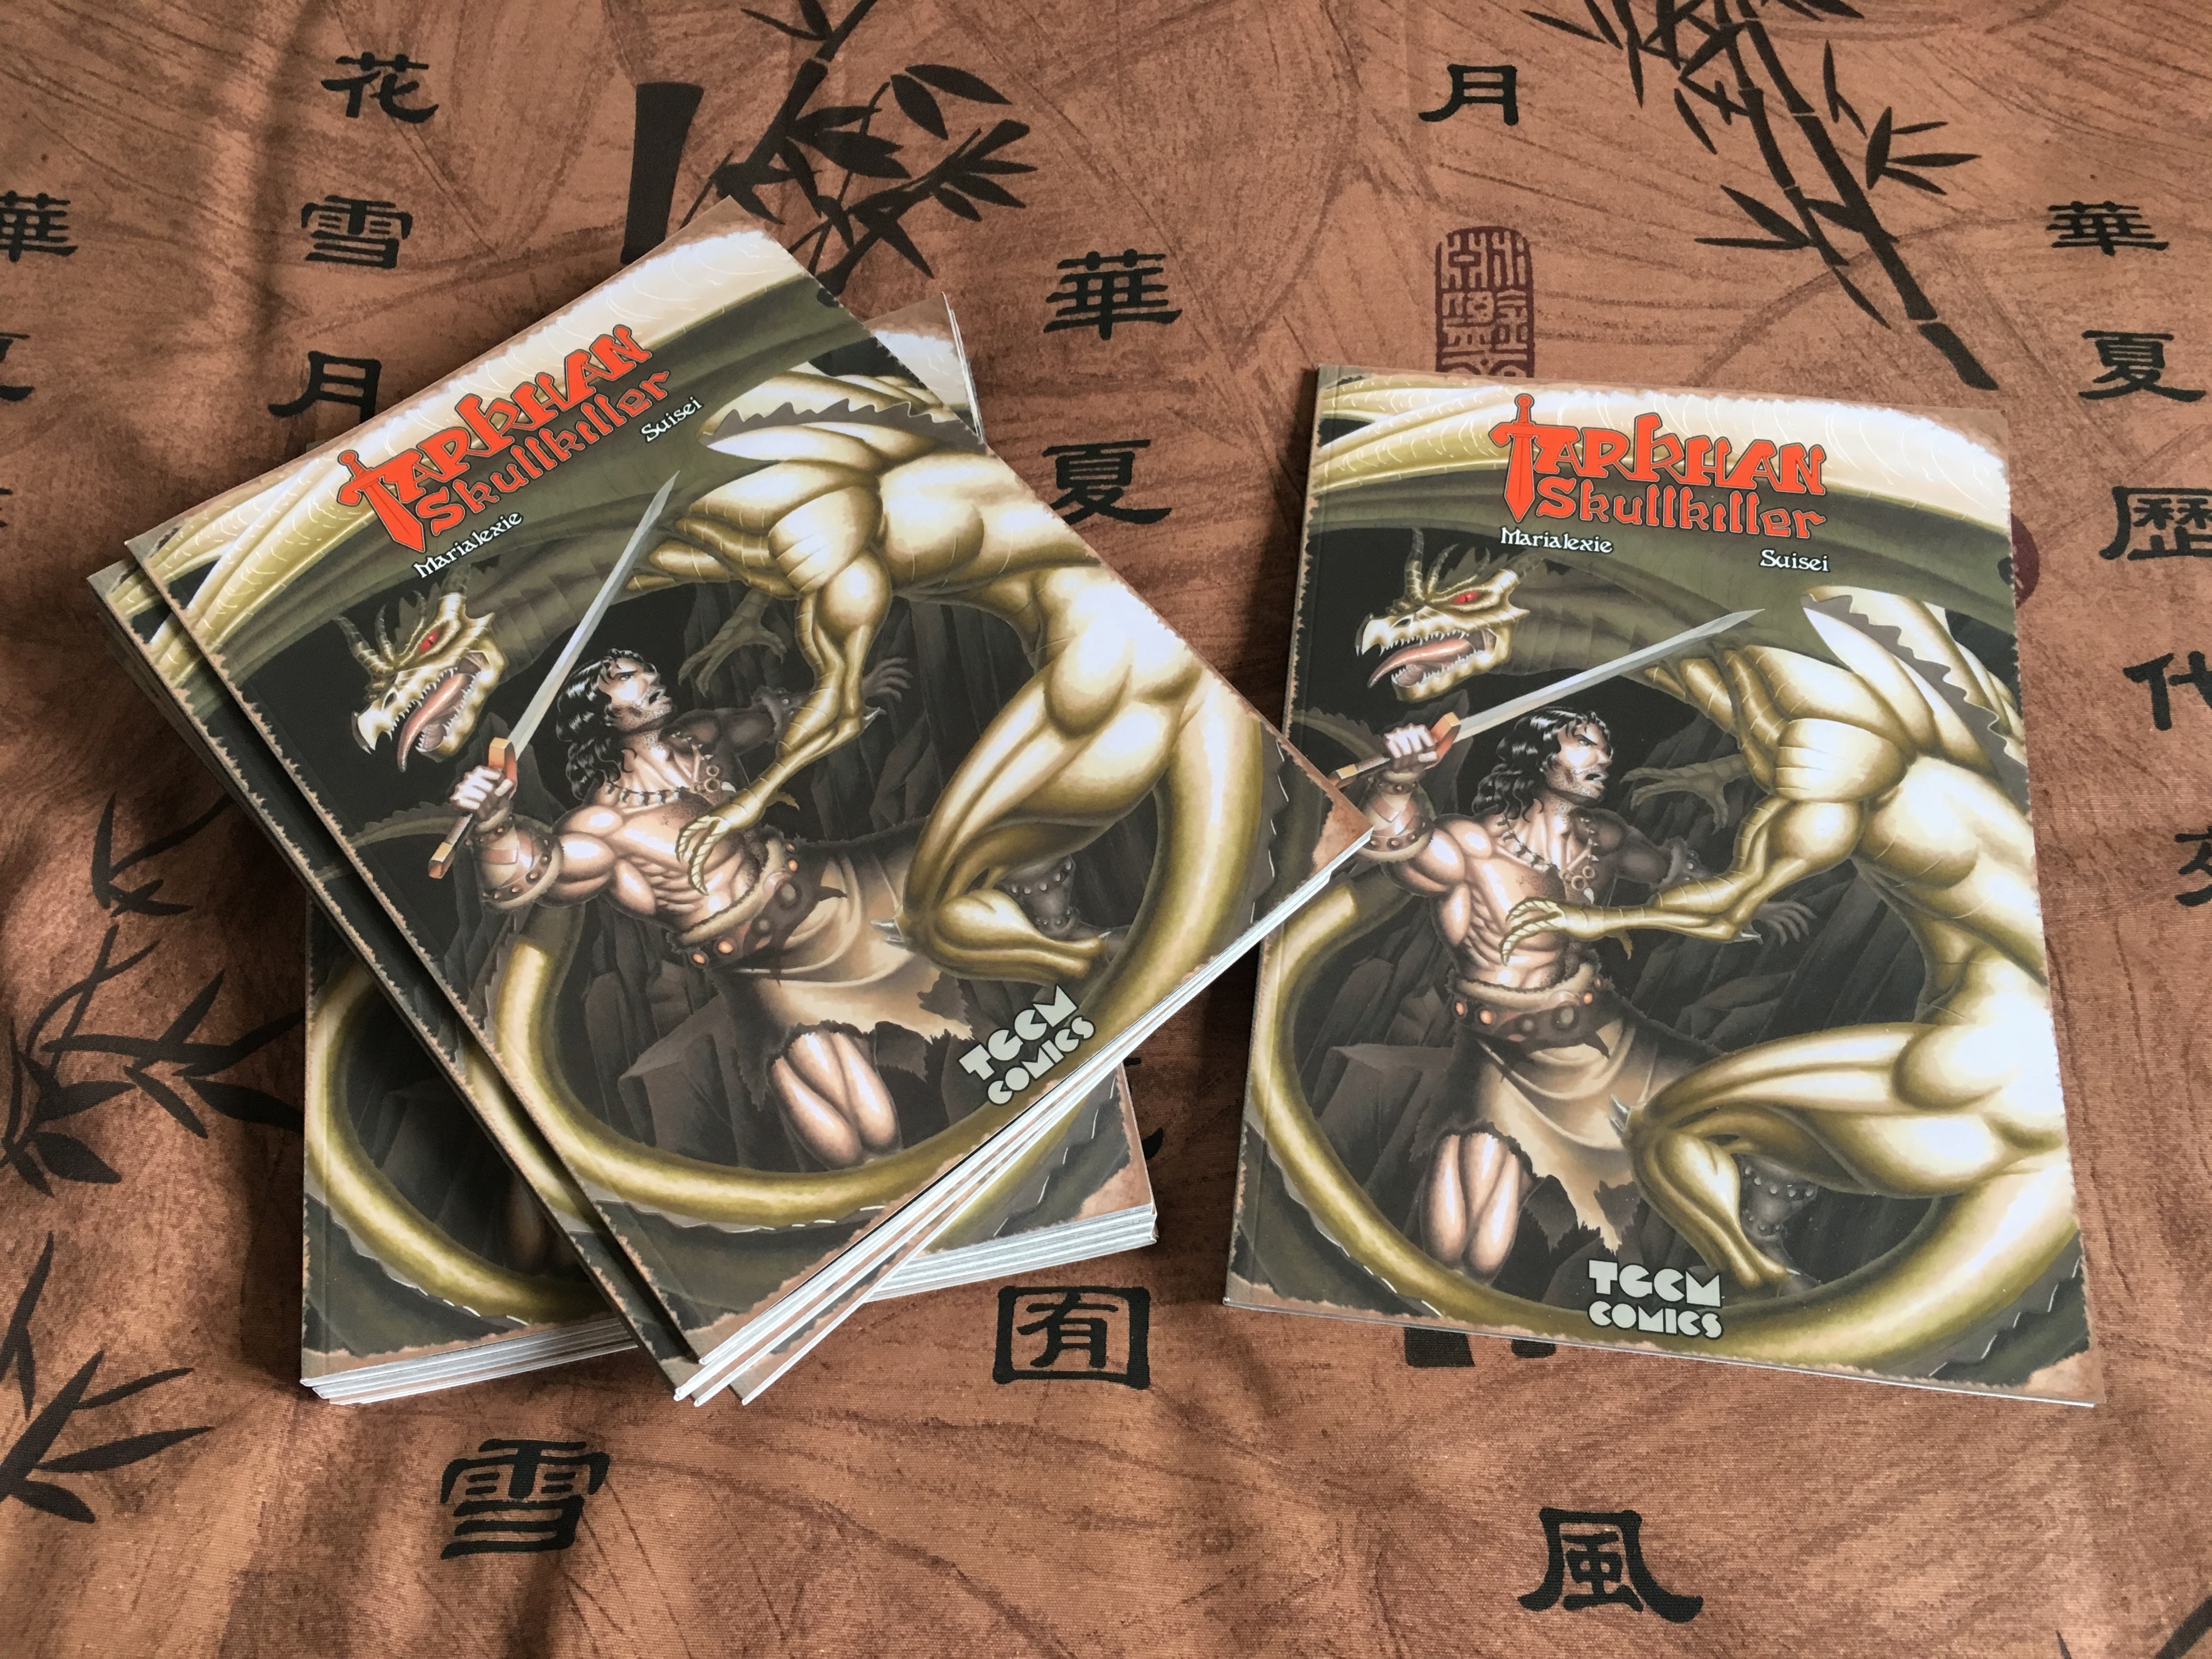
Indeed, Normandiebulle reopens its doors in Darnétal on September 25 and 26!

Marialexie and I will be there and we will finally, for the first time, be able to present our comic book Tarkhan Skullkiller together! :D
If you are in Normandy at that time, do not hesitate to come and say hello.
You can find all the practical information to get to the festival here.
Have a nice week and see you this weekend!
Suisei
Back to childhood with AppleWorks
Published by Suisei at 10/03/2021 à 15h45
Hi everyone!
Today I'm going to tell you about a very old software that kept me busy for many, many hours during my teenage years and that I've had the pleasure of rediscovering these days.
Apple fans will have glitter of nostalgia in their eyes, others will have the opportunity to discover a beautiful tool that has not forgotten to be compatible with Windows.
It is AppleWorks!
AppleWorks was an office suite, installed on all Apple computers of the time, which, in addition to the classic word processor, spreadsheet and Power Point presentation, also offered a vector drawing tool and a bitmap drawing tool. It was my first experience in digital drawing and photo manipulation and with a bit of inventiveness, I was able to get some amazing things out of it.
Behind its apparent simplicity, this little soft hides an unsuspected power.
Let's go for a little trip back in time!
- Small overview
- The painting module
- Gallery of illustrations
- Install AppleWorks (Yes! It still works! )
Small overview
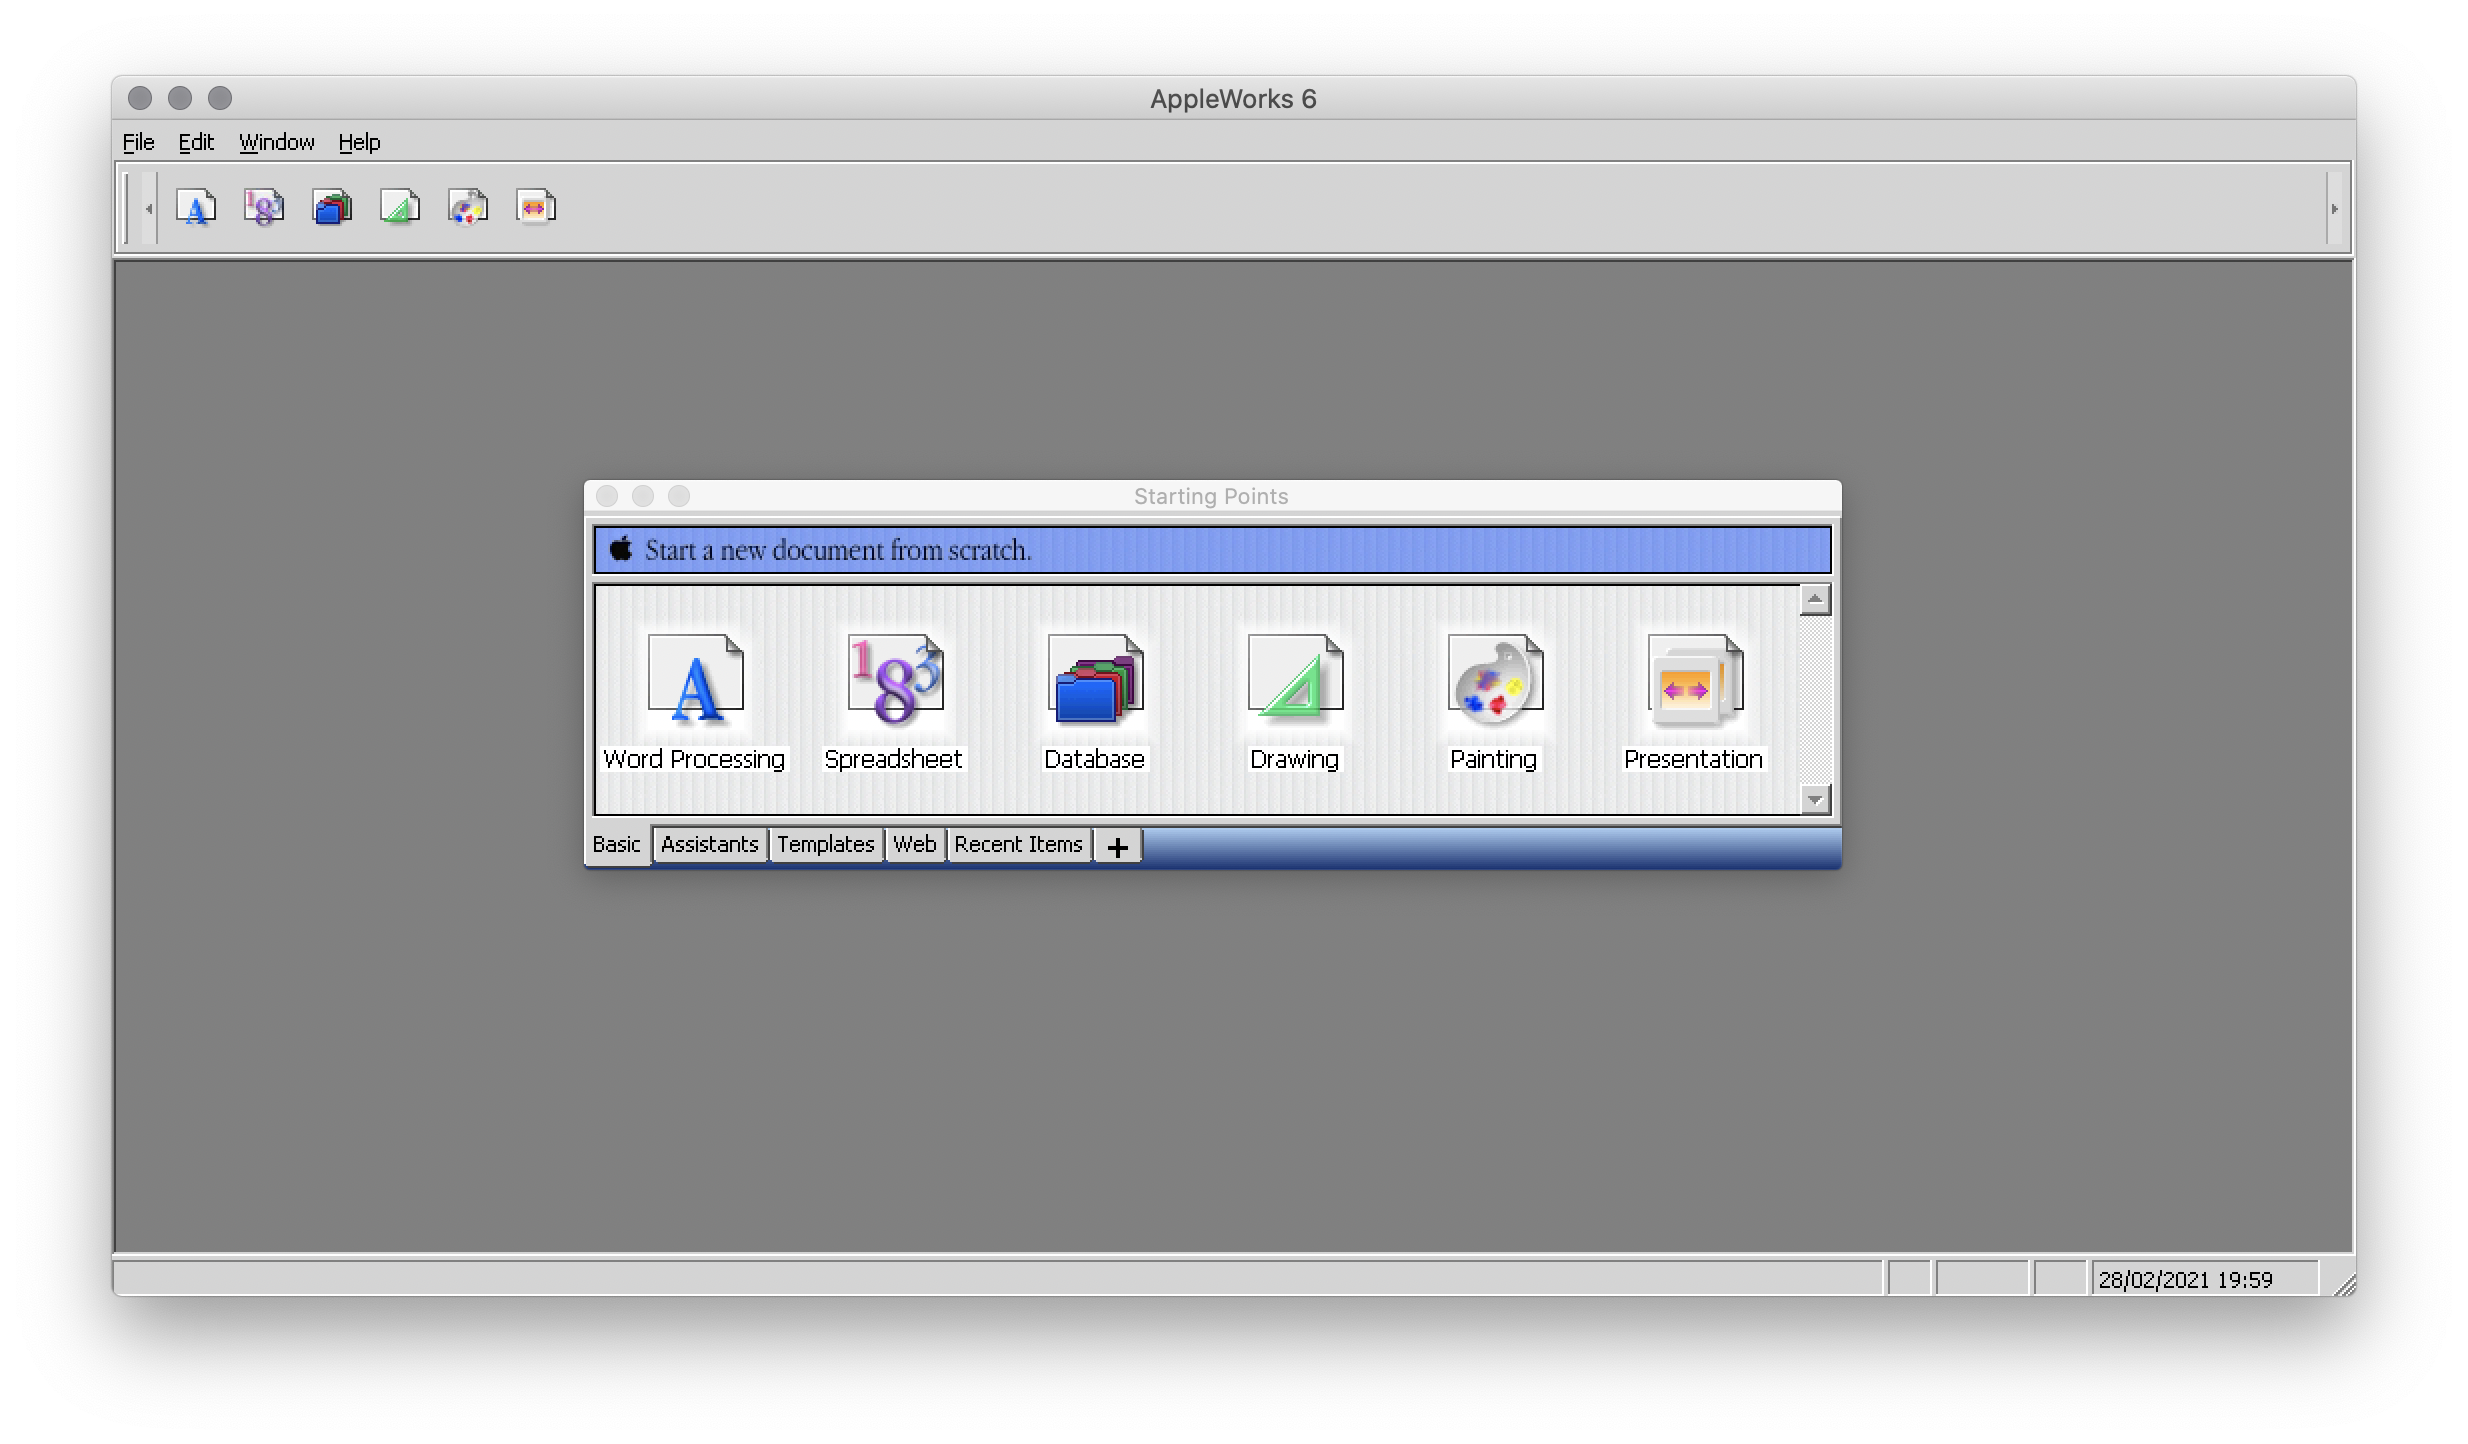
AppleWorks is 6 softwares grouped into one.
When you launch it, it offers you the possibility to create 6 types of documents: word processor, spreadsheet, database, presentation, bitmap drawing, vector drawing.
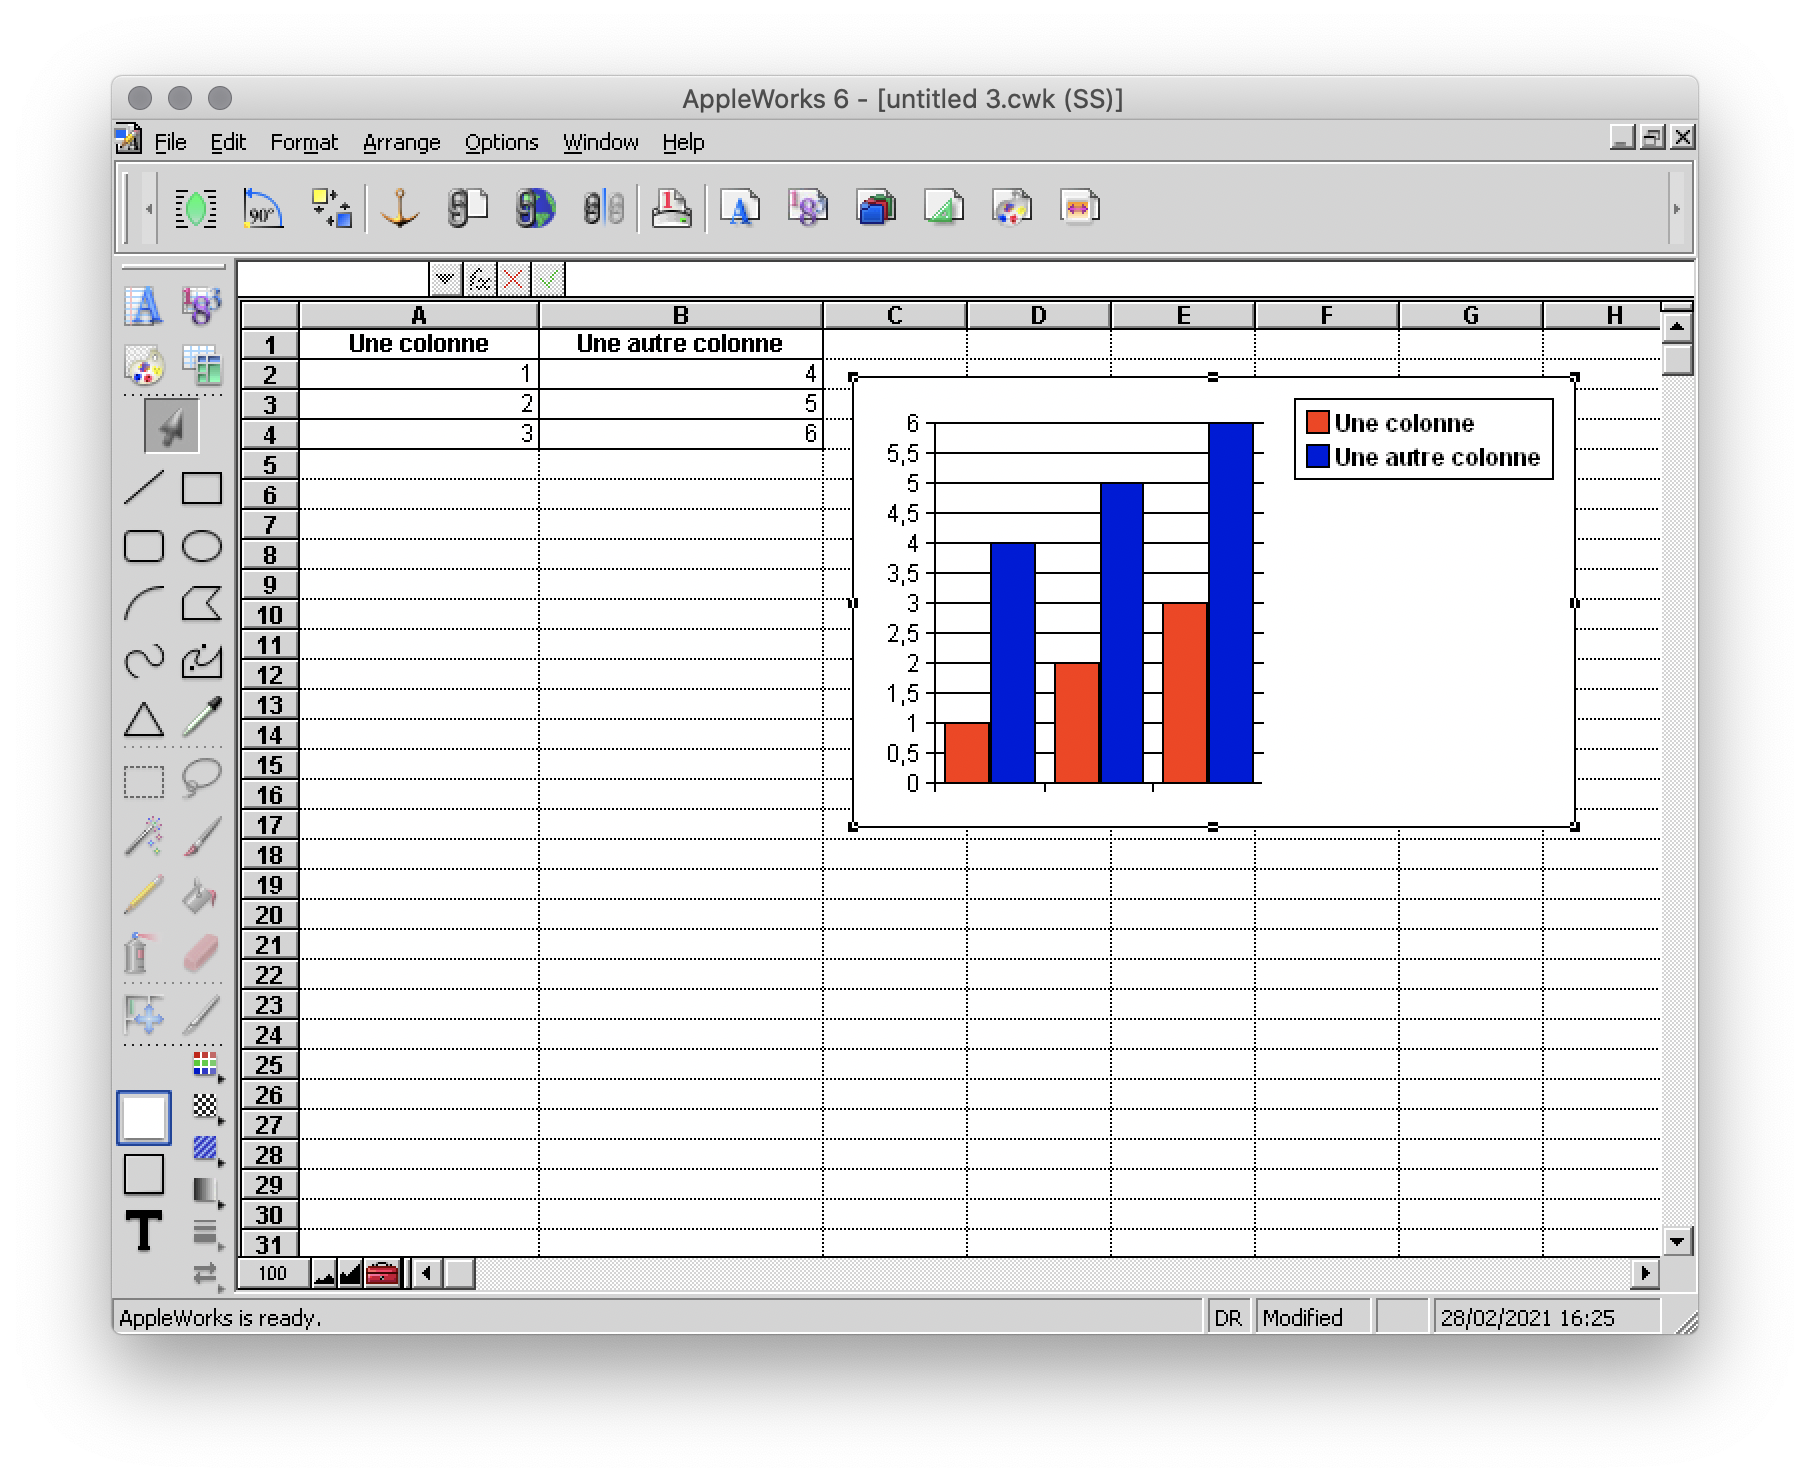
I quickly talk about Spreadsheet, Database and Presentation because I never used these modules.
Anyway, know that with Spreadsheet you could make like with Excel, with Database, create databases and with Presentation, make like with Power Point.
(You can click on the images to enlarge them to full size.)


And here are, then, the 3 modules that I really used!
The word processor
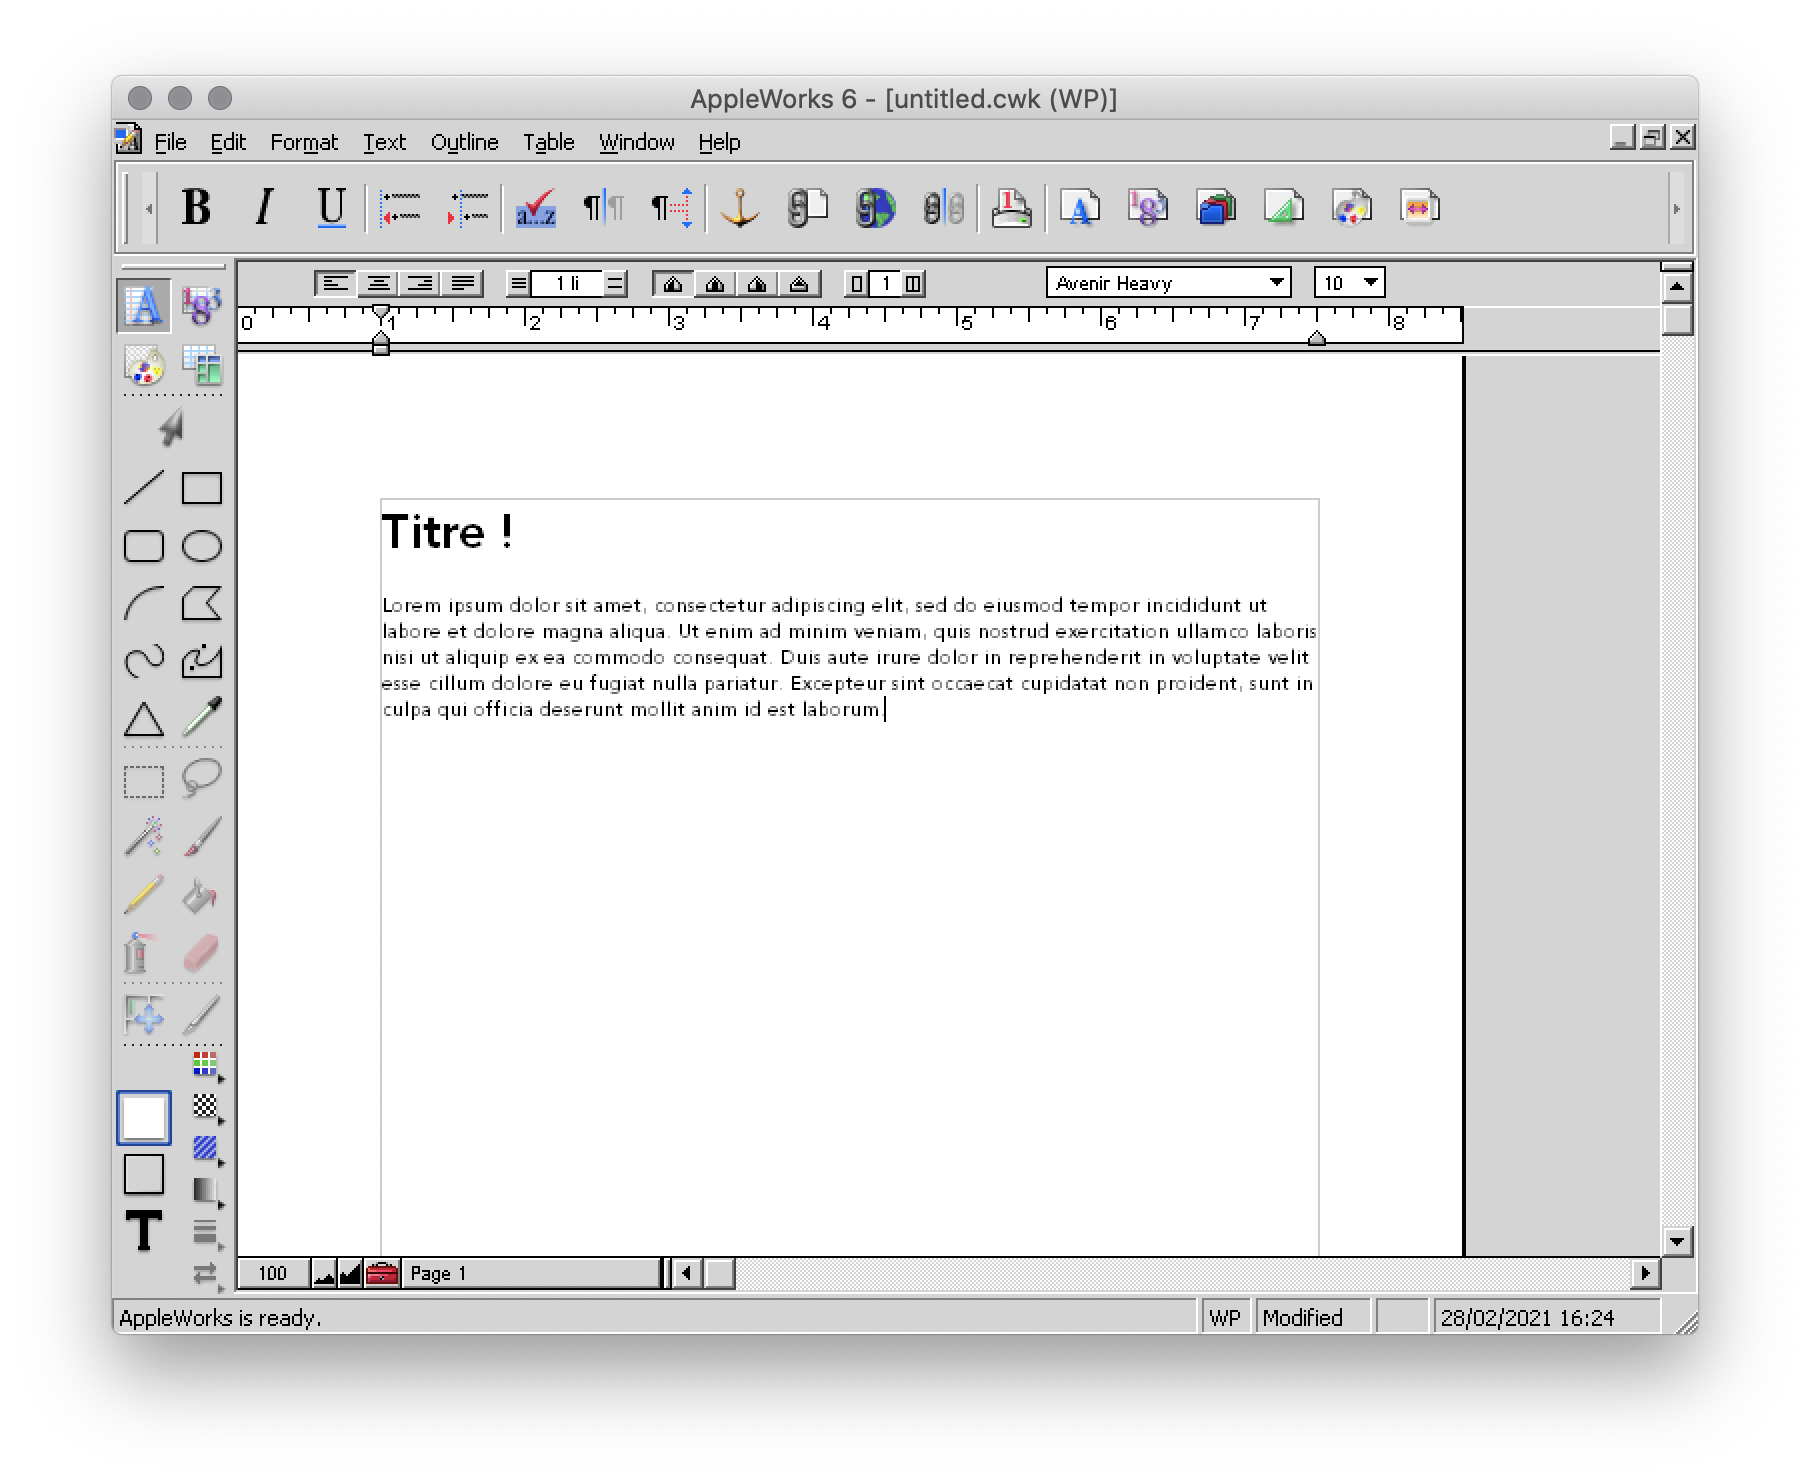
I wrote all my comics scripts, presentations and internship reports there when I was at school, until my dad bought Microsoft Office. Hard to compete with the Word arts. 8D
Except that Microsoft Office did not offer vector drawing software, nor bitmap drawing software. So it was not about to dethrone AppleWorks.
The vector drawing module
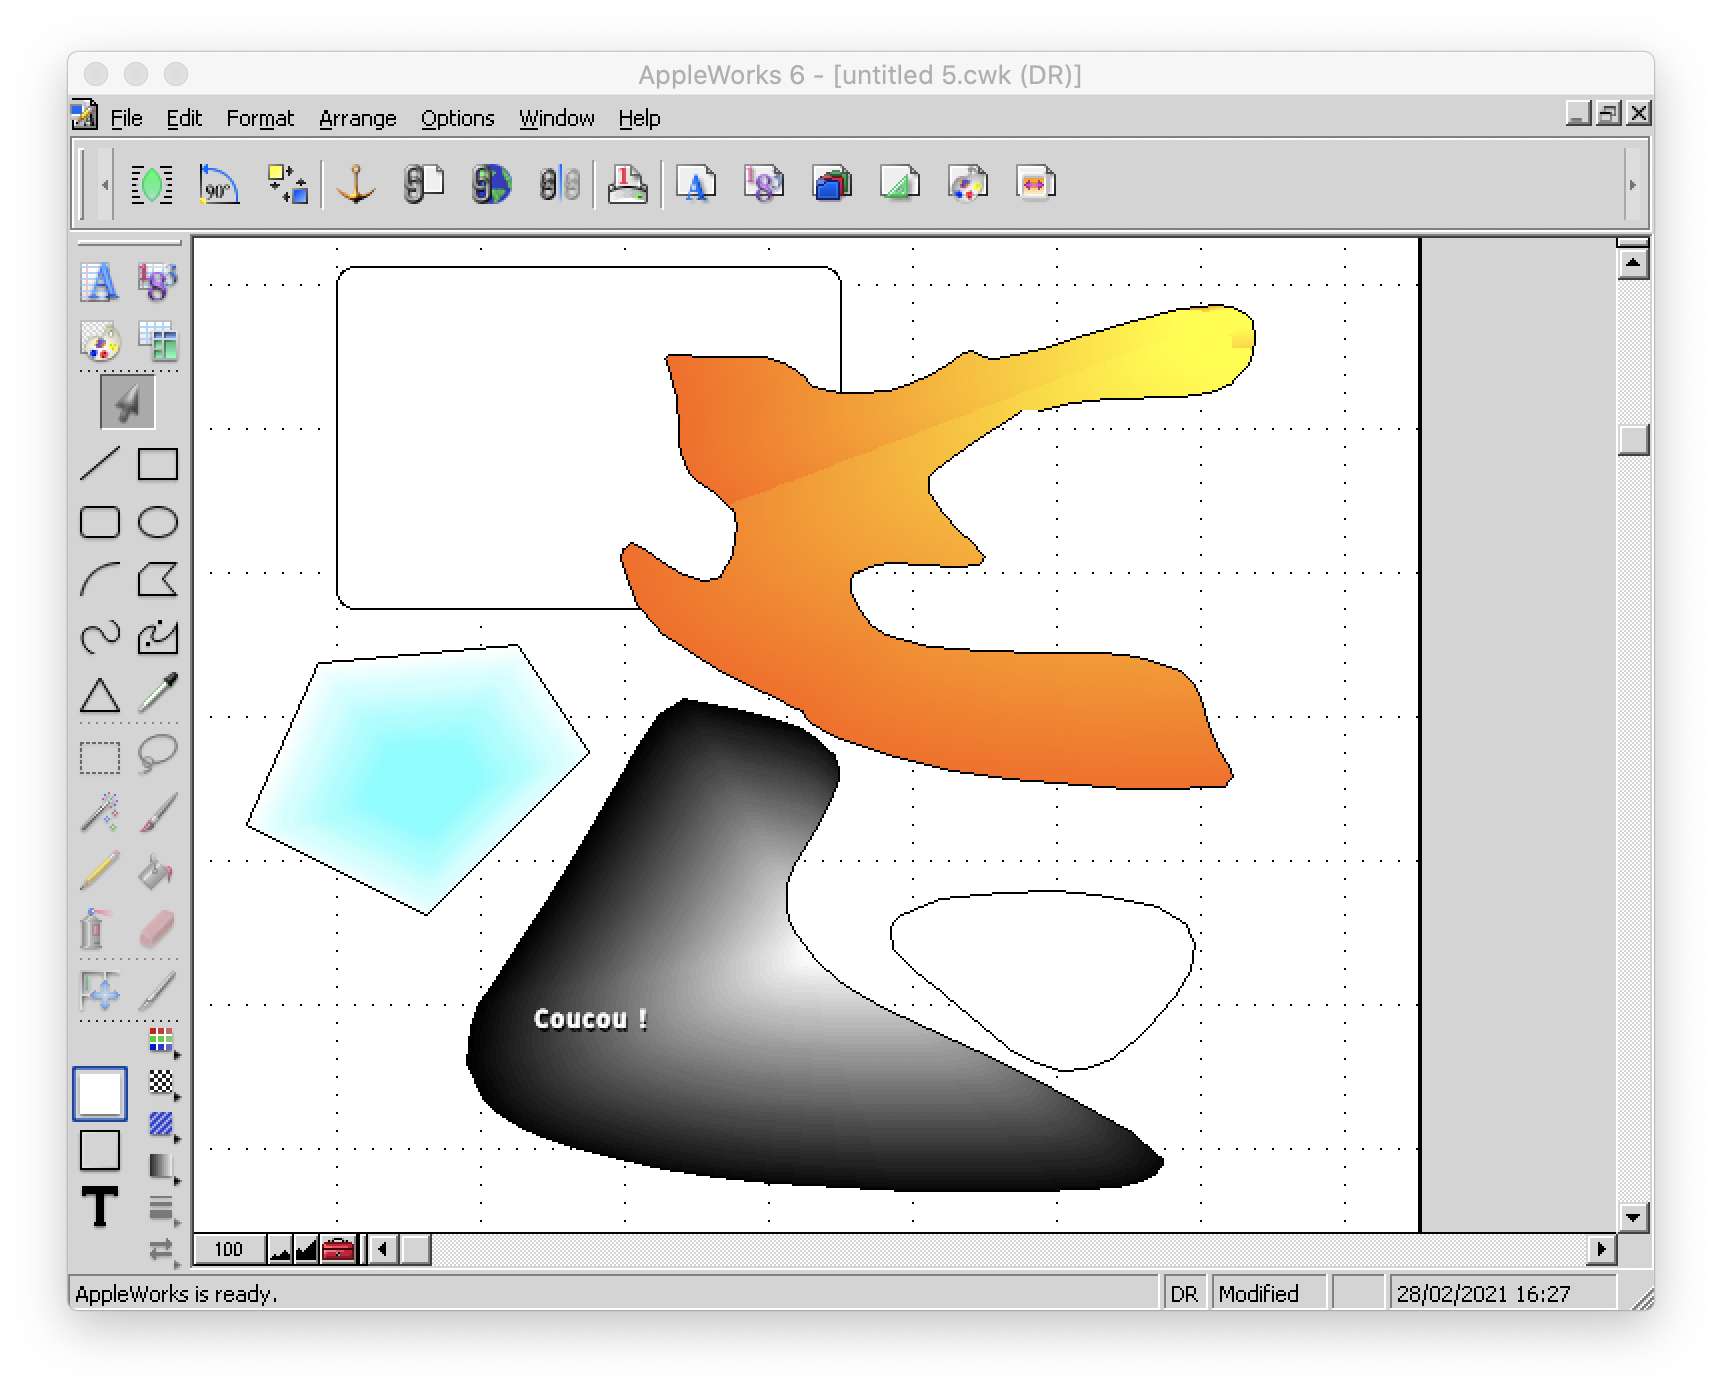
This module helped me a lot to make diagrams to integrate in the word processor, draw dungeon plans for our Donjons and Dragons sessions, make some logos or paste editable text on images like my comics pages.
I particularly liked its ability to generate gradients that roughly matched the shape in which they were applied, and there are recent vector drawing technologies that still can't do that and that's a little bit annoying to me.
And finally, here is the module where I really spent the most time!
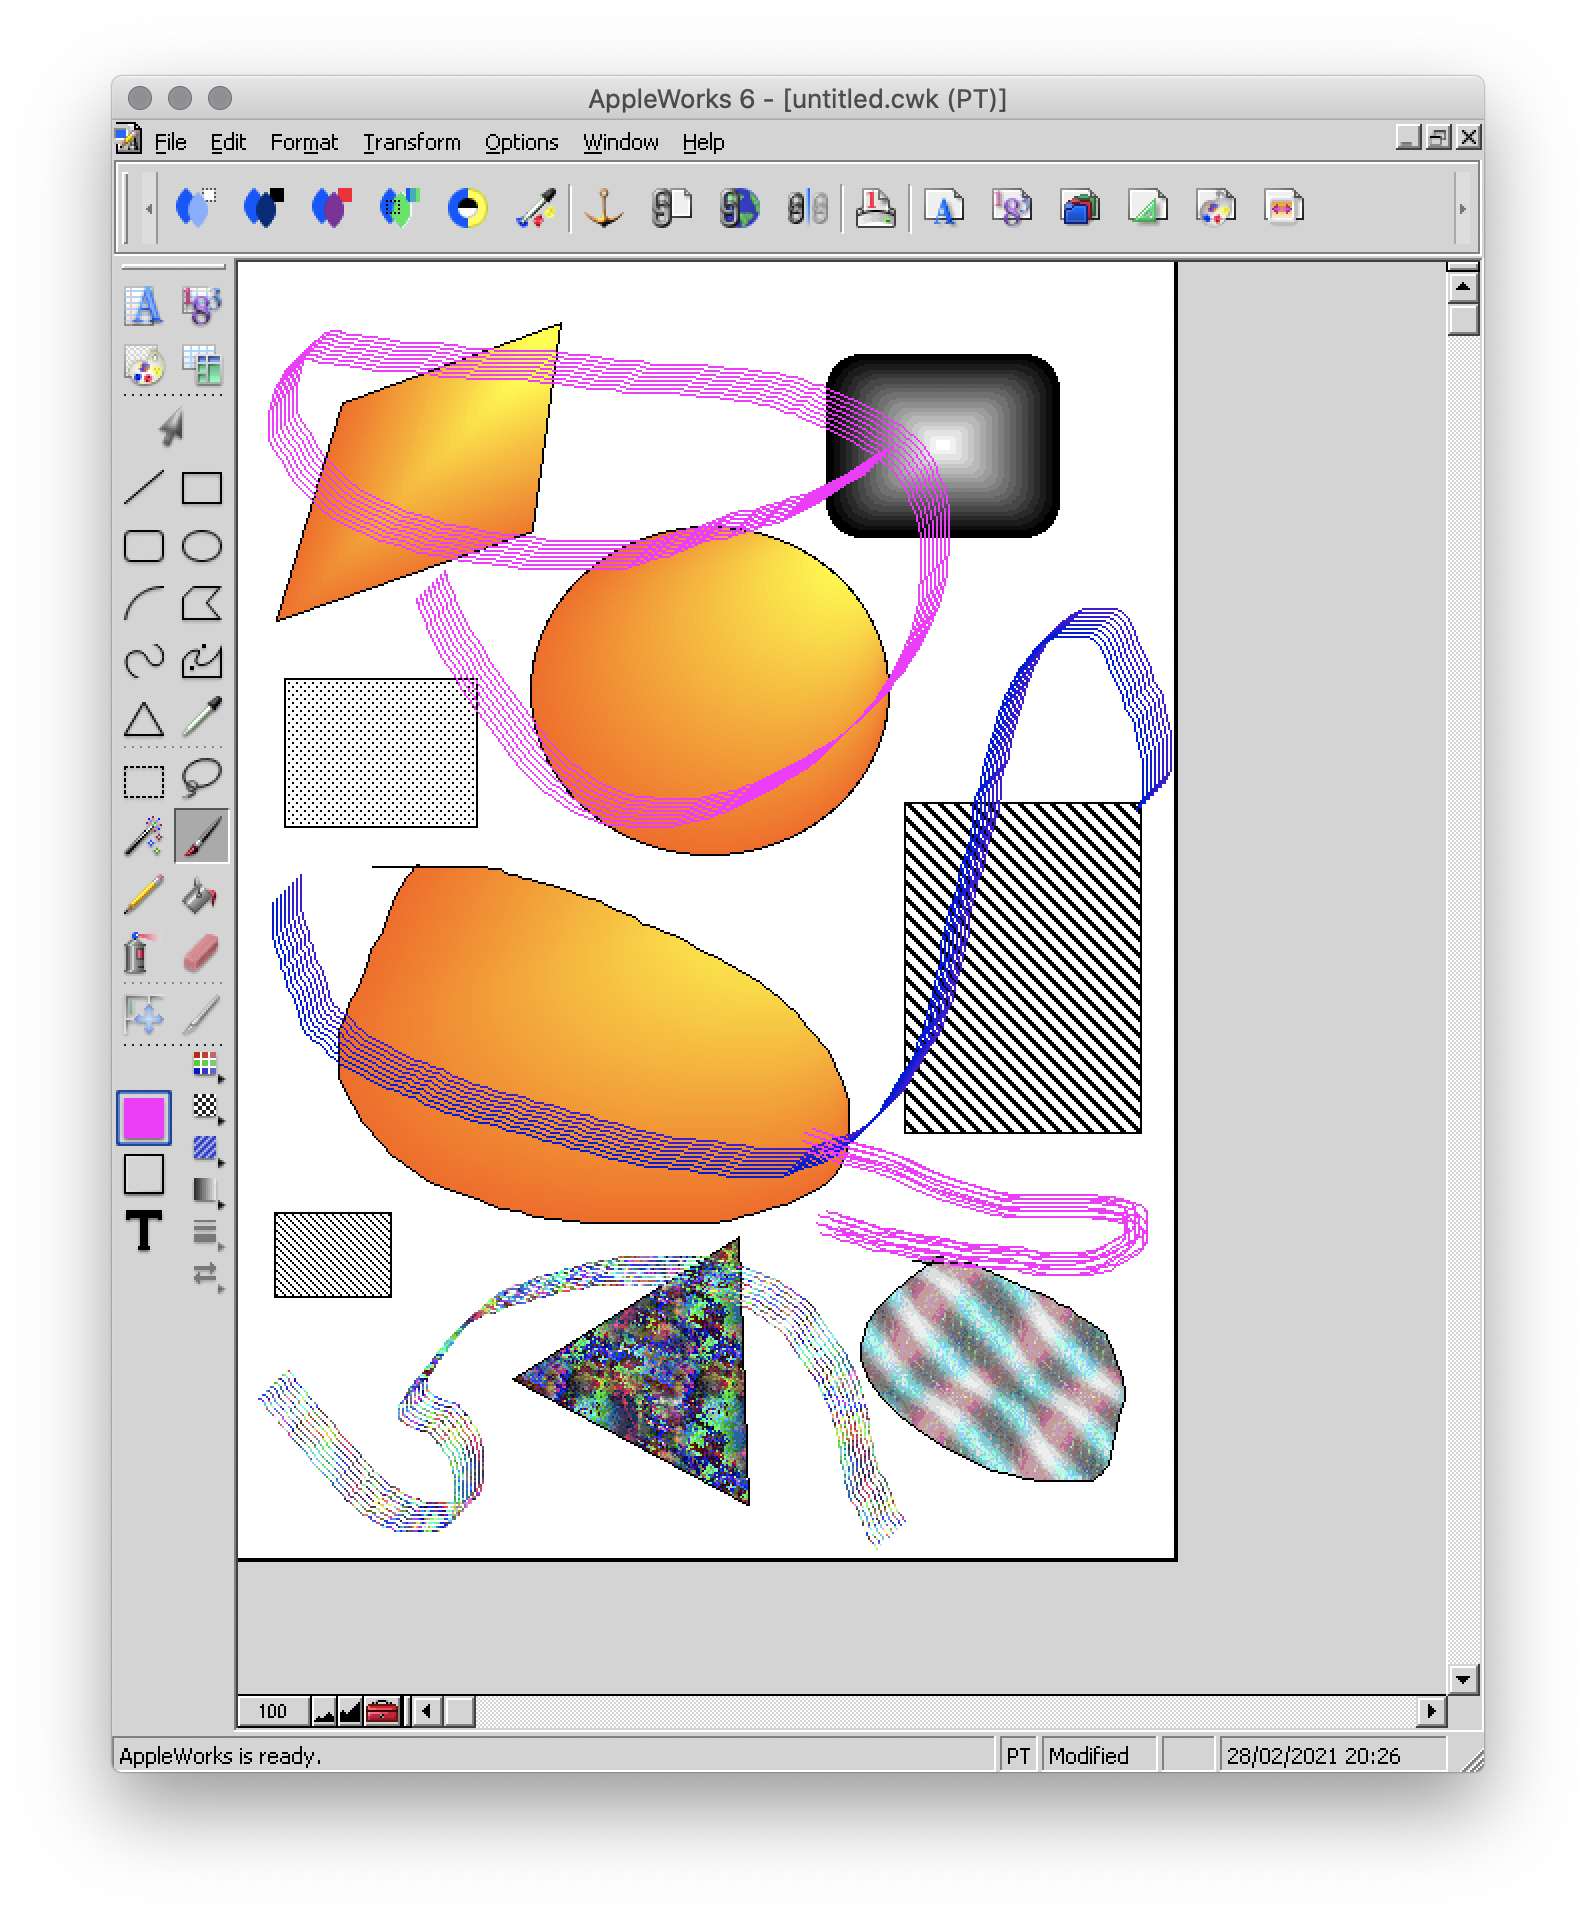
The bitmap drawing module
Well...
Some geometrical shapes, a pencil, a brush, a filling tool, an eraser...
So far it doesn't look much different from Paint.
Wait until you see what it is capable of. :p
The painting module (bitmap drawing)
To begin, AppleWorks 6 is not the first version of AppleWorks that I worked with and already at that time, I had my little habits and what a disappointment for me when I didn't find my favorite features !!
Looking for a little bit it turned out that they were just a little hidden and just needed to be tidied up a bit.
Because yes! This small software already had a customizable interface by drag and drop as on a modern Photoshop!

Now all is clear, we can get to the heart of the matter: drawing! :p
I've already mentioned the toolbar on the side earlyer, which is already familiar to you if you've ever used Paint.
Now, let's move on to the area just below: the palettes.
AppleWorks offers a limited palette of colors.
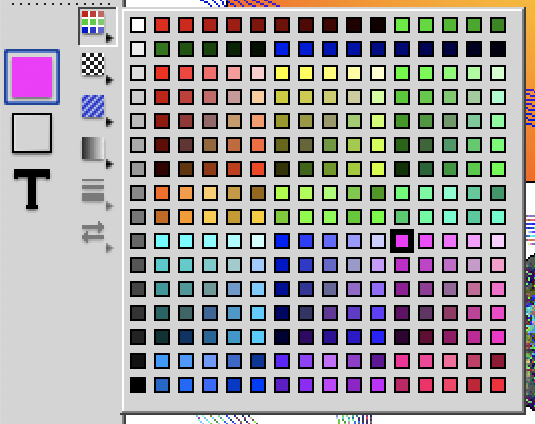
You can combine the selected color with a pattern to apply. Some of them look like manga screentones.

Some fun colorful patterns are also available.
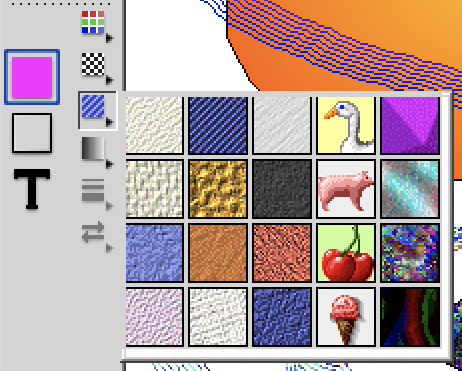
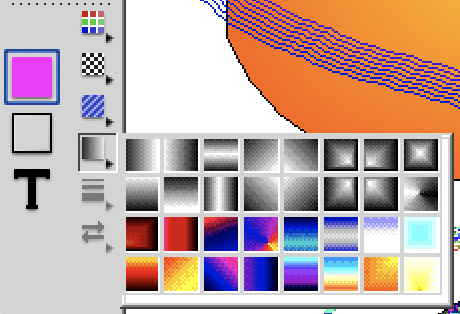
And finally a small palette of gradients is also available.
Well... A few funny patterns, some gradients. It's enough to have fun for 5 minutes, but nothing special. We will going not very far.
That's where the real work begins. :p
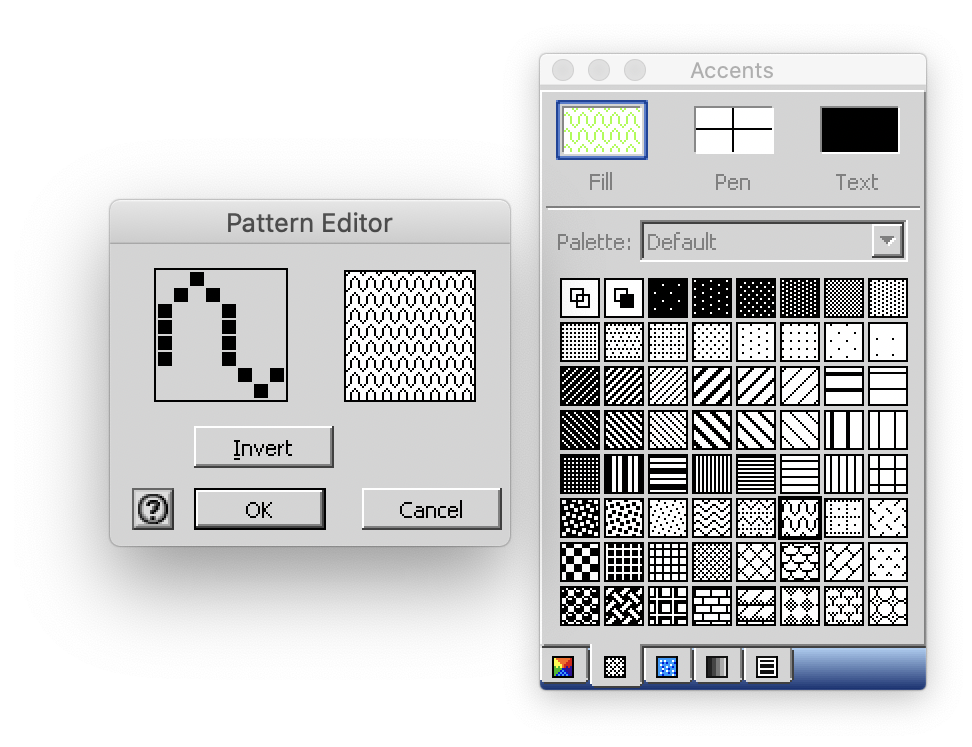
Do you remember? A few moments ago I added buttons in the horizontal bar at the top, including this one.

And this is what it opens!
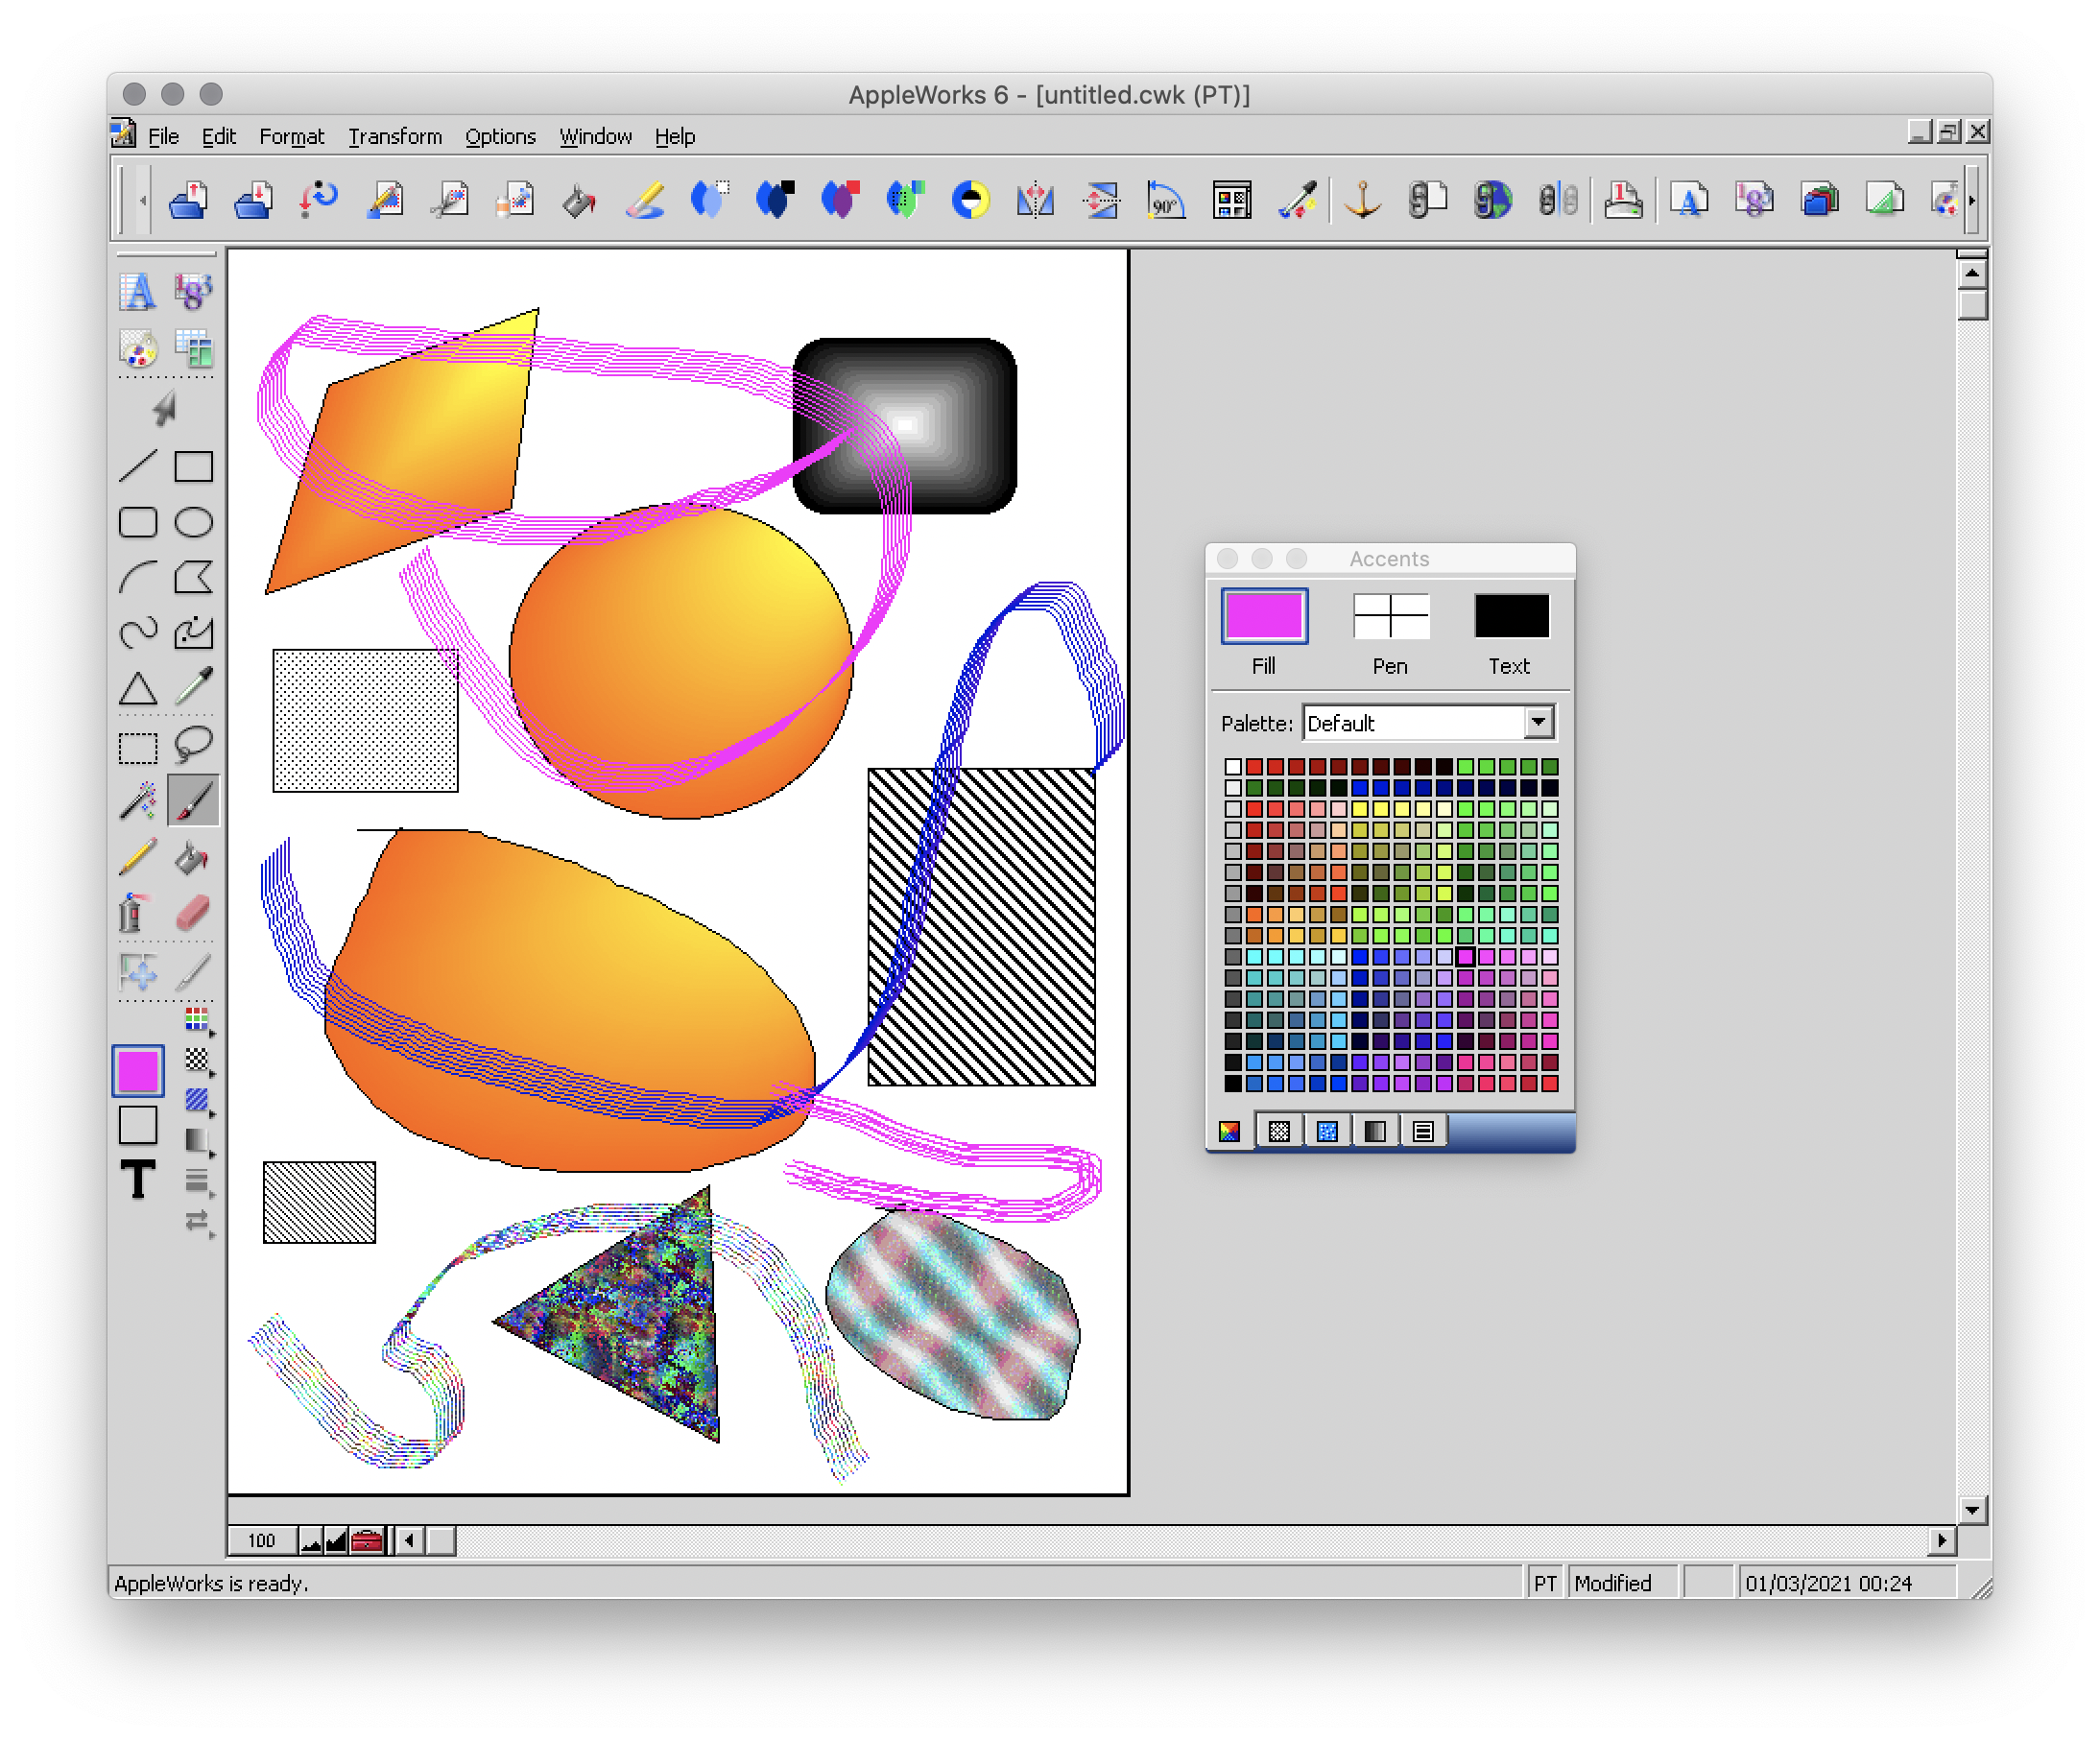
A customization window! :D
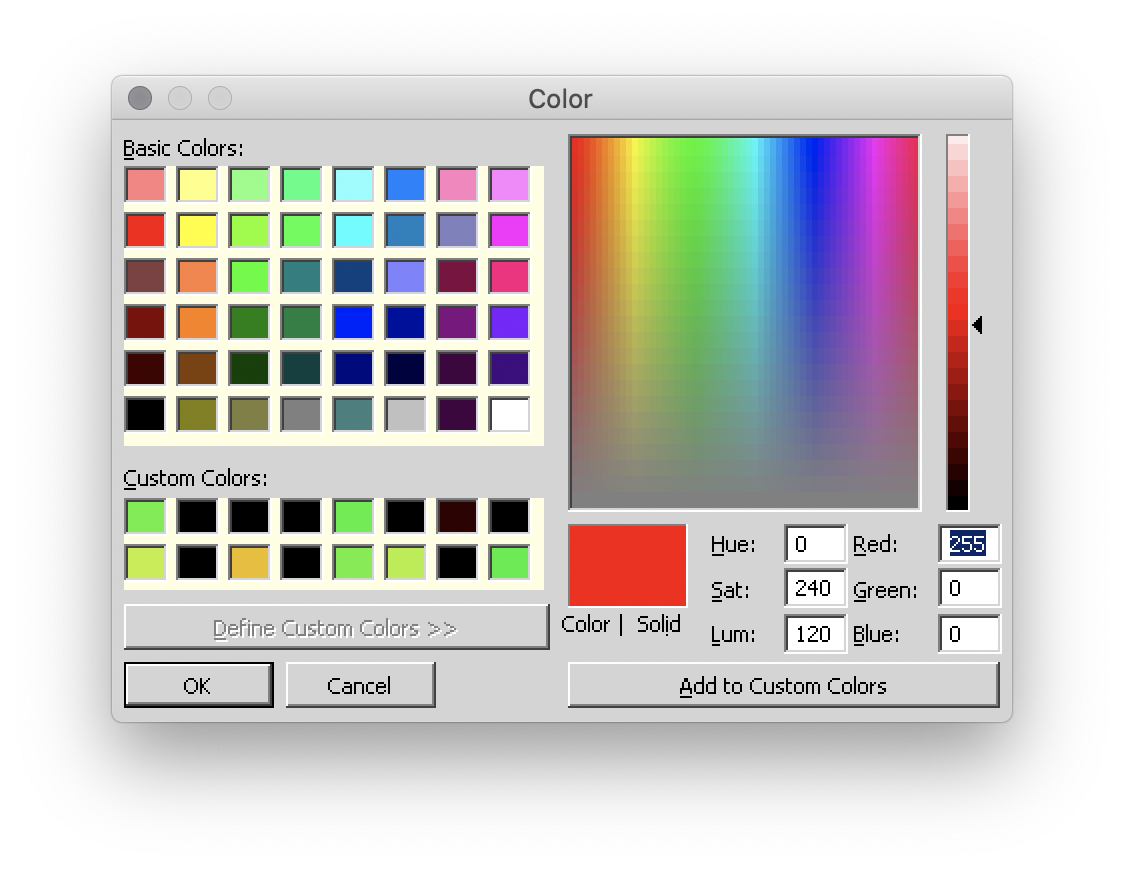
Not enough colors in the default palette?
Never mind! You can create as many color palettes as you want.
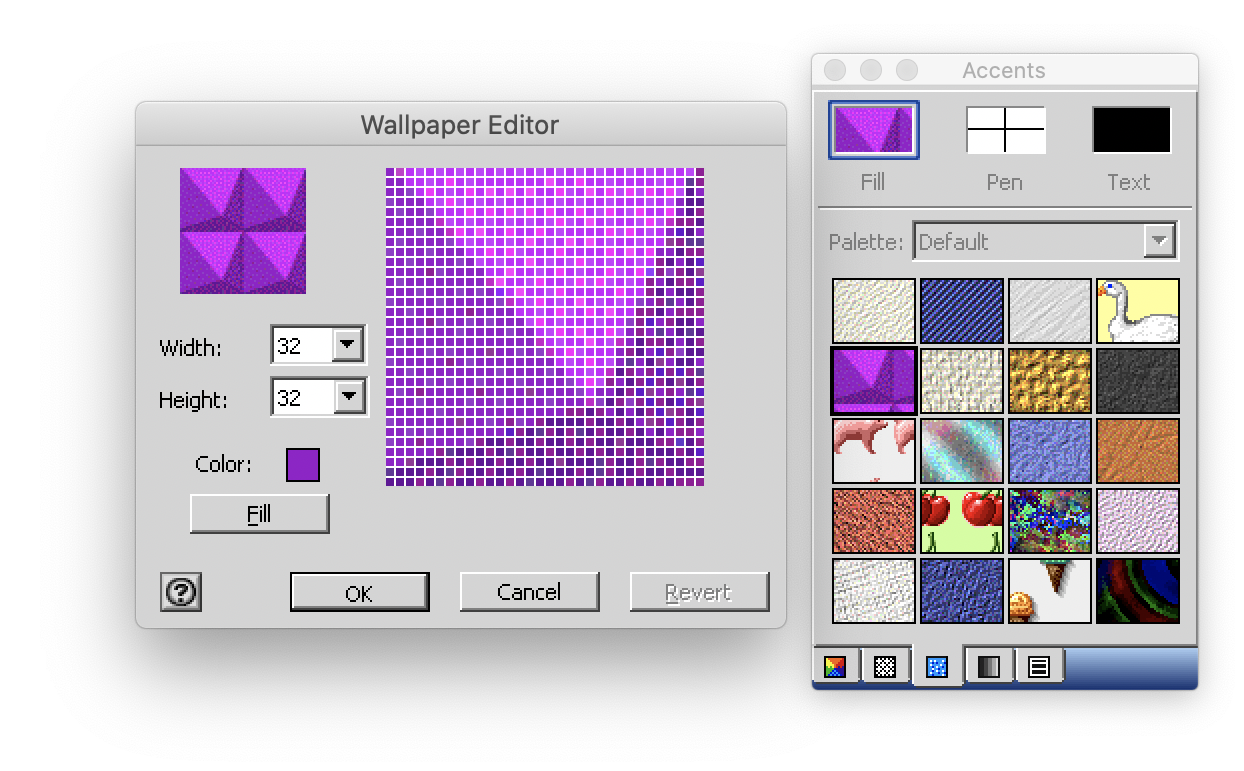
Not enough patterns either in black and white or in color?
You can create as many pattern palettes as you want!
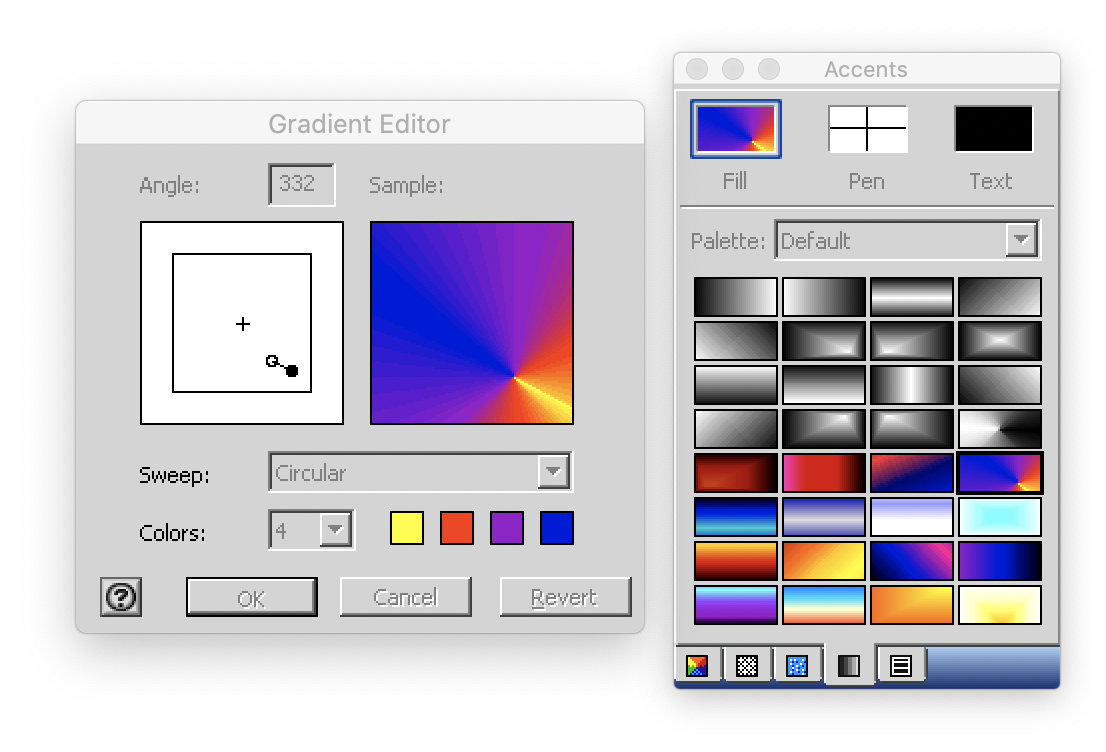
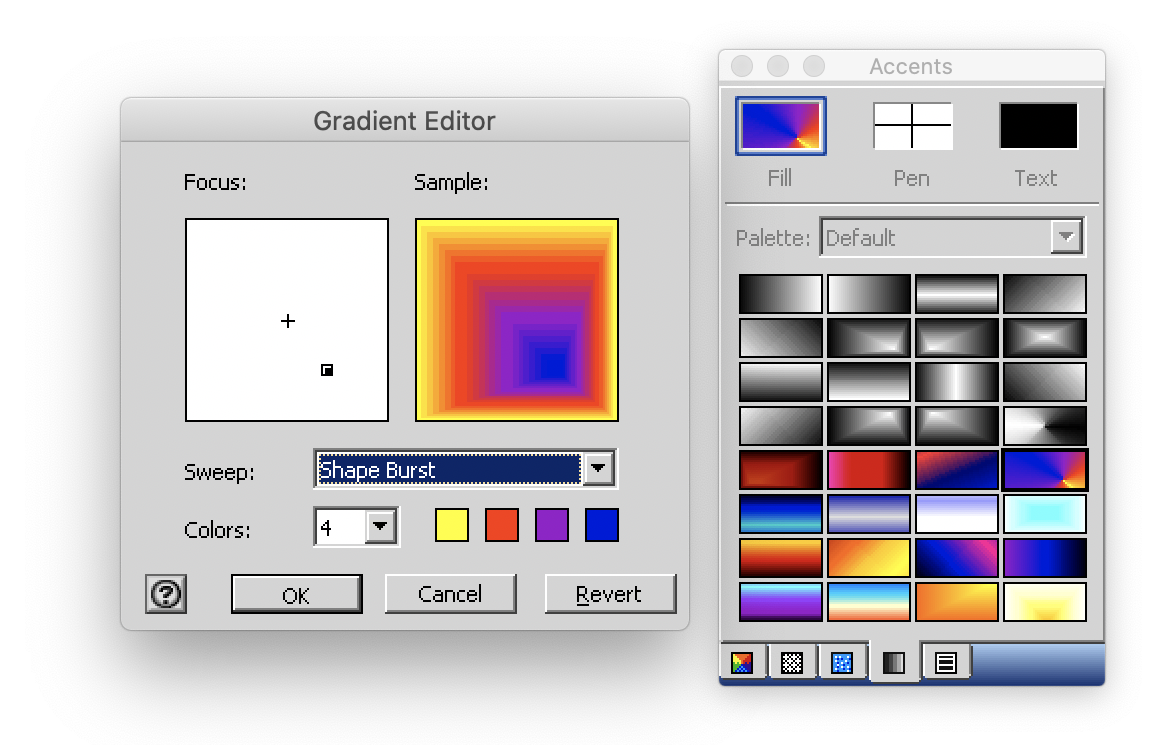
The default gradients palettes is too poor?
No problem! You can create as many gradient palettes as you want!
And for the moment, I spent a lot, a lot, a lot of time on this section!
You can make circular gradients.
Linear gradients.
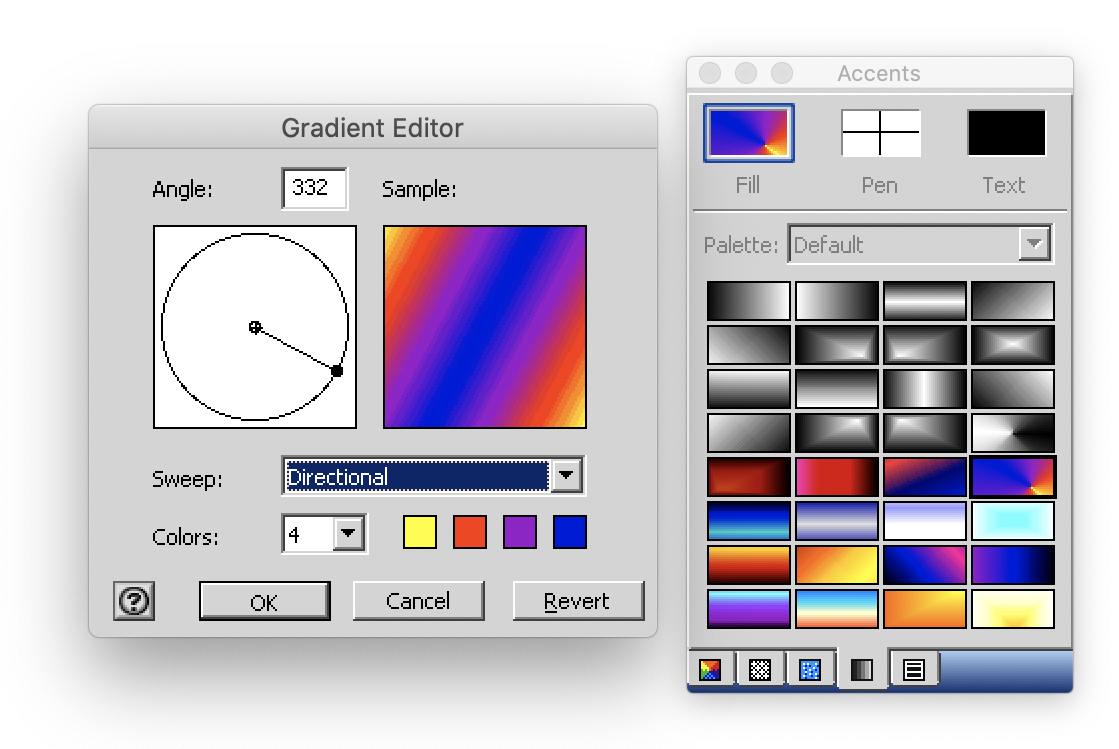
And gradients that fit the shape in which you apply them. Well, it's far from perfect with concave shapes, but it already allows for interesting things.
And to give the coup de grace to Paint, with AppleWorks you could even create your own brushes! :p

There are even some effects available such as blurring.
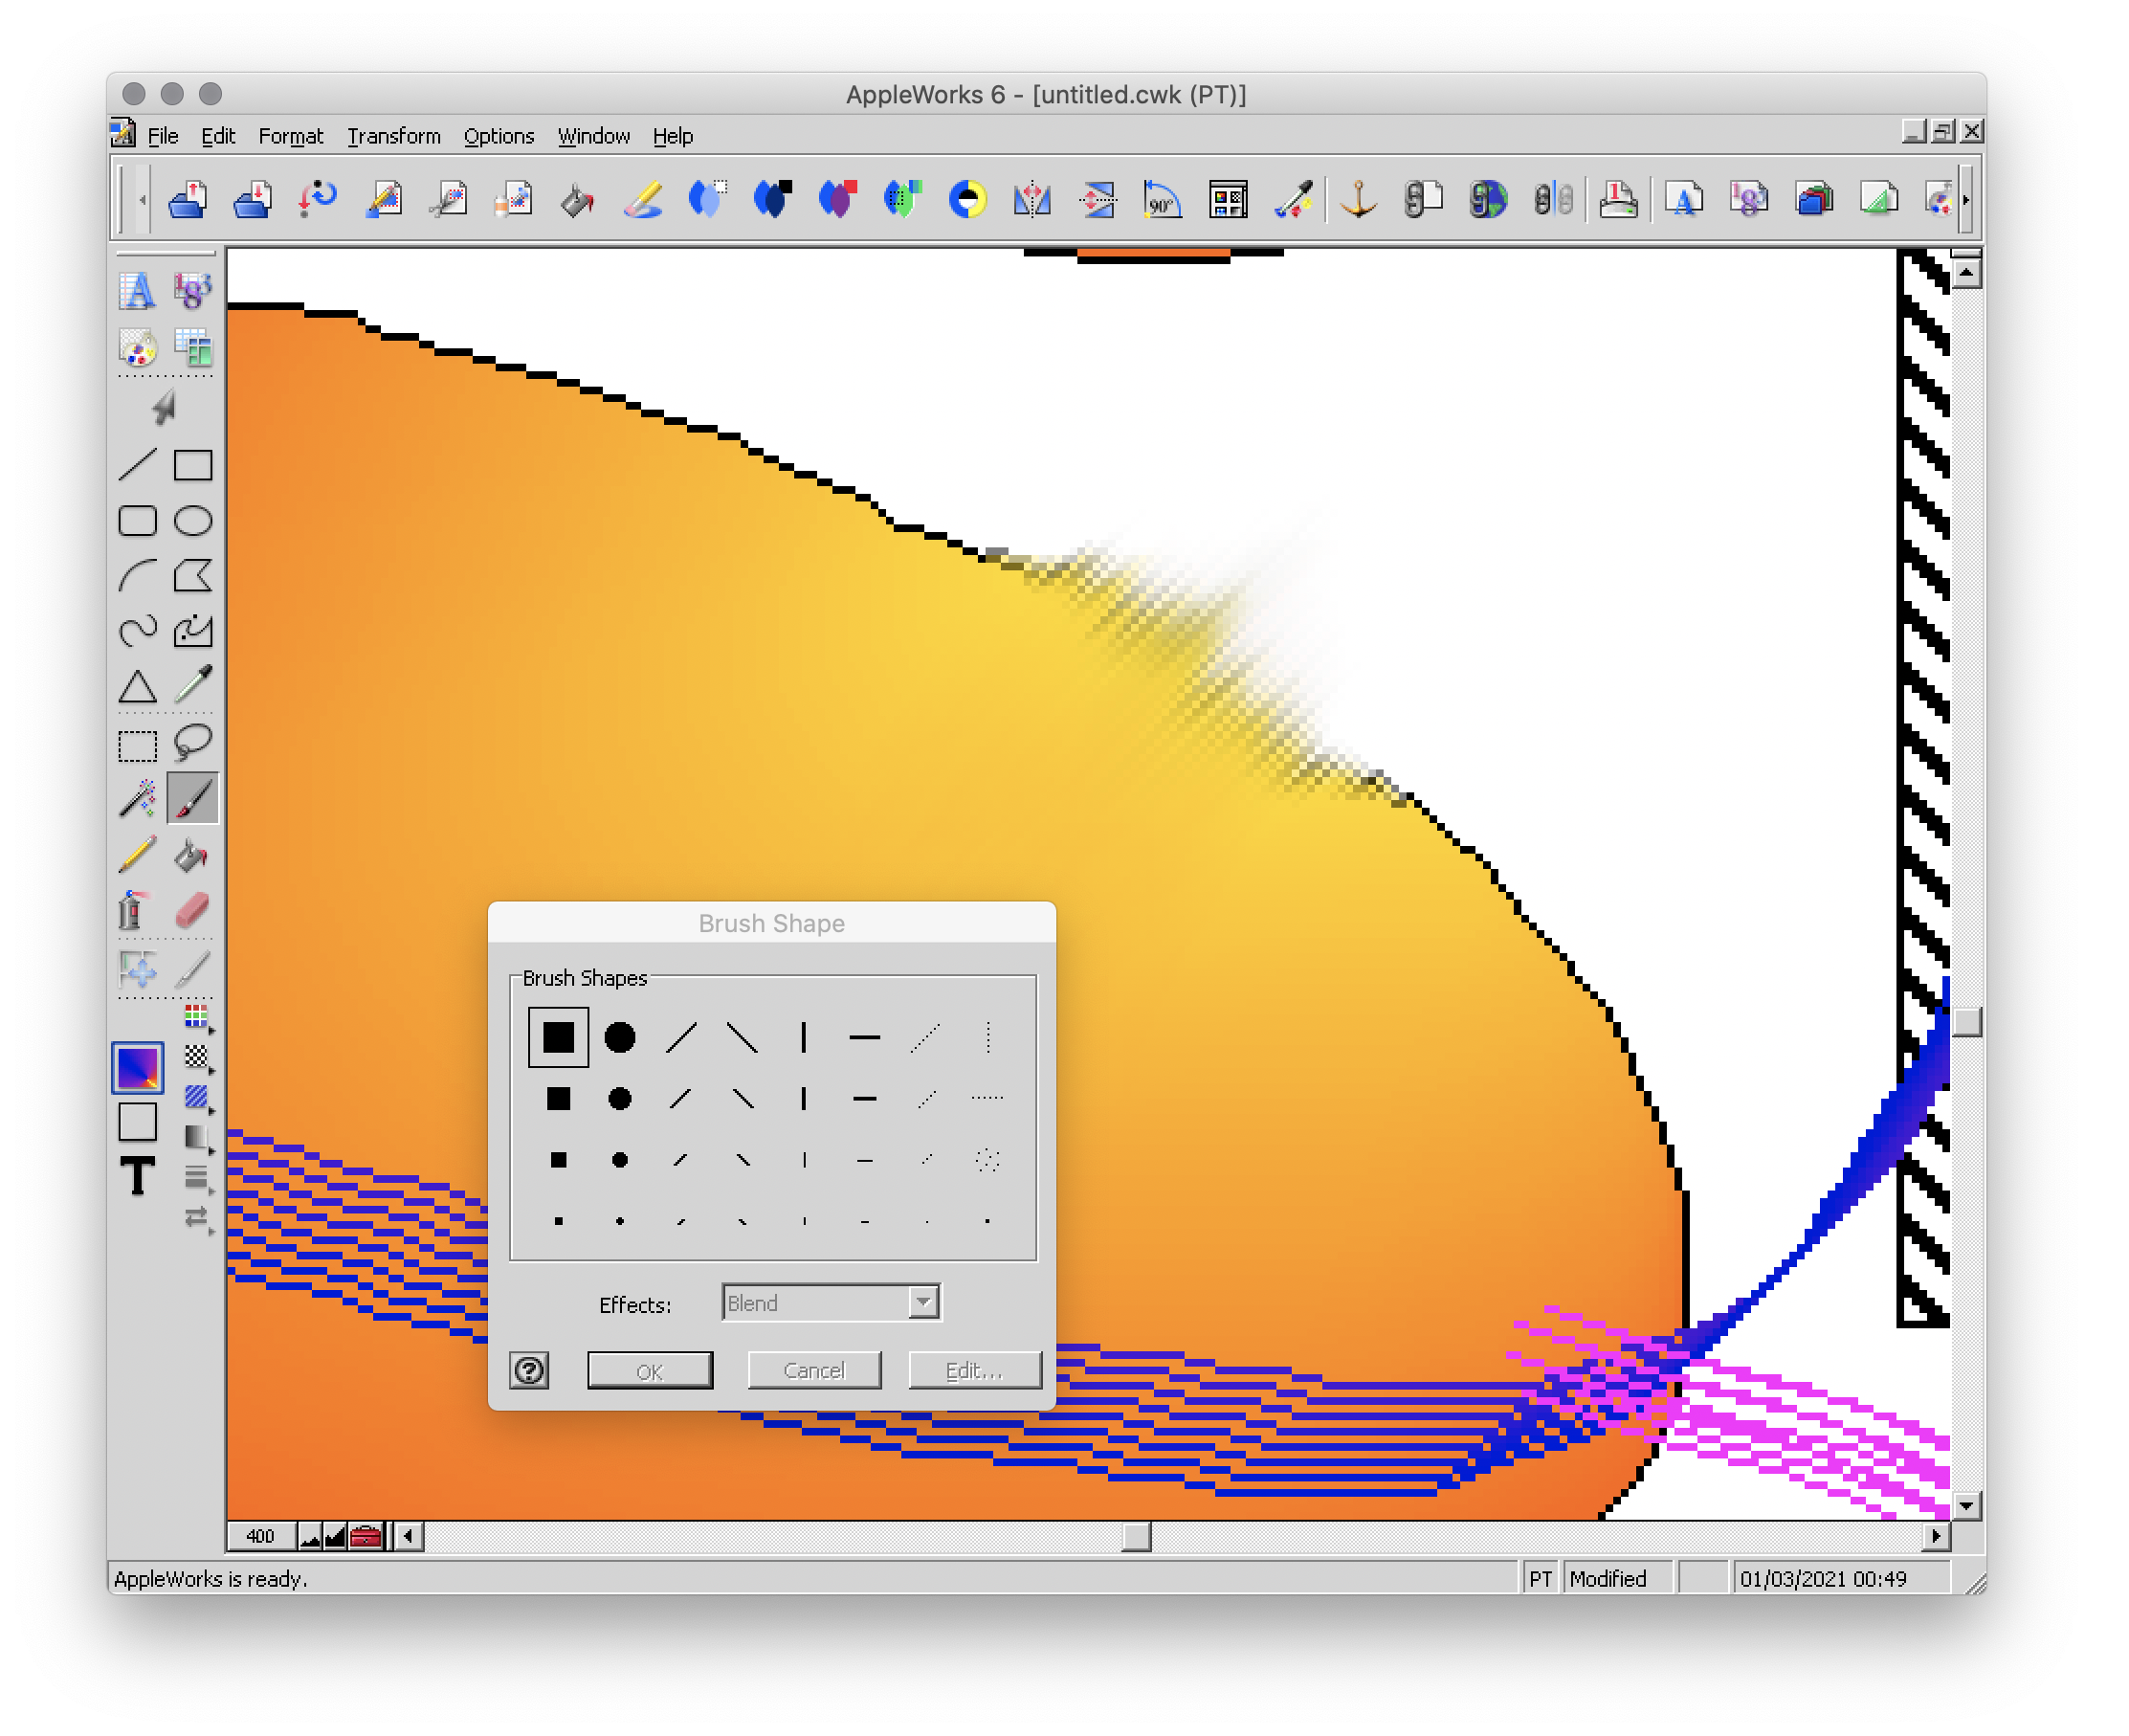
This AppleWorks is a piece of cake in the belly! :D
Now that we know about its possibilities, I propose to show you a small gallery of what I was able to do with this software from end of nineties to middle of 2000s. :D
Gallery of illustrations
Let's start with the very first drawing I made with AppleWorks in 1998.
We didn't have a scanner at the time, so I had to do it entirely with the mouse.
It was also a time when I didn't have much notion of saving the original files and I considered that as soon as I had printed the drawing, it was no longer worth keeping it on the computer to save space (the hard drive was 4 GB).
So this is a scan of the printed version you see here. x)
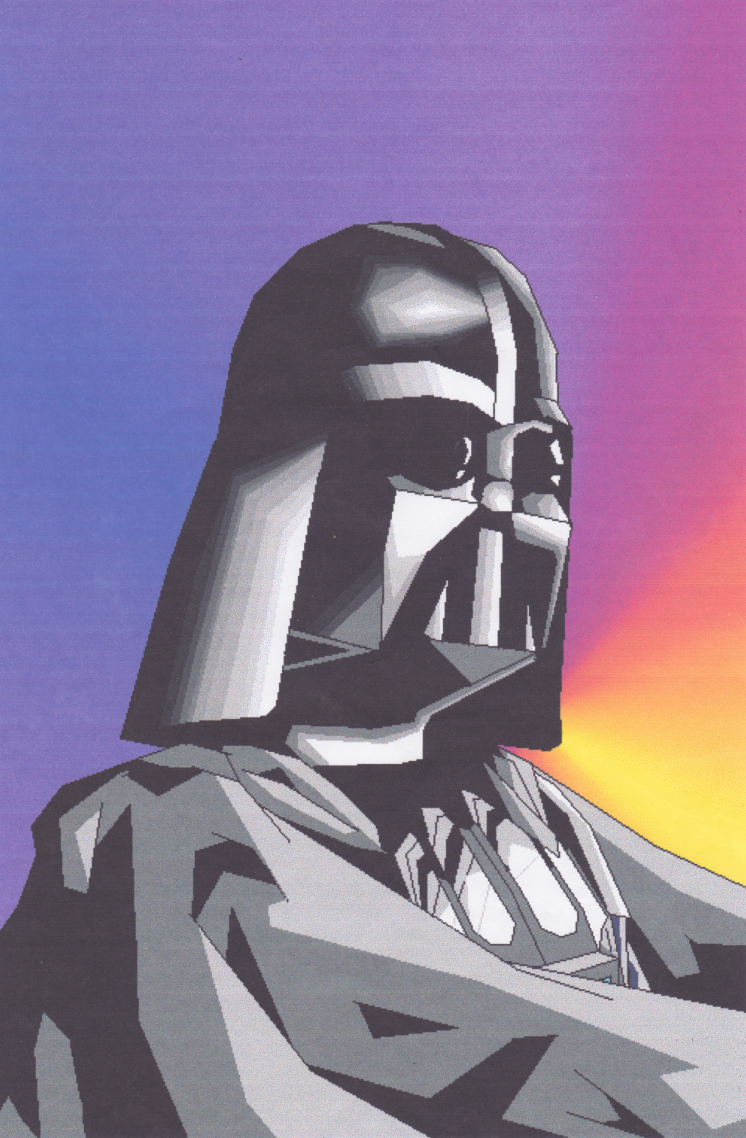
A good old Darth Vader! (1998)
Well, making a drawing from A to Z entirely with the mouse was laborious, so I also used AppleWorks to create backgrounds and print them. Then I would do my drawing by hand and cut it out and paste it onto the printed background.
I was able to make interesting effects by understanding the limitations of the software and exploiting them. By understanding that gradients were composed of a series of solid color bands, I could make focus line effects by filling them with the filling tool with a different patterns or gradients.
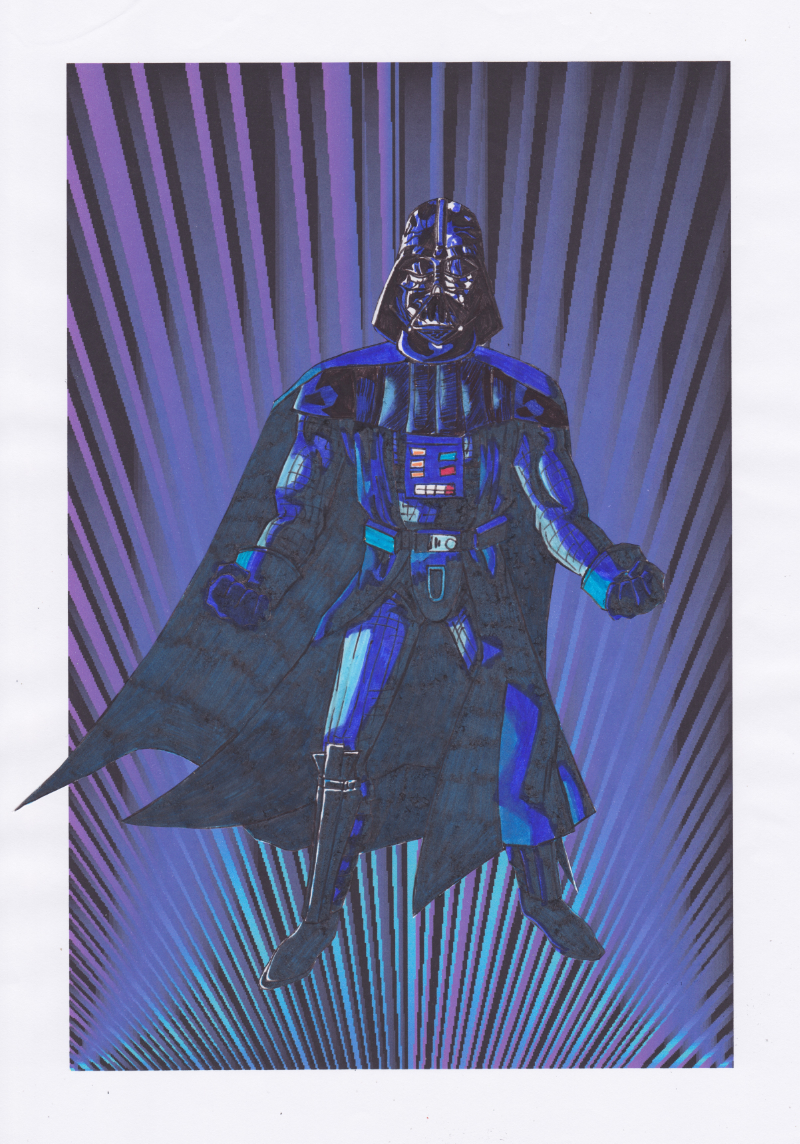
This posing remind some Dragon Ball character (Between 1998 and 2000)
It is also with AppleWorks that I made my first attempts at photo manipulation. I used photos from an encyclopedia we had on CD-ROM and manipulate them by tinkering them and copying and pasting small pieces here and there.
Then I printed my montages and paste them onto the comics pages.
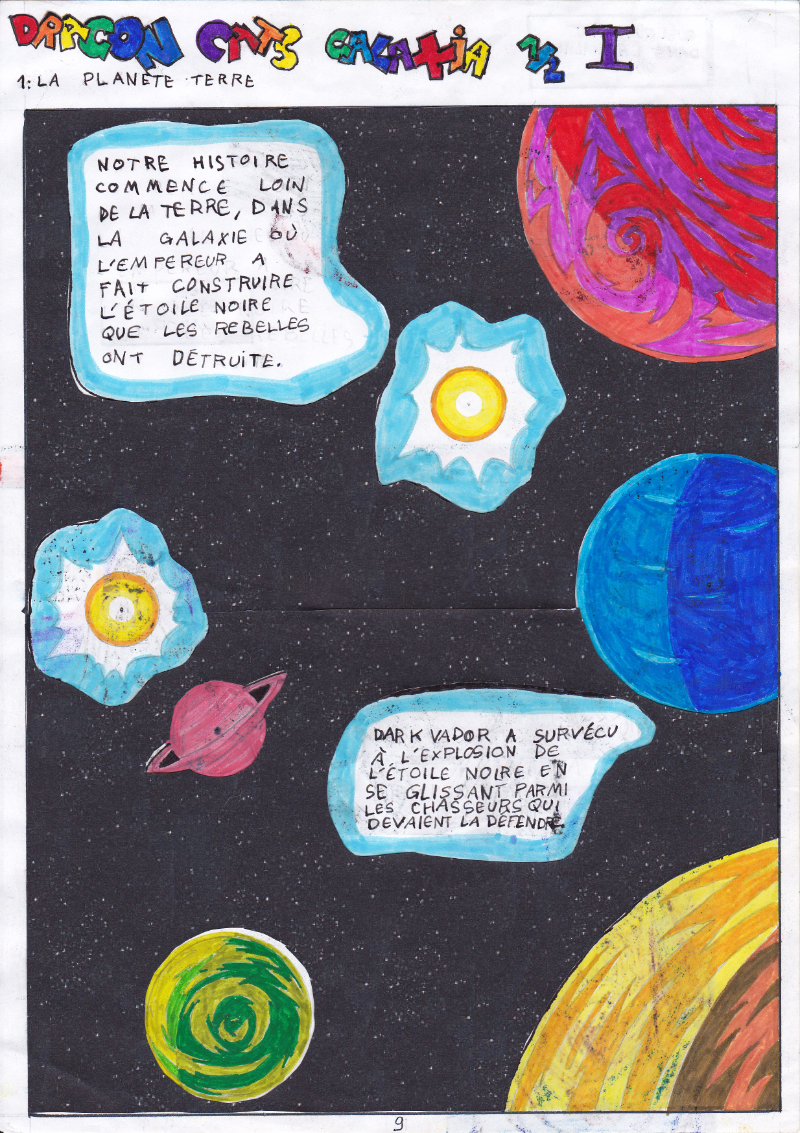
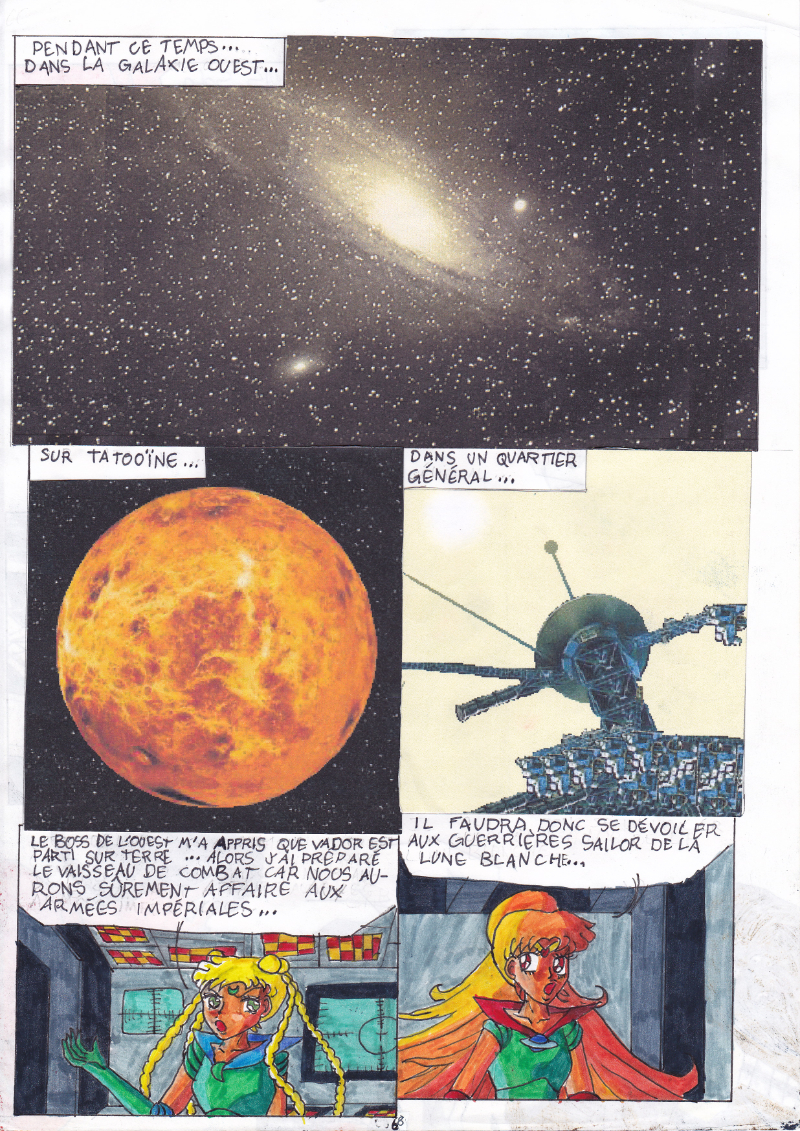
My montages were mainly used for space scenery. (1999 - 2000 in collaboration with my sister)
This software really pushed me to be creative to get what I wanted out of it. I had even managed the tour de force of pasting a white lineart over a photo.
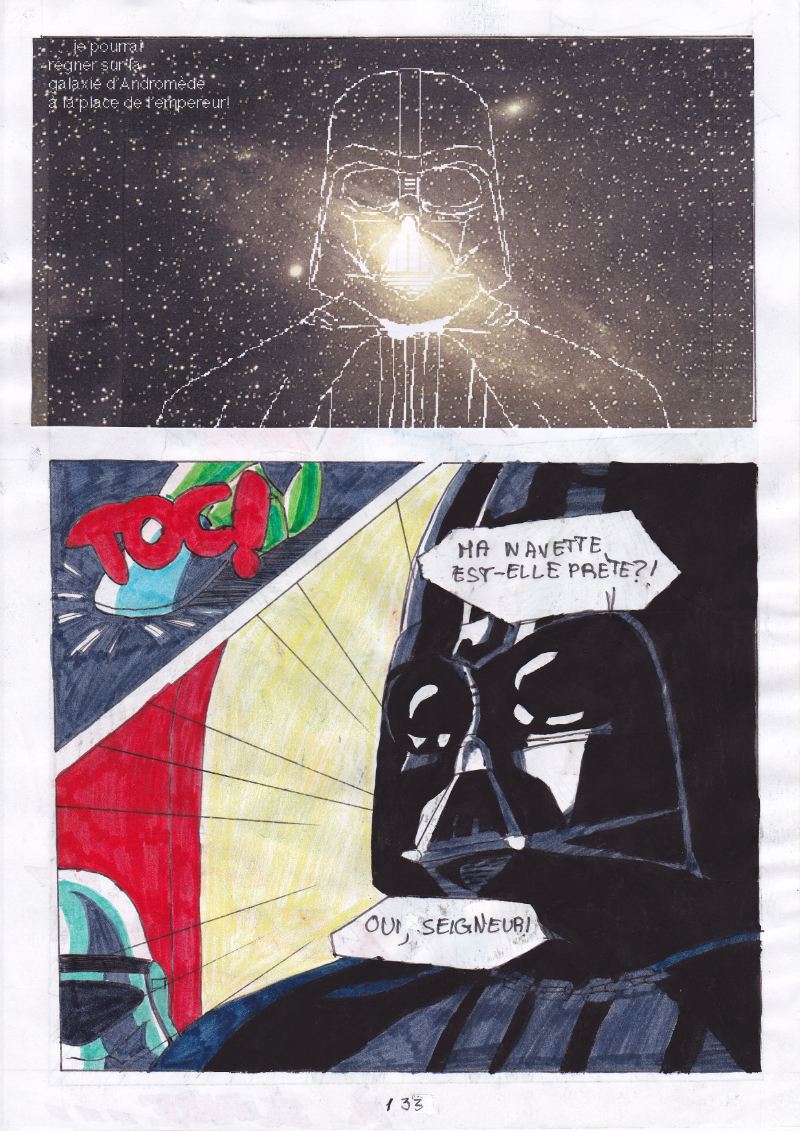
(2000 - 2001)
In the absence of layers, I had to work on 2 files in parallel and with the lasso select tool.
And then one day, our first scanner finally arrived home!
There the serious things could begin!
I was able to stop trying to make drawings with the mouse and use AppleWorks to put in color drawings made with the traditional way.
So I was able to go further from the end of nineties.
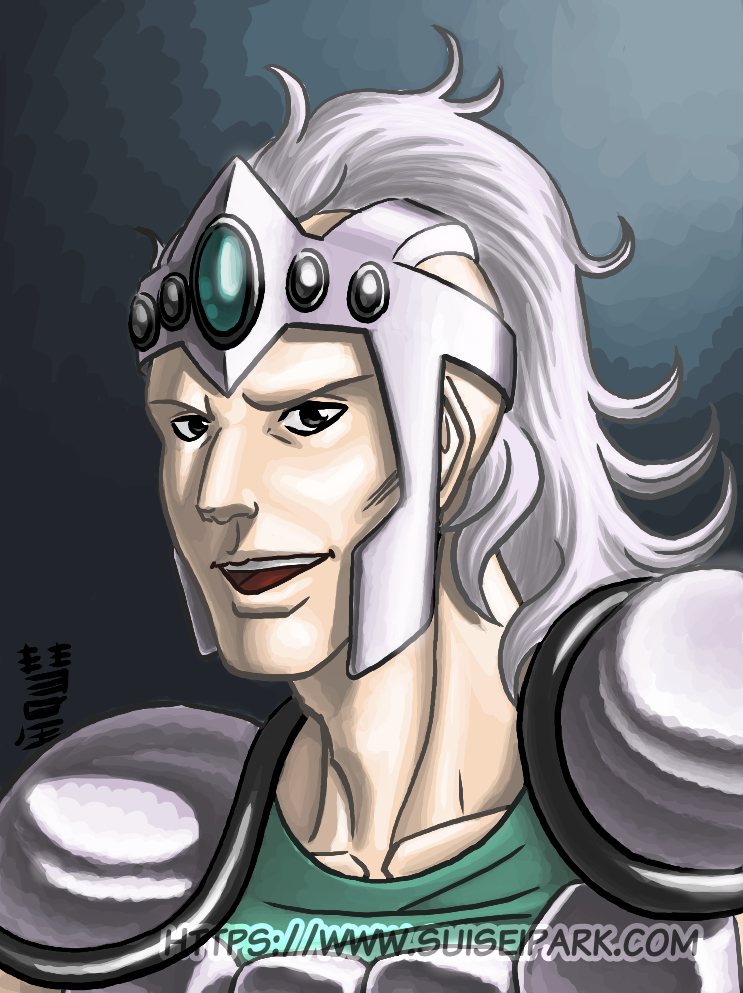
It obviously started with Saint Seiya. x)
(You can always click on the images to enlarge them to full size.)
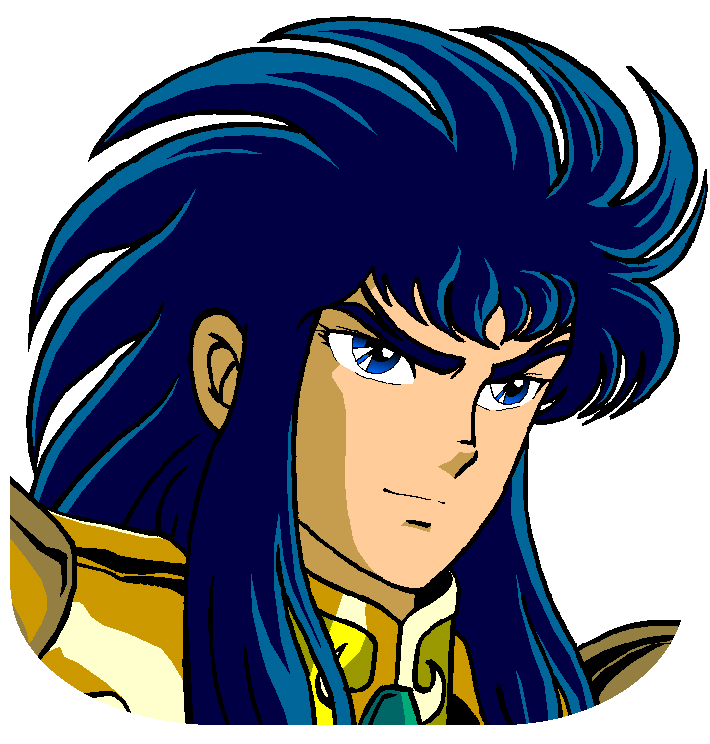

I loved the Aquarius saint. He was my favorite character from Saint Seiya. ^^ (2000 - 2001, this way)
At the beginning I was just doing solid colors, but as I experimented with the features and learned how to combine them, I ended up getting more and more advanced renderings.
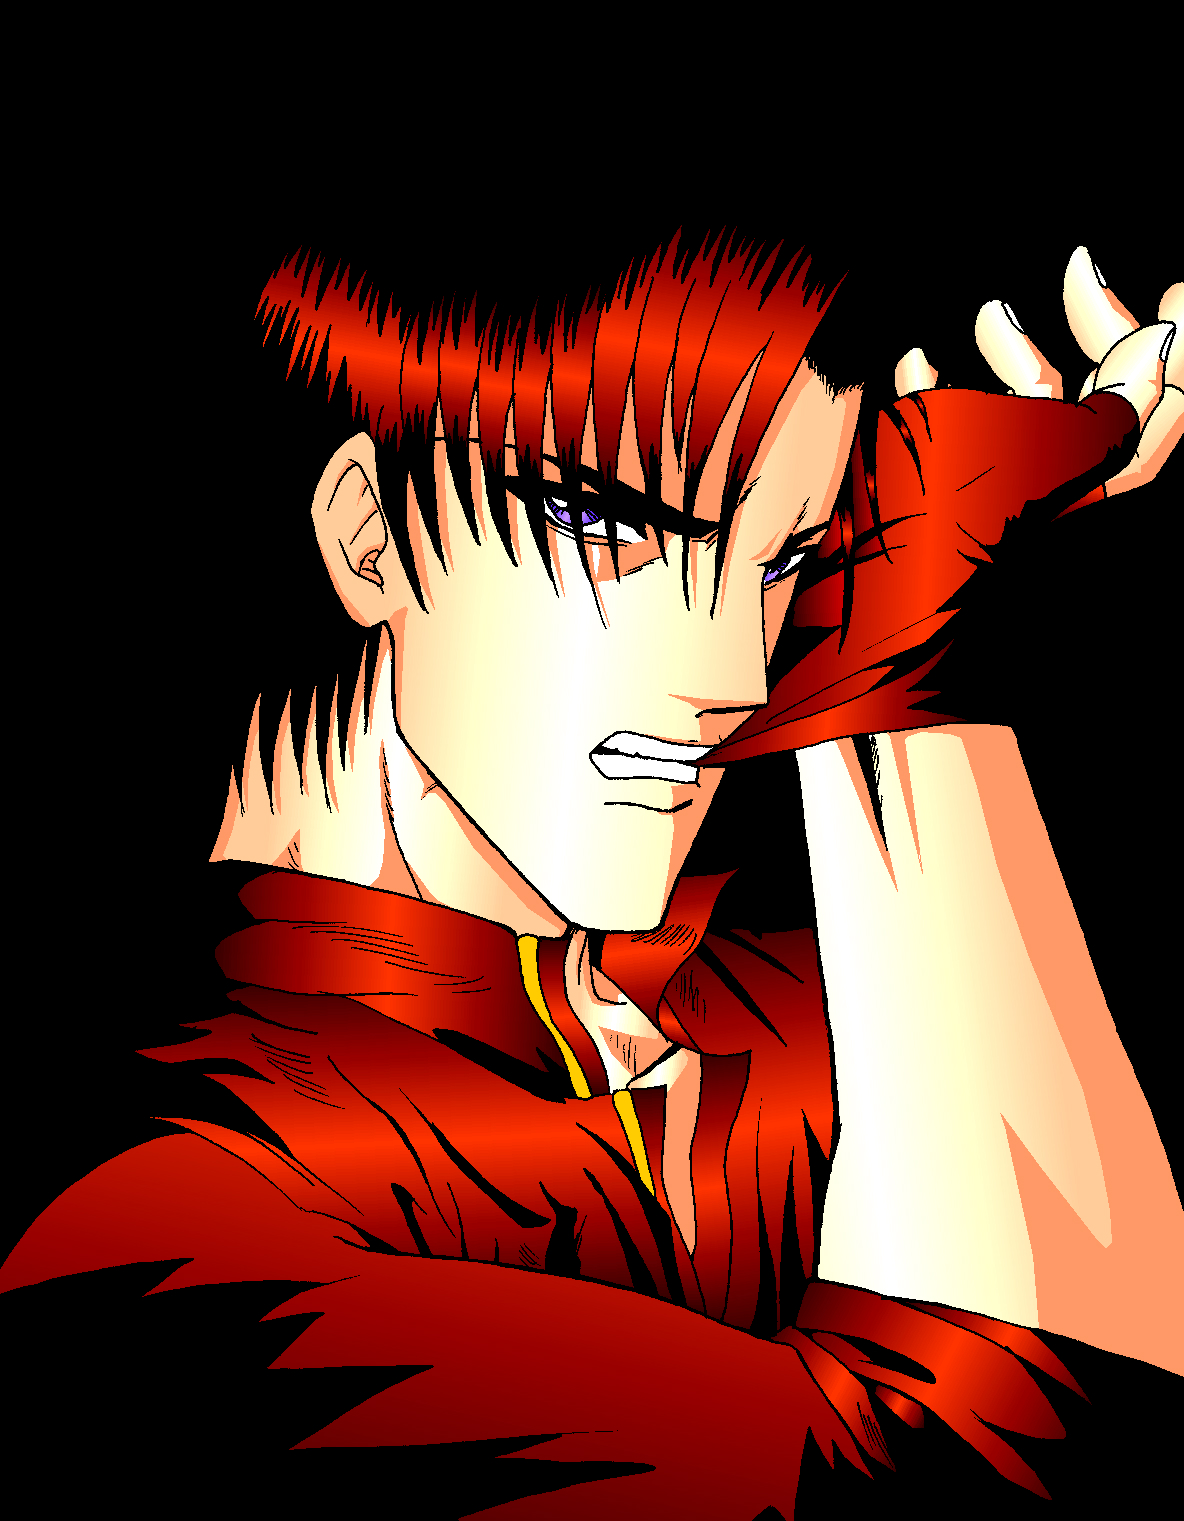

Aoshi Shinomori from Kenshin and Ashram from Record of Lodoss War. These two were also my favorites characters at one time. (Between 2004 and 2006)
If you have enlarged the images you must have noticed that the line is particularly crenellated. There was no antialiasing, no layer system with opacity levels, no tolerance threshold for the filling tool. So it had to be black, or white, but not in between.
As a result, AppleWorks was not really adapted to work on drawings with small details, hatching or heavily detailled backgrounds...


I tried anyway. :p
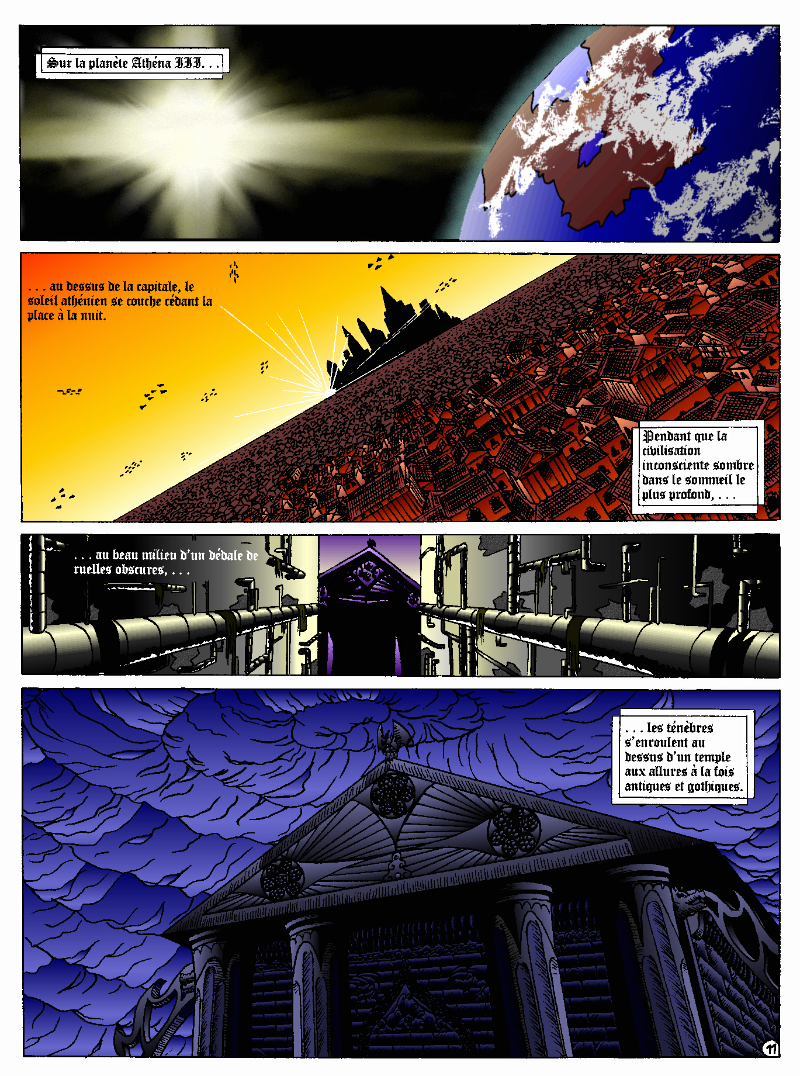
These last 4 examples I think I made them between 2004 and 2006.
The comics pages come from the first version of the Nécrotech project which is currently in a dormant state (but which I intend to resume one day). You'll notice on the first image of the last page some effects whose style stands out a bit from the rest. It's normal, I made them in another old painting software, Art Dabbler, but this is another story. :p
In 2007, I got tired of suffering, I started to use The Gimp, in 2008 I bought my first graphics tablet, in 2009 I embarked on the Photoshop adventure and you know the rest: I sold my soul to Promarkers and Clip Studio Paint.
And then there are days like that, we fall back into childhood.
(Click on the image to see it at full size and distinguish the pixel patterns. I know, I repeat myself, but the devil is in the details. :p )
Last week, I decided to make a theme of the Drink'N'Draw from A to Z with AppleWorks to see what I could get out of it with 15 more years of experience in drawing and illustration. 8D
With some tips you can get a pretty amazing result!
I am happy with the result, especially the colors.
It wasn't done without pain. The feature I wanted to take full advantage of (customizing color patterns) is buggy on the Windows version of the software, so I had to set up a Mac OS X Snow Leopard virtual machine to be able to do the finishing touches. What an adventure!
In any case, AppleWorks is always well adapted to make pixel art and this experience has allowed me to learn new things applicable in recent and professional softwares.
I had never really tried pixel art, which I love, by apprehension of the execution time. I think I found the trigger to get serious about it. I will explore it further. :D
Well, well, well! But in fact, calculating gradient patterns for pixel art with shaders shouldn't be complicated. I think I will add such an effect in Péguy ! :D
Install AppleWorks
You've read it right! You can still install and use AppleWorks in 2021! :D
Windows
I did the test with Windows 8.1 on my Cintiq Companion tablet from Wacom, and in the comments it seems that it also works very well on Windows 10.
To do this you will first install the latest version of QuickTime 7 which you can find on this page. You double click on the installer and you do next, next, next... Even when you are asked if you have a product key. It is not mandatory and useless for our needs.
Then you go to this page and download the first file. You unzip the file and double click on the installer, then same procedure as before: next, next, next...
You can do retro digital painting now! :D
Mac OS X
Apple computers have changed so much in 20 years that it is now impossible or at least very complicated to run the original programs on today's machines. The manipulation therefore consists in using the Windows version with the Wine emulator.
If I had no problem with the procedure, it may seem a bit complicated for non-technical profiles so I simply propose you to download the final application I created myself via this link on Google Drive. You just have to download it, unzip it (with a double click) and launch it.
If you're a computer geek and want to get a version of AppleWorks without the color pattern bug, you can get the .dmg here and install it in a Snow Leopard virtual machine.
Be reasonable about the size of your files. This is an old software that will have trouble supporting surfaces exceeding 2000px by 2000px. There is a way to cheat a bit, it is by creating a vector drawing file and creating a bitmap drawing surface inside.
That's all for that nostalgic moment.
I think I will come back with some illustrations made with AppleWorks in the future. :D
Have a nice day and see you soon!
Suisei
Categories : Discoveries, Graphic research, Illustrations,
Drink'N'Draw Paris January and February 2021
Published by Suisei at 05/03/2021 à 15h30
Hi everyone!
Today, I won't knock you out with a lot of text. I promise! :p
As announced last time I'll show you a compilation of the latest drawings made during our Drink'N'Draw Paris online sessions.
You can enlarge the images by clicking on them.
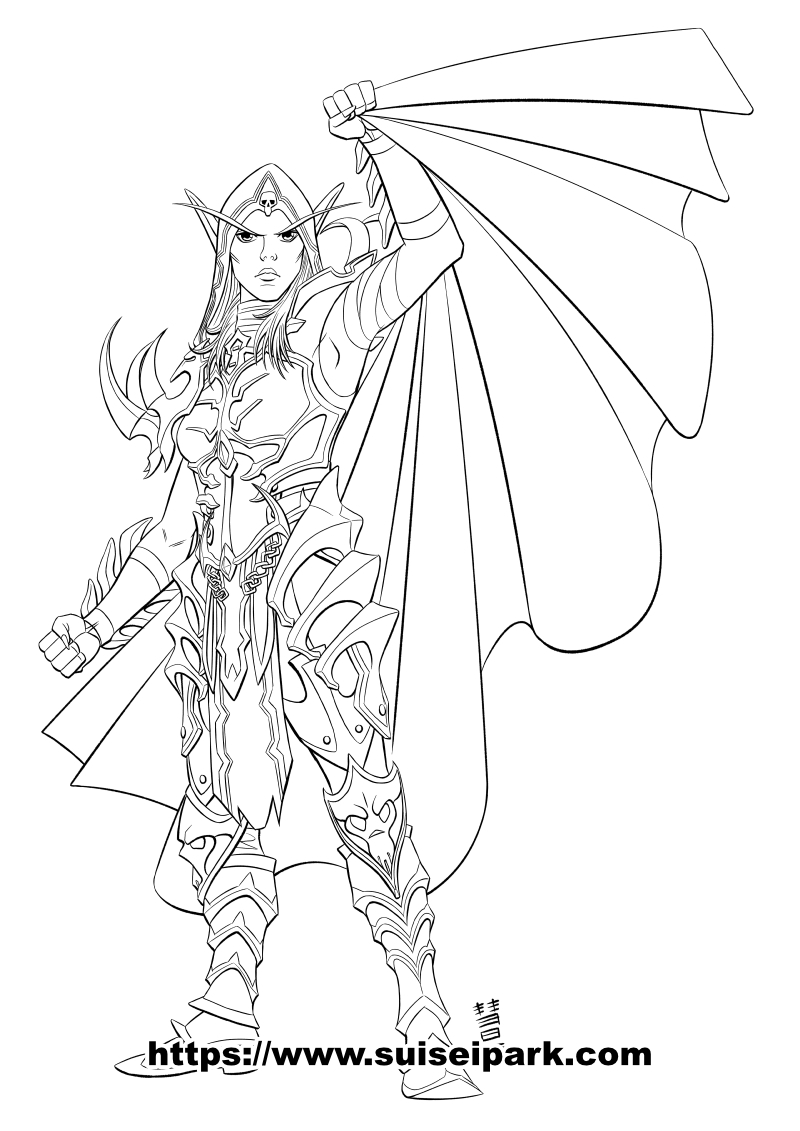
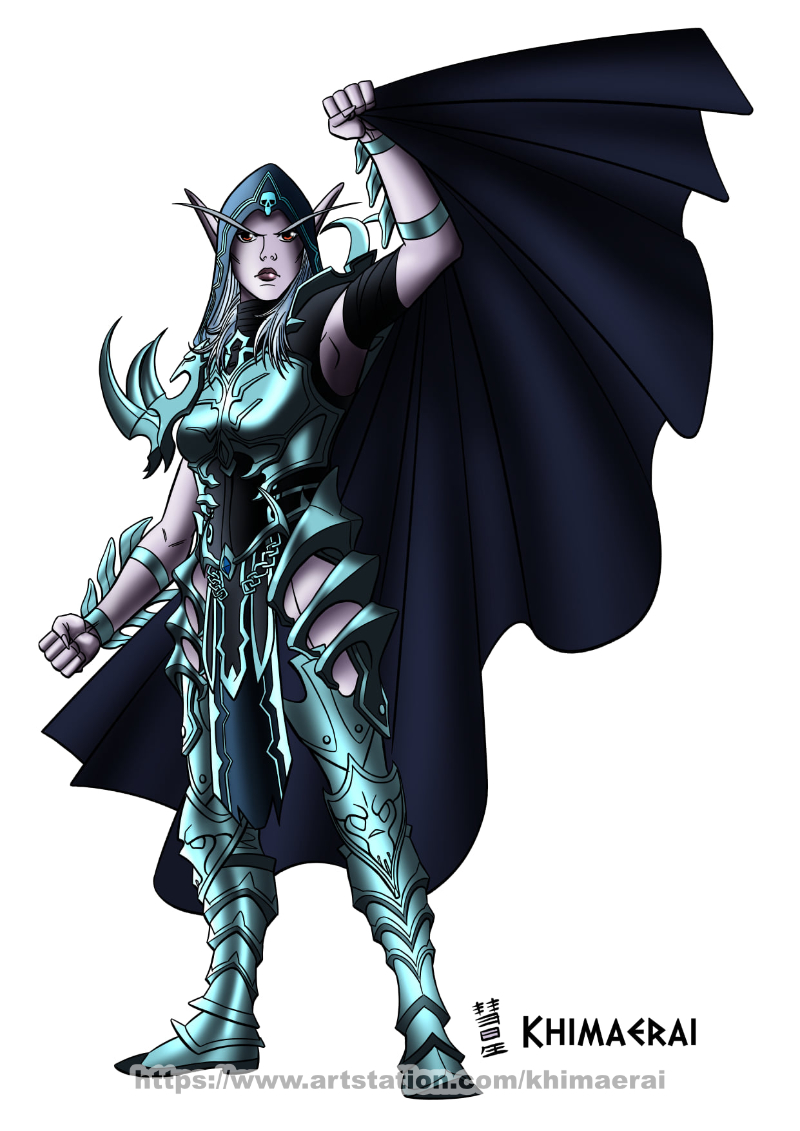
Sylvanas Windrunner, a character from the famous online game World of Warcraft.
For this time, I made a collaboration with my friend Khimaerai. We've been talking about making one for a long time. :D
I drew the lineart (on Clip Studio Paint) and he put the colors (also on Clip Studio Paint).
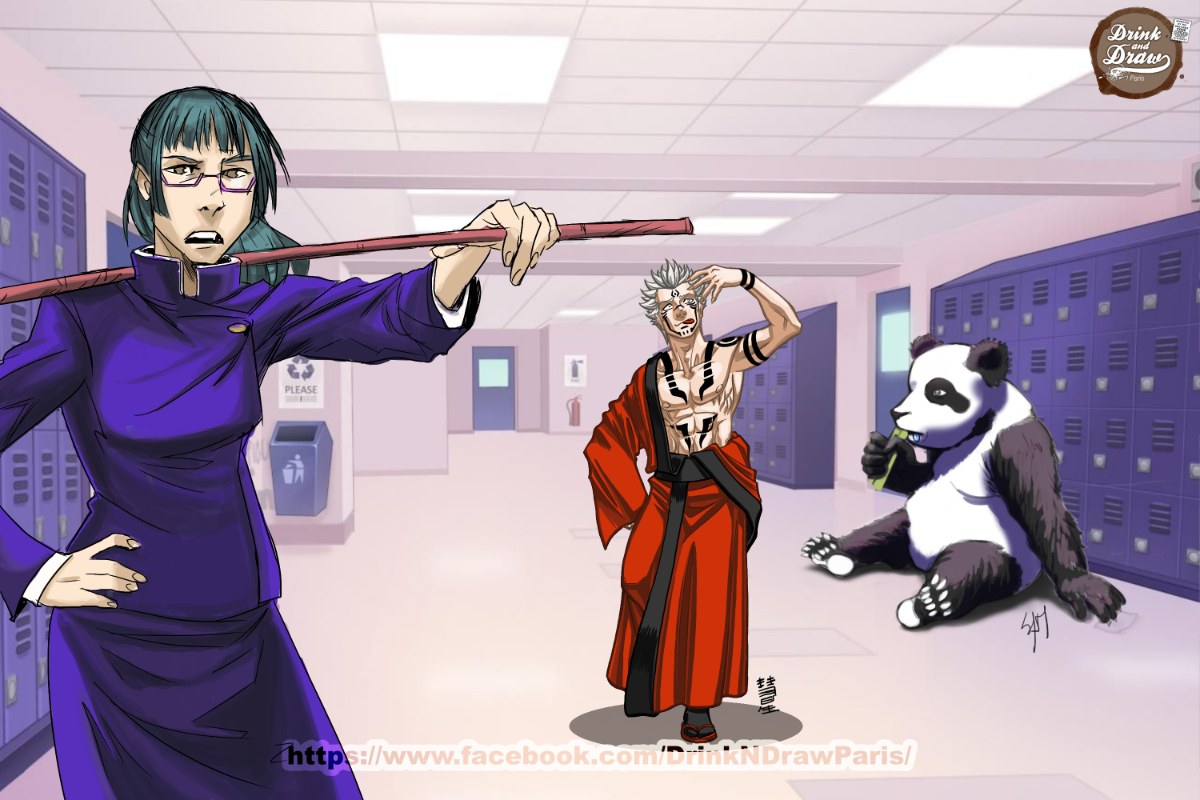
Jujutsu Kaisen, Collective contribution with Renauddesign and Kevin Kapalsky.
We didn't know this manga at all. Anyway I found a character with a cool design to draw (the one in the middle).
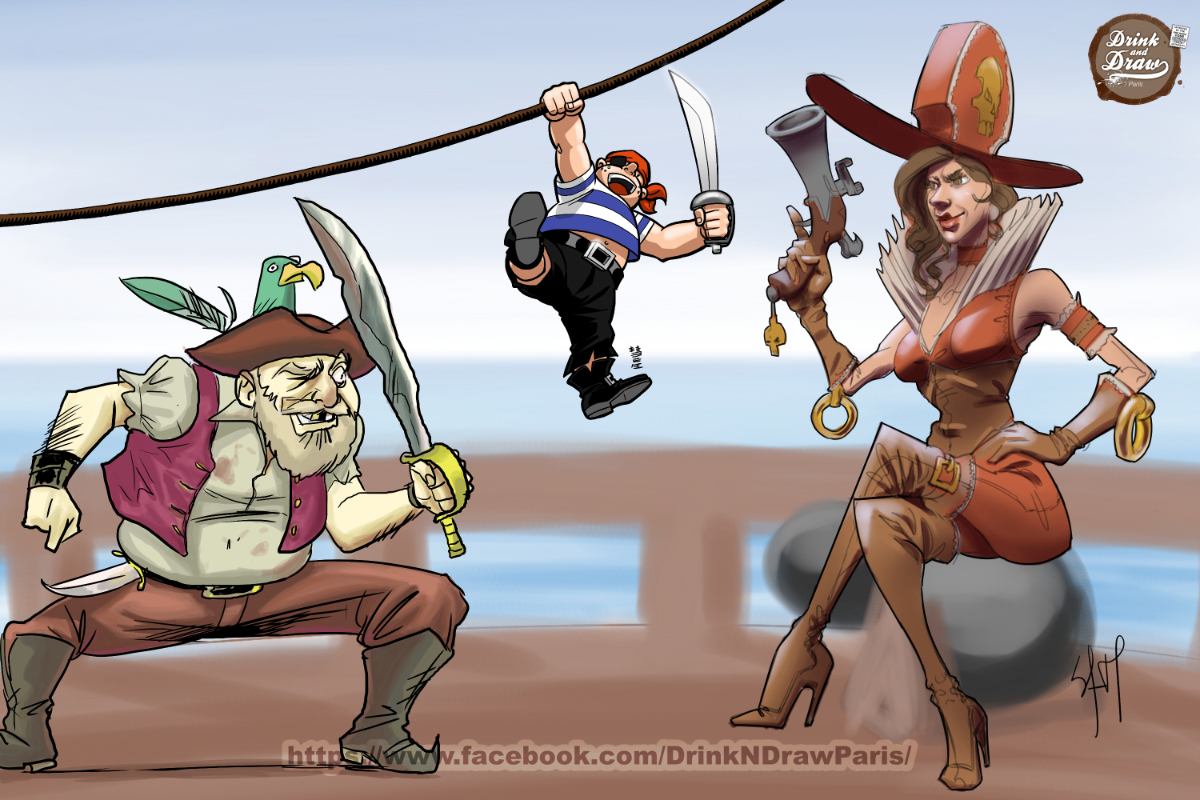
Pirates, Collective contribution with Renauddesign and Kevin Kapalsky.
This time I tried a more cartoon style compared to my habits (the pirate hanging on the rope).
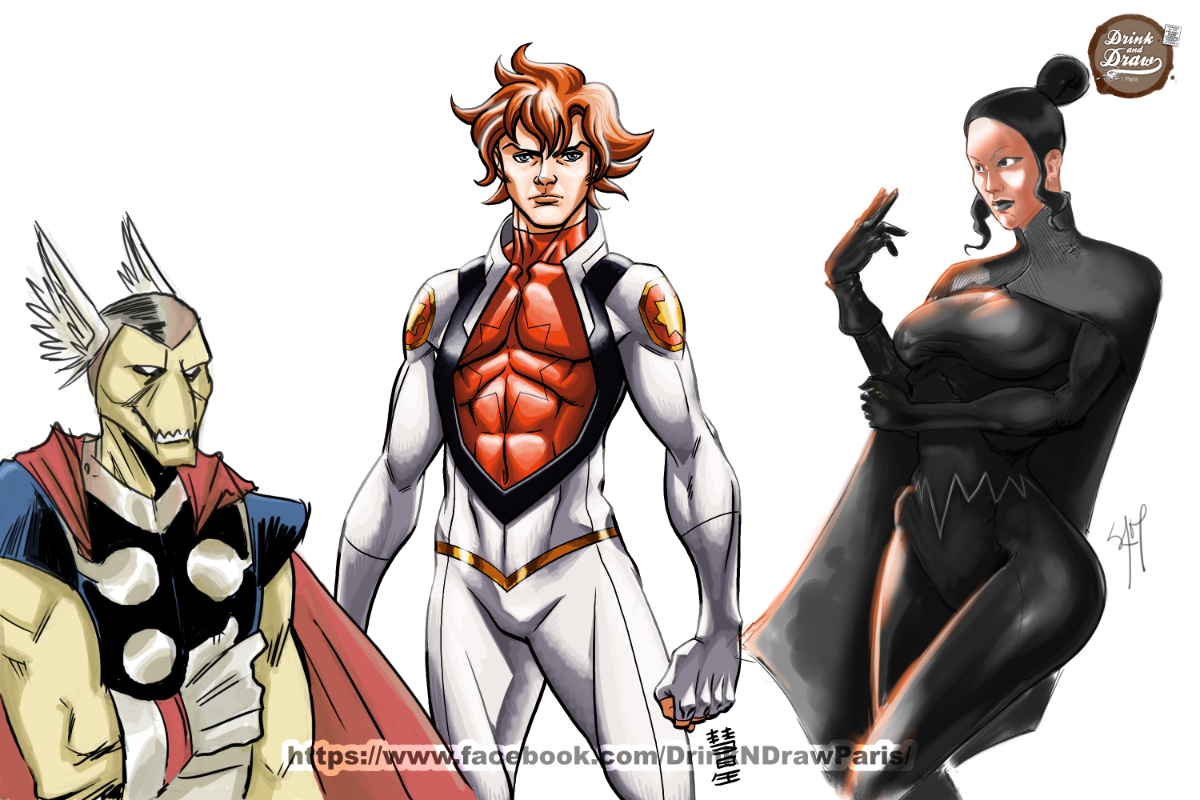
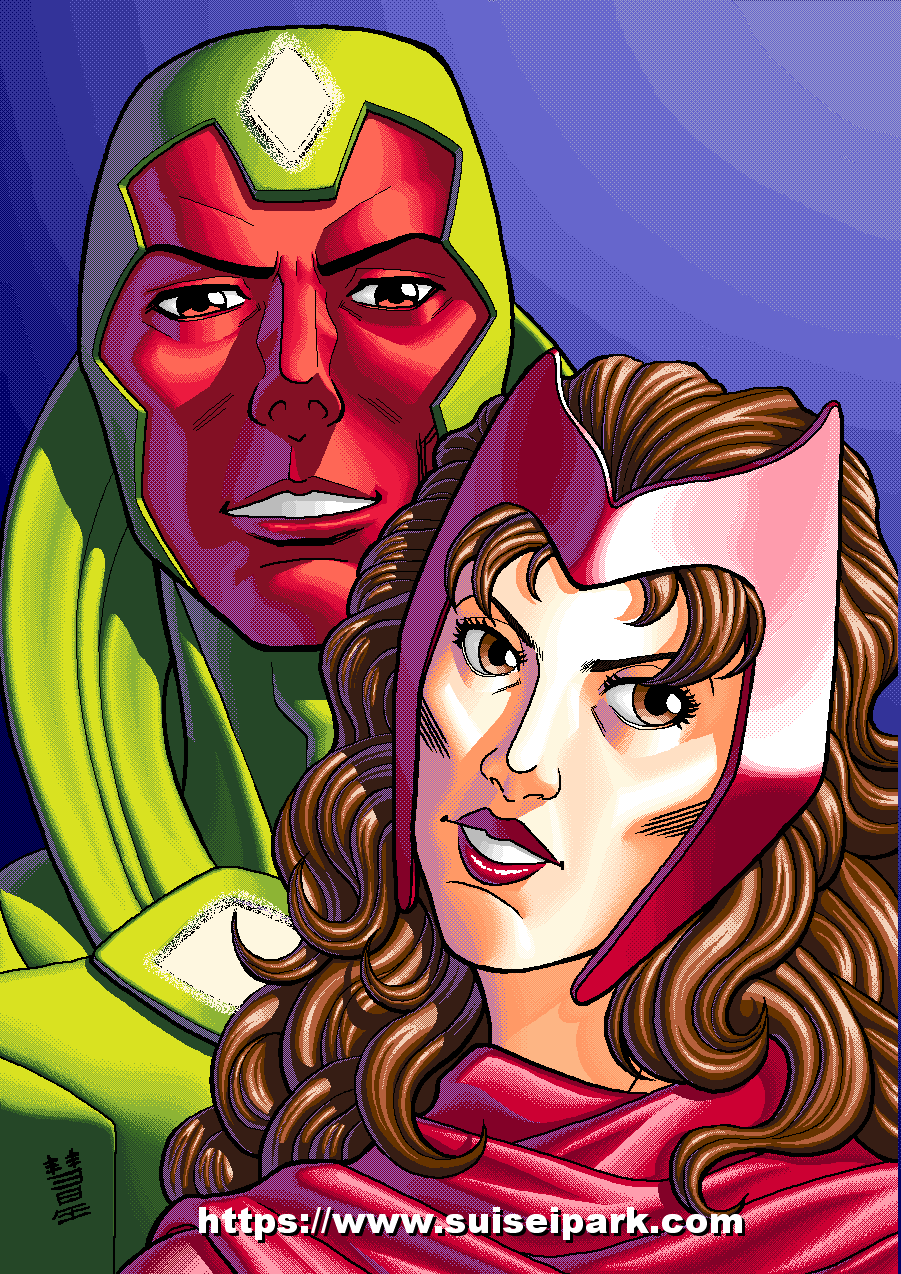
Alpha Flight, Collective contribution with Renauddesign and Kevin Kapalsky.
It was still a subject I was discovering. The Alpha Flight is a group of super heroes from the Marvel Universe that has the particularity of being composed entirely of Canadians. Wolverine was one of them.
I had a lot of fun on this theme. I found a character whith a design I liked (the middle character): molded muscular volumes, some metallic effects, protruding cheekbones...
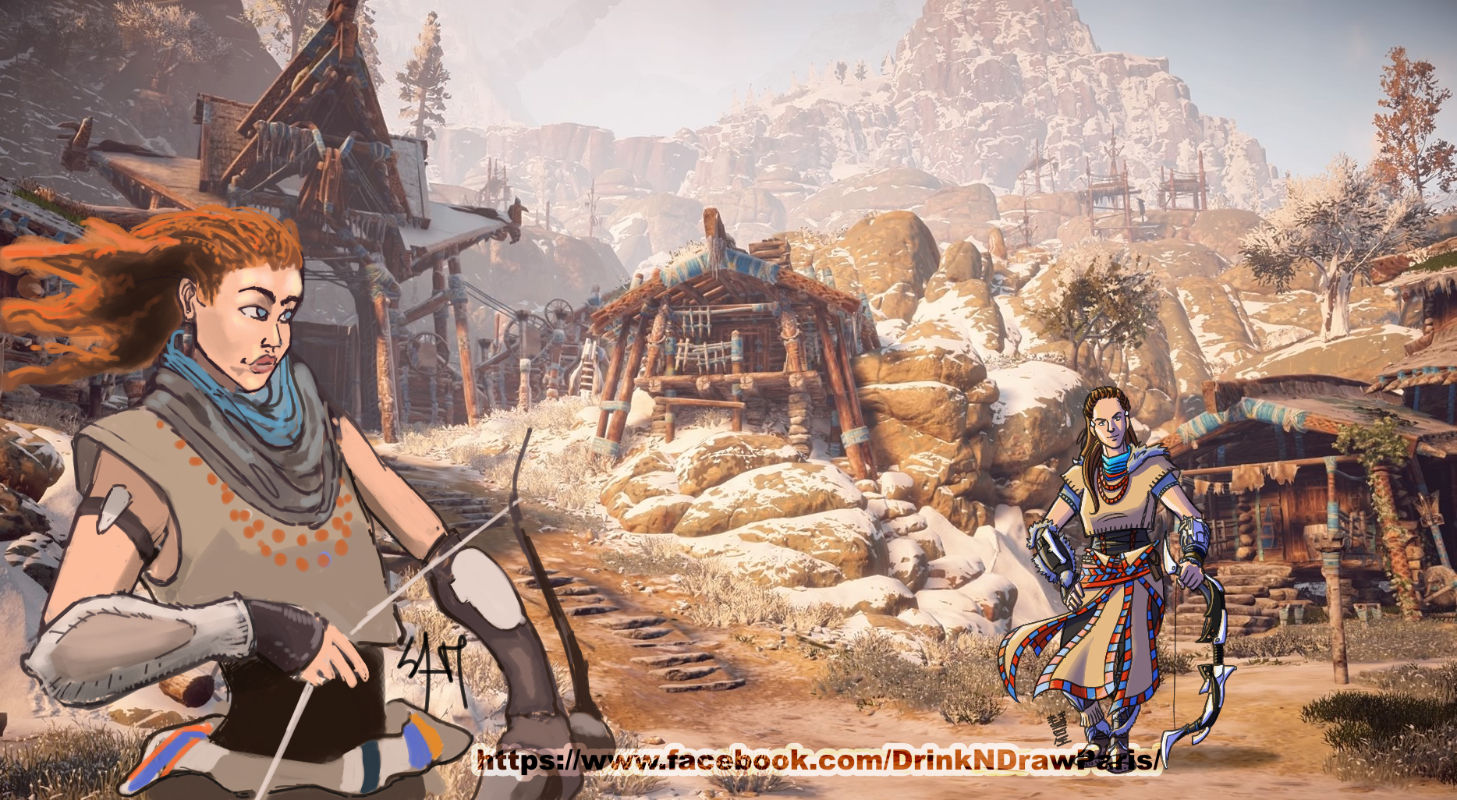
Horizon Zero Dawn, Collective contribution with Renauddesign.
Horizon Zero Dawn is an adventure video game set in a post-apocalyptic future. I haven't played it but the environments look very beautiful. In any case what I've seen invites to the trip.
This time I was a little tired and the character didn't really inspire me. No molded muscular volumes, no metallic effects, no protruding cheekbones, no big cloak... In short! Not my best performance I think (the little character on the right).
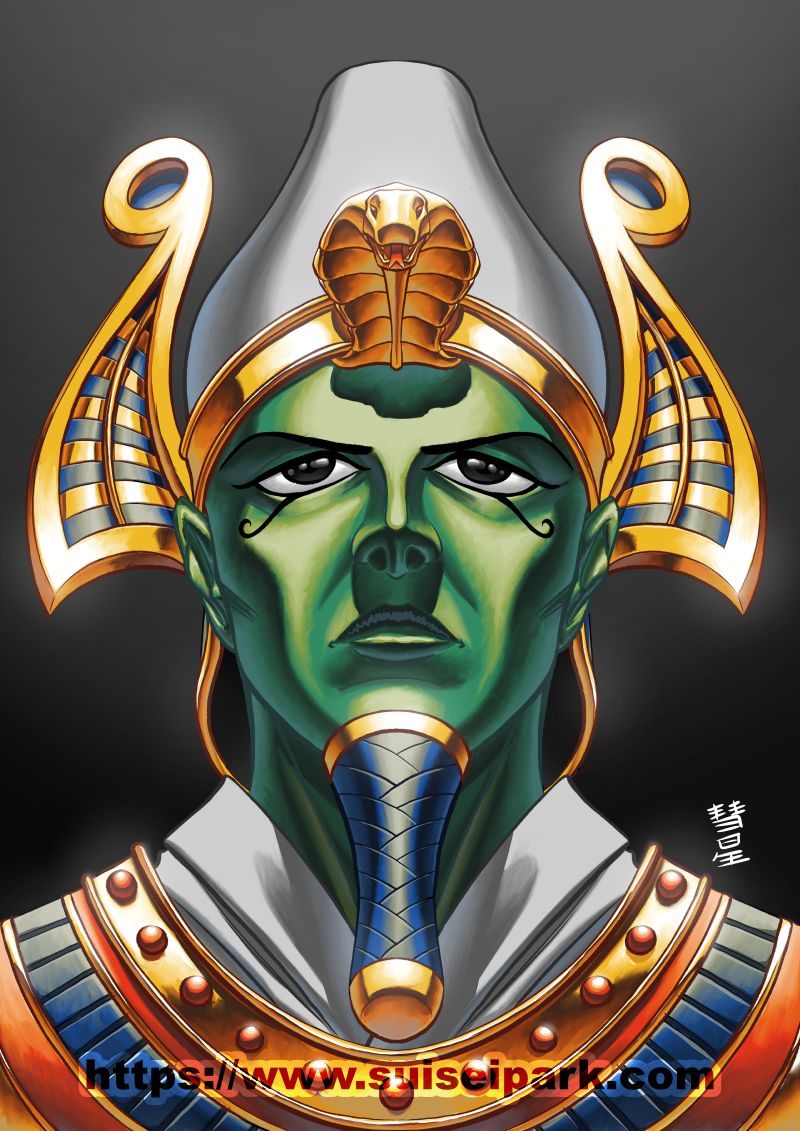
Egyptian gods
This time I didn't work on Aggie.io with friends. I wanted to practice on Clip Studio Paint and test some brushes I created.
I chose to draw the god Osiris. I have seen in photos of Egyptian frescoes that they painted him green to signify that he was dead, so I had fun making him a similar green skin. x)
That's all for today.
I recently did a fun rediscovery that took me back to my teenage years, so I'm going to have some more things to tell you, but let's save that for next time.
Have a nice week-end and see you soon! :D
Suisei
Categories : Illustrations,
Gul Dukat and timed inking tests
Published by Suisei at 20/02/2021 à 15h45
Hi everyone!
So as promised last time, today I'm going to talk to you about drawing, and even more precisely about inking techniques and timed tests.
I had been thinking for months about making a black and white illustration and inking it several times with different techniques while timing myself to see which one was the fastest.
This approach is part of my search for optimization in the time it takes to produce my comics.
So there are all the drawing tricks, 3D, Clip Studio Paint's tools, the programs and softwares developed by myself with which I saved a lot of time, but there is still this inking phase whose execution time tends to resist any form of compression.
At the beginning of the year 2021 I made a penciled illustration, and it seemed to me to be a perfect candidate for the exercise: a character, scenery elements and various texture effects.
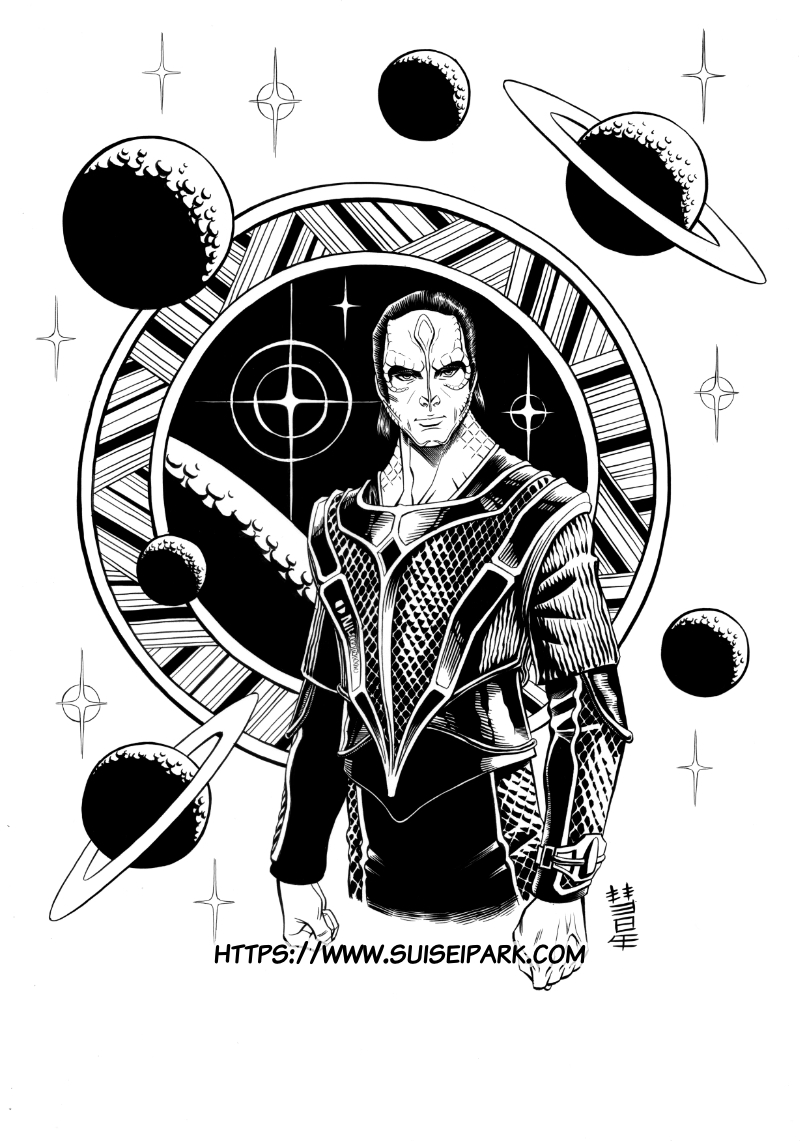
The illustration in question:
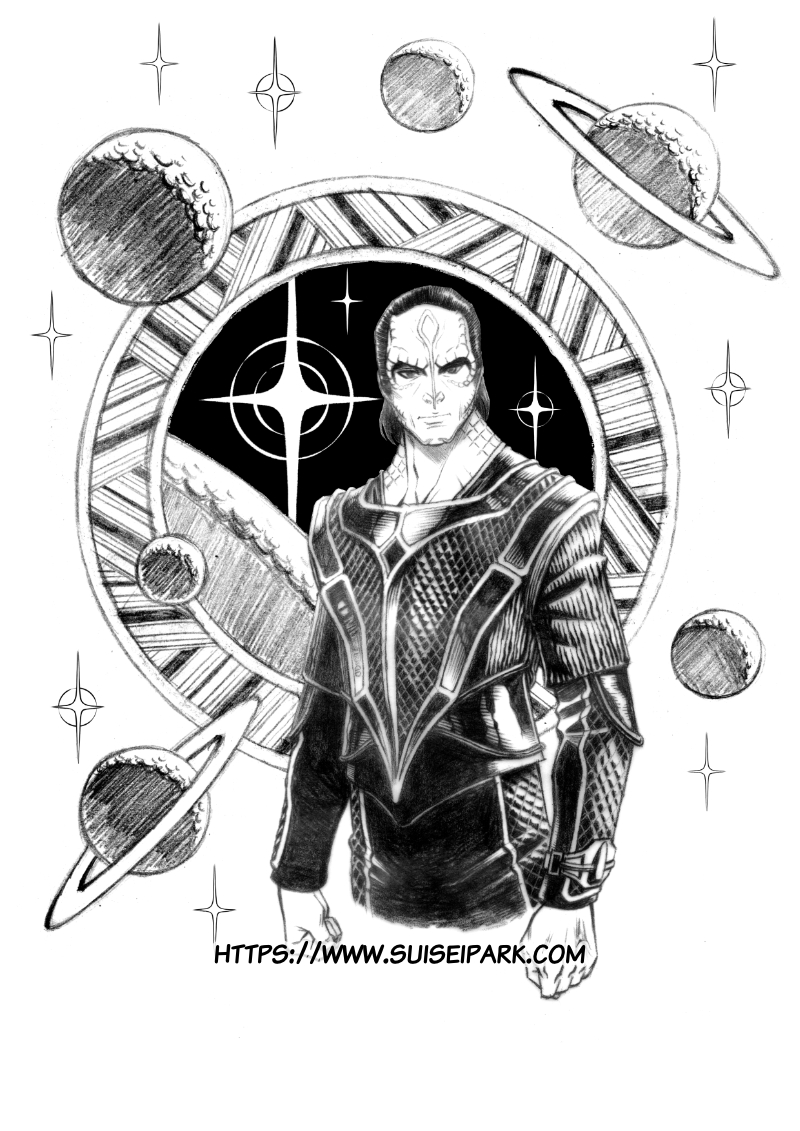
To introduce you a little bit to the man, it is Gul Dukat a villain from the Star Trek: Deep Space Nine series, a humanoid alien with some reptilian attributes.
This is my favorite character of the show.
You know me now, I like charismatic bad guys with complicated stories. x)
Let's go back to the illustration itself.
Concerning the pencil phase, I refined it more than necessary, but it's because I wanted to make a beautiful illustration and it was my pleasure.
That said, I still used some tricks to make the work easier.
Basically, I drew the different elements of the illustration separately and then scanned and assembled them by computer. This allowed me to draw them carefully without getting bogged down in their interaction and optimize the final composition.

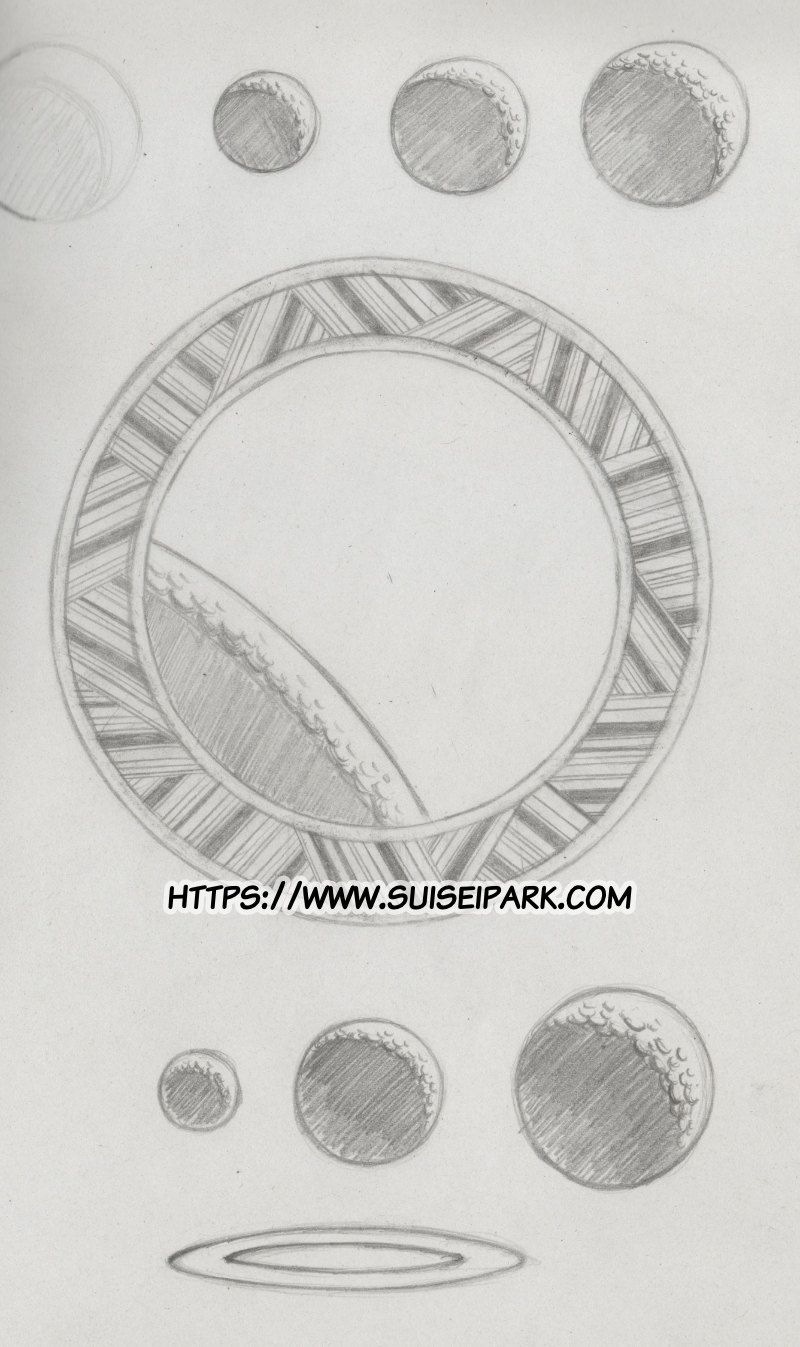
Then I printed copies of the final composition that I have already shown you in magenta for my timed inking experiments.
I have made exactly 6 versions of them, as follows. (You can click on them to enlarge them).


Well, if you have the impression to see 6 times the same thing, it's normal, the goal is obviously to have an identical or almost identical result with different methods, the finality being to get the fastest one to use it on my next comics projects.
Let's go through them to dissect the different methods.
The first version, I made it with liners.
It took me 5 hours. The main drawback of this method is that the clip on the liner cap presses on my « comic artist ball ». A callus ball that formed on my middle finger over time by dint of drawing, where the pencil rests. And after a while it's painful, so it limits the duration of the work sessions.
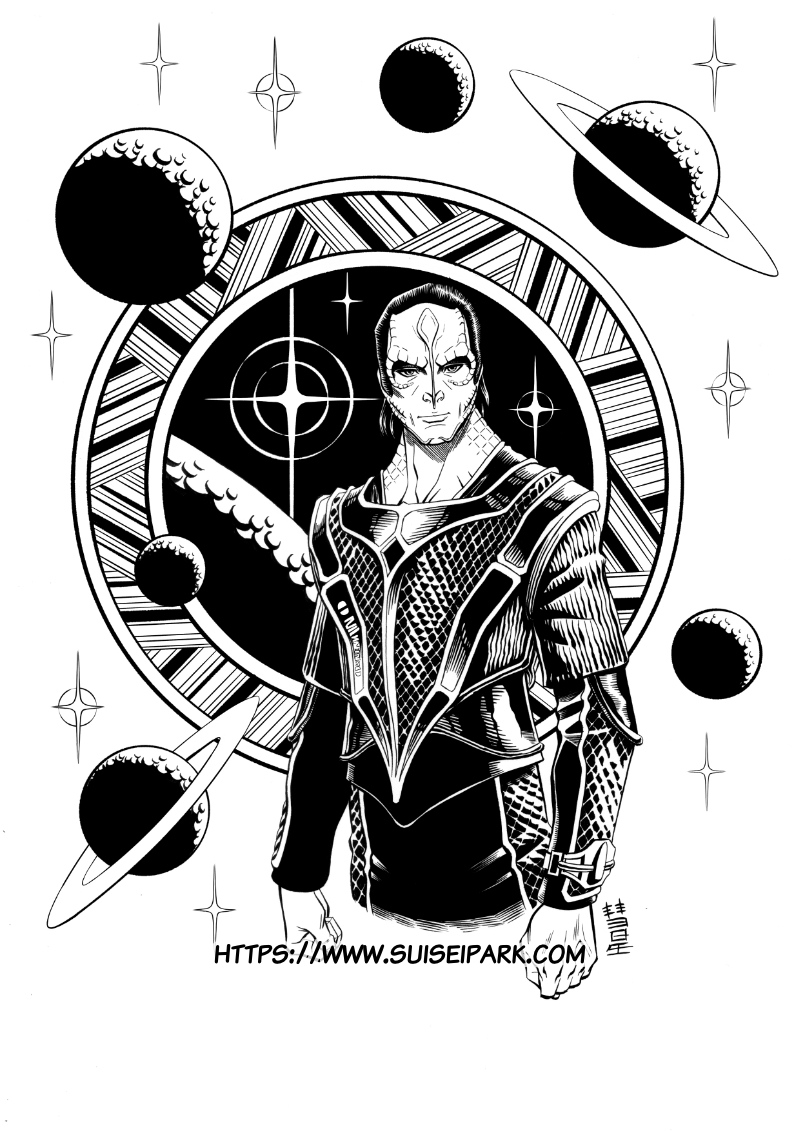
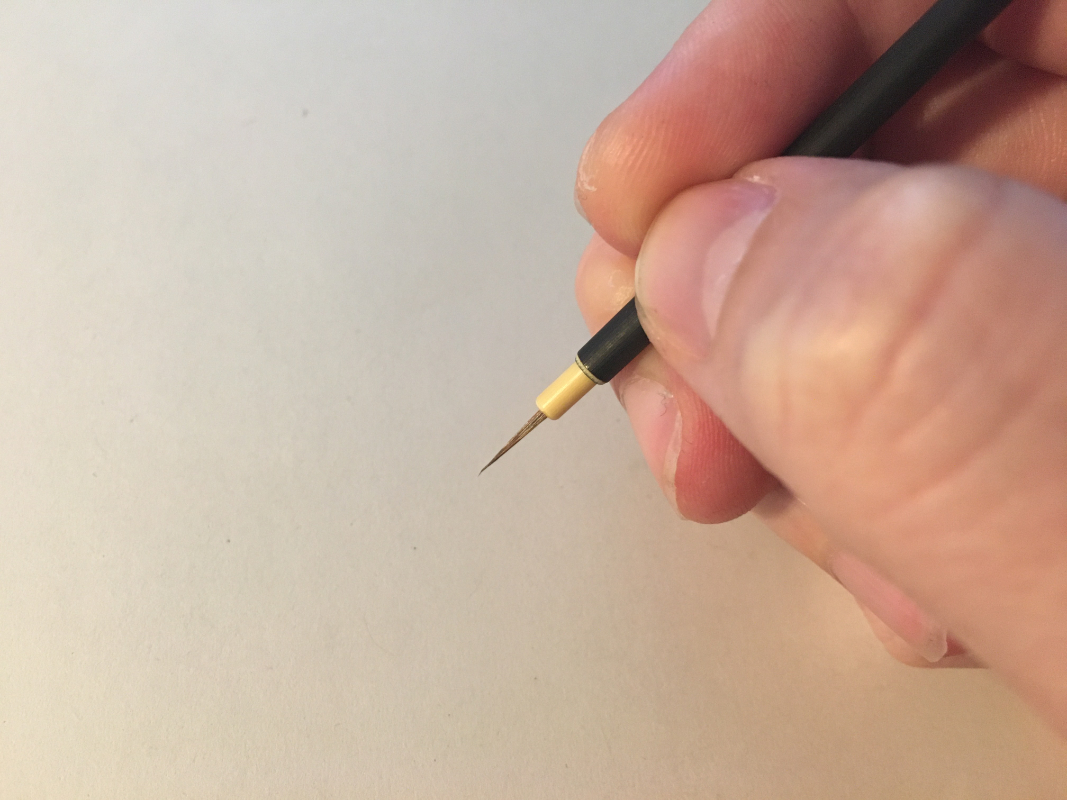
Then comes the brush version.
This is the version that took me the longest: 6 hours and 20 minutes.
The main waste of time is during the inking of the background.
It has many geometrical shapes and the brush is unsuitable for that.
On the other hand, for the character, it goes just as fast.
In any case, the holding of the brush is pleasant, the handle is thin, so it never hurts me.
I can work as long as I want with this technique.
It is difficult to evaluate at this resolution, but overall the lines drawn with the brush are cleaner and sharper than those drawn with a liner.
So! Longer, but prettier and more pleasant.
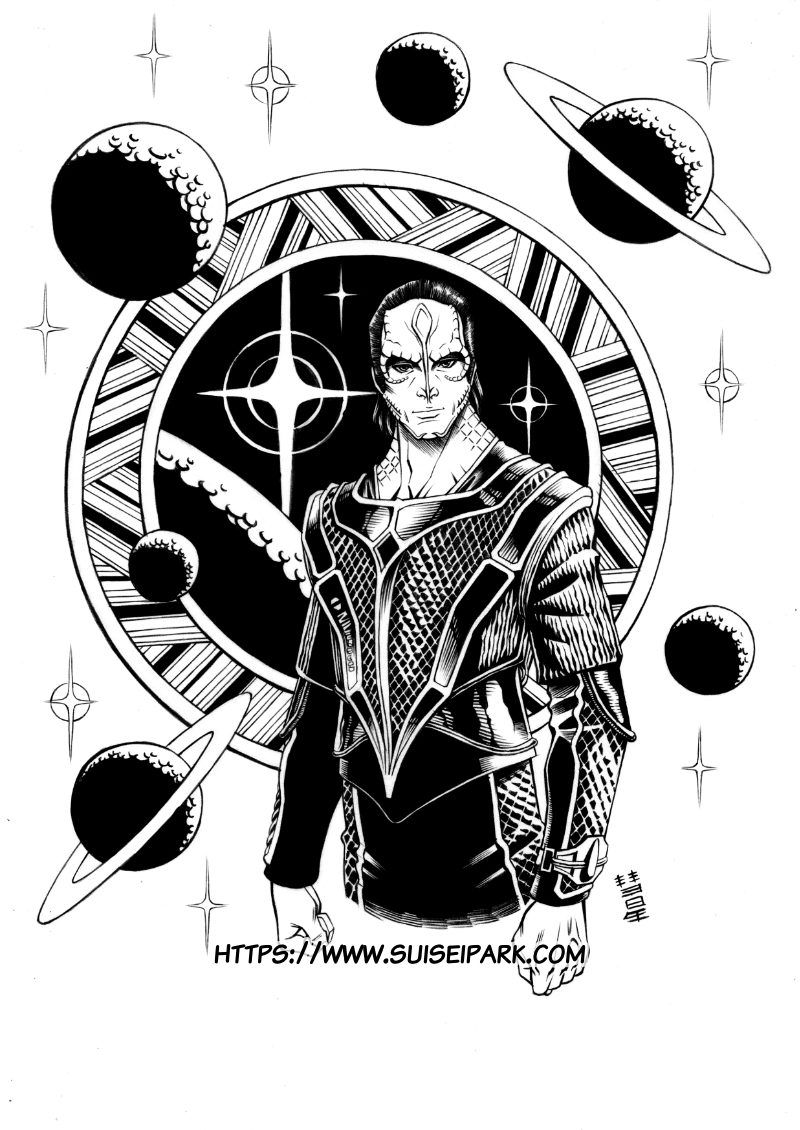
Then, the 3rd version I made it entirely with the graphics tablet and the software Clip Studio Paint.
This attempt is the fastest so far: 4 hours 15 minutes.
The inking of the character does not go faster the flaw being that the pen slides much more easily on the tablet than a traditional technique on paper, so it is more difficult to control the line and I use a lot of ctrl+Z. Moreover, the pen tip does not deform under pressure, so it is more difficult to anticipate the width of the line and you have to repeat the process several times.
The big advantage on the other hand is for the background and its geometric shapes (circles, parallel lines, ellipses). The rulers integrated in Clip Studio Paint allow you to draw them really quickly and cleanly.
Also, for all textures and particle effects, I created a lot of brushes for Clip Studio Paint. So, I only had to make a click to draw each of the stars.
As on this version I had the impression that I was wastig time on the character, so I decided to try a hybrid technique: the brush for the character, the CSP for the rest.
This version took me as long as the one entirely digital. It seems impossible to reduce the work time on the character below 3 hours and I have confirmation that digital mainly saves time on the geometric patterns and elements and effects that can be drawn with brushes.
I leave these tests a few weeks and then I had a new idea.
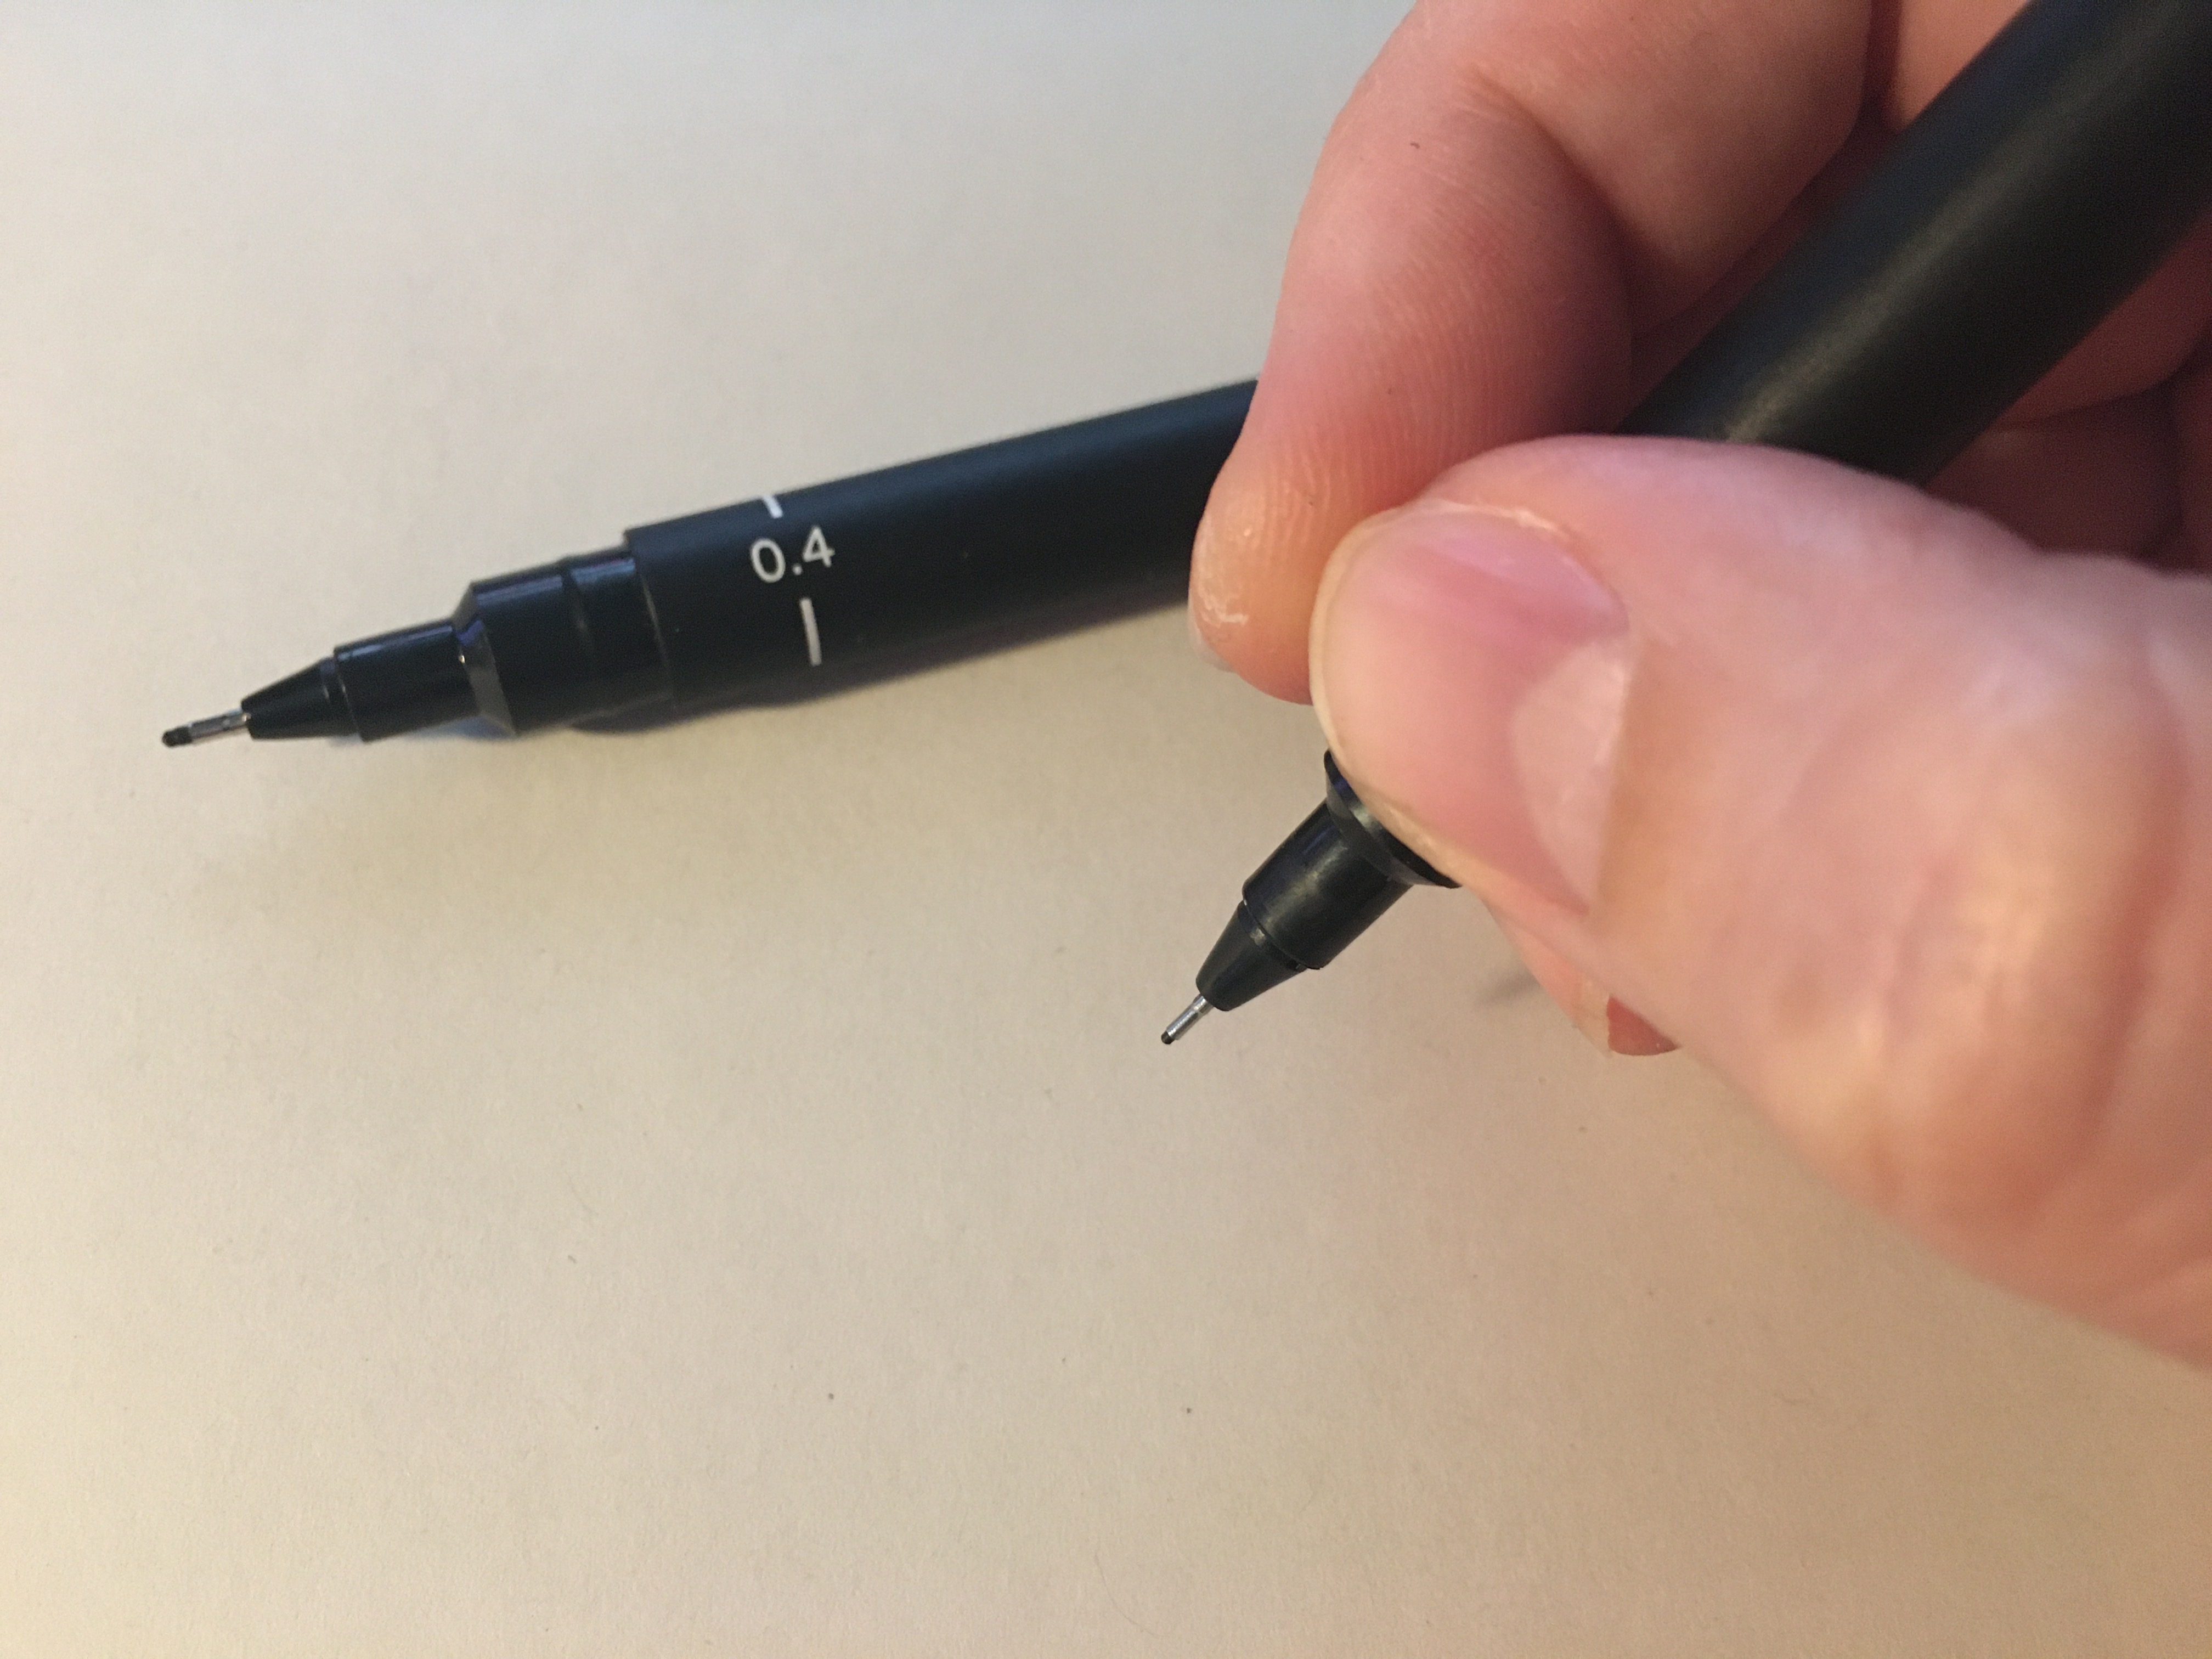
Here is the result. I let you guess which tool I used, you have 4 hours before I pick up the papers. :p
Well, I stop making you marinate, here is the answer in picture. :p
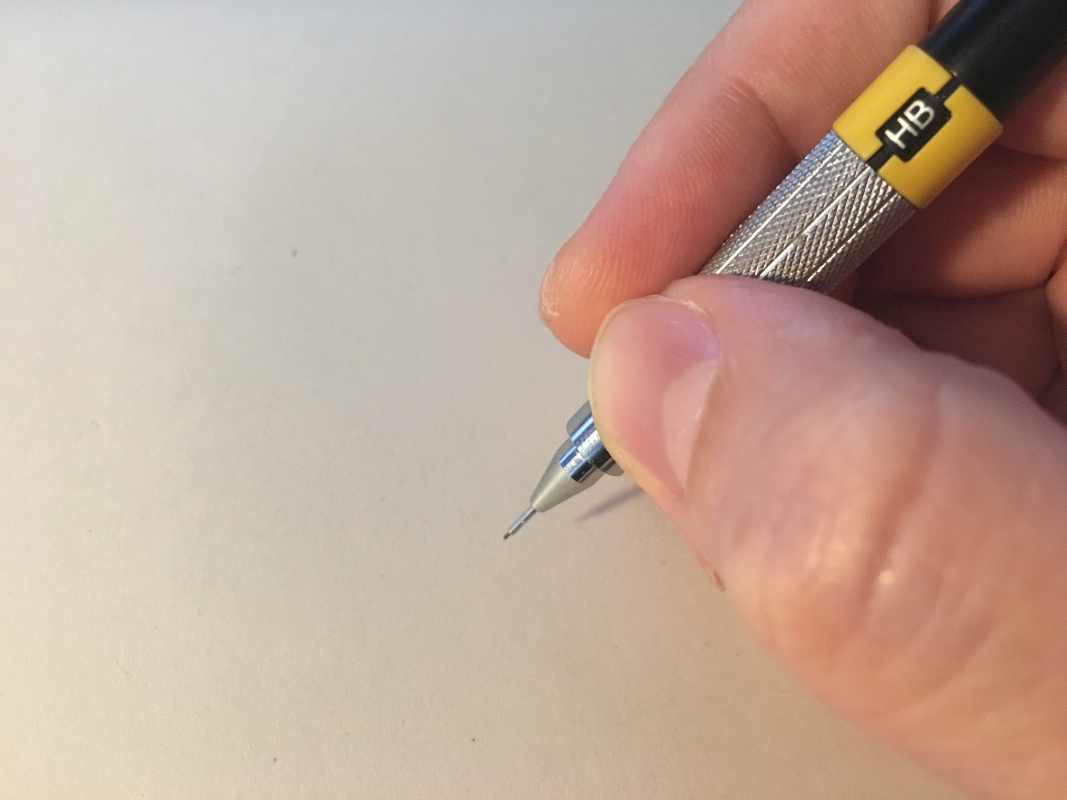
And yes! It's simply a mechanical pencil! :p
The idea was to see if I work faster than with the usual inking methods and if by playing with the contrasts in the scan I could make it look like inking.
For this version, it took me about 5 hours. I was a little faster for the character than the other attempts, but for the background, it's always the digital that wins hands down.
The problem with the mechanical pencil is that to have an intensity of black roughly constant is that I hold it strongly to press down enough for a long time and I ended up crushing my thumb, so I had a hard time finishing the background. I think it slowed me down quite a bit at the end.
So! No tool is perfect on its own.
As a result, I still had one last thing to test: making the character with mechanical pencil and the background with graphic tablet.
And this time I managed to go below 4 hours of work. :D
3 hours and 40 minutes more exactly.
I managed to ink the character in 2h20 then before moving to the background I had to do some cleaning up because of an unwise choice to do some textures partly in pencil and partly in digital. I think I have a way to spare a few more minutes of work by optimizing some choices.
I'm happy to have finally carried out these timed tests.
Used alone, there is no ideal tool. Now I know that, once again, it is in the hybridization of techniques that I will have to look for optimization.
I have the idea that in the future I should imagine a small roadmap to ink or at to clean my comic pages.
I will put all this into practice in the next project.
That's all for today!
Next time I will make again a small compilation of our online Drink'N'Draw sessions.
Have a nice week-end and see you soon! :D
Suisei
Categories : Graphic research, Illustrations,
Péguy
Published by Suisei at 05/02/2021 à 15h45
Hi everybody!
In this news feed I've told you a few times about a project I named Péguy. Well today I dedicate a complete article to it to present it to you in more detail but also to show you the new features I brought to it at the beginning of the winter.
It's not the priority project (right now it's TGCM Comics) but I needed a little break during the holidays and coding vector graphics and 3D, it's a little bit addictive like playing Lego. x)
Let's go then!
Péguy, what is it?
It is a procedural generator of patterns, graphic effects and other scenery elements to speed up the realization of my drawings for my comics.
Basically, I enter a few parameters, click on a button, and my program generates a more or less regular pattern on its own.
The first lines of code were written in 2018 and since then, this tool has been constantly being enriched and helping me to work faster on my comics. :D
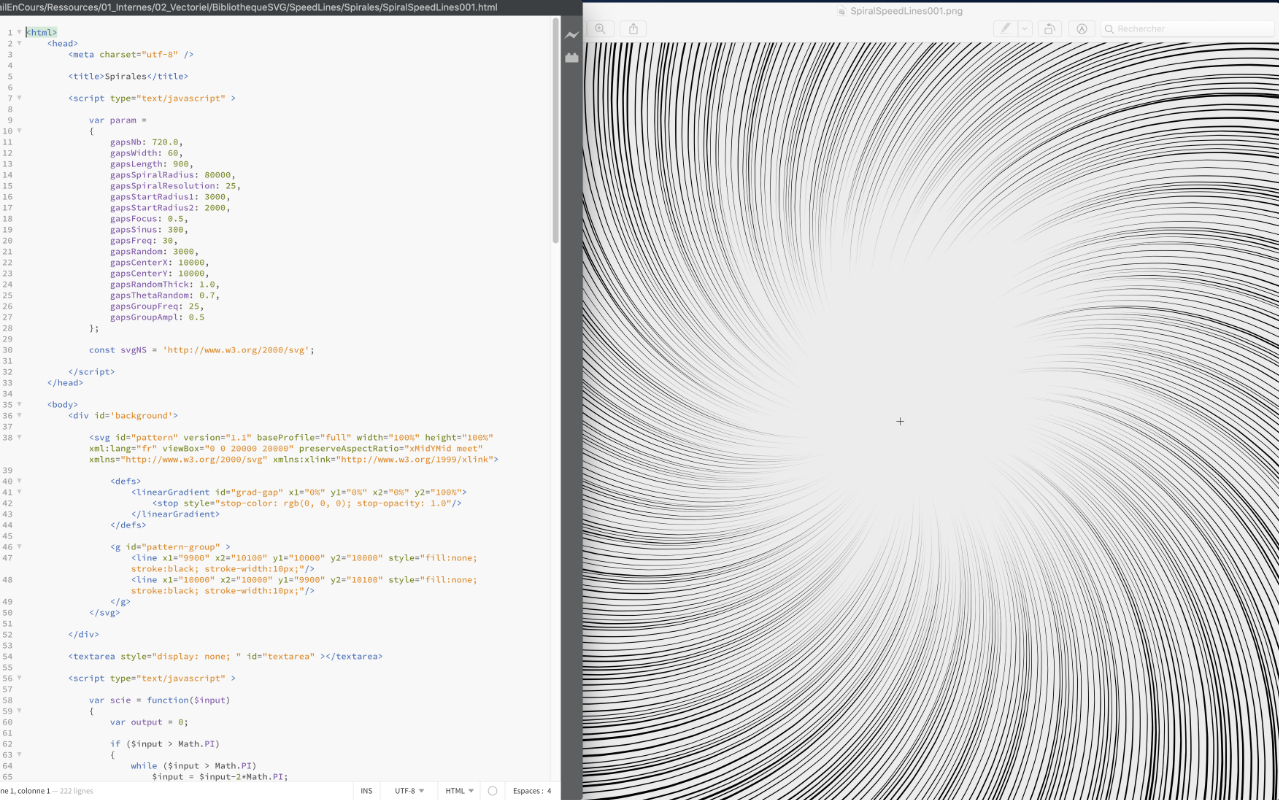
This project is coded with web languages and generates vector patterns in the format SVG.
In the beginning it was just small scripts that had to be modified directly to change the parameters and run individually for each effect or pattern generated.

Not very user friendly, is it? :’D
This first version was used on episode 2 of Dragon Cat's Galaxia 1/2.
During 2019 I thought it would be more practical to gather all these scripts and integrate them into a graphical user interface. Since then, I have enriched it with new features and improved its ergonomics to save more and more time.
Here is a small sample of what can be produced with Péguy currently.
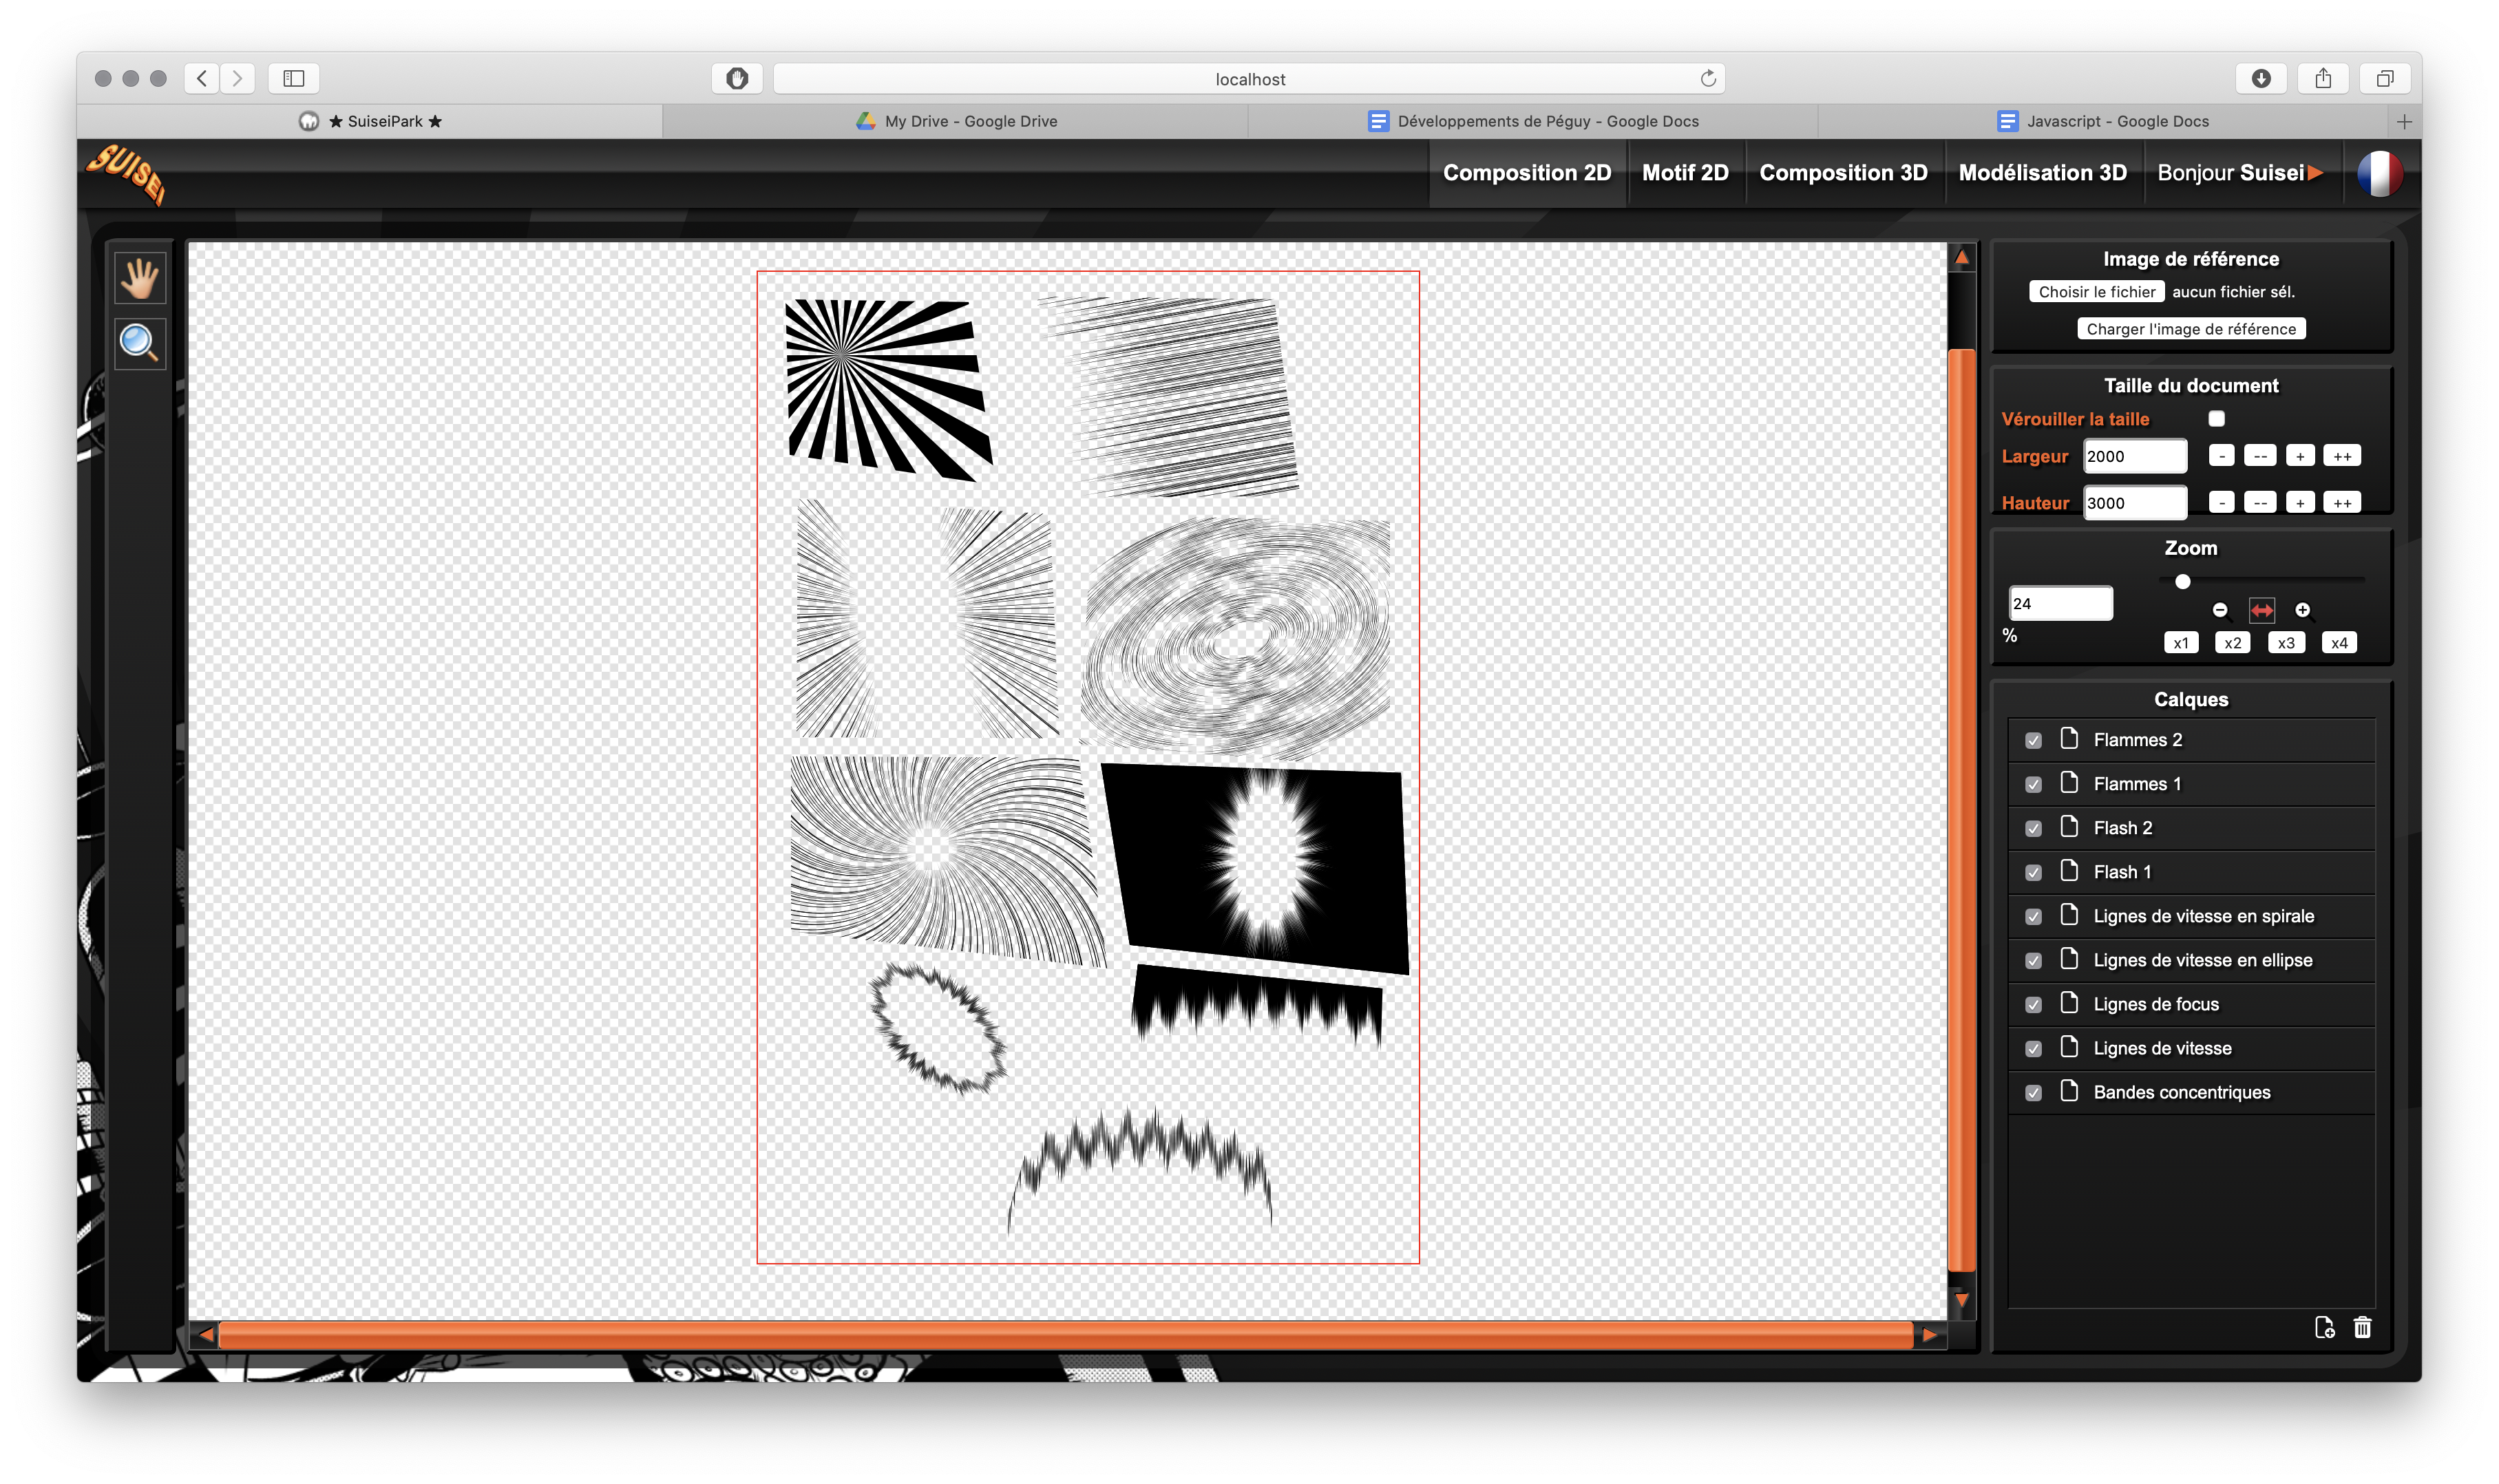
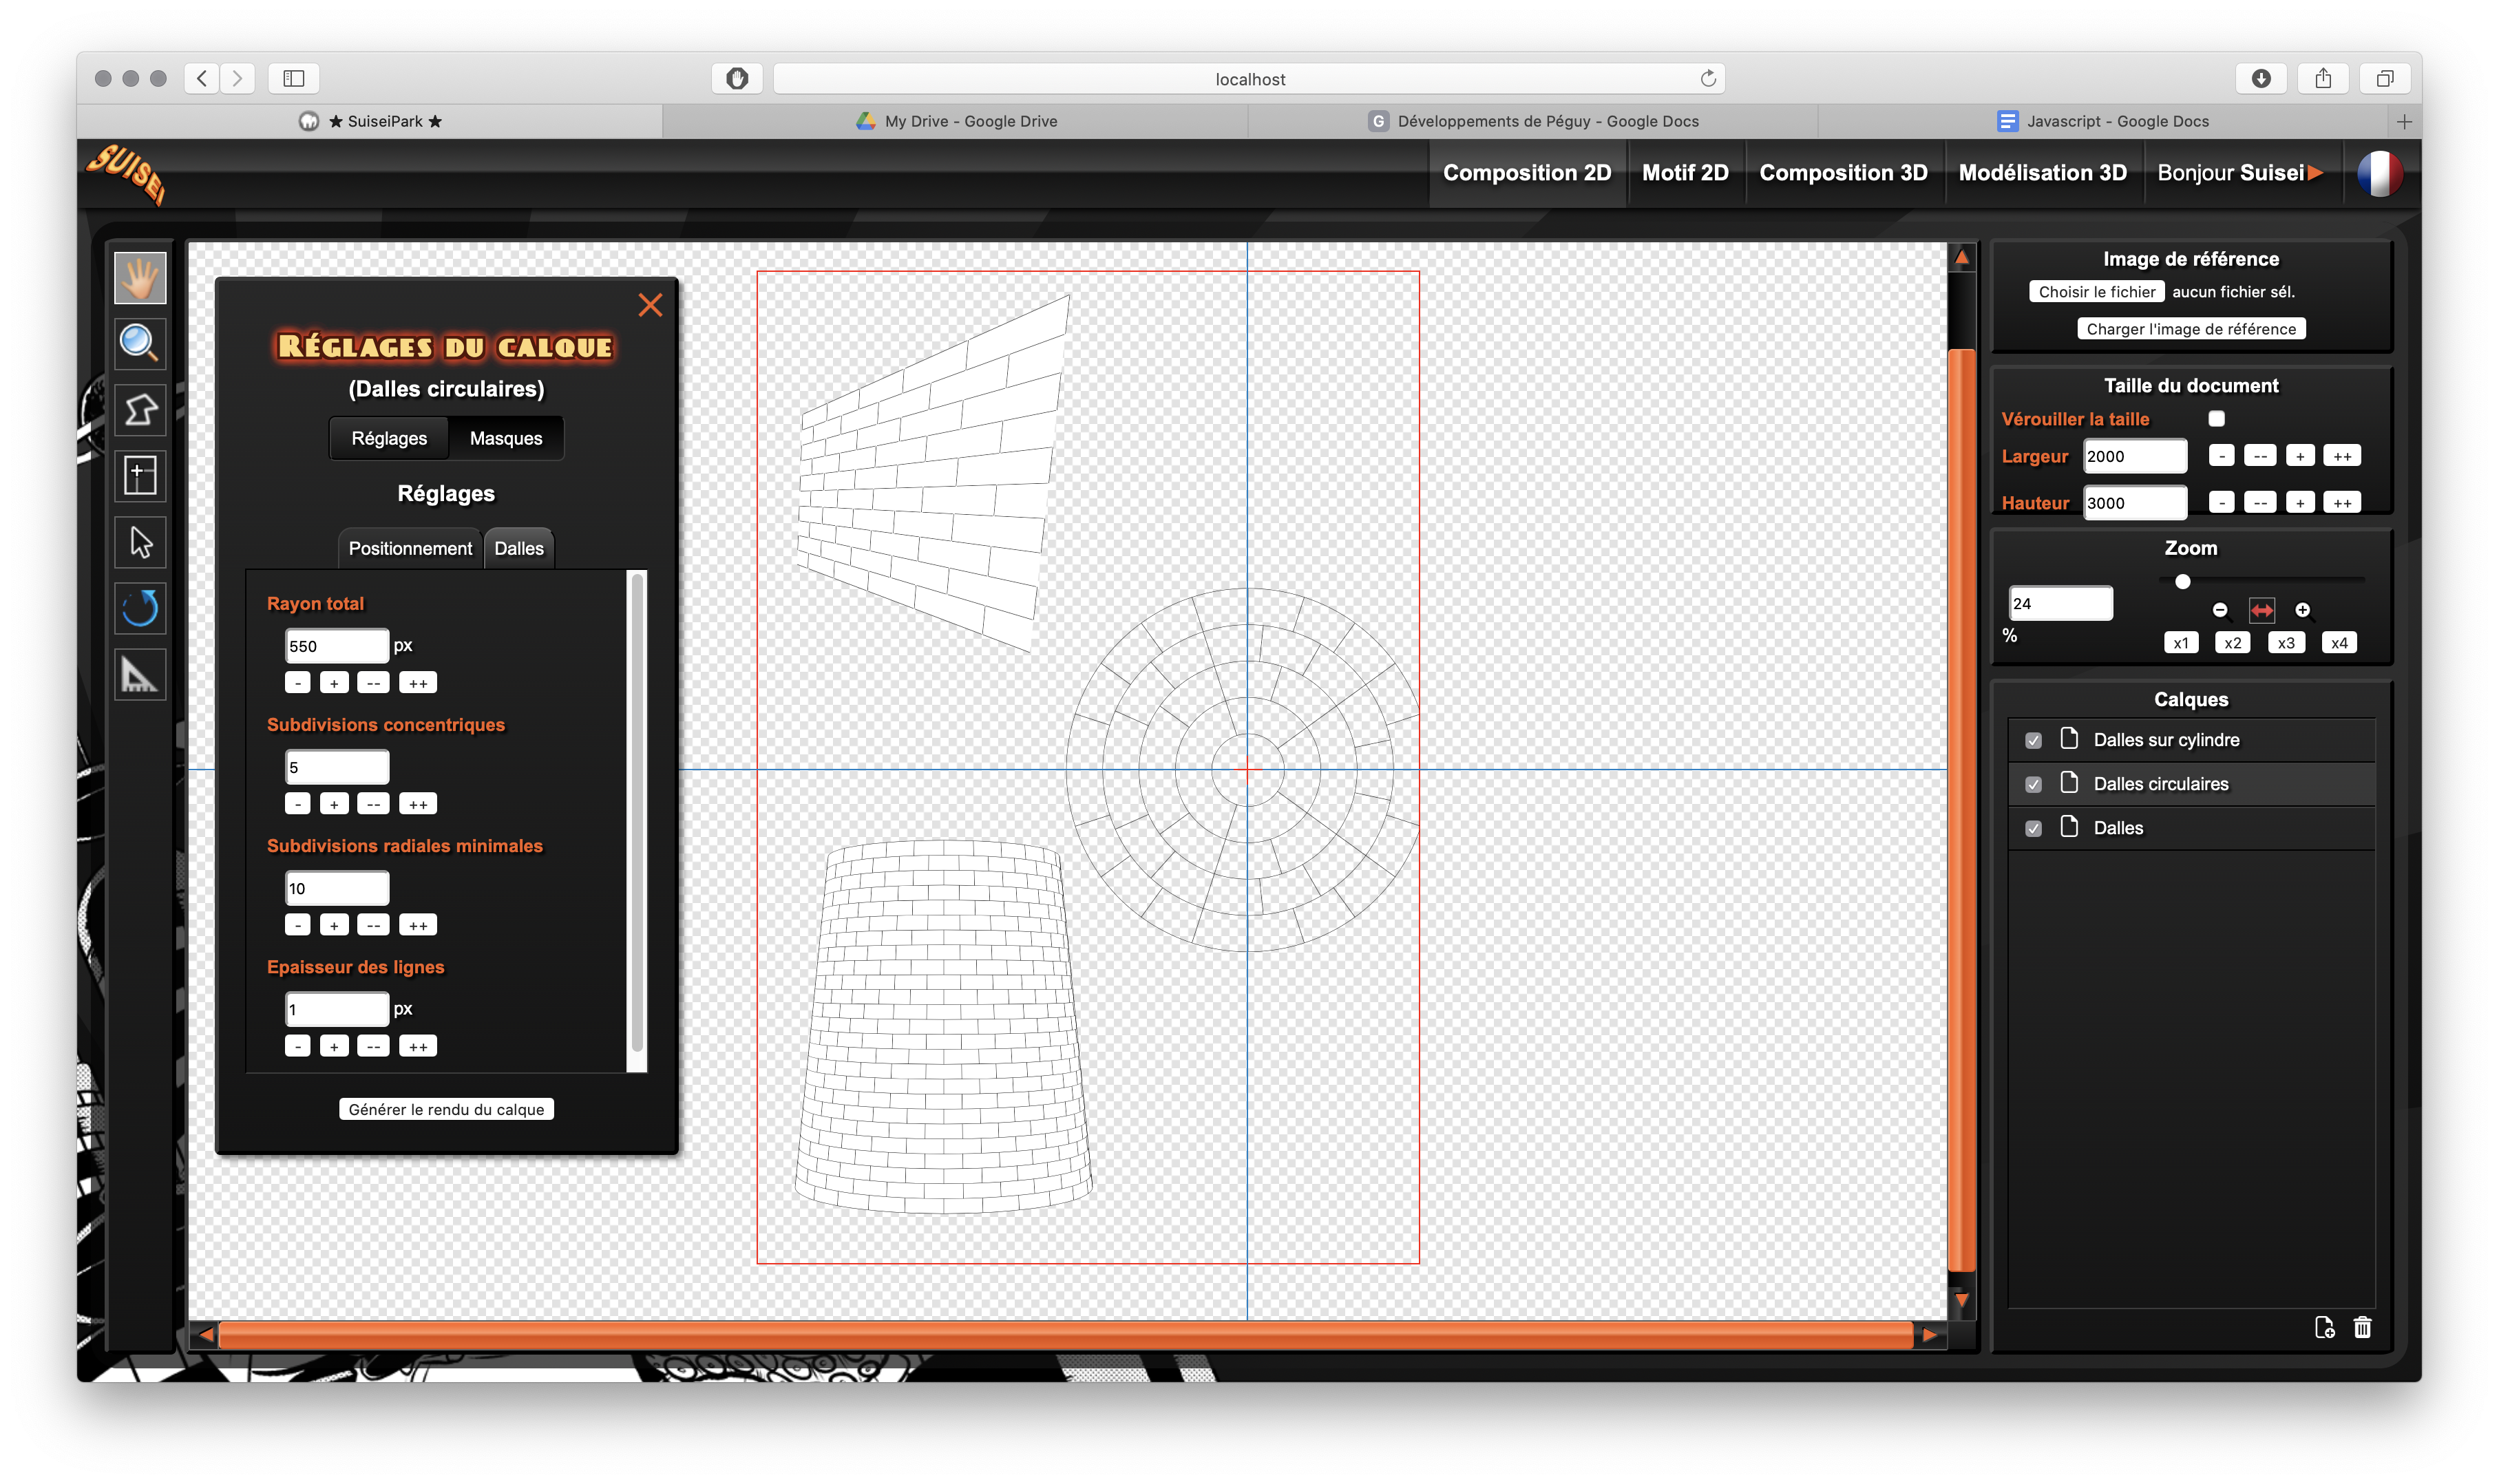
Graphic effects typical of manga and paving patterns in perspective or plated on a cylinder.
All these features were used on Tarkhan and Gonakin.
I plan to put this project online, but in order for it to be usable by others than me, I still need to fix a few ergonomy issues.
For the moment, to recover the rendering, you still need to open the browser debugger to find and copy the HTML node that contains the SVG.
In other words, if you don't know the HTML structure by heart, it's not practical. 8D
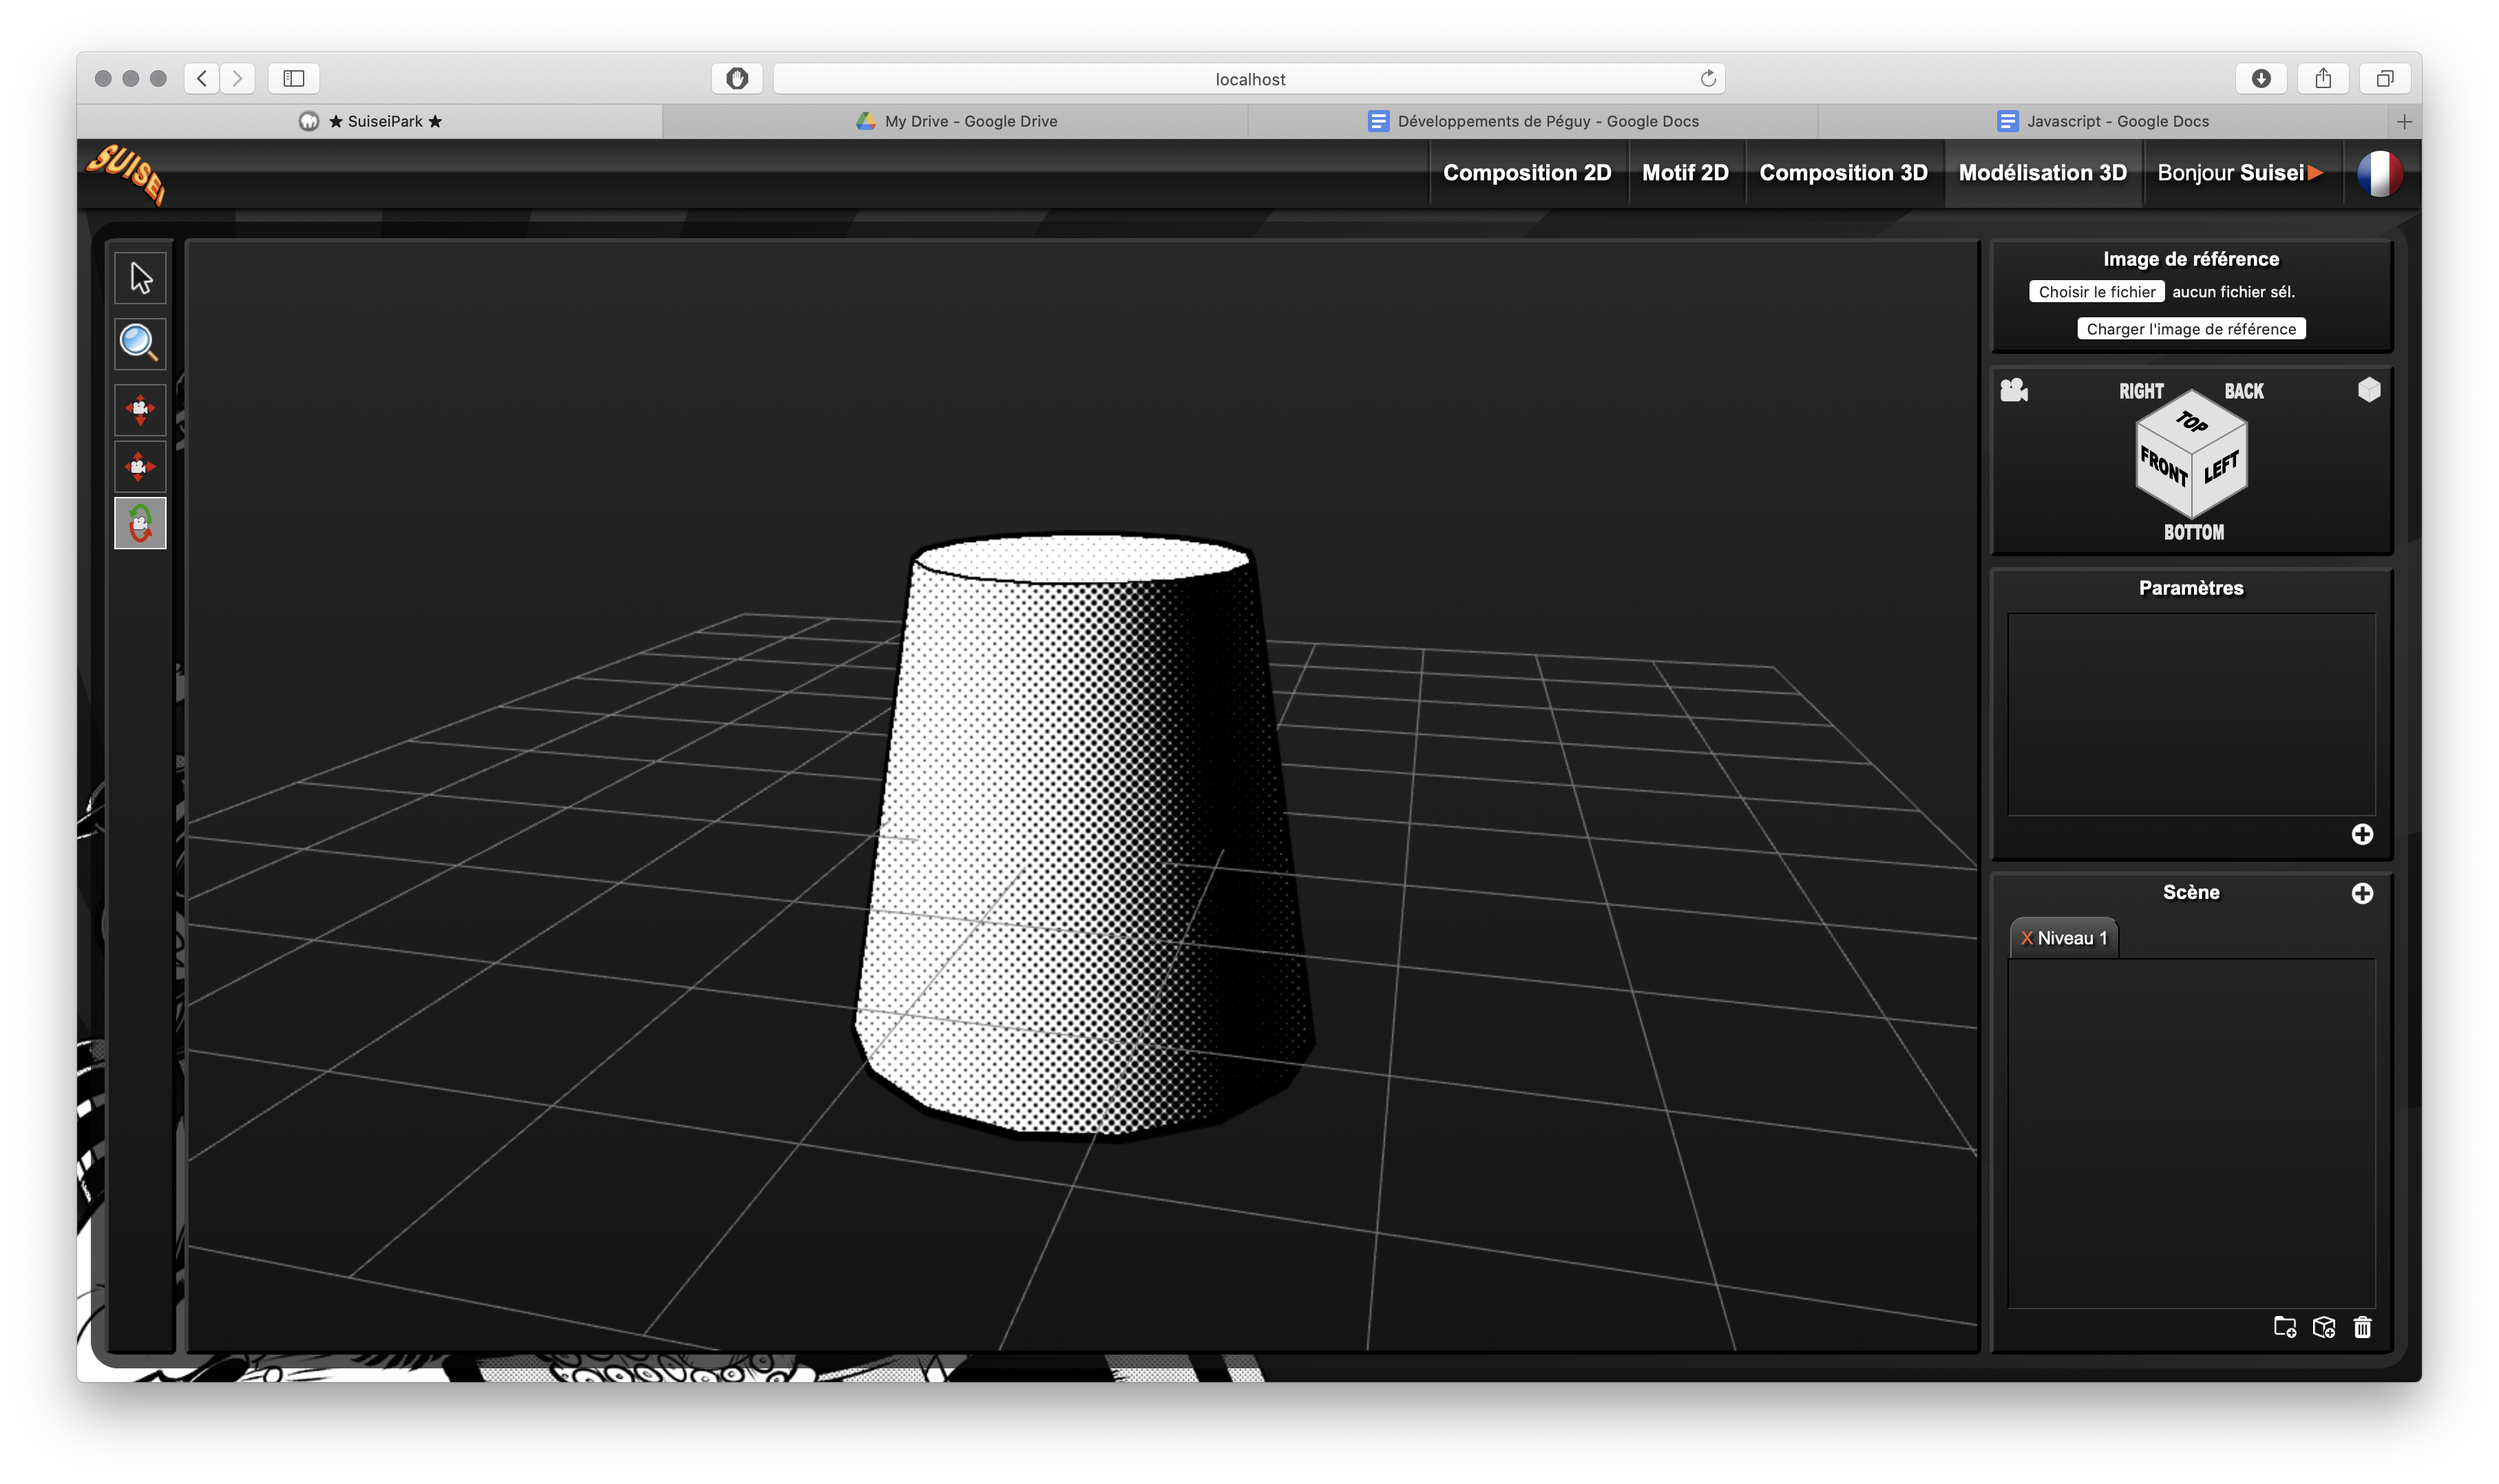
A 3D module!
The 2020 new feature is that I started to develop a 3D module. The idea, in the long run, is to be able to build my comics backgrounds, at least the architectural ones, a bit like a Lego game.
The interface is really still under development, a lot of things are missing, but basically it's going to look like this.

So there's no shortage of 3D modeling software, so why am I making one? What will make my project stand out from what already exists?
First, navigation around the 3D workspace. In short, the movement of the camera.
Well please excuse me, but in Blender, Maya, Sketchup and so on, to be able to frame according to your needs to get a rendering, it's just a pain in the ass!
So I developed a more practical camera navigation system depending on whether you're modeling an object or placing it in a map. The idea is to take inspiration from the map editors in some video games (like Age of Empire).
Secondly, I'm going to propose a small innovation. When you model an object in Blender or something else, it will always be frozen and if you use it several times in an environment, it will be strictly identical, which can be annoying for natural elements like trees for example. So I'm going to develop a kind of little "language" that will allow you to make an object customizable and incorporate random components. Thus, with a single definition for an object, we can obtain an infinite number of different instances, with random components for natural elements and variables such as the number of floors for a building.
I had already developed a prototype of this system many years ago in Java. I'm going to retrieve it and adapt it to Javascript.
And the last peculiarity will be in the proposed renderings. As this is about making comics (especially in black and white in my case), I'm developing a whole bunch of shaders to generate lines, screentones and other hatchings automatically with the possibility to use patterns generated in the existing vector module as textures! :D
What are shaders?
Well, you see the principle of post-production in cinema... (Editing, sound effects, various corrections, special effects... all the finishing work after shooting).
Well, shaders are about the same principle. They are programs executed just after the calculation of the 3D object as it should appear on the screen. They allow to apply patches, deformations, effects, filters...
As long as you are not angry with mathematics, there is only limit to your imagination! :D
When you enter a normal vector in a color variable it gives funny results.
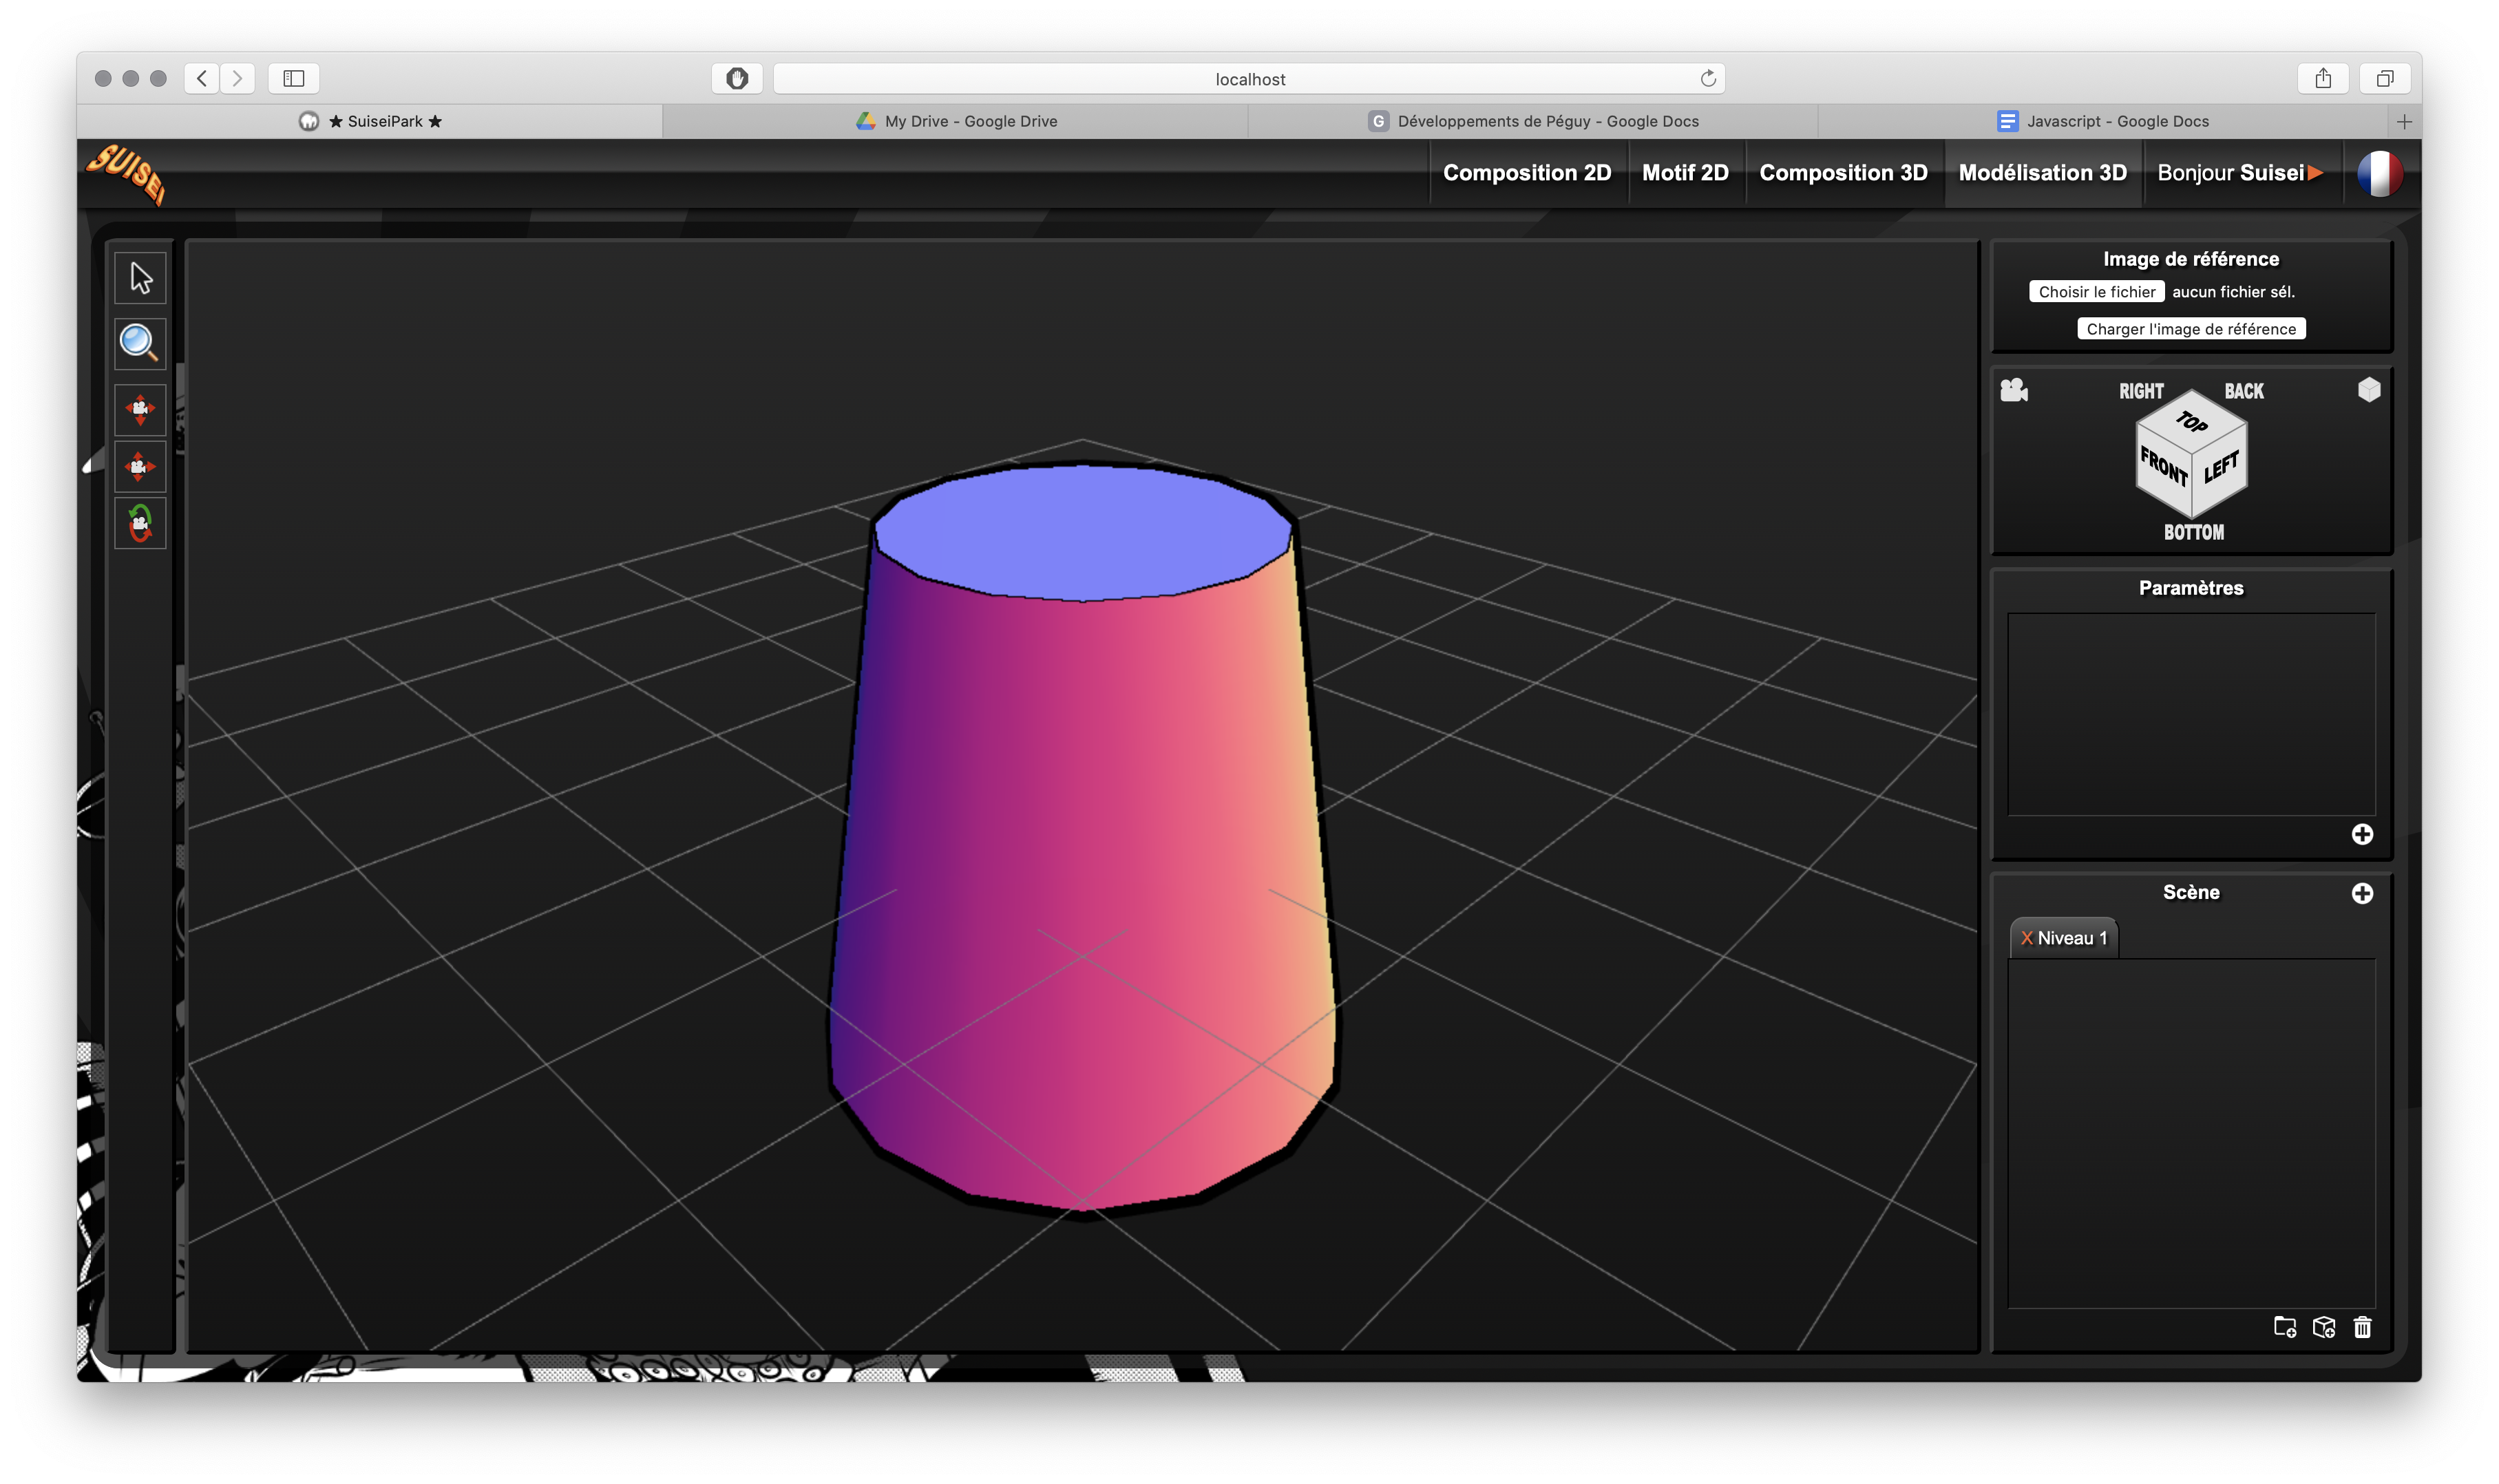
Yes! It's really with math that you can display all these things. :D
Now when you hear a smart guy tell you that math is cold, it's the opposite of art or incompatible with art... it's dry toast, you'll know it's ignorance. :p
Math is a tool just like the brush, it's all about knowing how to use it. :D
In truth, science is a representation of reality in the same way as a painting.
It is photorealistic in the extreme, but it is nevertheless a human construction used to describe nature.
It remains an approximation of reality that continually escapes us and we try to fill in the margins of error over the centuries...
Just like classical painting did.
But by the way? Aren't there a bunch of great painters who were also scholars, mathematicians? Yes, there are! Look hard! The Renaissance is a good breeding ground. x)
In short! Physics is a painting and mathematics is its brush.
But in painting, we don't only do figurative, not only realism, we can give free rein to our inspiration to stylize our representation of the world or make it abstract.
Well like any good brush, mathematics allows the same fantasy! All it takes is a little imagination for that.
Hold, for example, the good old Spirograph from our childhood. We all had one! Well, these pretty patterns drawn with the bic are nothing else than... parametric equations that make the students of math sup/math spe suffer. 8D
Even the famous celtic triskelion can be calculated from parametric equations.
Well, I digress, I digress, but let's get back to our shaders.
Since you can do whatever you want with it, I worked on typical manga effects.
By combining the Dot Pattern Generator and the Hatch Generator but display them in white, I was able to simulate a scratch effect on screentones.
In the traditional way it is an effect that is obtained by scraping the screentones with a cutter or similar tool.

Péguy will therefore be able to calculate this effect alone on a 3D scene. :D
I extended this effect with a pattern calculated in SVG.
So it will be possible to use the patterns created in the vector module as textures for the 3D module!
Here it is a pattern of dots distributed according to a Fibonacci spiral (I used a similar pattern in Tarkhan to make stone textures, very commonly used in manga).
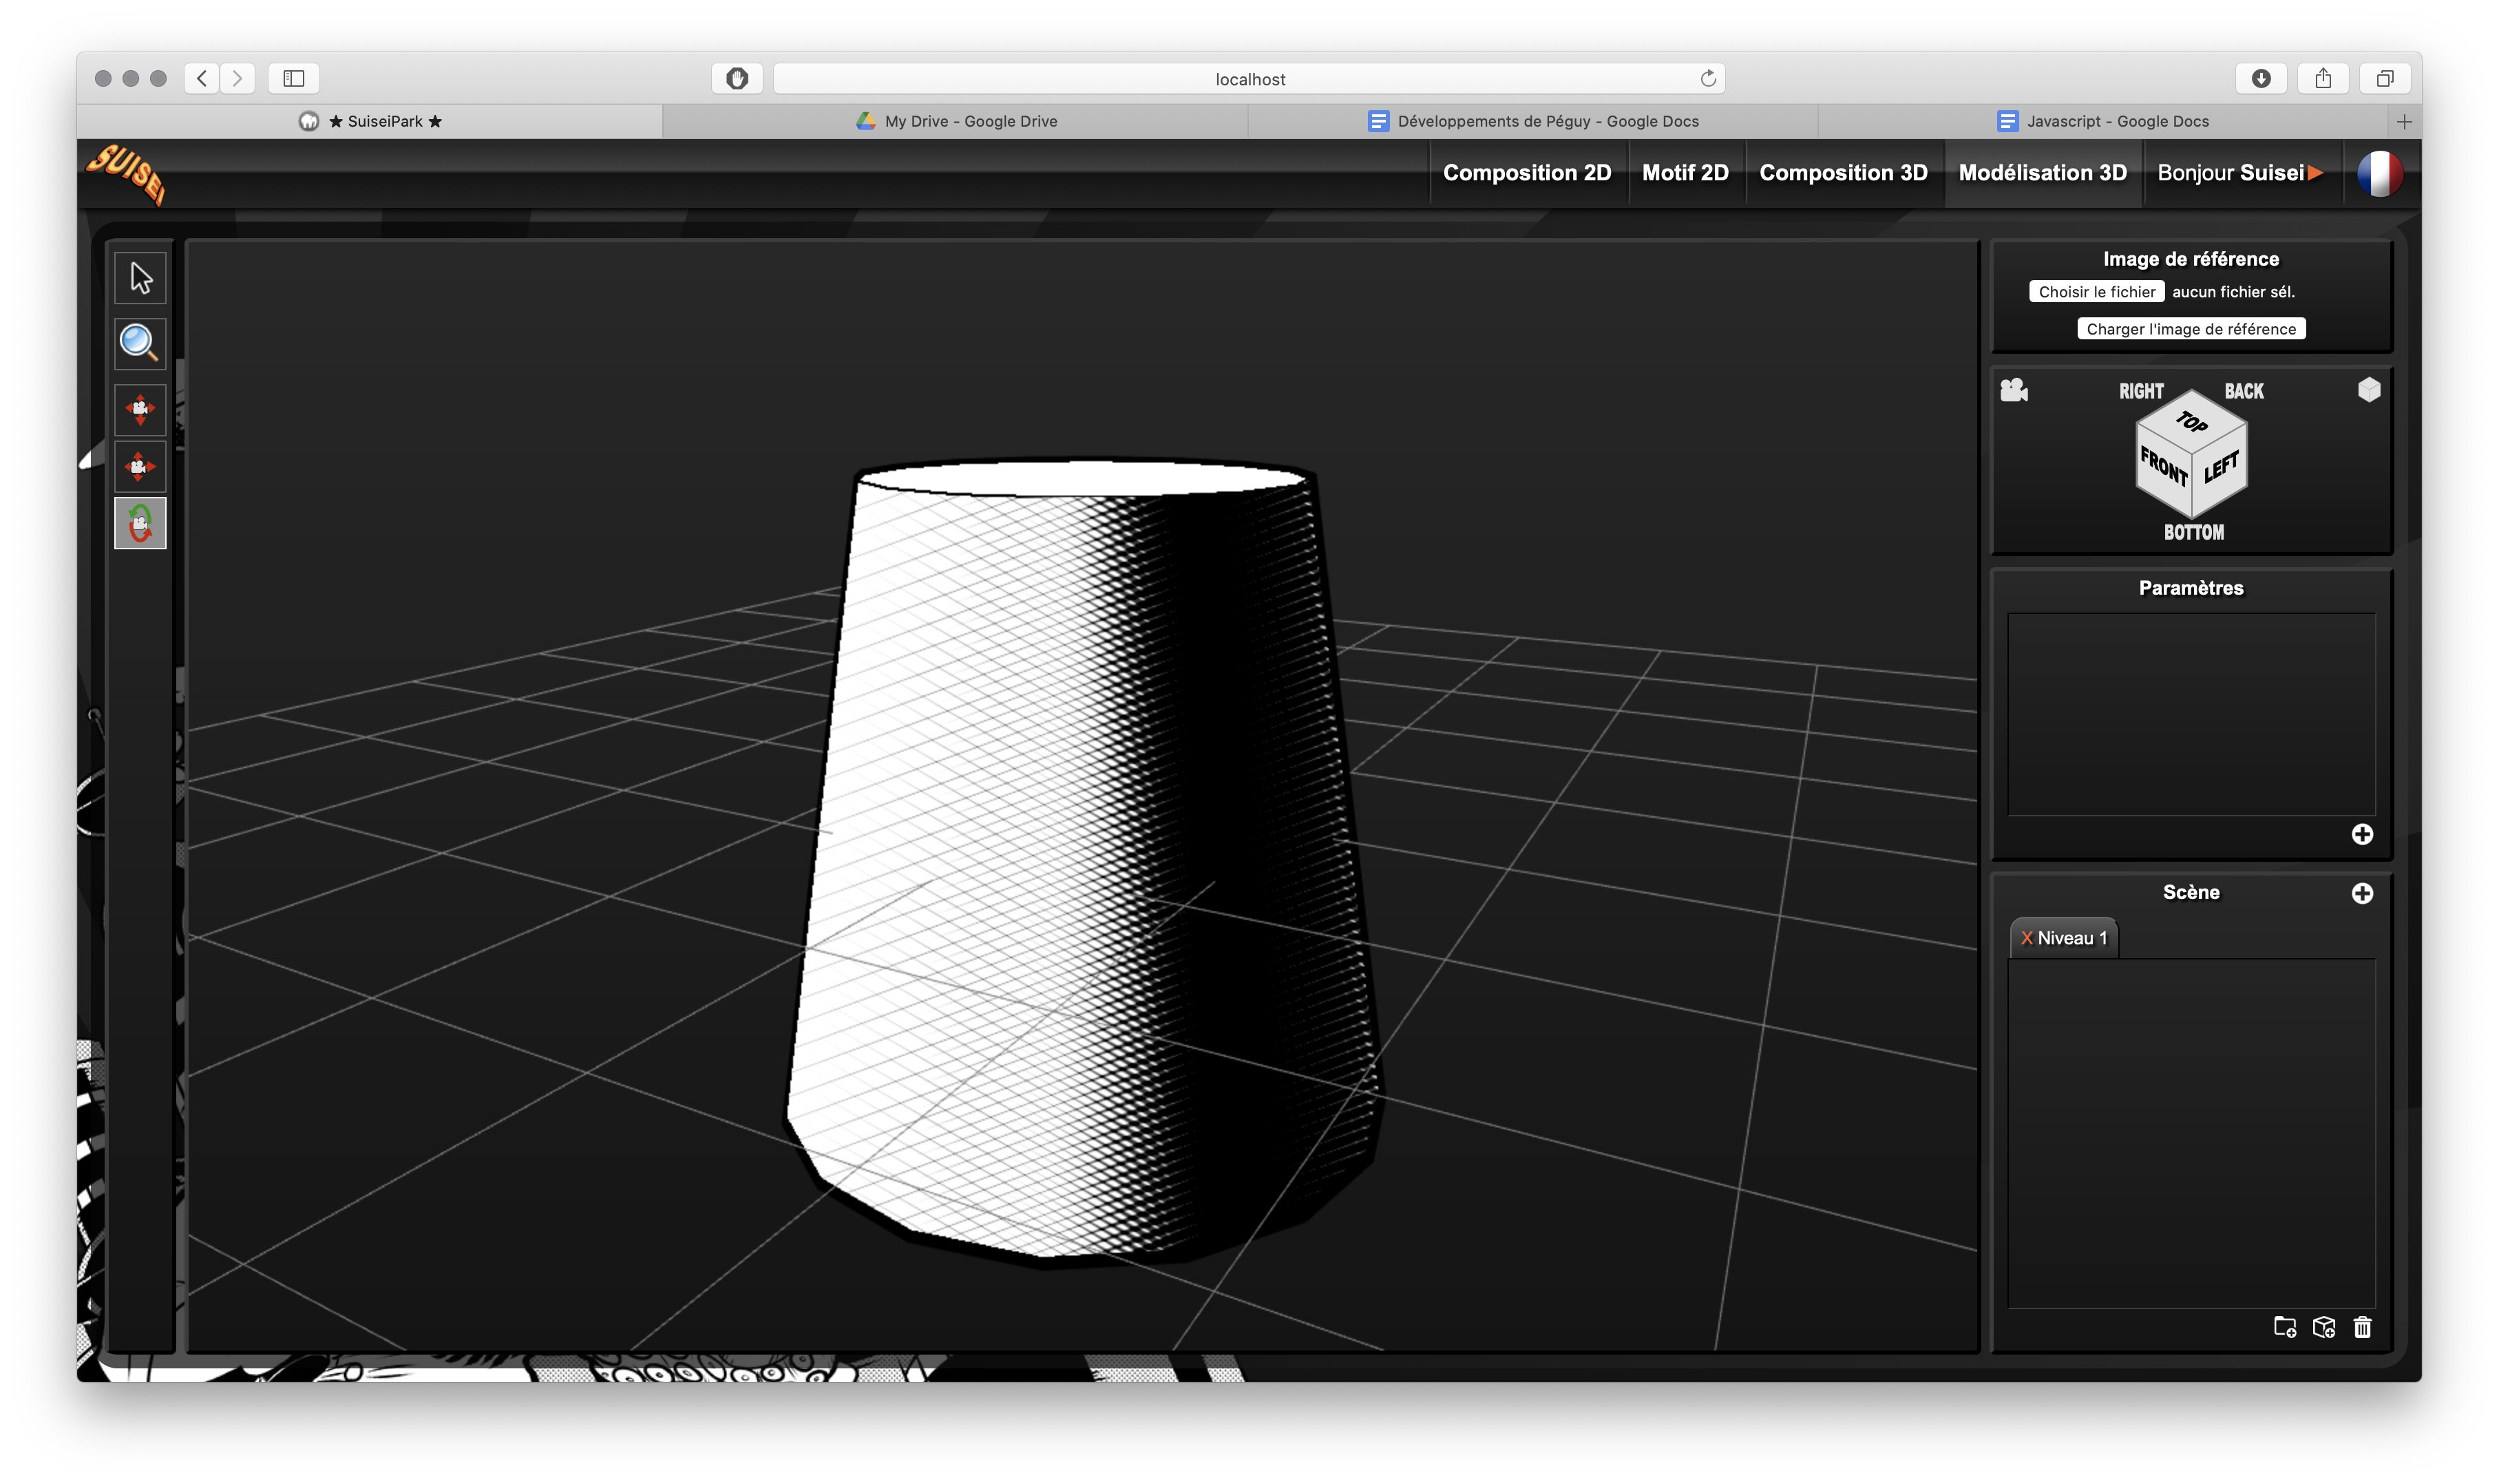
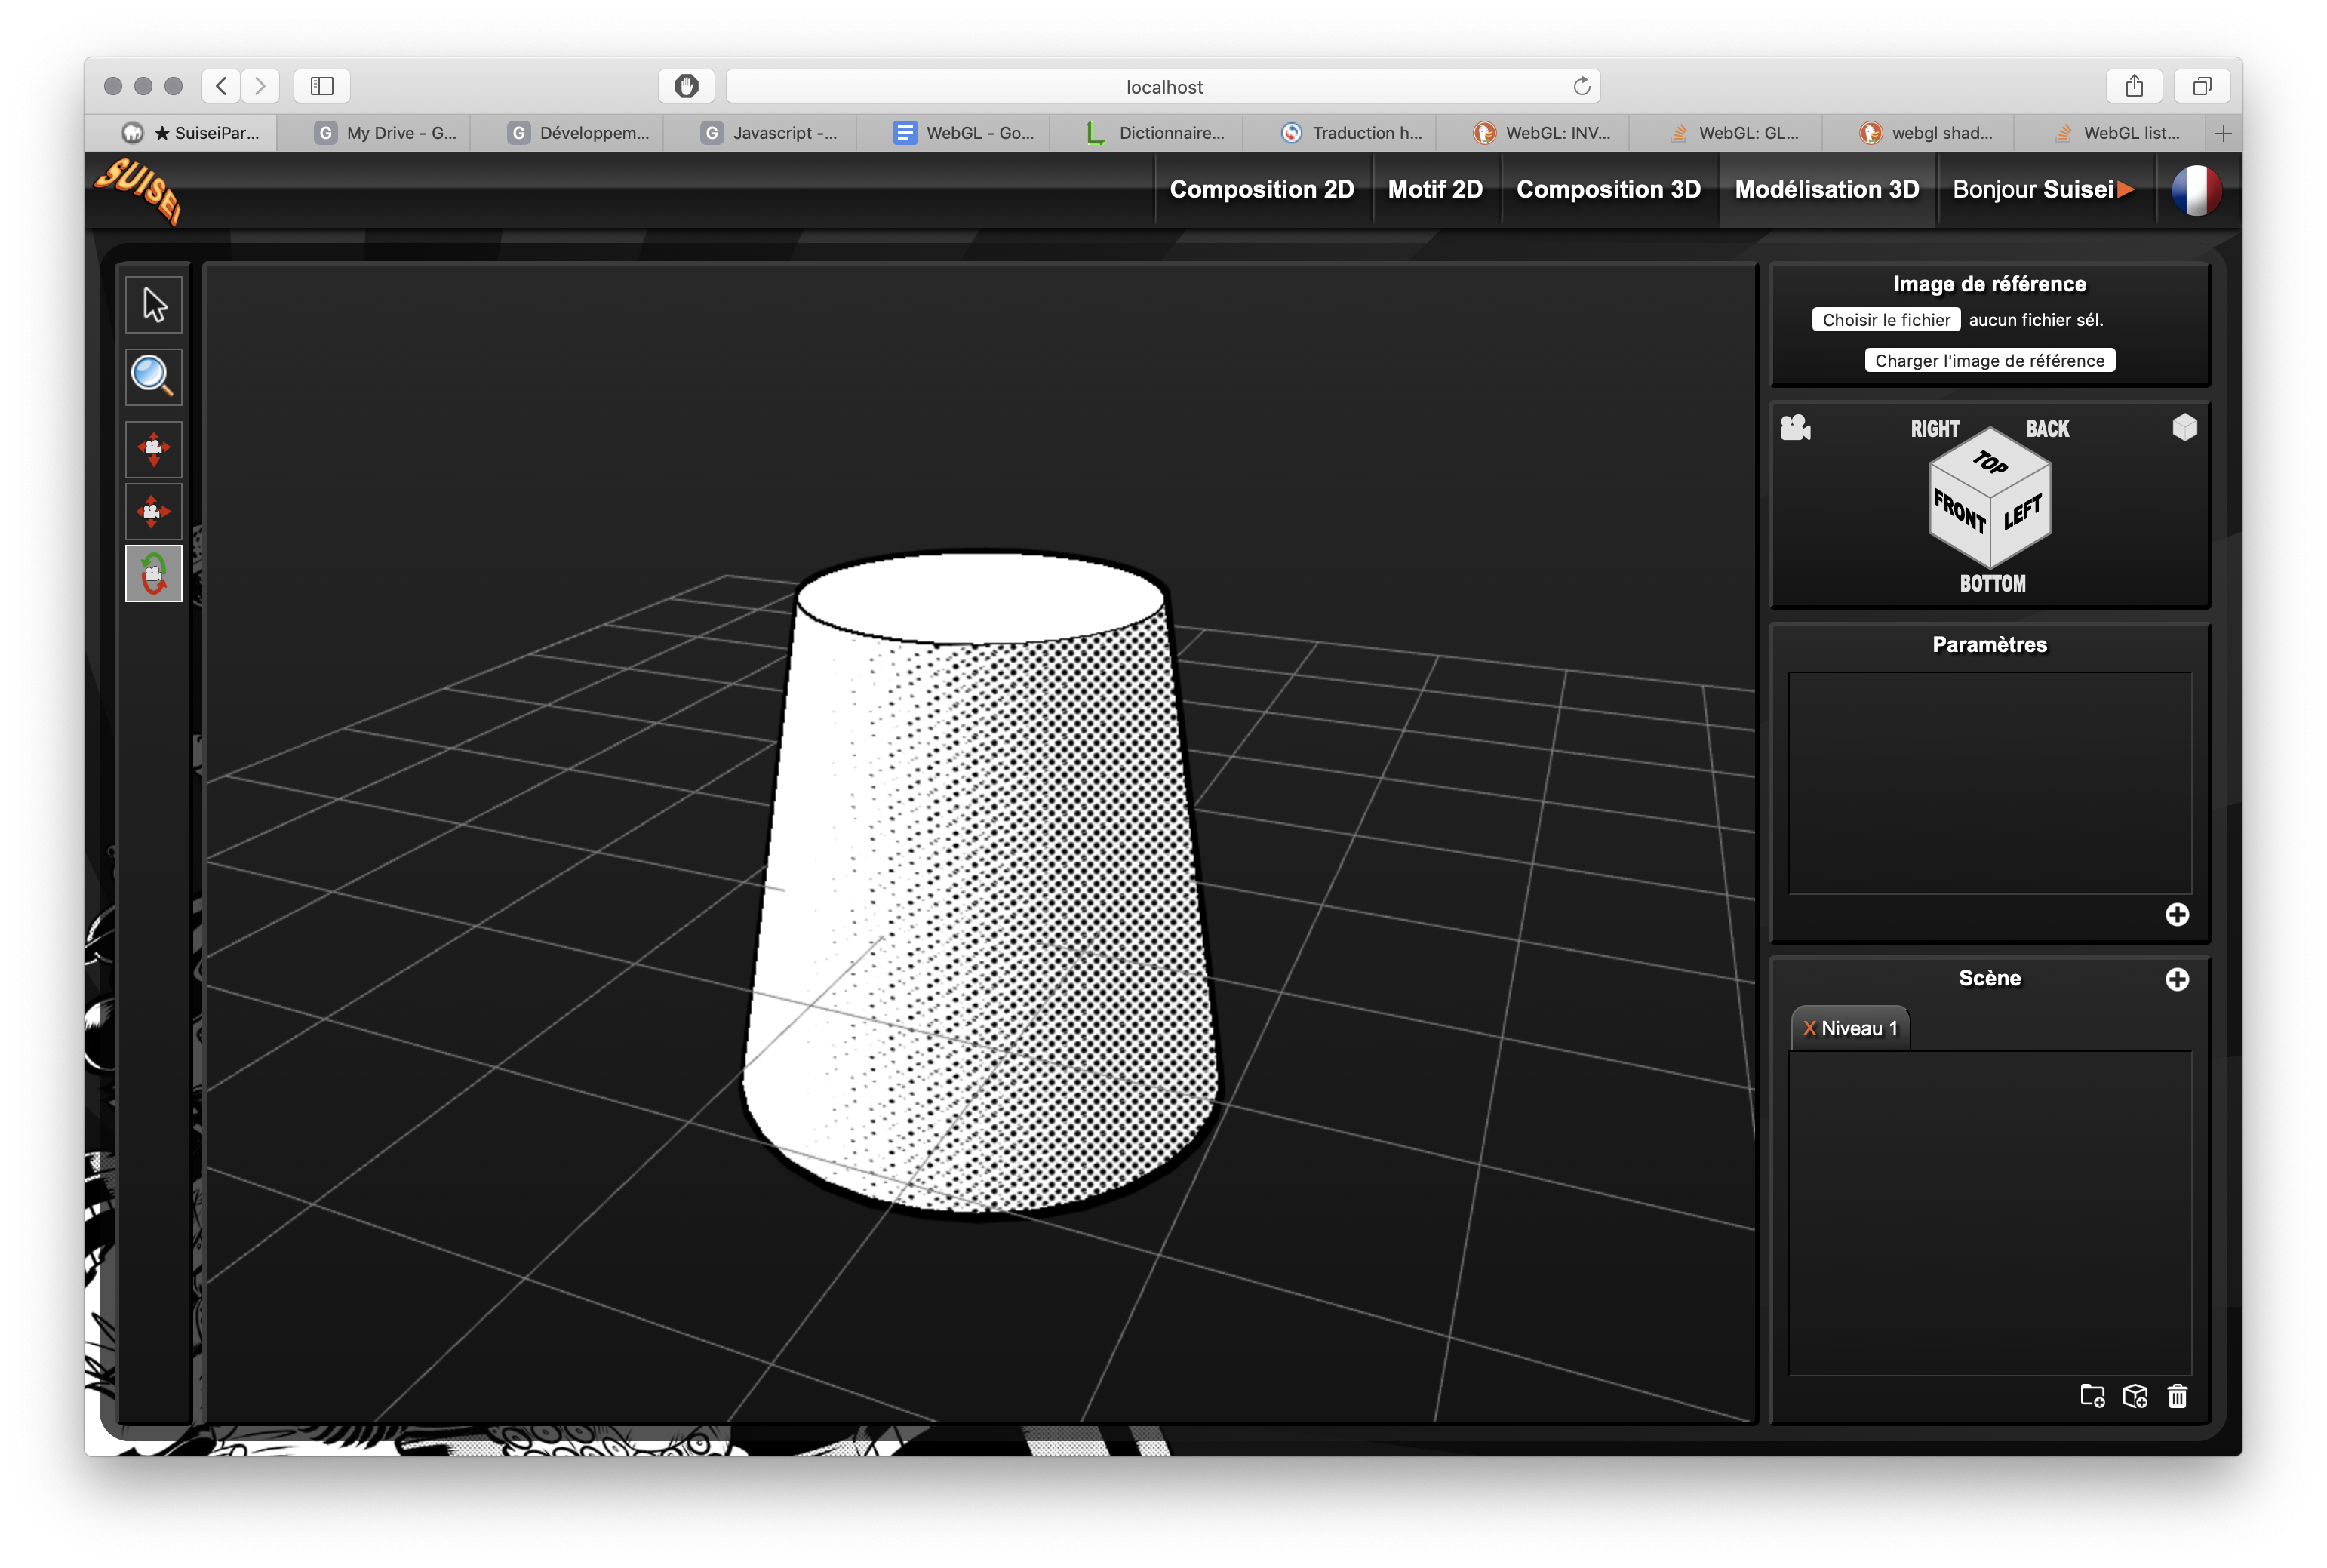
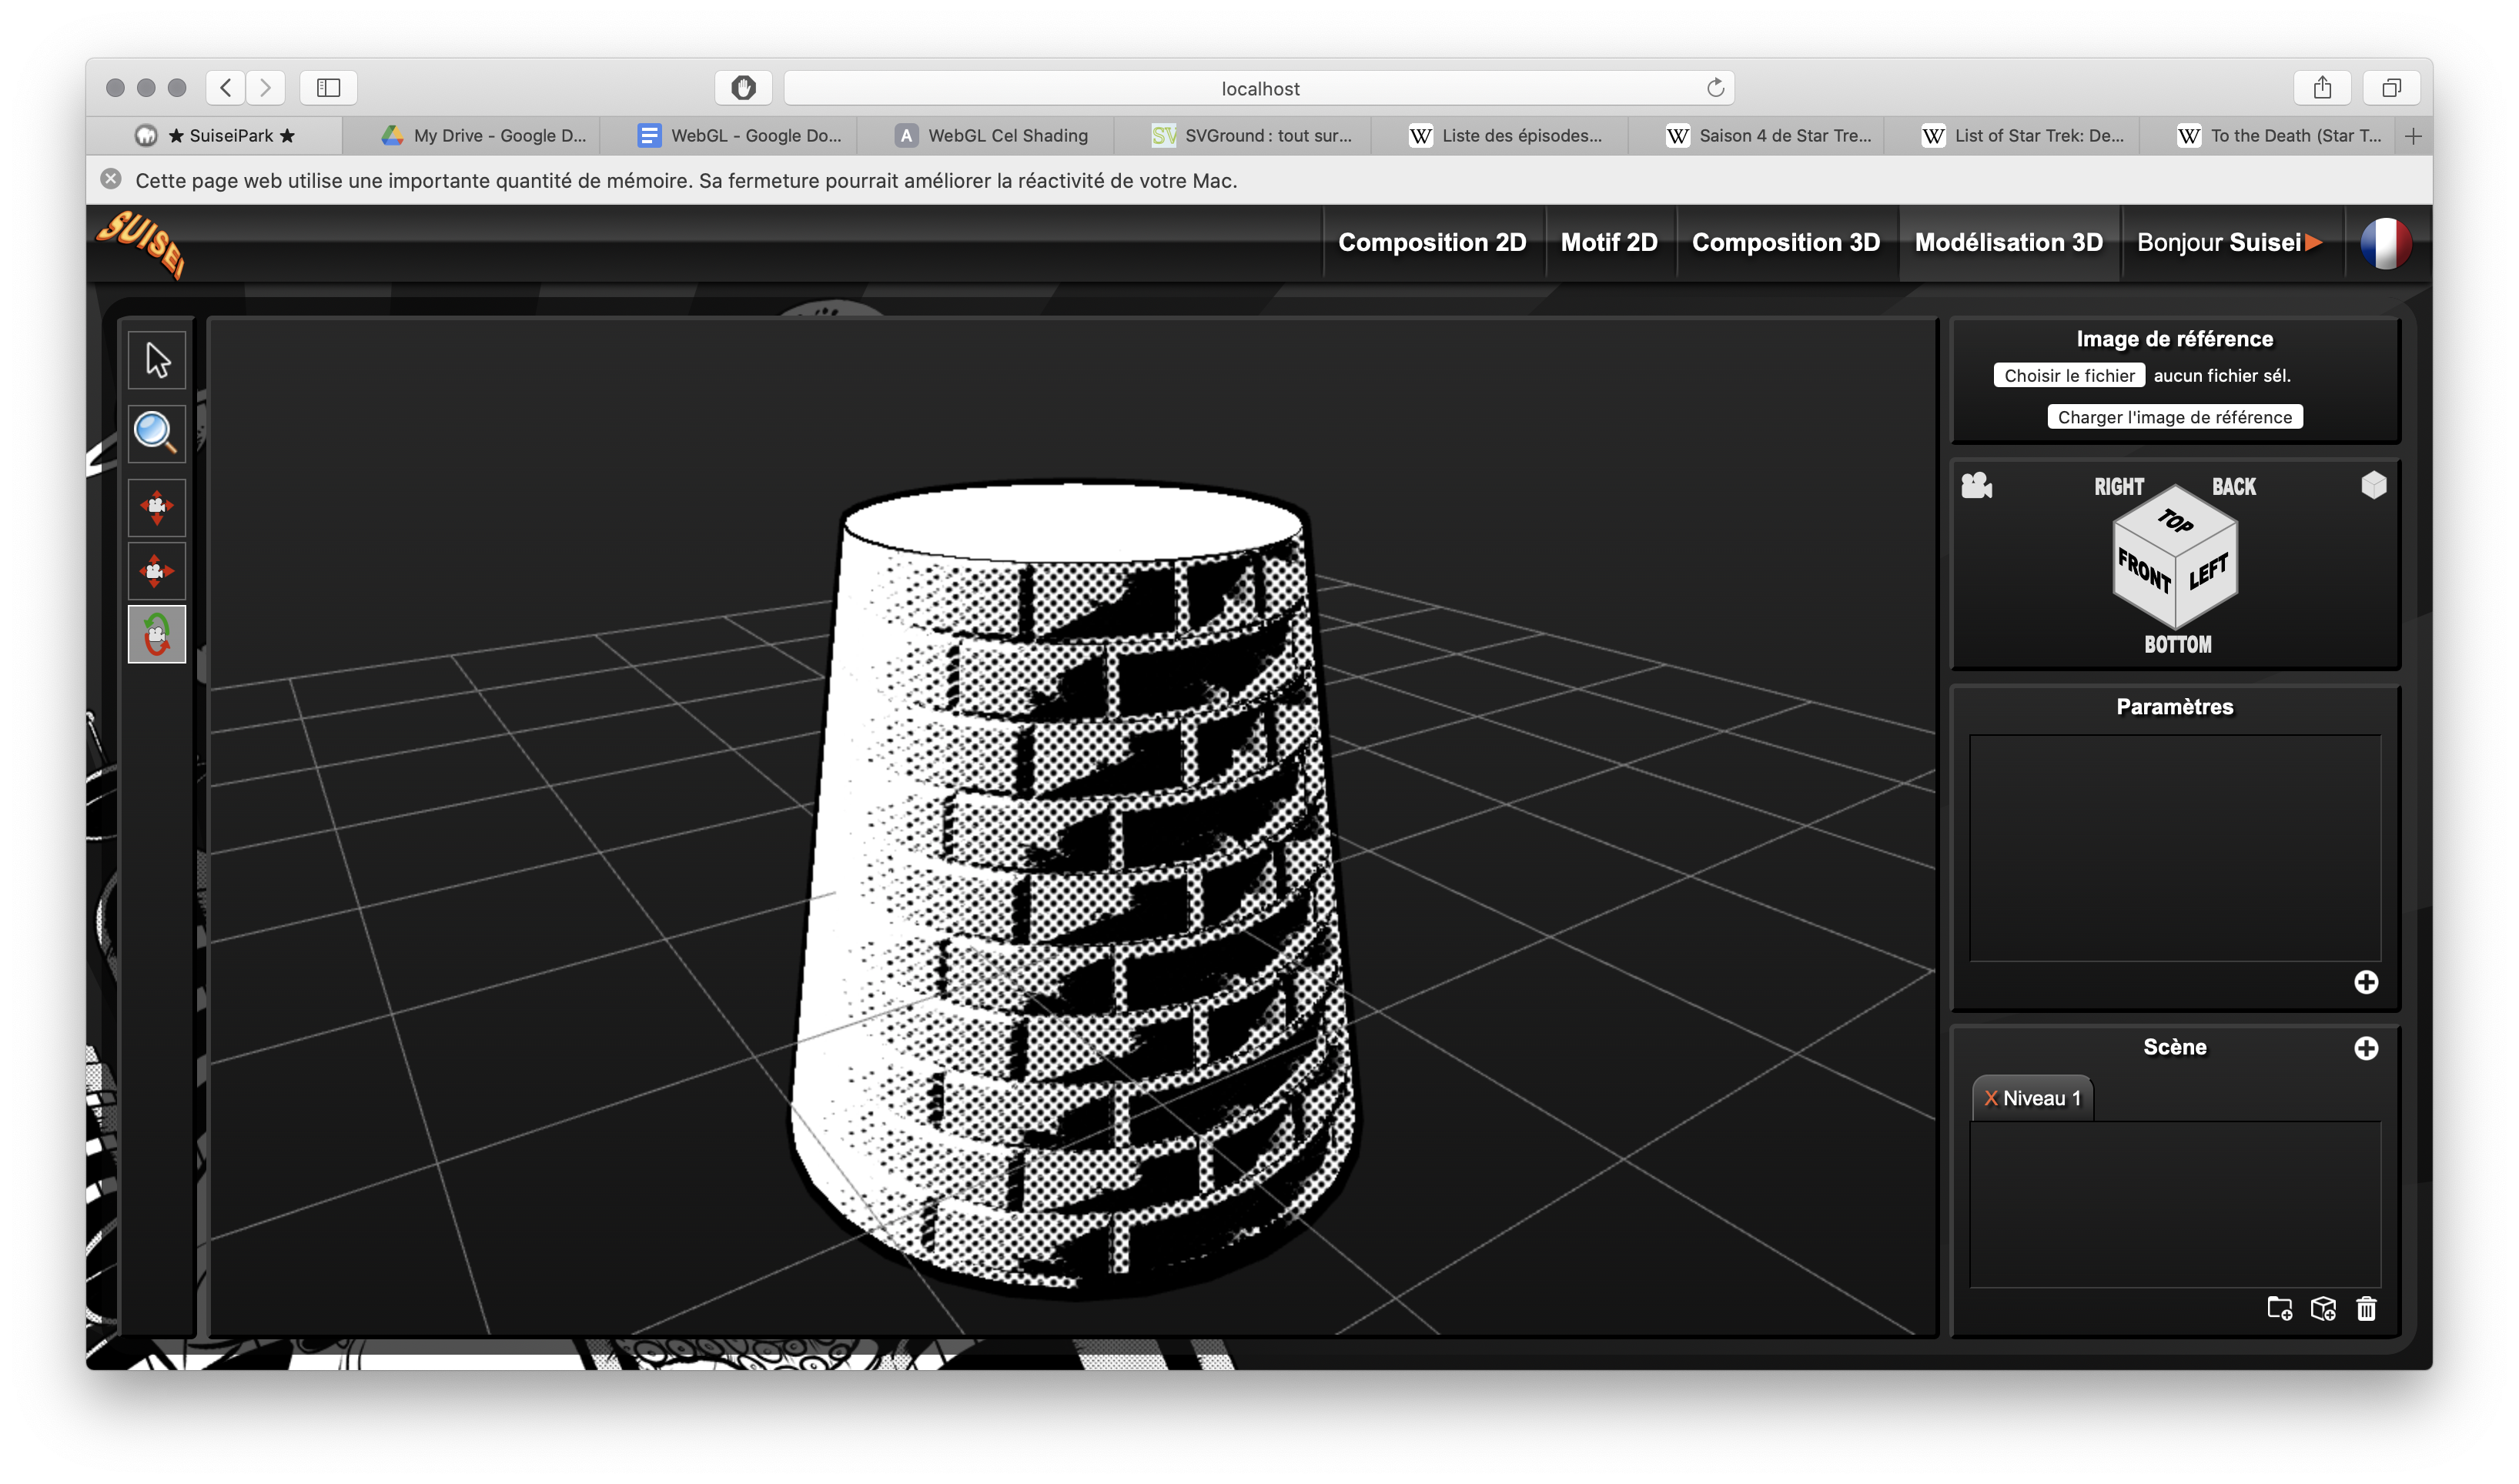
Bump mapping
So this is where things get really interesting. We stay in the shaders but we're going to give an extra dimension to our rendering.
Basically, bump mapping consists in creating a bas-relief effect from a high map. And it gives this kind of result.
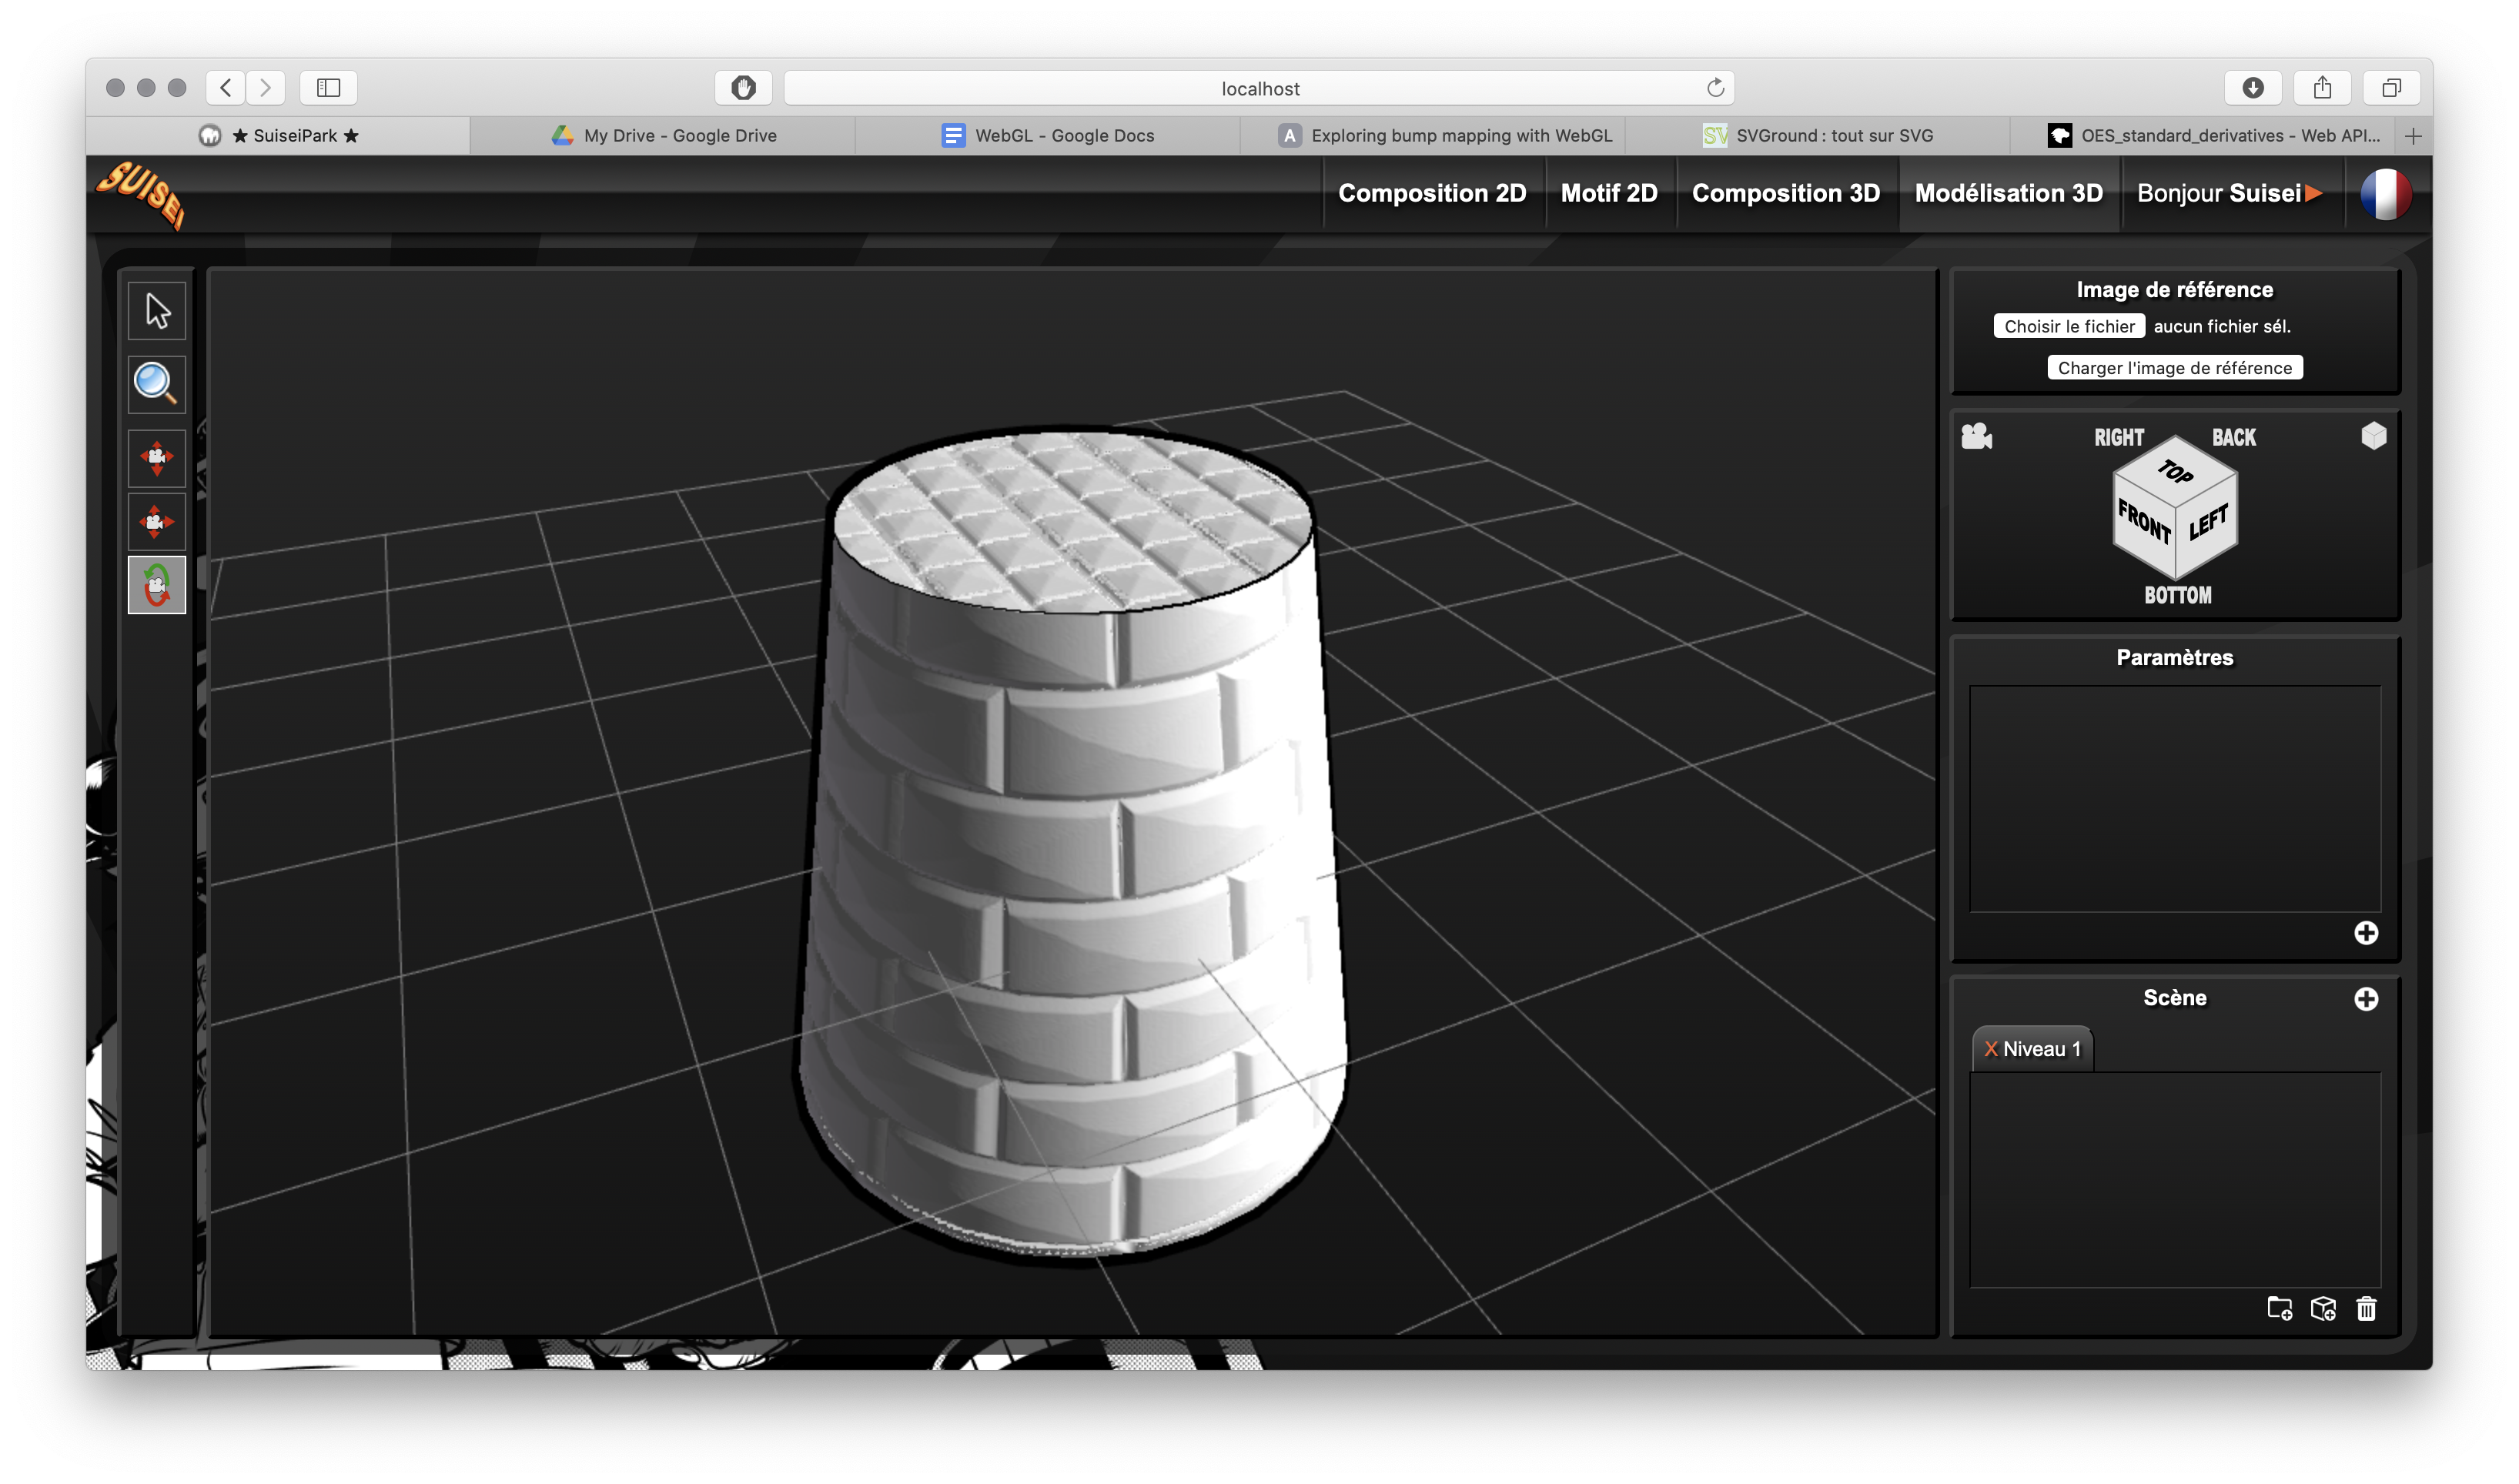
The defined object is always a simple cylinder (with 2 radii). It is the shaders that apply the pixel shift and recalculate the lighting thanks to the high map that looks like this.
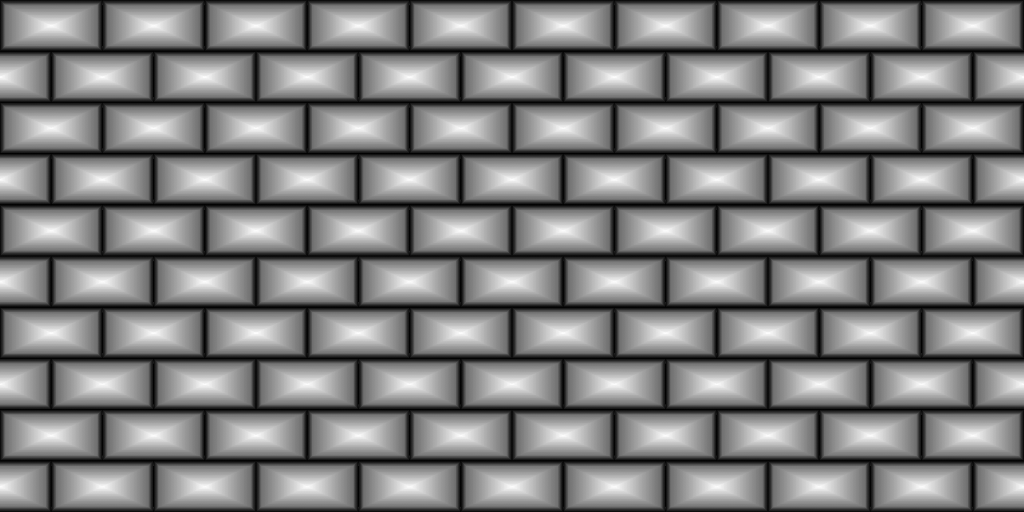
This texture has also been calculated automatically in SVG. Thus we can dynamically set the number of bricks.
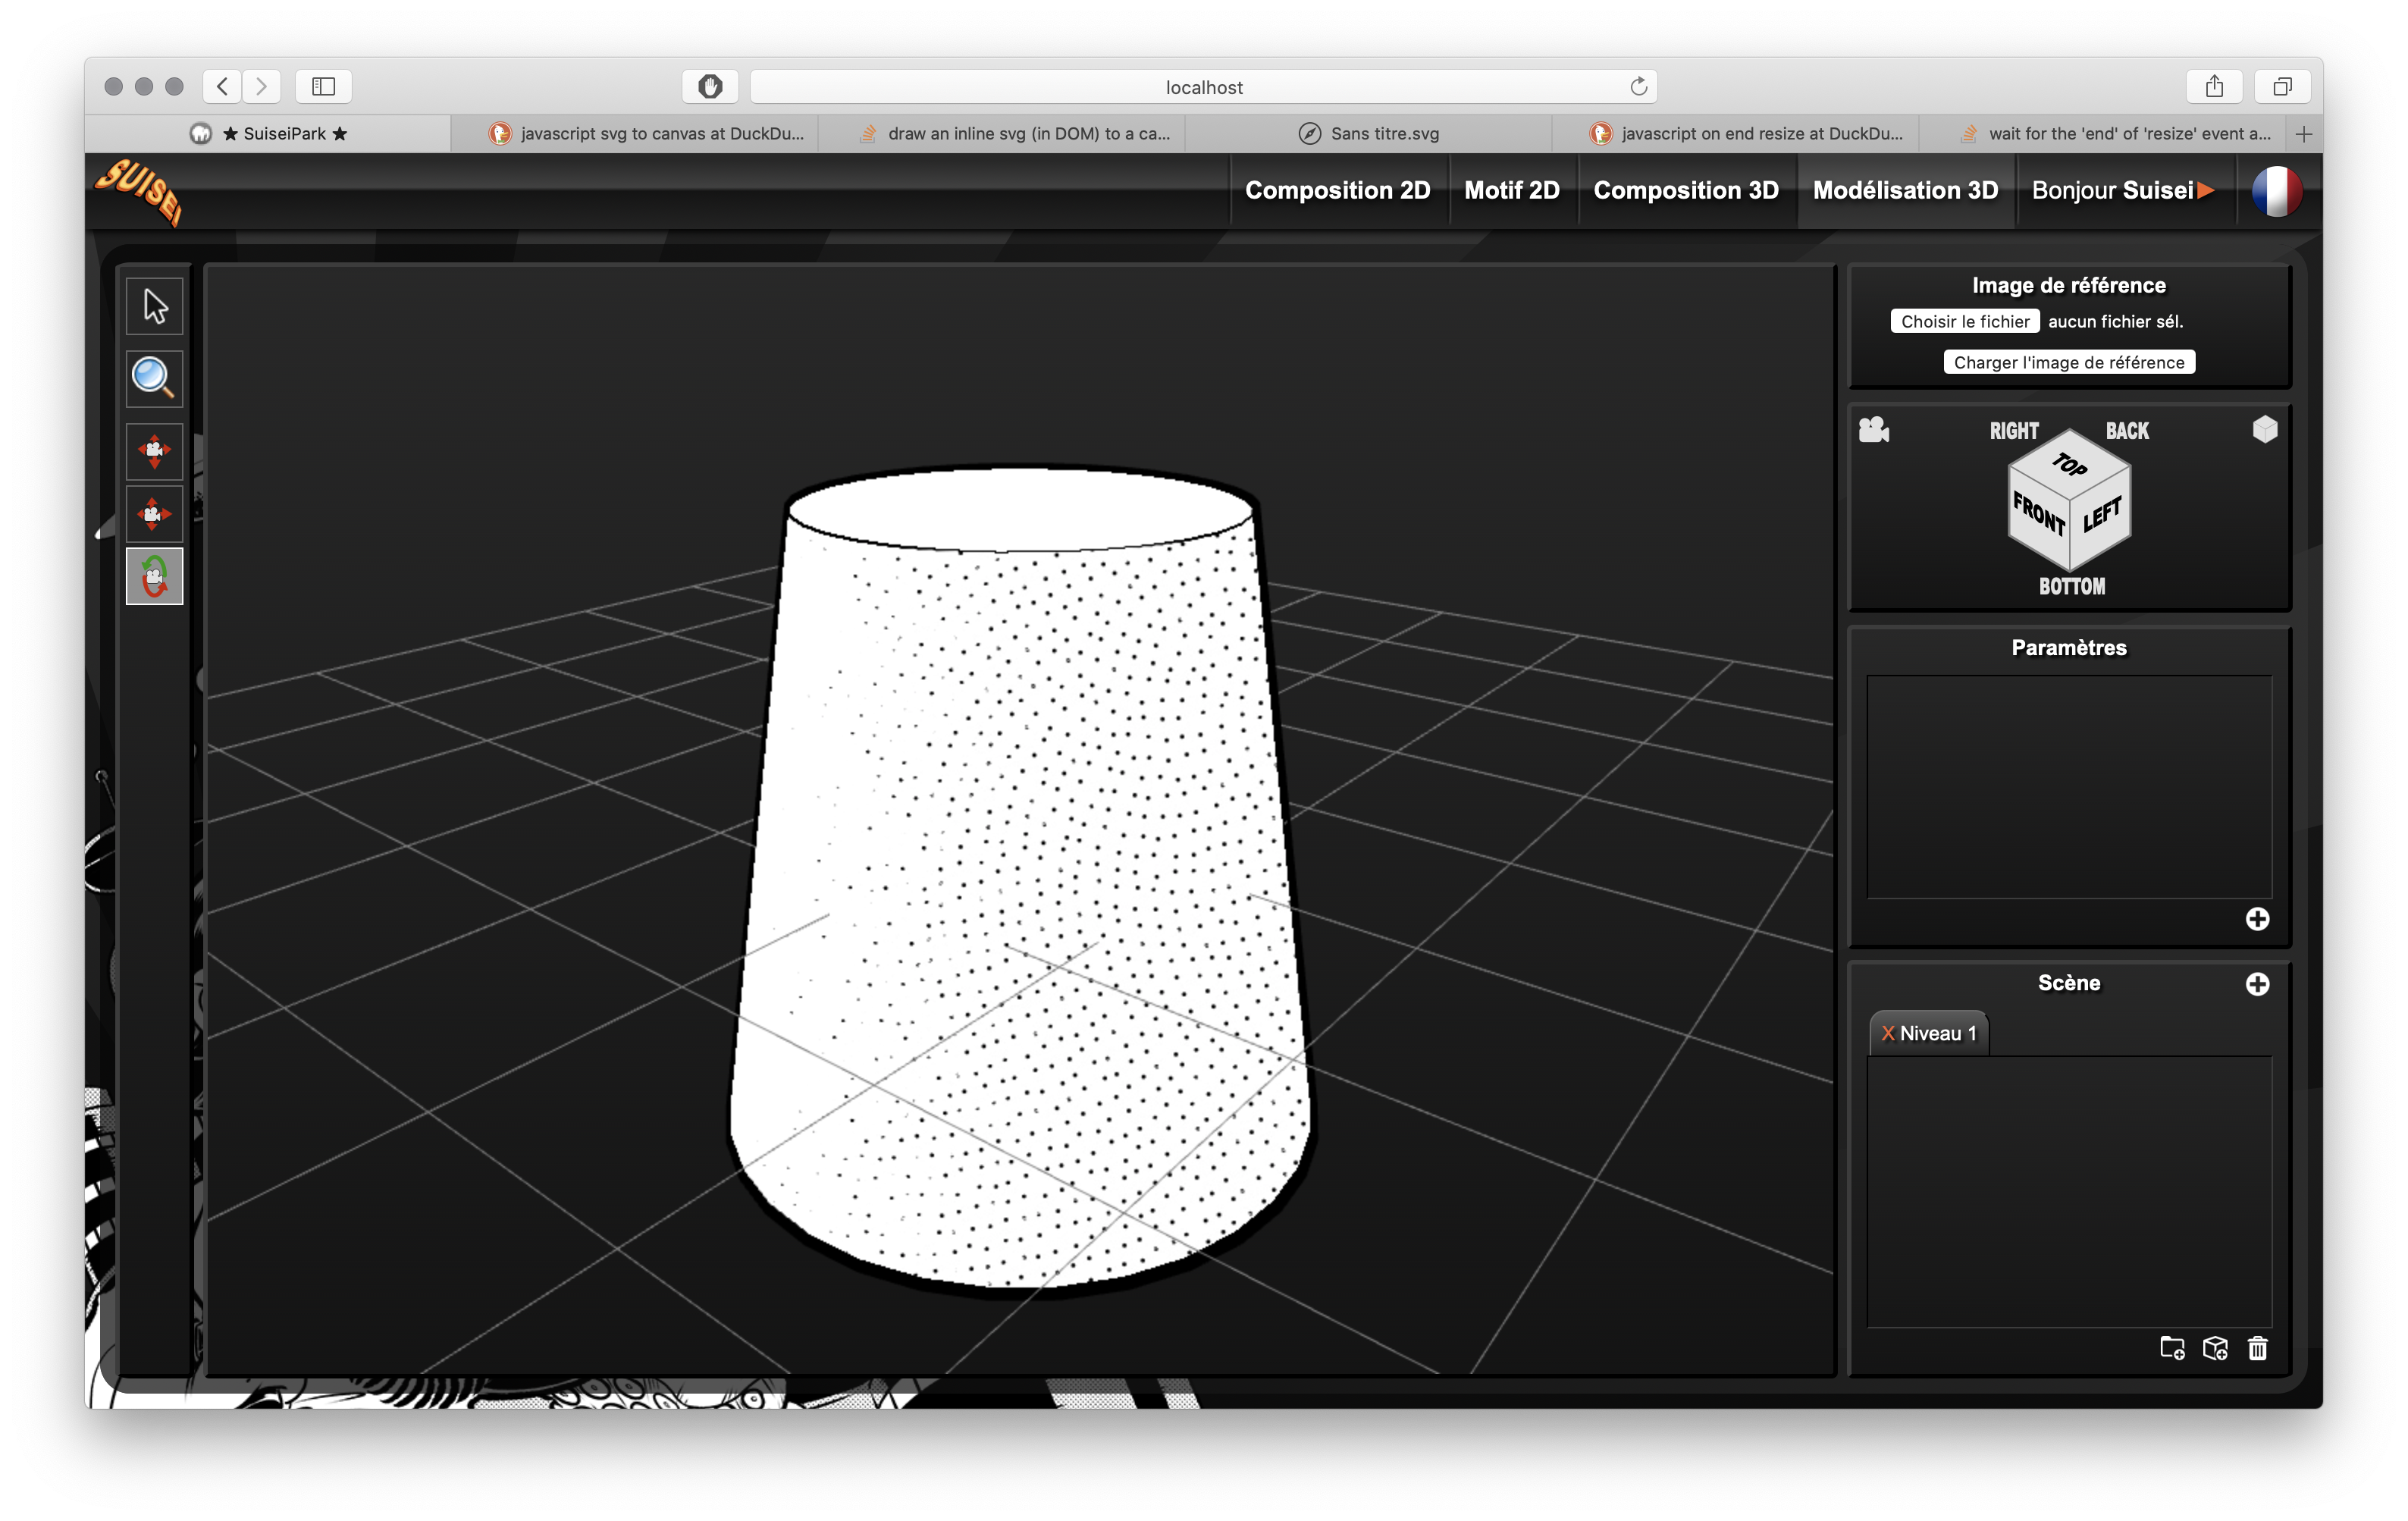
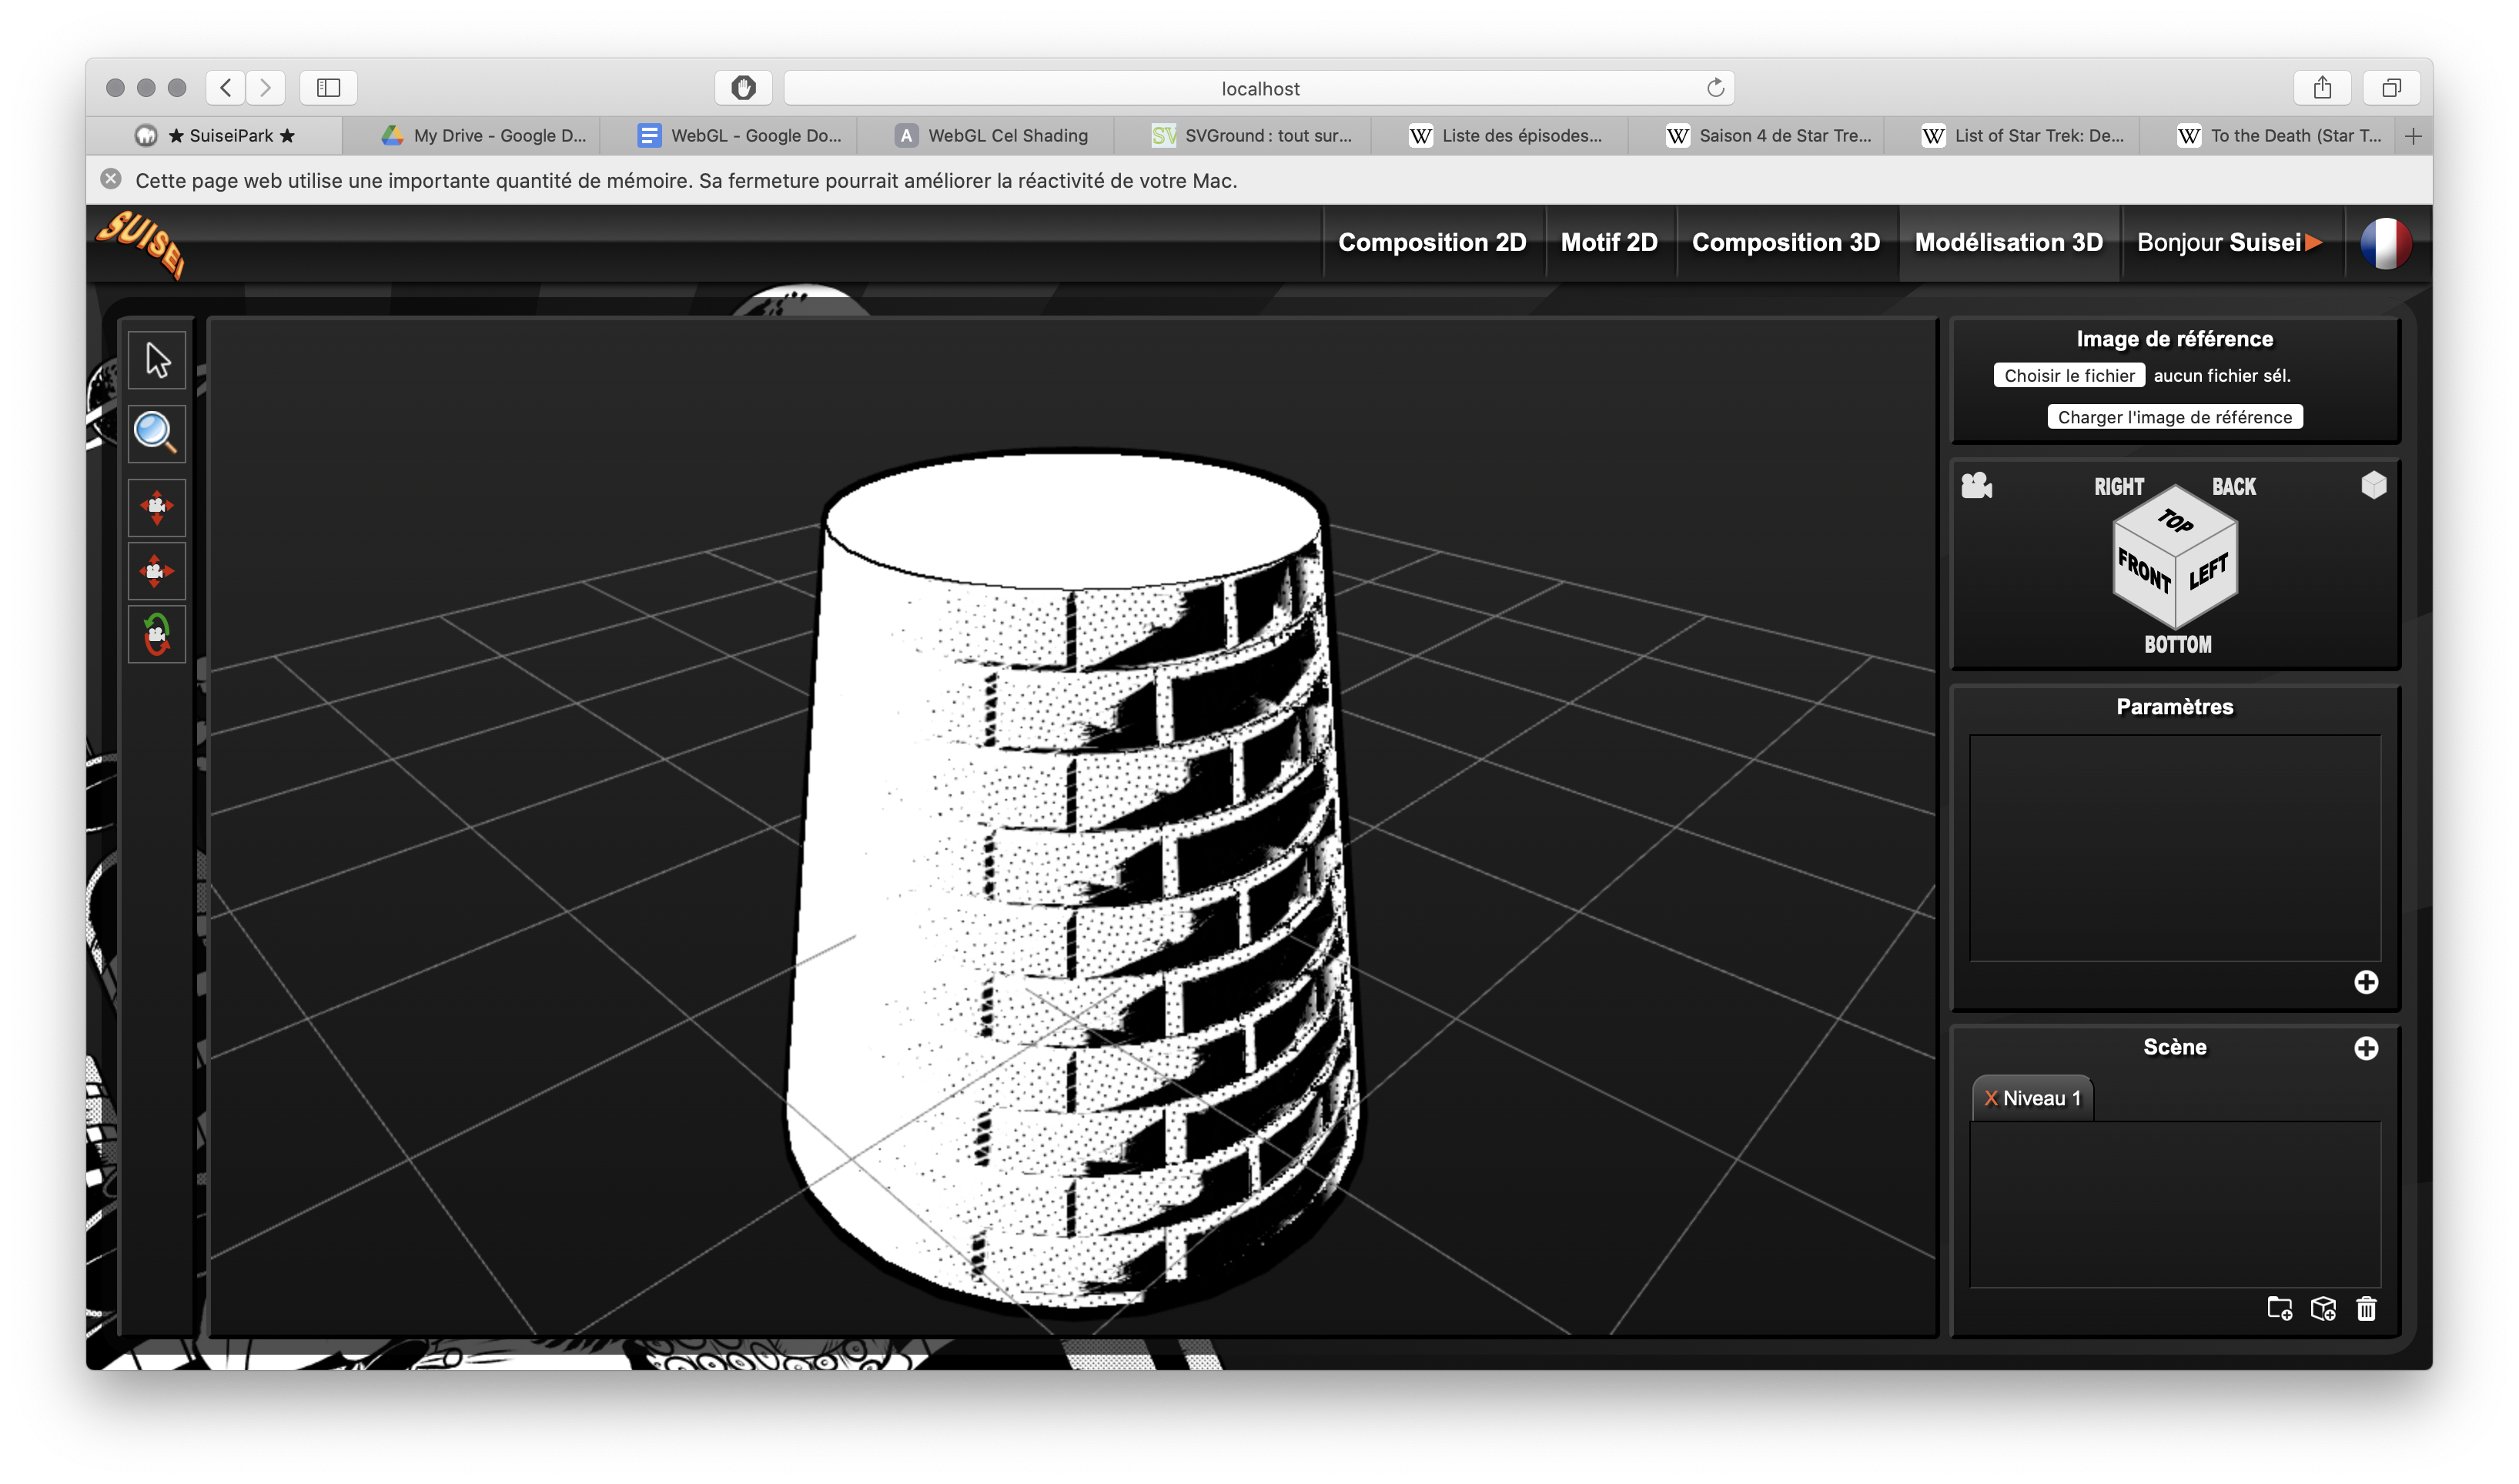
Well, this bas-relief story is very nice, but here we have a relatively realistic lighting, and we would like it to look like a drawing.
So by applying a threshold to have an area lit in white, a second threshold to have shadow areas in black, by applying the screentone pattern to the rest and by adding the hatching that simulates the scraped screentone, here is the result!
It's like a manga from the 80's! :D
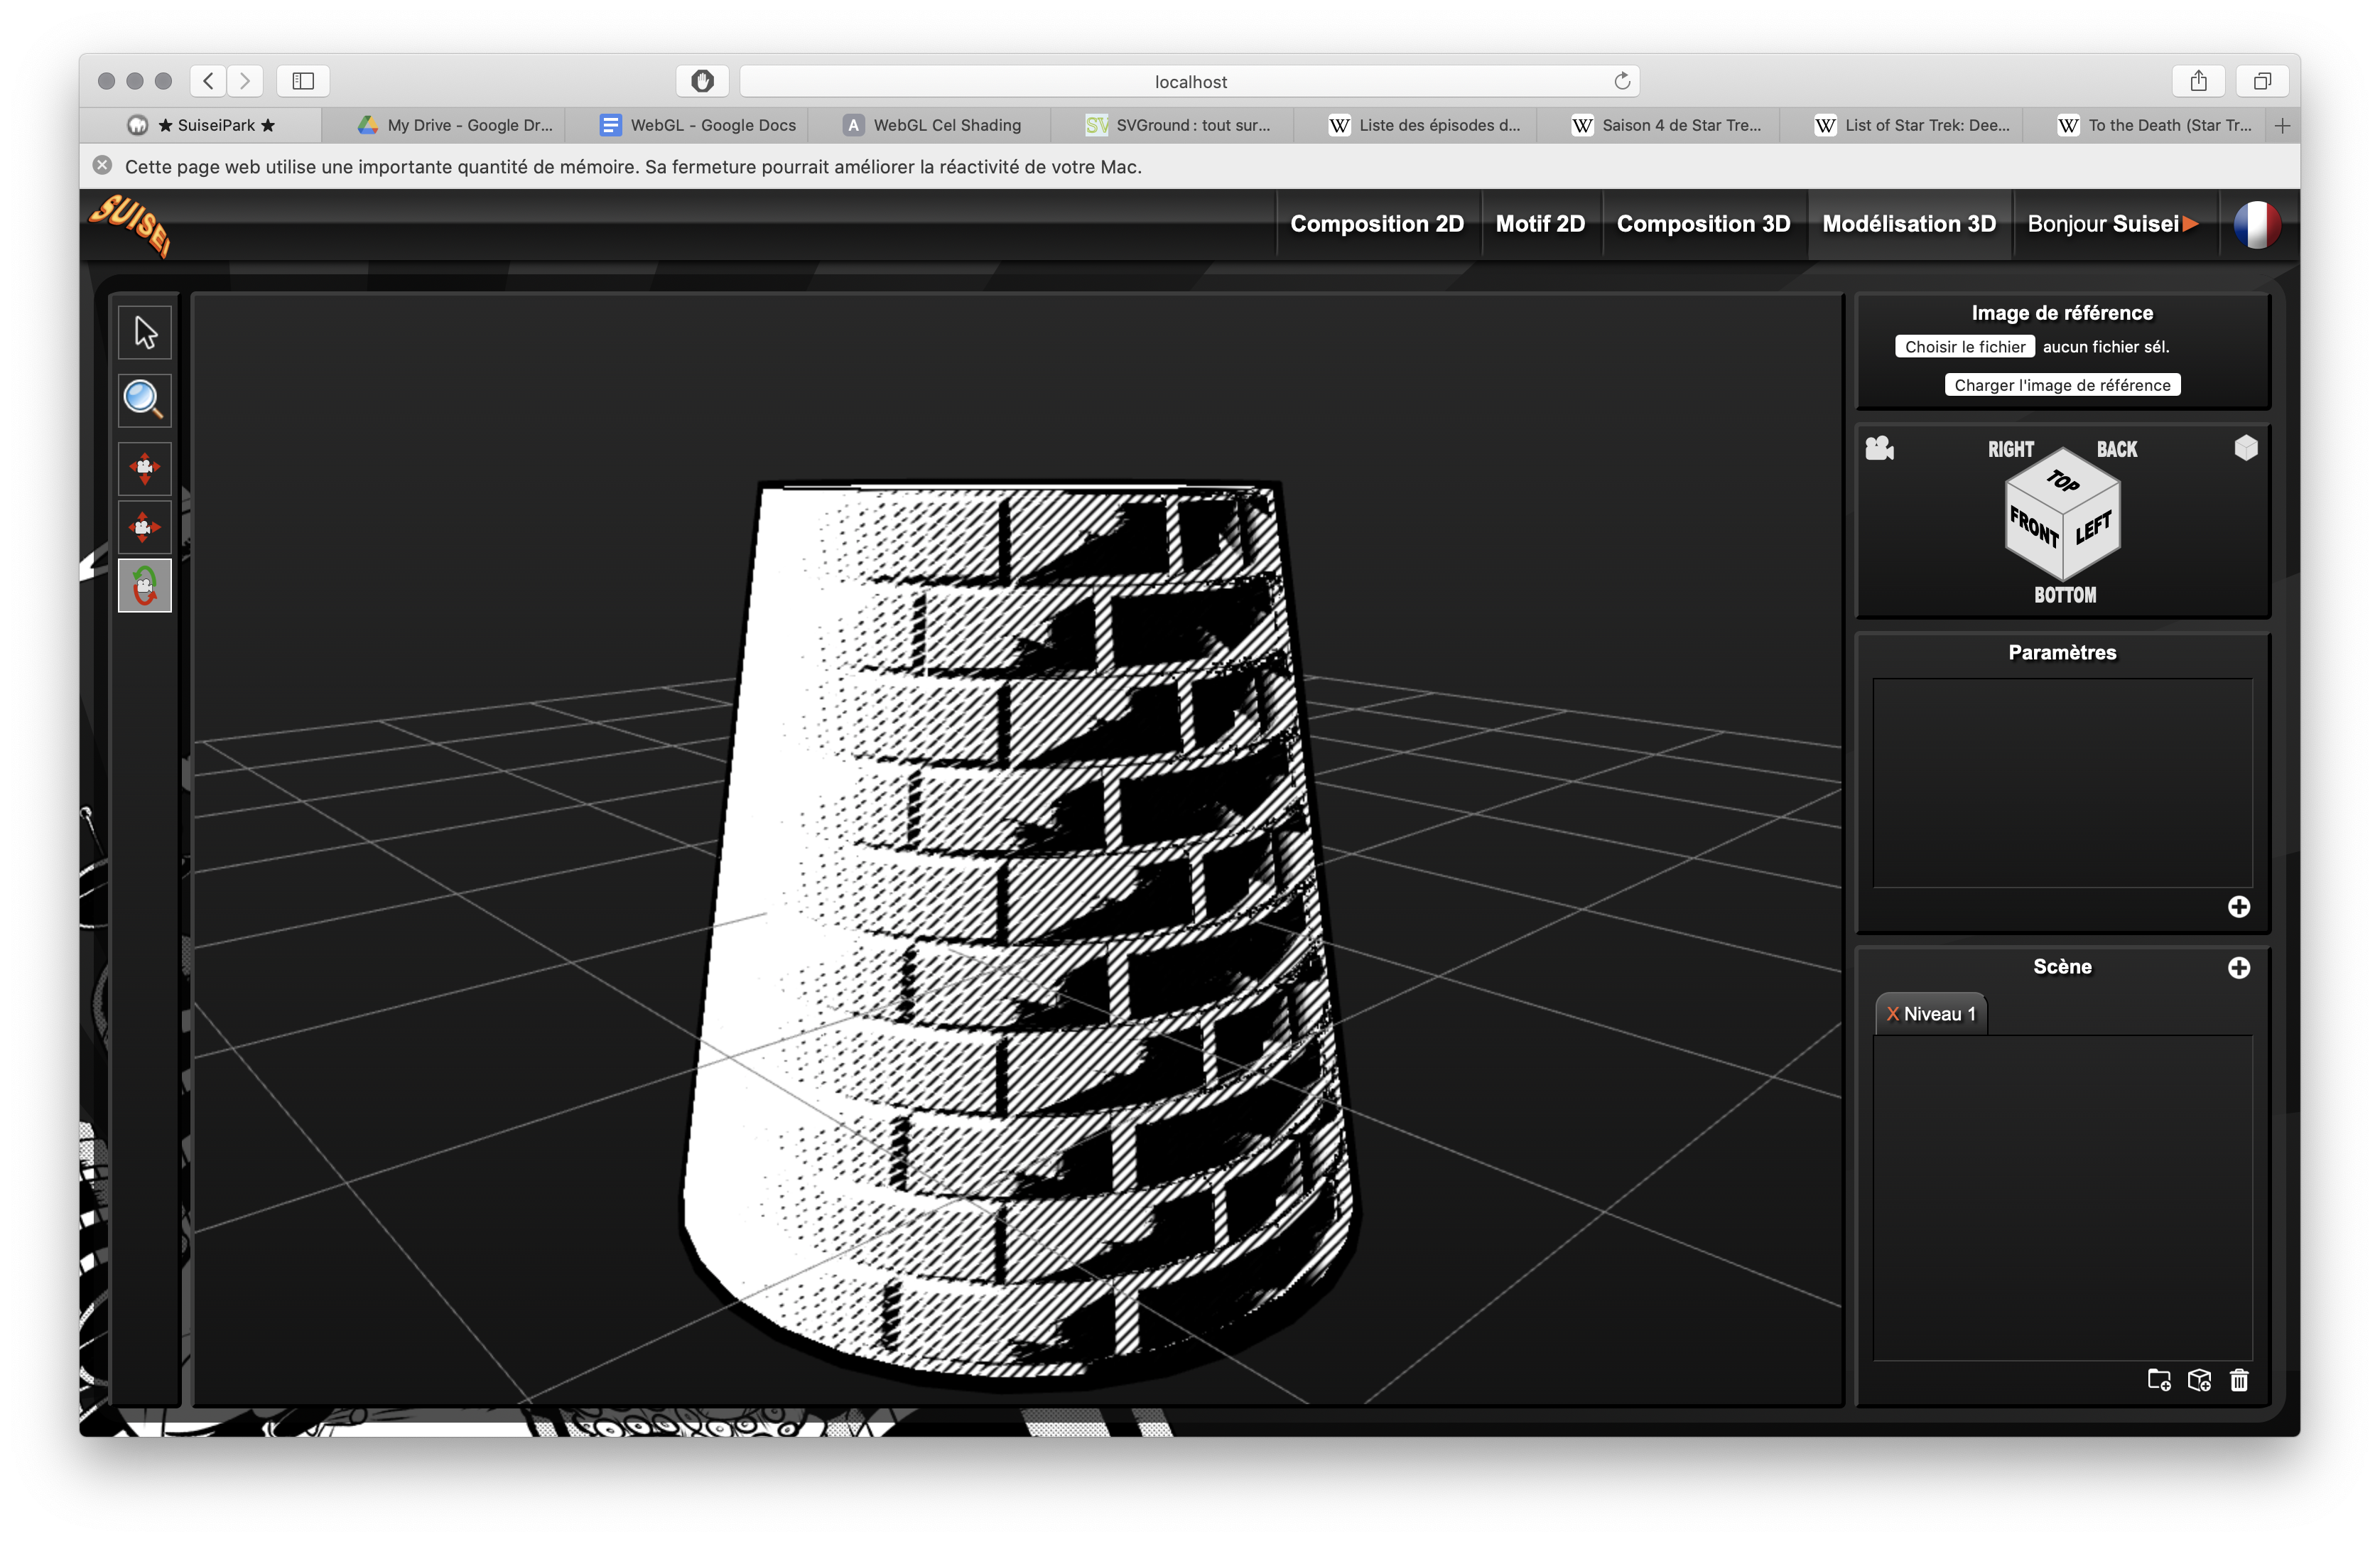
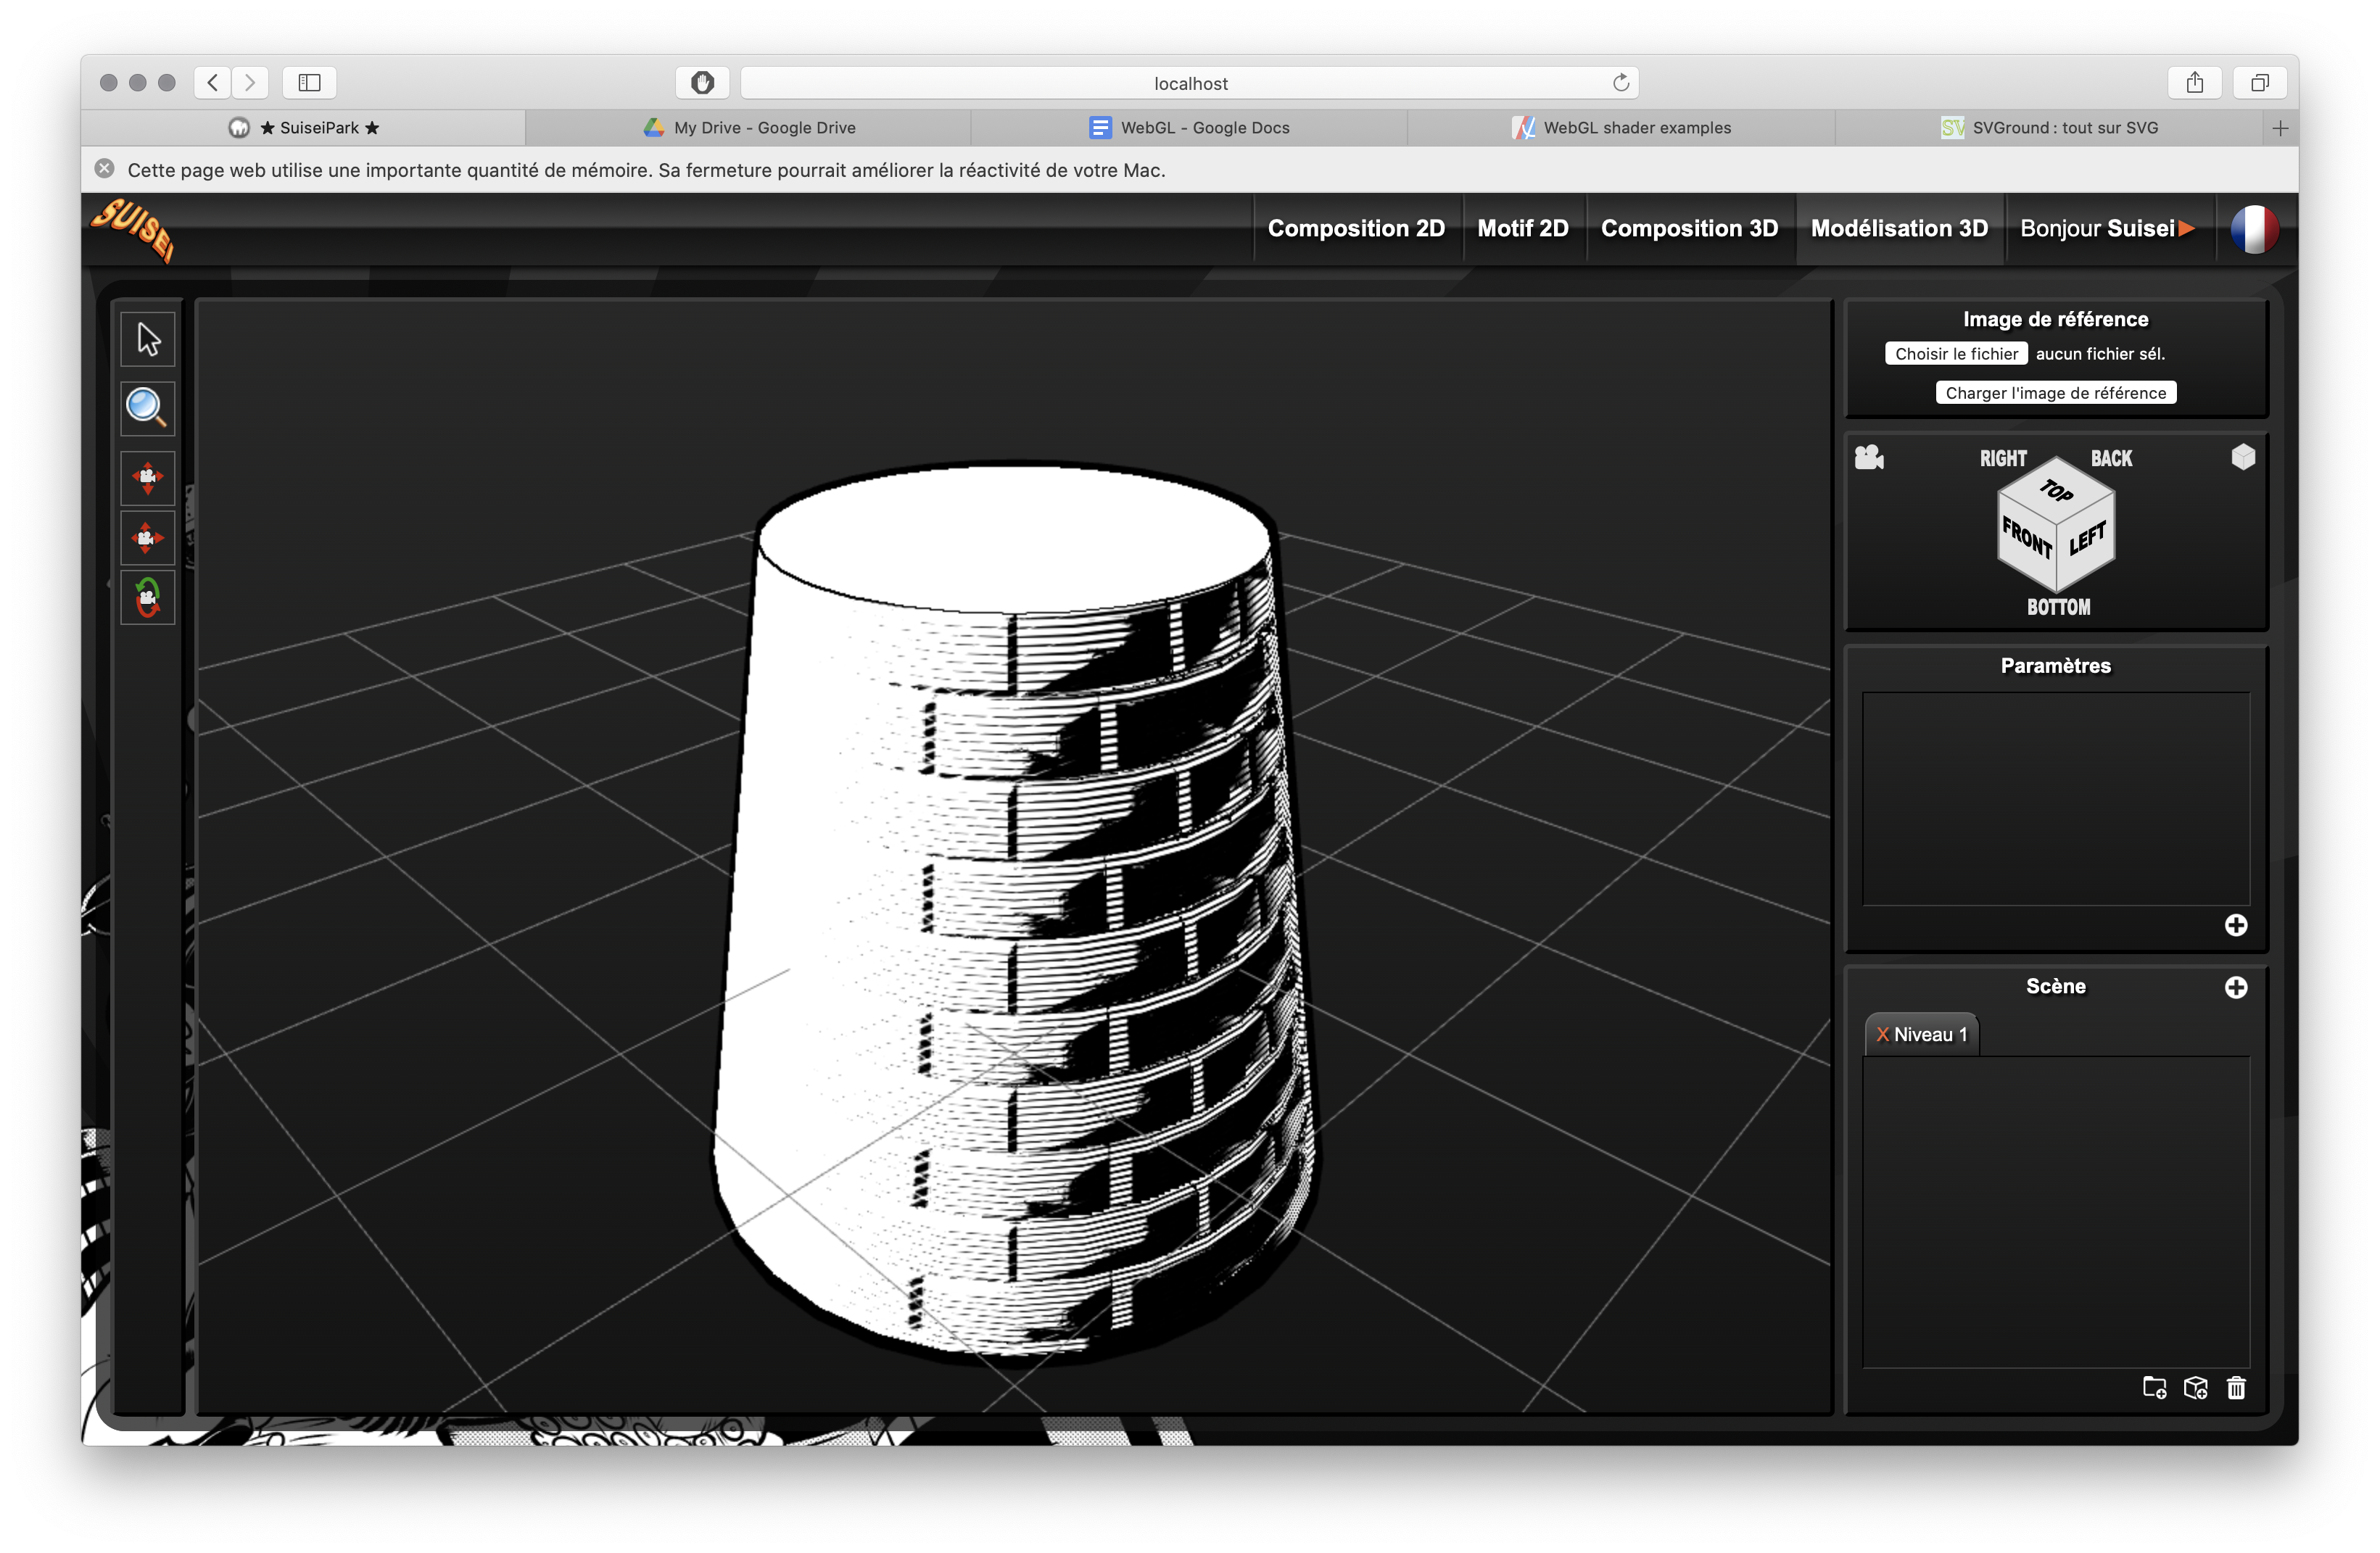
I tested this rendering with other screentone patterns: Fibonnacci spiral dots, parallel lines or lines that follow the shape of the object.
Now we know what Péguy can do.
I think I can enrich this rendering a bit more with the shaders but the next time I work on this project the biggest part of the job will be to create what we call primitives, basic geometric objects.
After that I can start assembling them.
The concept of drawing while coding is so much fun that I'm starting to think about trying to make complete illustrations like this or making the backgrounds for some comic book projects only with Péguy just for the artistic process.
Finding tricks to generate organic objects, especially plants should be fun too.
That's all for today.
Next time we'll talk about drawing!
Have a nice week-end and see you soon! :D
Suisei
Categories : 3D, News and chitchat,
TGCM Comics
Published by Suisei at 01/02/2021 à 15h45
Hi everybody!
A few months ago I announced that I was starting to develop an online platform for publishing and reading webcomics and webtoons named TGCM Comics.
So I give you here some news about the progress of the project.
The development blog
To start, note that I've opened a development blog that I update as often as possible (in French). It is accessible at this address: https://tgcm-comics.blogspot.com.
My schedule being very busy, I won't be able to put all these news on Tipeee and Patreon with all the translation work involved, so feel free to have a look at this blog from time to time to keep you informed about the progress of the project.
Note that it has a suggestion box, so if you have suggestions to make in terms of features or ergonomics, do not hesitate to share them in the comments of this section, this does not require any registration.
Reminder about the concept
The last time I mentioned it in news I made a very brief presentation of the project.
I'll give you a more complete briefing here.
The idea is to propose a platform that takes the opposite of what currently exists, in particular 2 flaws that make the despair of independent webcomic authors.
Popularity rankings: they are based on the number of cumulative views per page, the number of comments, the number of likes and mathematically favor the authors who arrived first on the platform and/or who post in large quantities and this at the expense of the quality.
In addition, about half of the Internet traffic is due to bots and not real visitors, so these statistics are skewed by default.
Icing on the cake. Such a system is easy to hack from both inside and outside.
So, it's unfair in more than one way and it creates an unhealthy competitive atmosphere.
This kind of mechanism will therefore not exist on TGCM Comics and will be replaced by the random playlist principle in order to guarantee an equal rate of visibility for all comics and leave the reader the real choice to read/discover what he or she wants.
Most creators/developers of webcomic platforms try to make a living out of it and create a business project around it.
The problem is that webcomics, especially in the French-speaking world, are not profitable, therefore to try to make ends meet, these platforms sometimes use questionable methods of financing and obviously to the disadvantage of the authors and which cost them more money than their art brings them (paying to appear on the front page of the site, paying to be able to display links to crowdfunding pages and other support systems).
For my part, I'm developing TGCM Comics on a volunteer basis and I'll take care of the financing of the hosting. I have enough means with my dayjob for that.
At the very least, I might place a small rectangle of ads to try to amortize the cost just for the principle, but that's all. The income will surely be derisory, let's be realistic.
The objective is not to make the platform financially profitable but to allow authors who are struggling to build an audience elsewhere to do so while publishing their comics at their own pace, without stress.
I would like it to be a small garden for them and for them to feel good there.
If this goal is achieved then that's where the victory will be. :)
In addition to these 2 main problematic points there are often ergonomic points that are lacking and a general tendency to weigh down the web interface with lots of useless Javascript modules which consumes the bandwidth and electricity of the users and sometimes forces them to change computer just to have the latest browser.
So I want to develop an interface as pleasant and efficient as possible for everyone, take care of accessibility and also make a platform as eco-responsible as possible by choosing a green hoster and optimizing my code so that it consumes as little energy as possible and does not load unnecessary data to your browser.
So, the idea is to offer a platform where both authors and readers will feel at home.
Progress of the project
Now that you know what it's all about, I'll give you some news about the progress of the project.
Blog and author details
I started with the spaces that will allow the authors to express themselves and give their news.
Each author will have a presentation sheet which will contain a short biography, the list of the publications on the platform as well as all the external links.
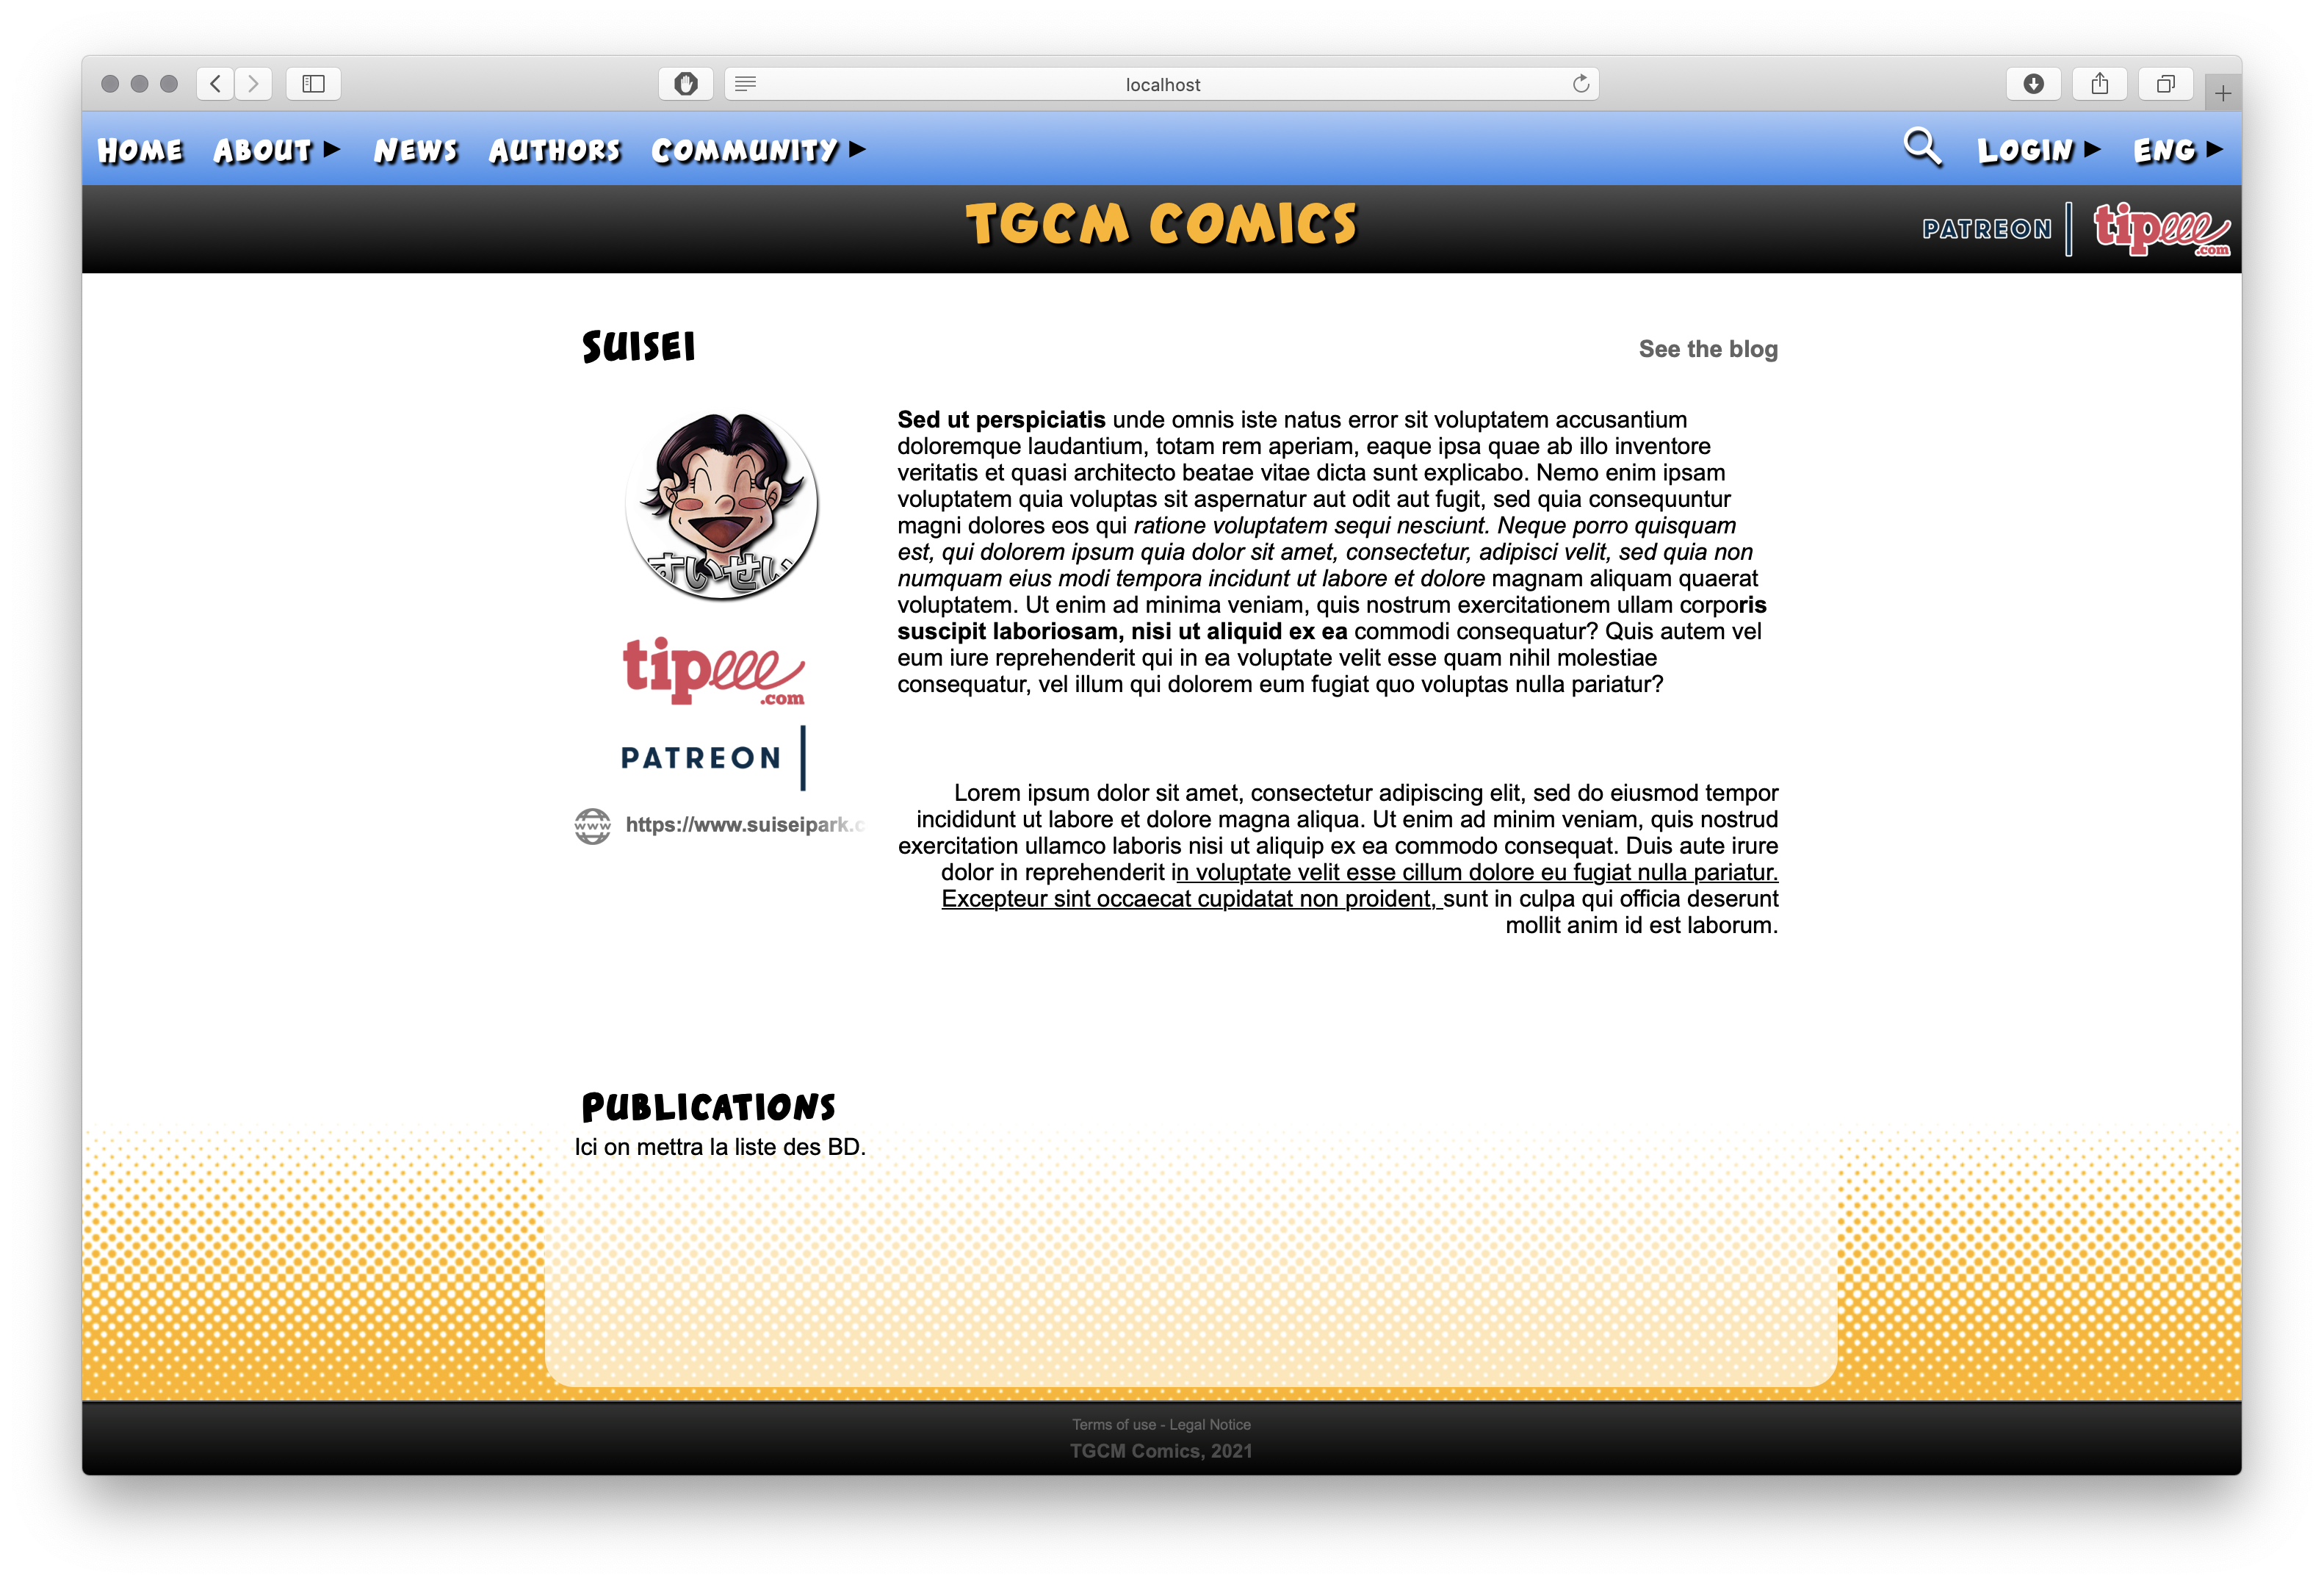
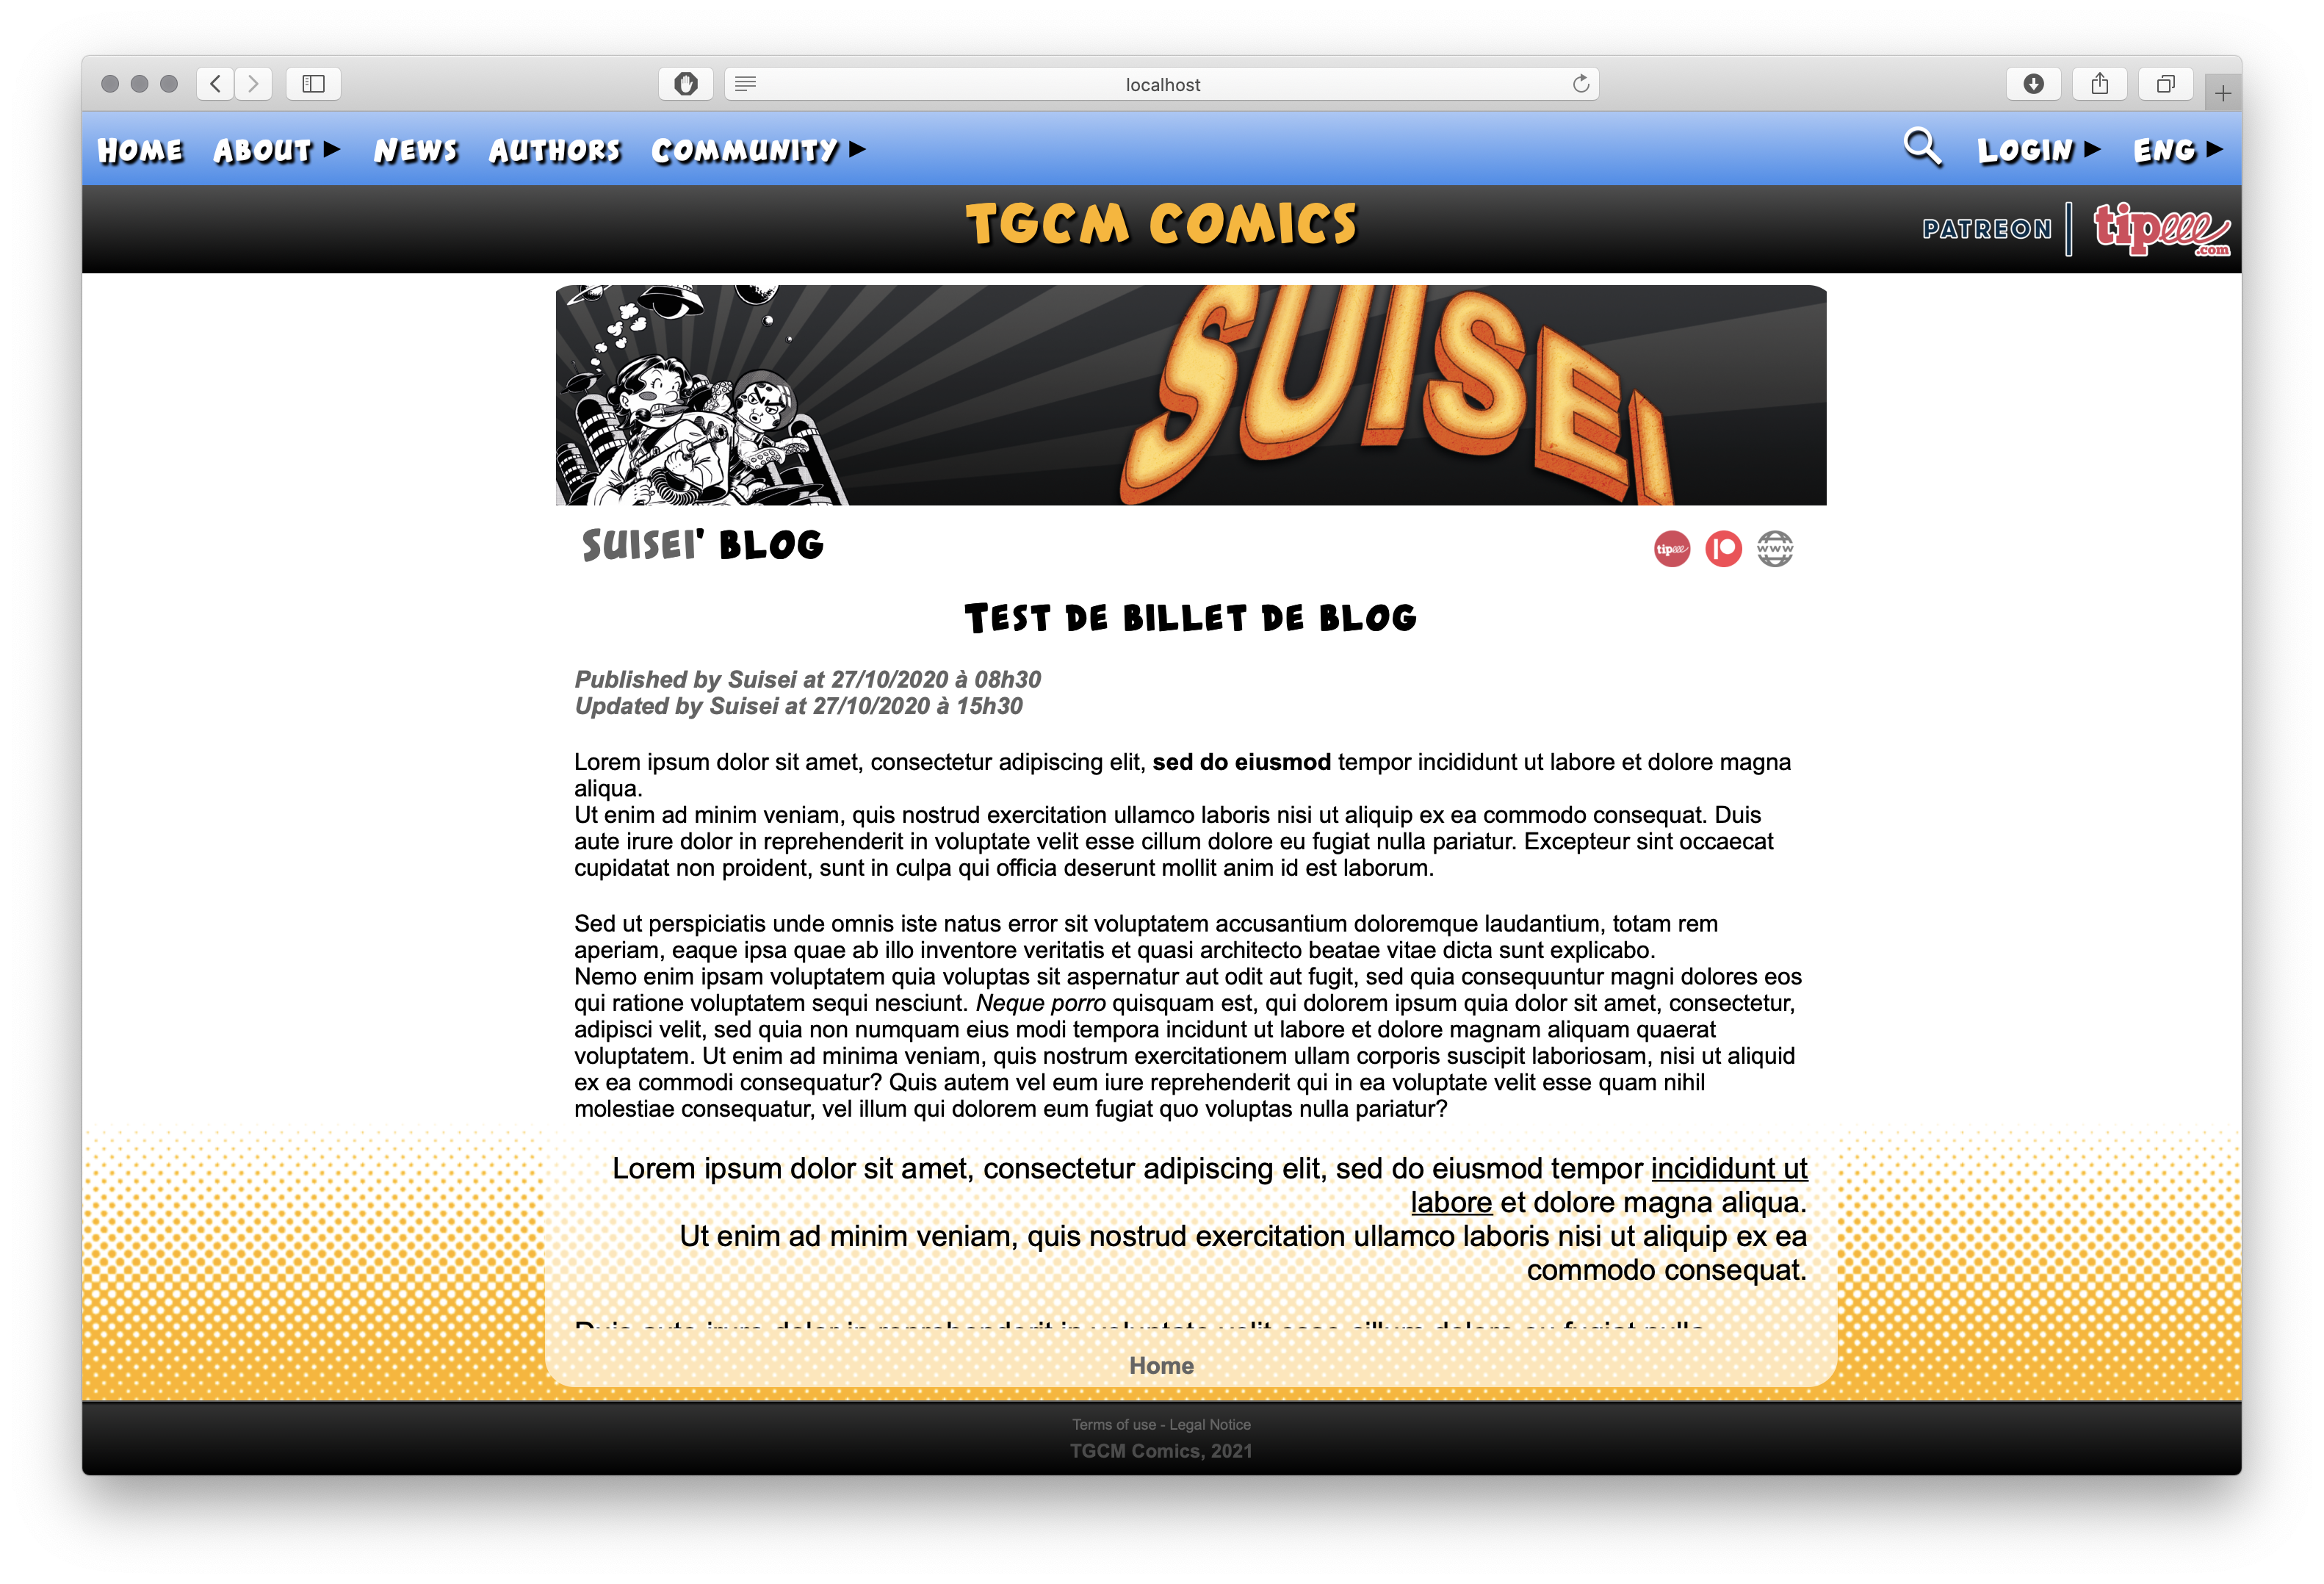
Each author will also have a blog where he will be able to enter his news either with the good old BB code from the 2000's or by using an WYSIWYG interface. His external links will be recalled in small at the top of the blog.
Private messages and friend system
As I'm going to need it to contact the authors to let them know when their comics will be validated I also developed the private message system that will look like this.
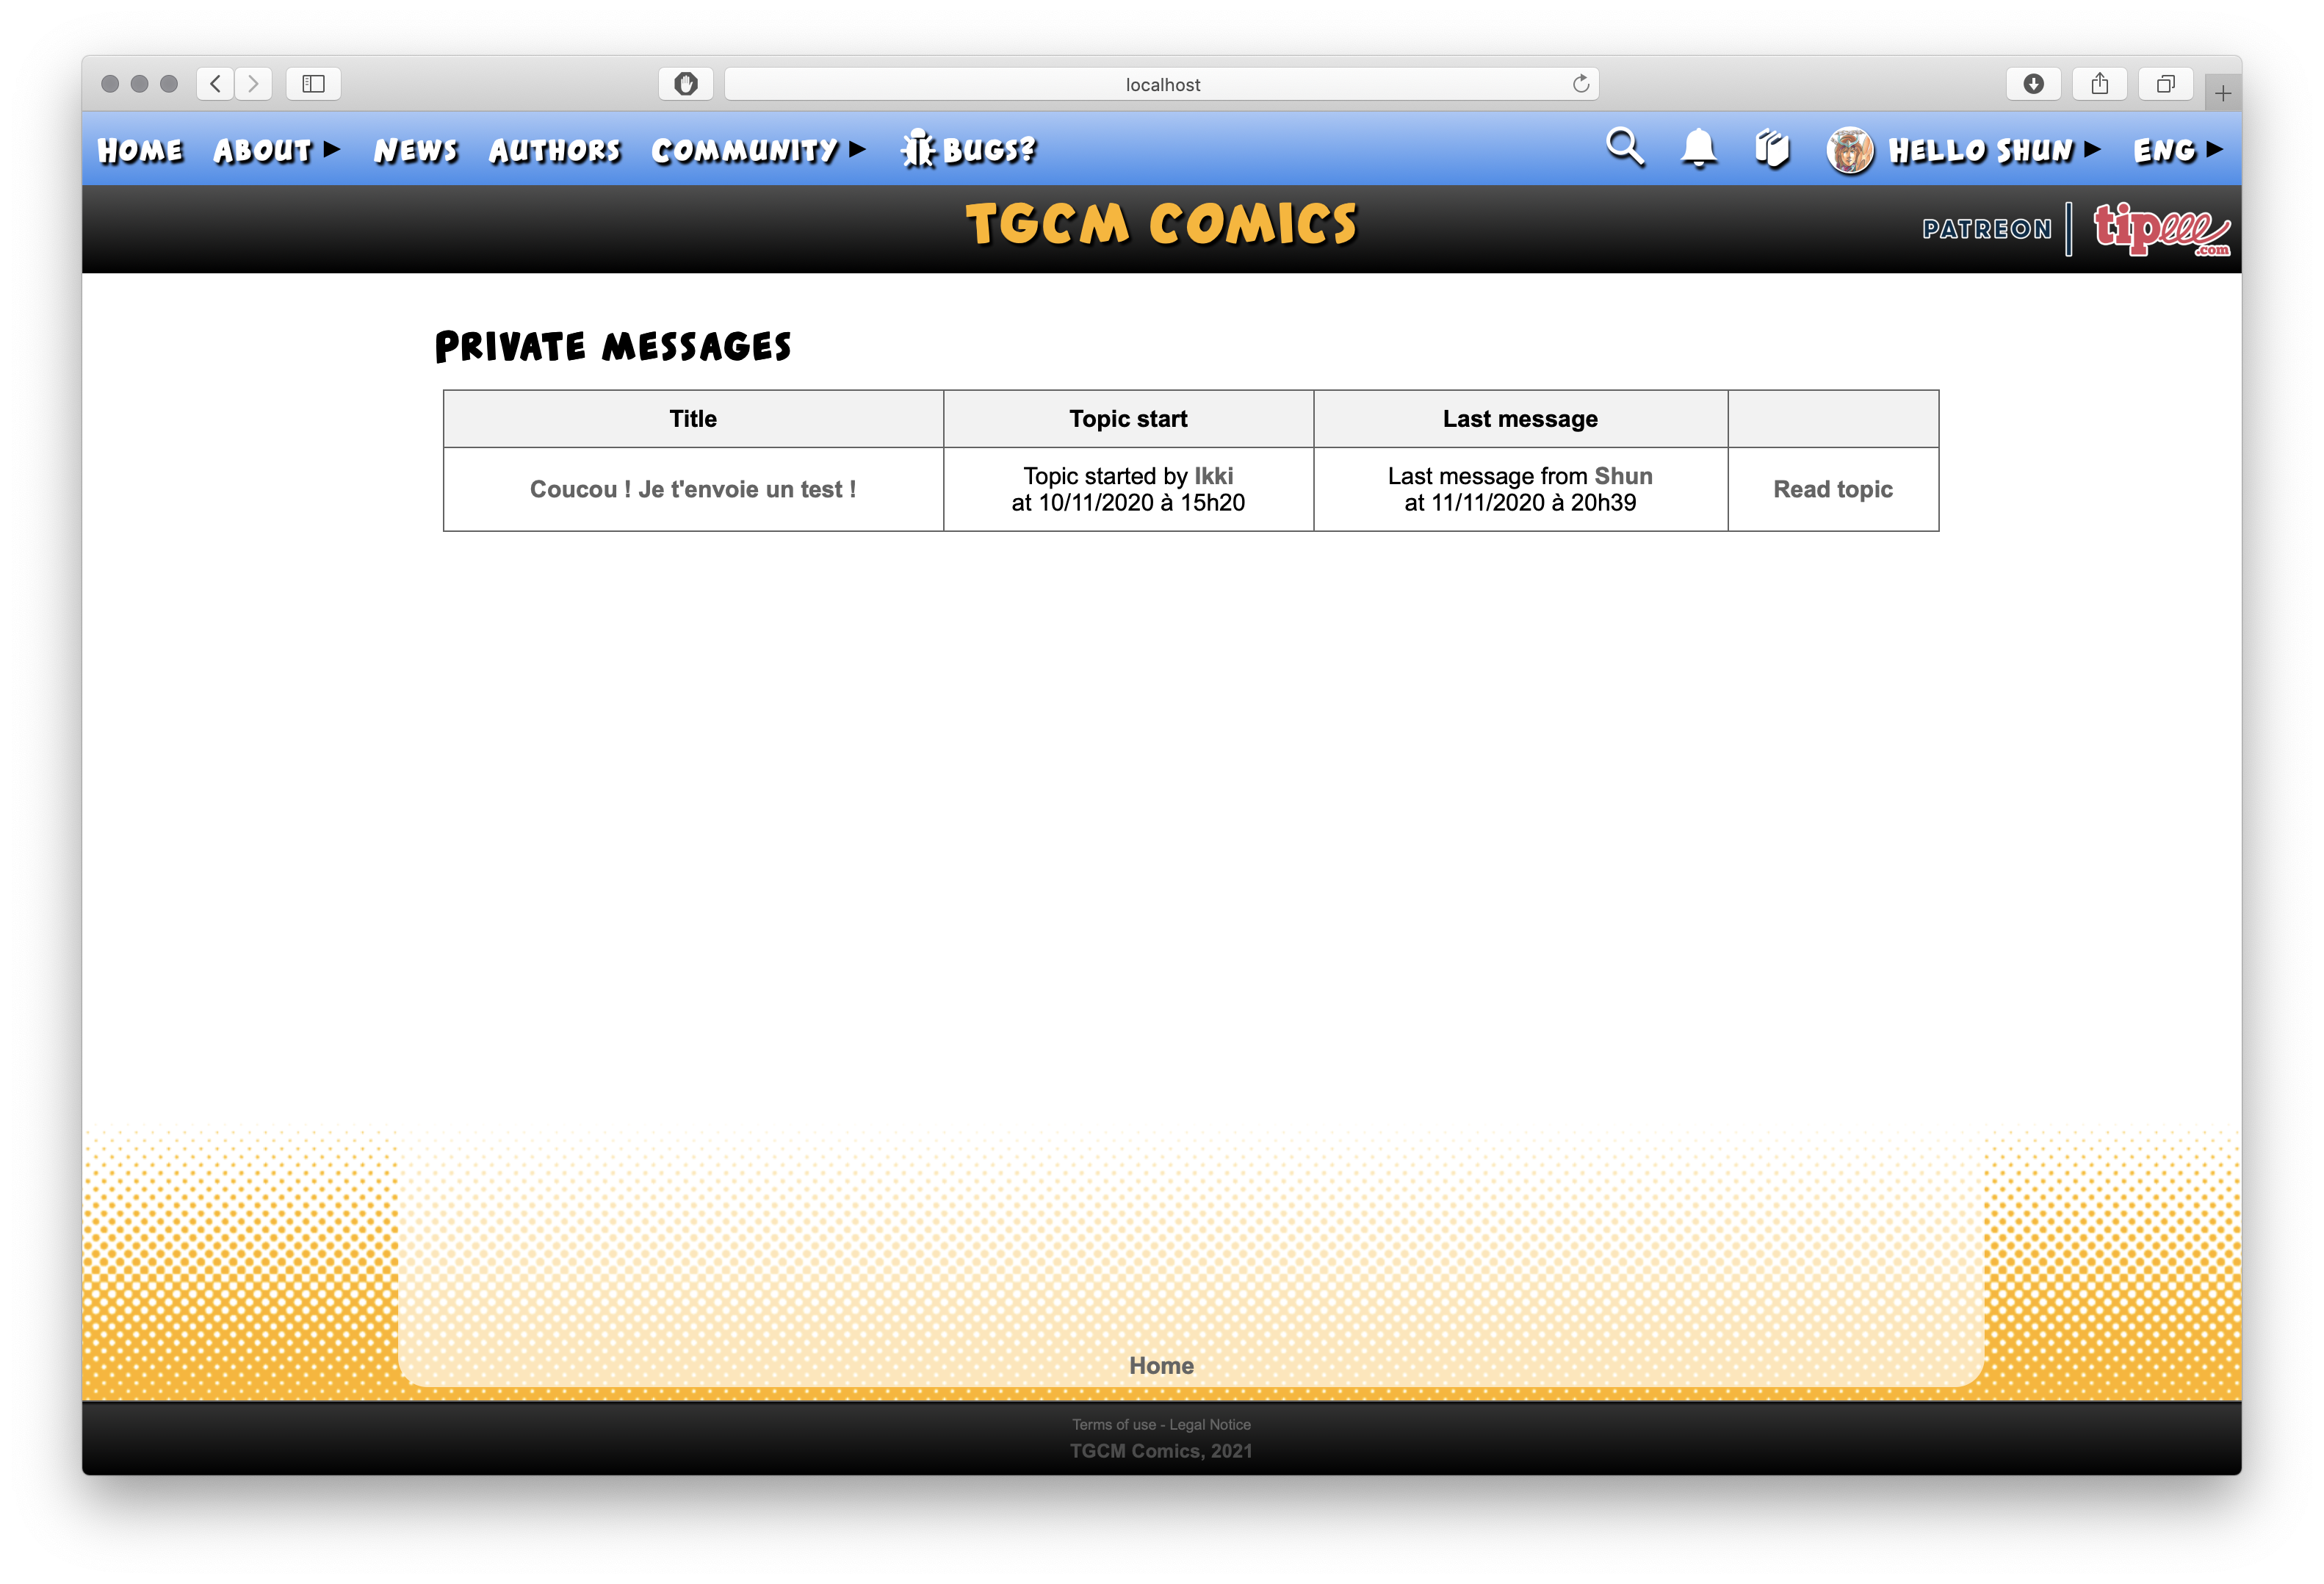

It comes with a system of friends. Far from me wanting to imitate social networks (I hate these platforms) this system will be used mainly to choose who you allow to send you private messages. Only members of the site with whom you will be friends and the administrators will be able to send you private messages. In short, it is an anti-spam and anti-harassment security system.

Submit a comic
I don't expect to be very demanding about the level of quality required to post a comic, but I don't want TGCM Comics to become hyper-saturated either. To submit your comic book, you will have to go through this form which, once sent, will notify me by email. Don't worry, I won't ask you to be the new Alan Moore or the new Jim Lee. If the art is correct, the layout is clear and the text readable (and interpretable by the machine translation system) it will do the job. :)
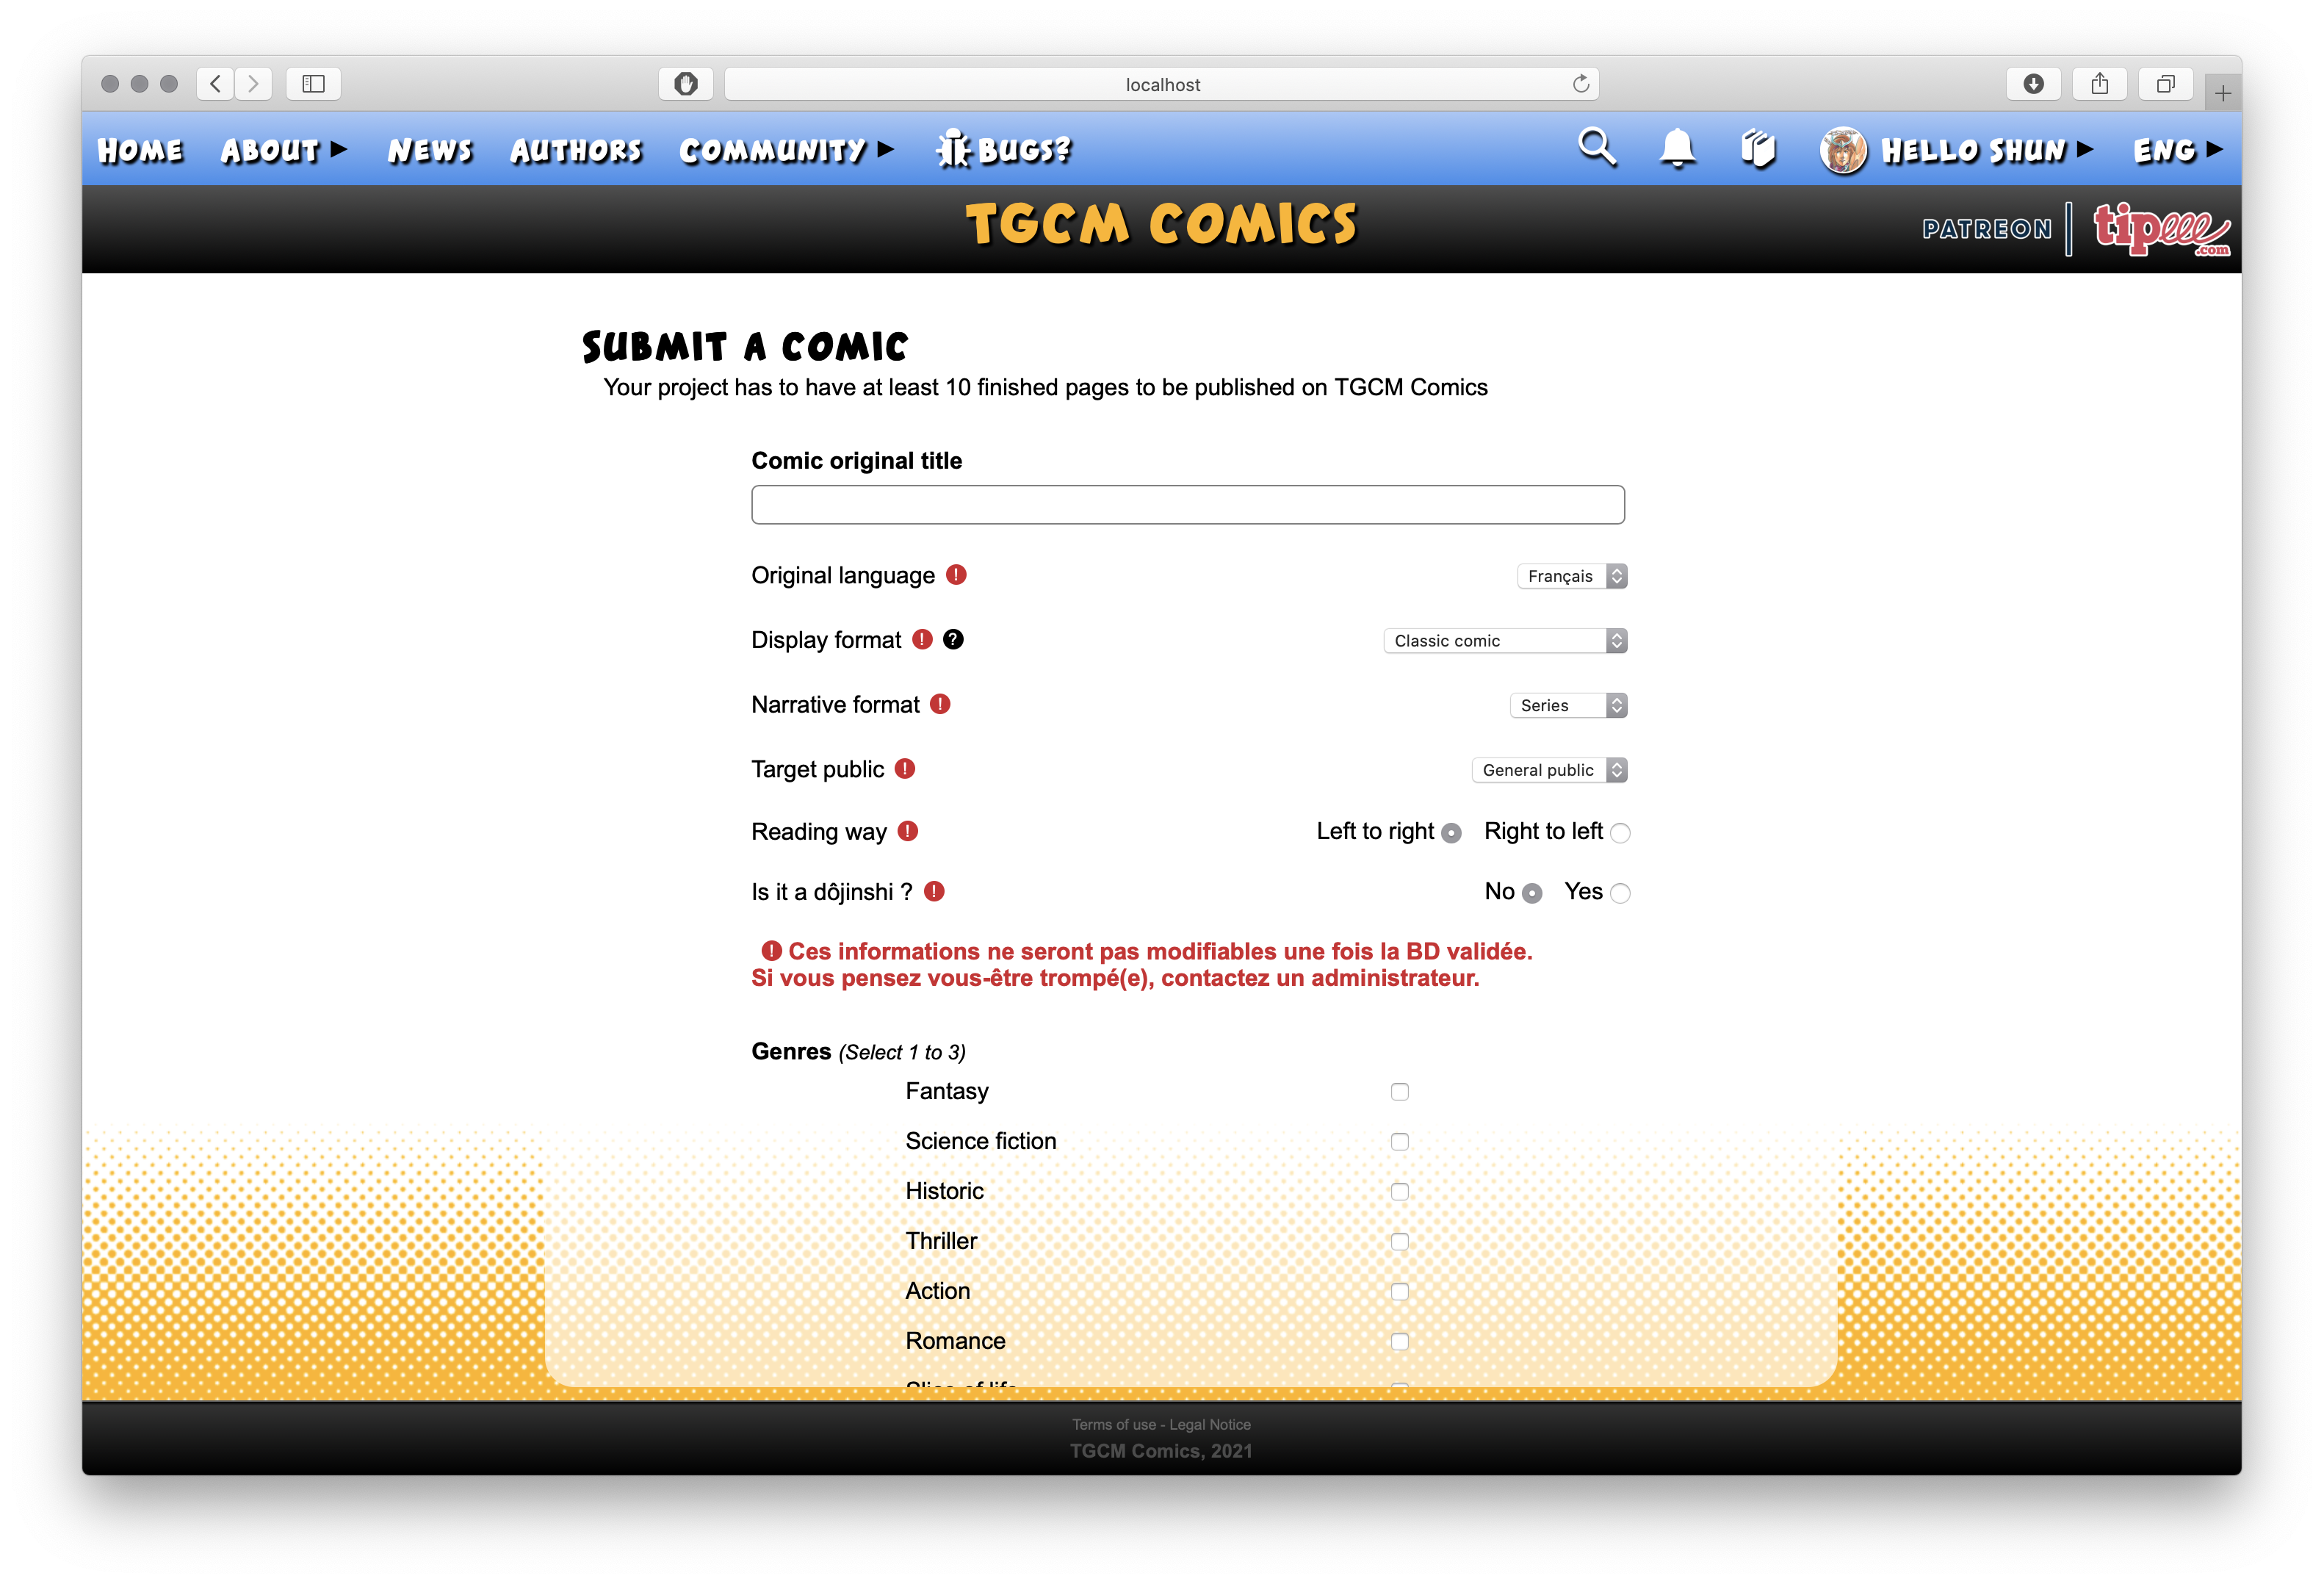
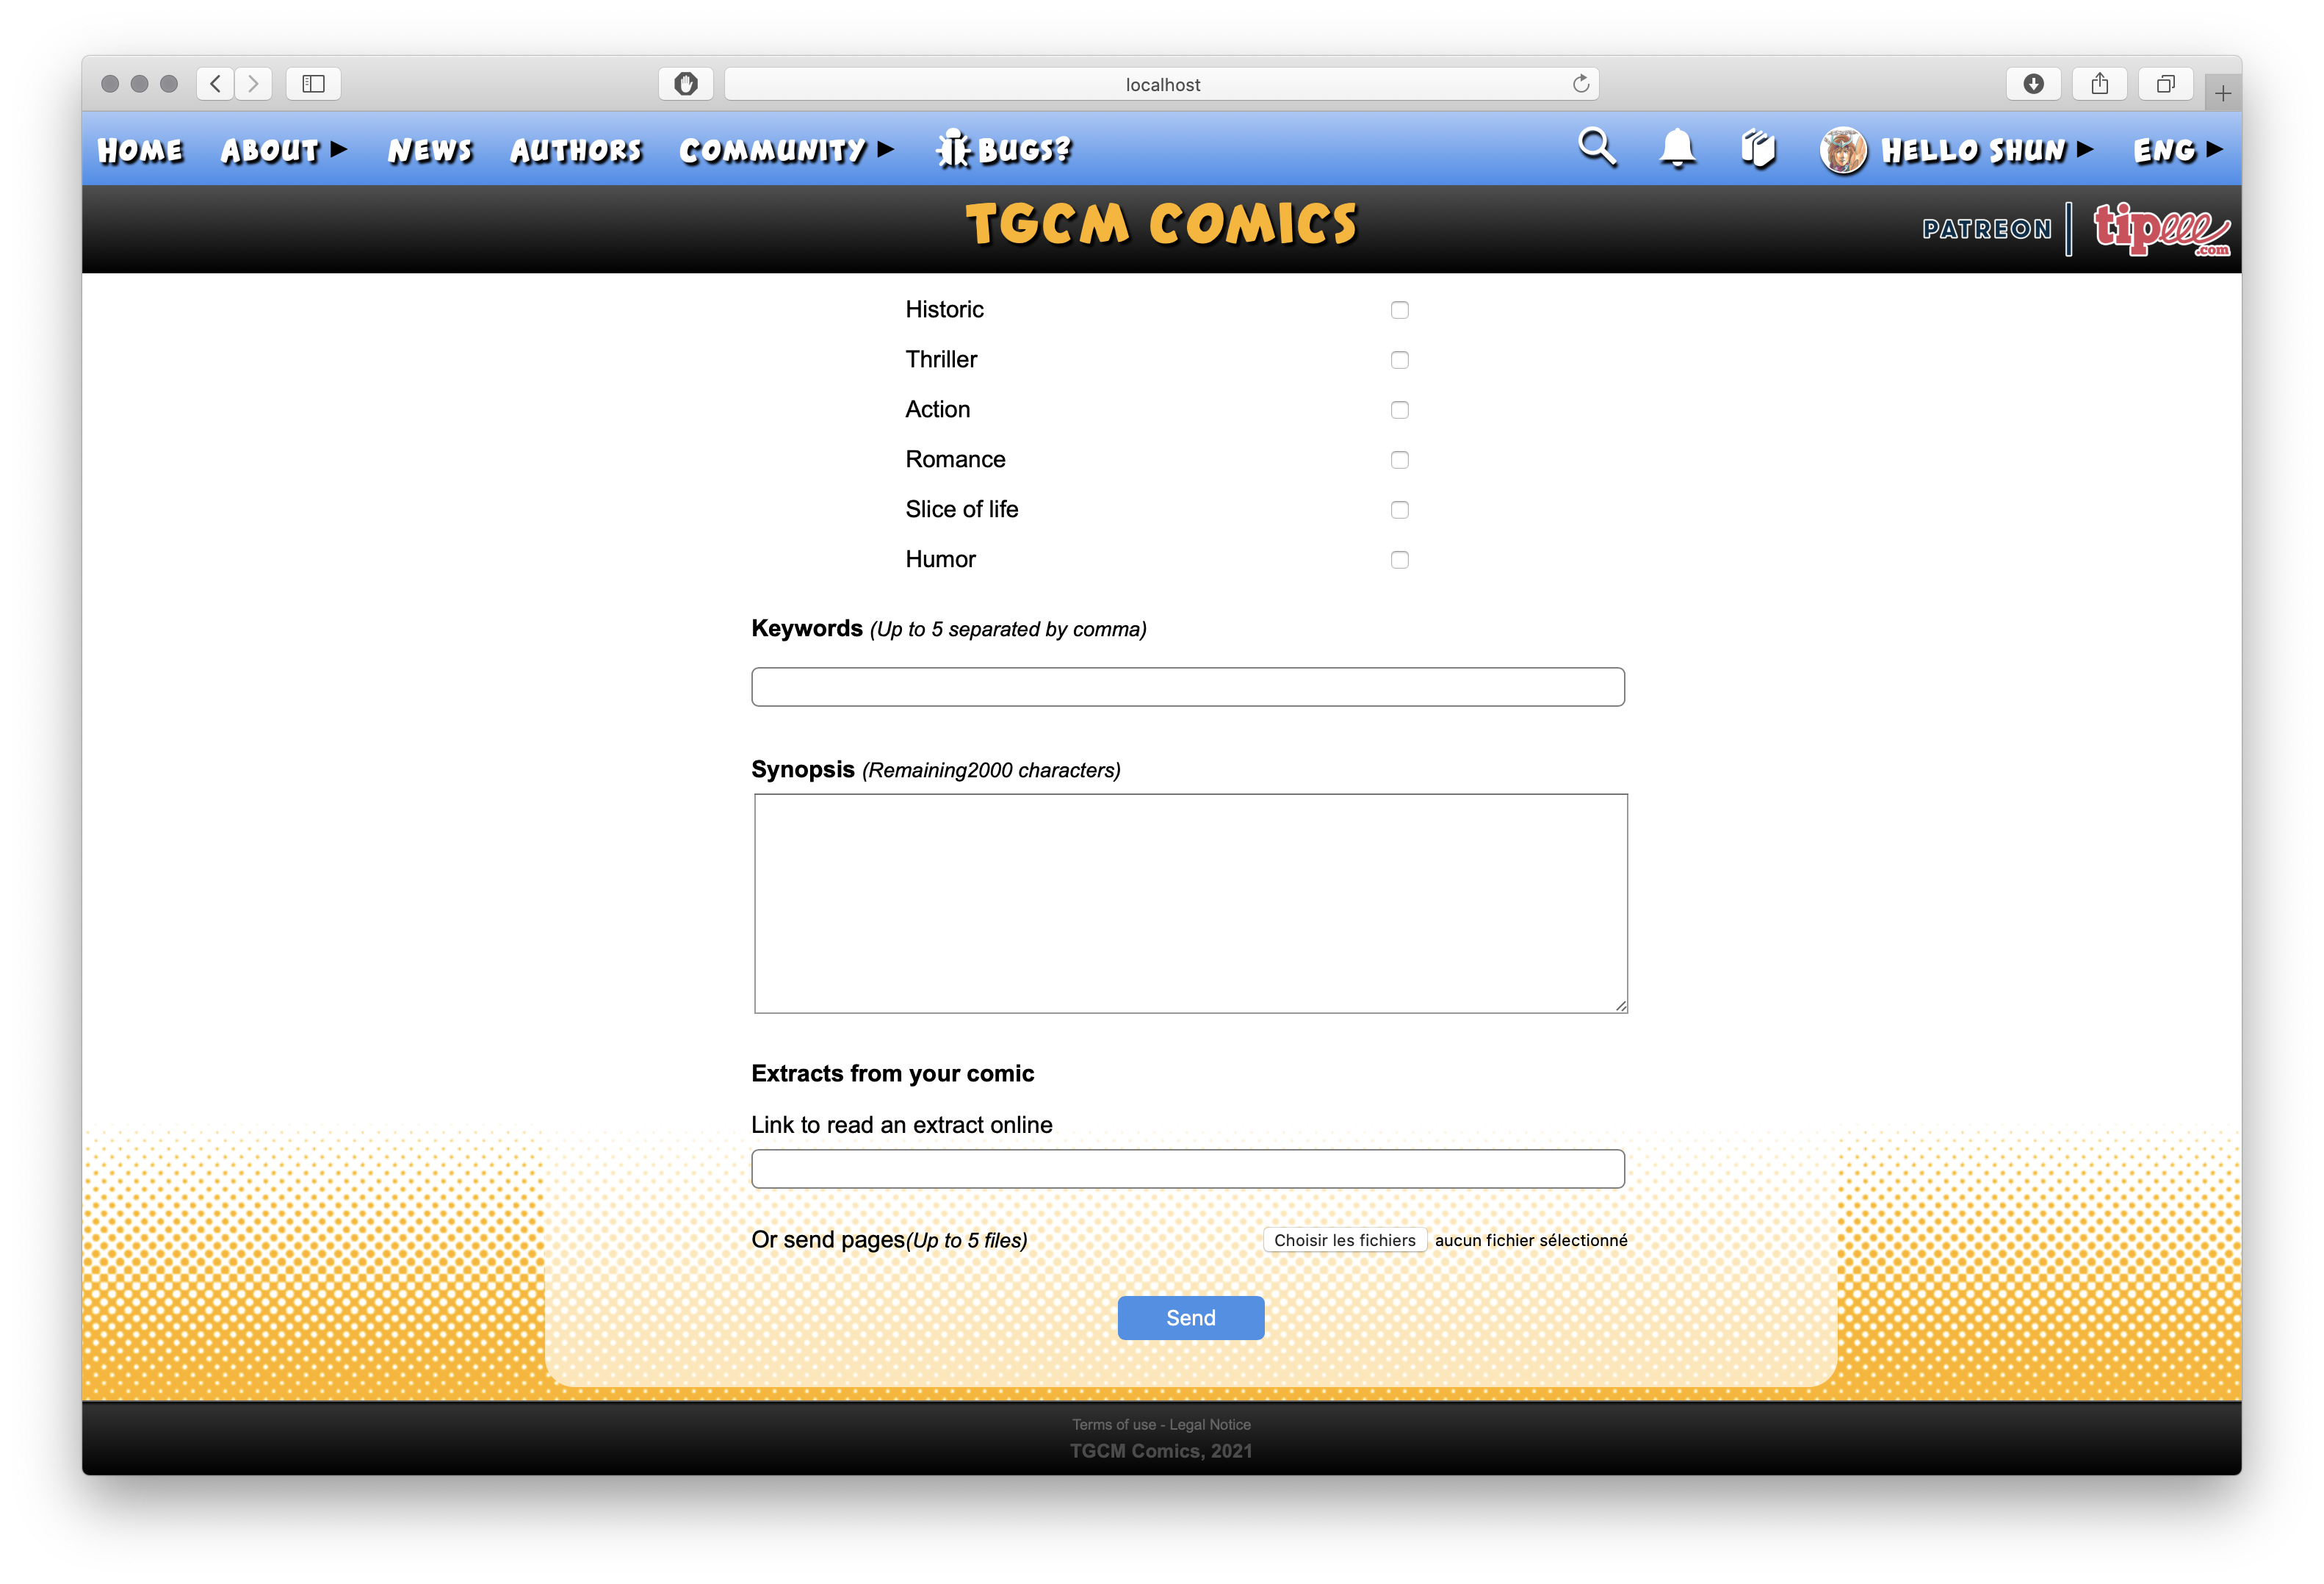
The list of genres is currently not complete. It will be enriched by the time the first version of the site is online.
The comic settings
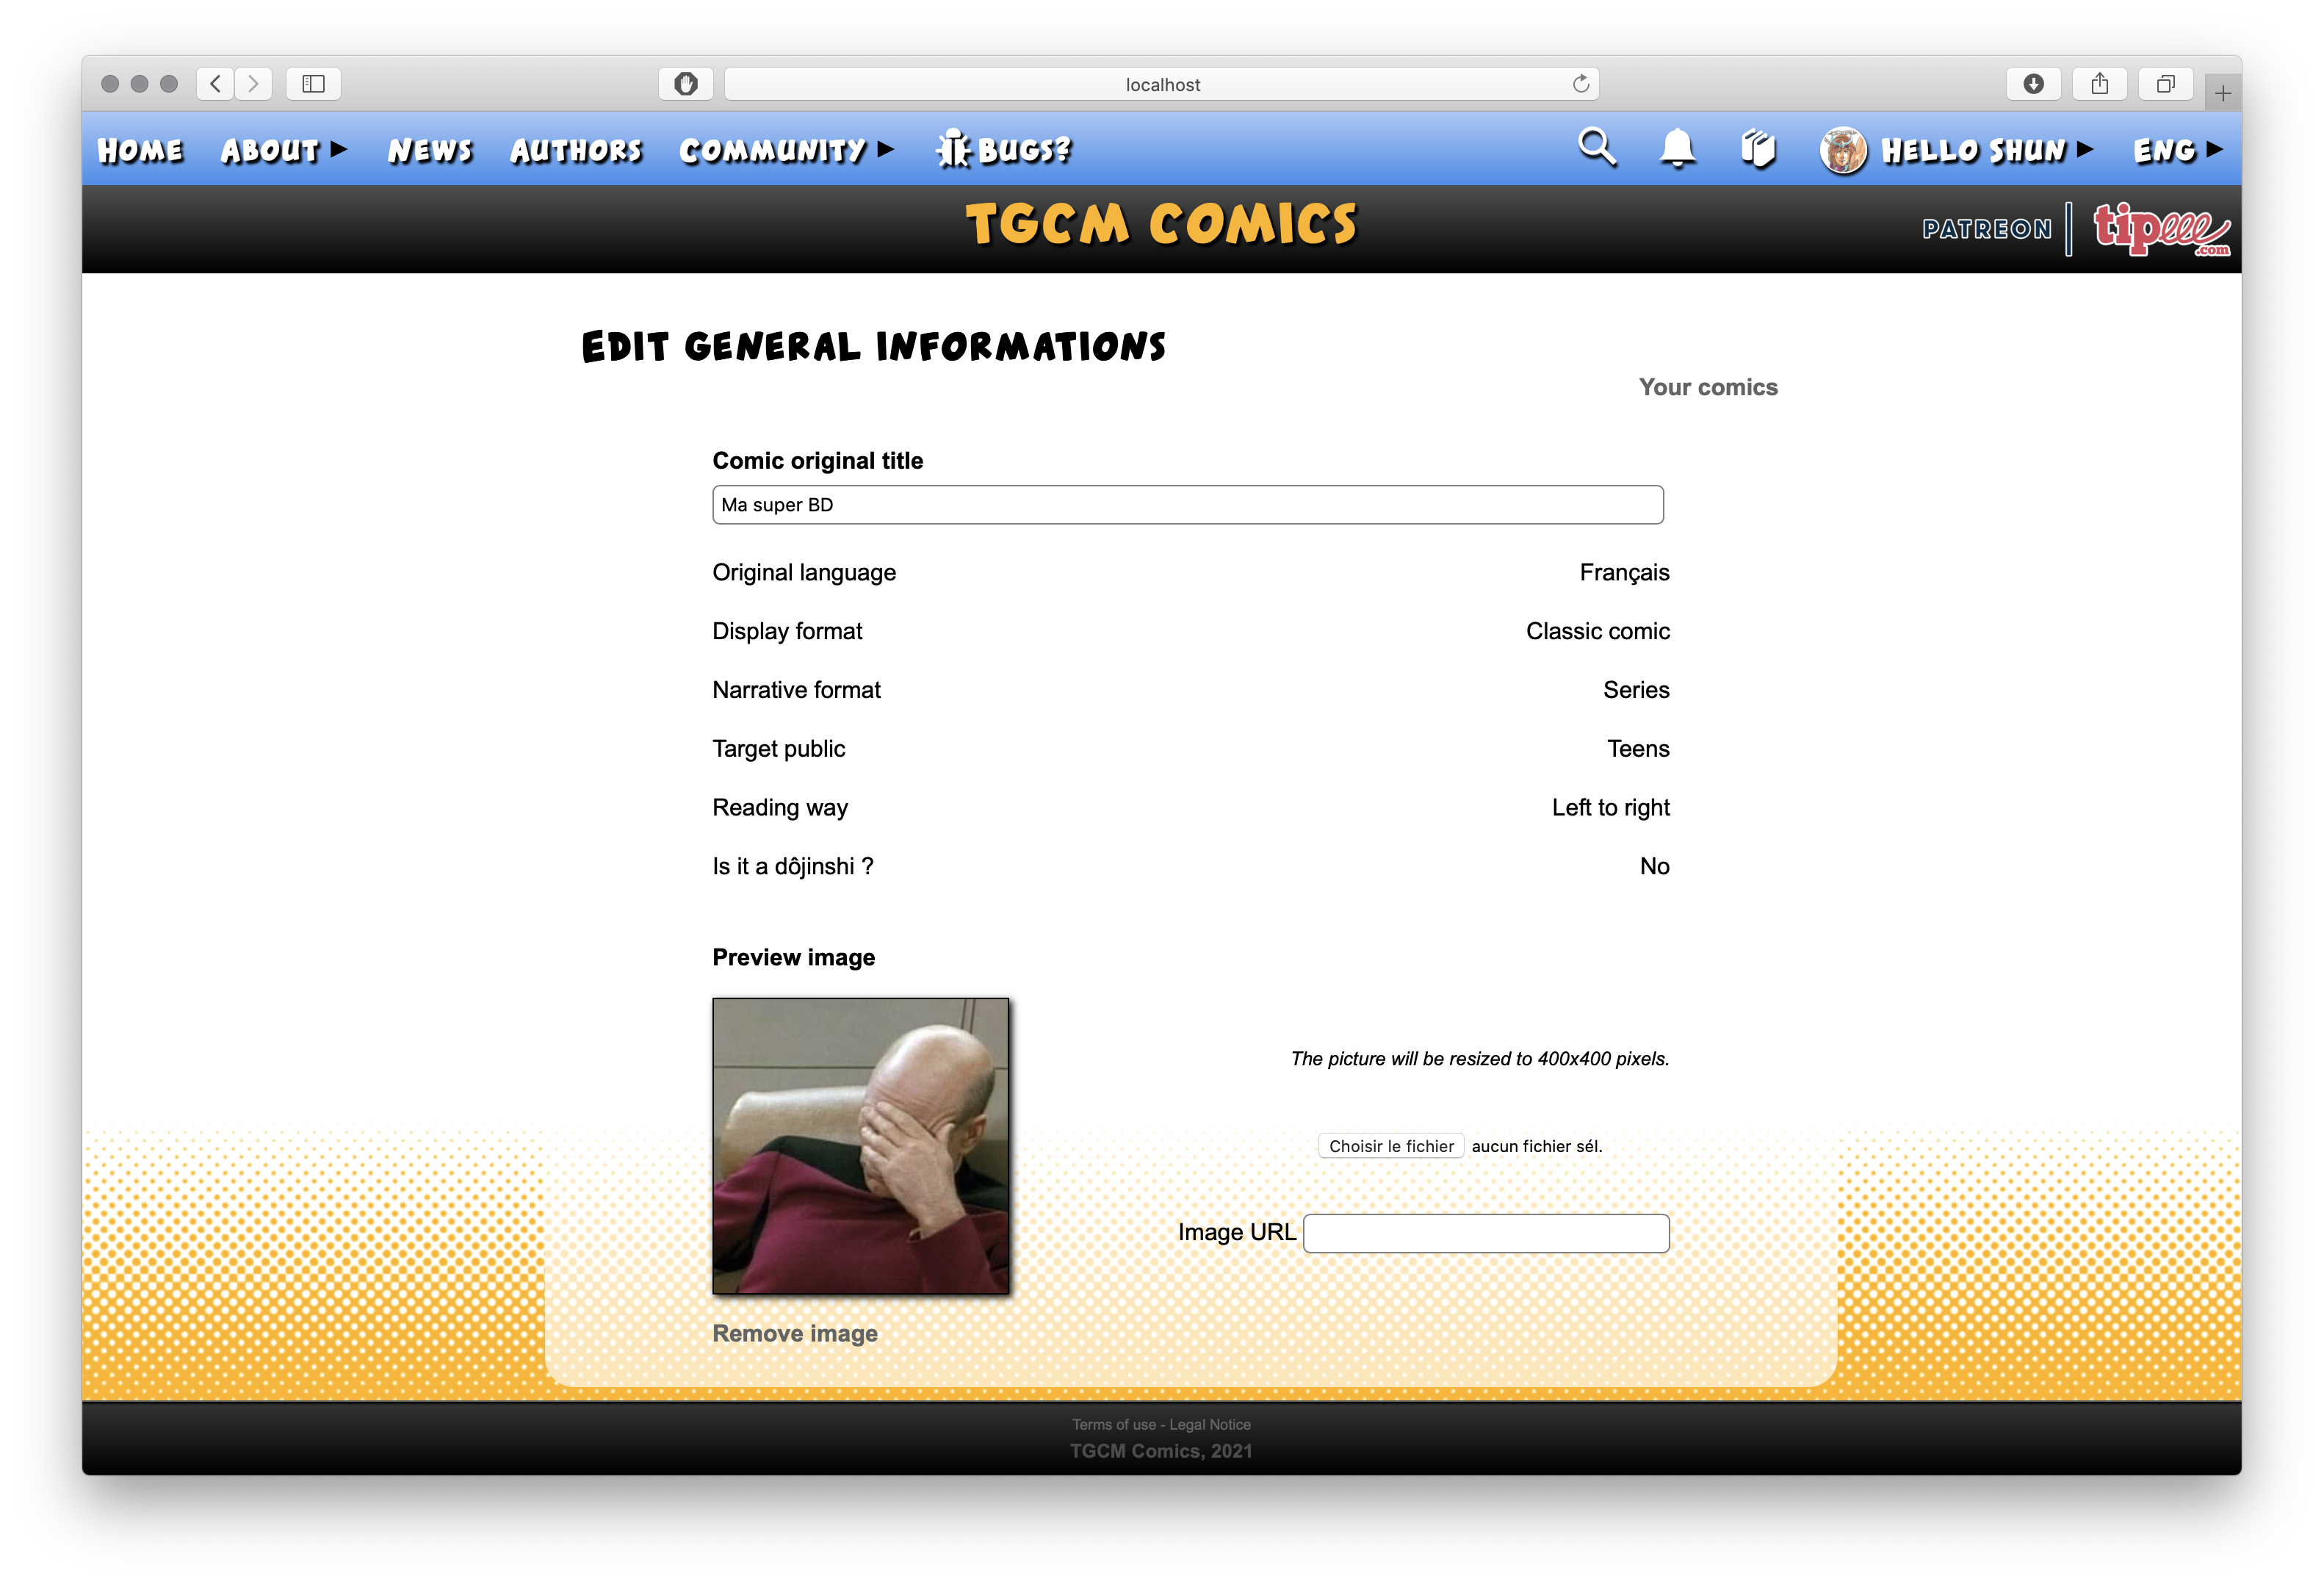
Once your comic is approved, you will automatically get the author status and you can edit various settings at your convenience.
One of the setup screens allows you to change some of the information that you have already entered in the submit form.
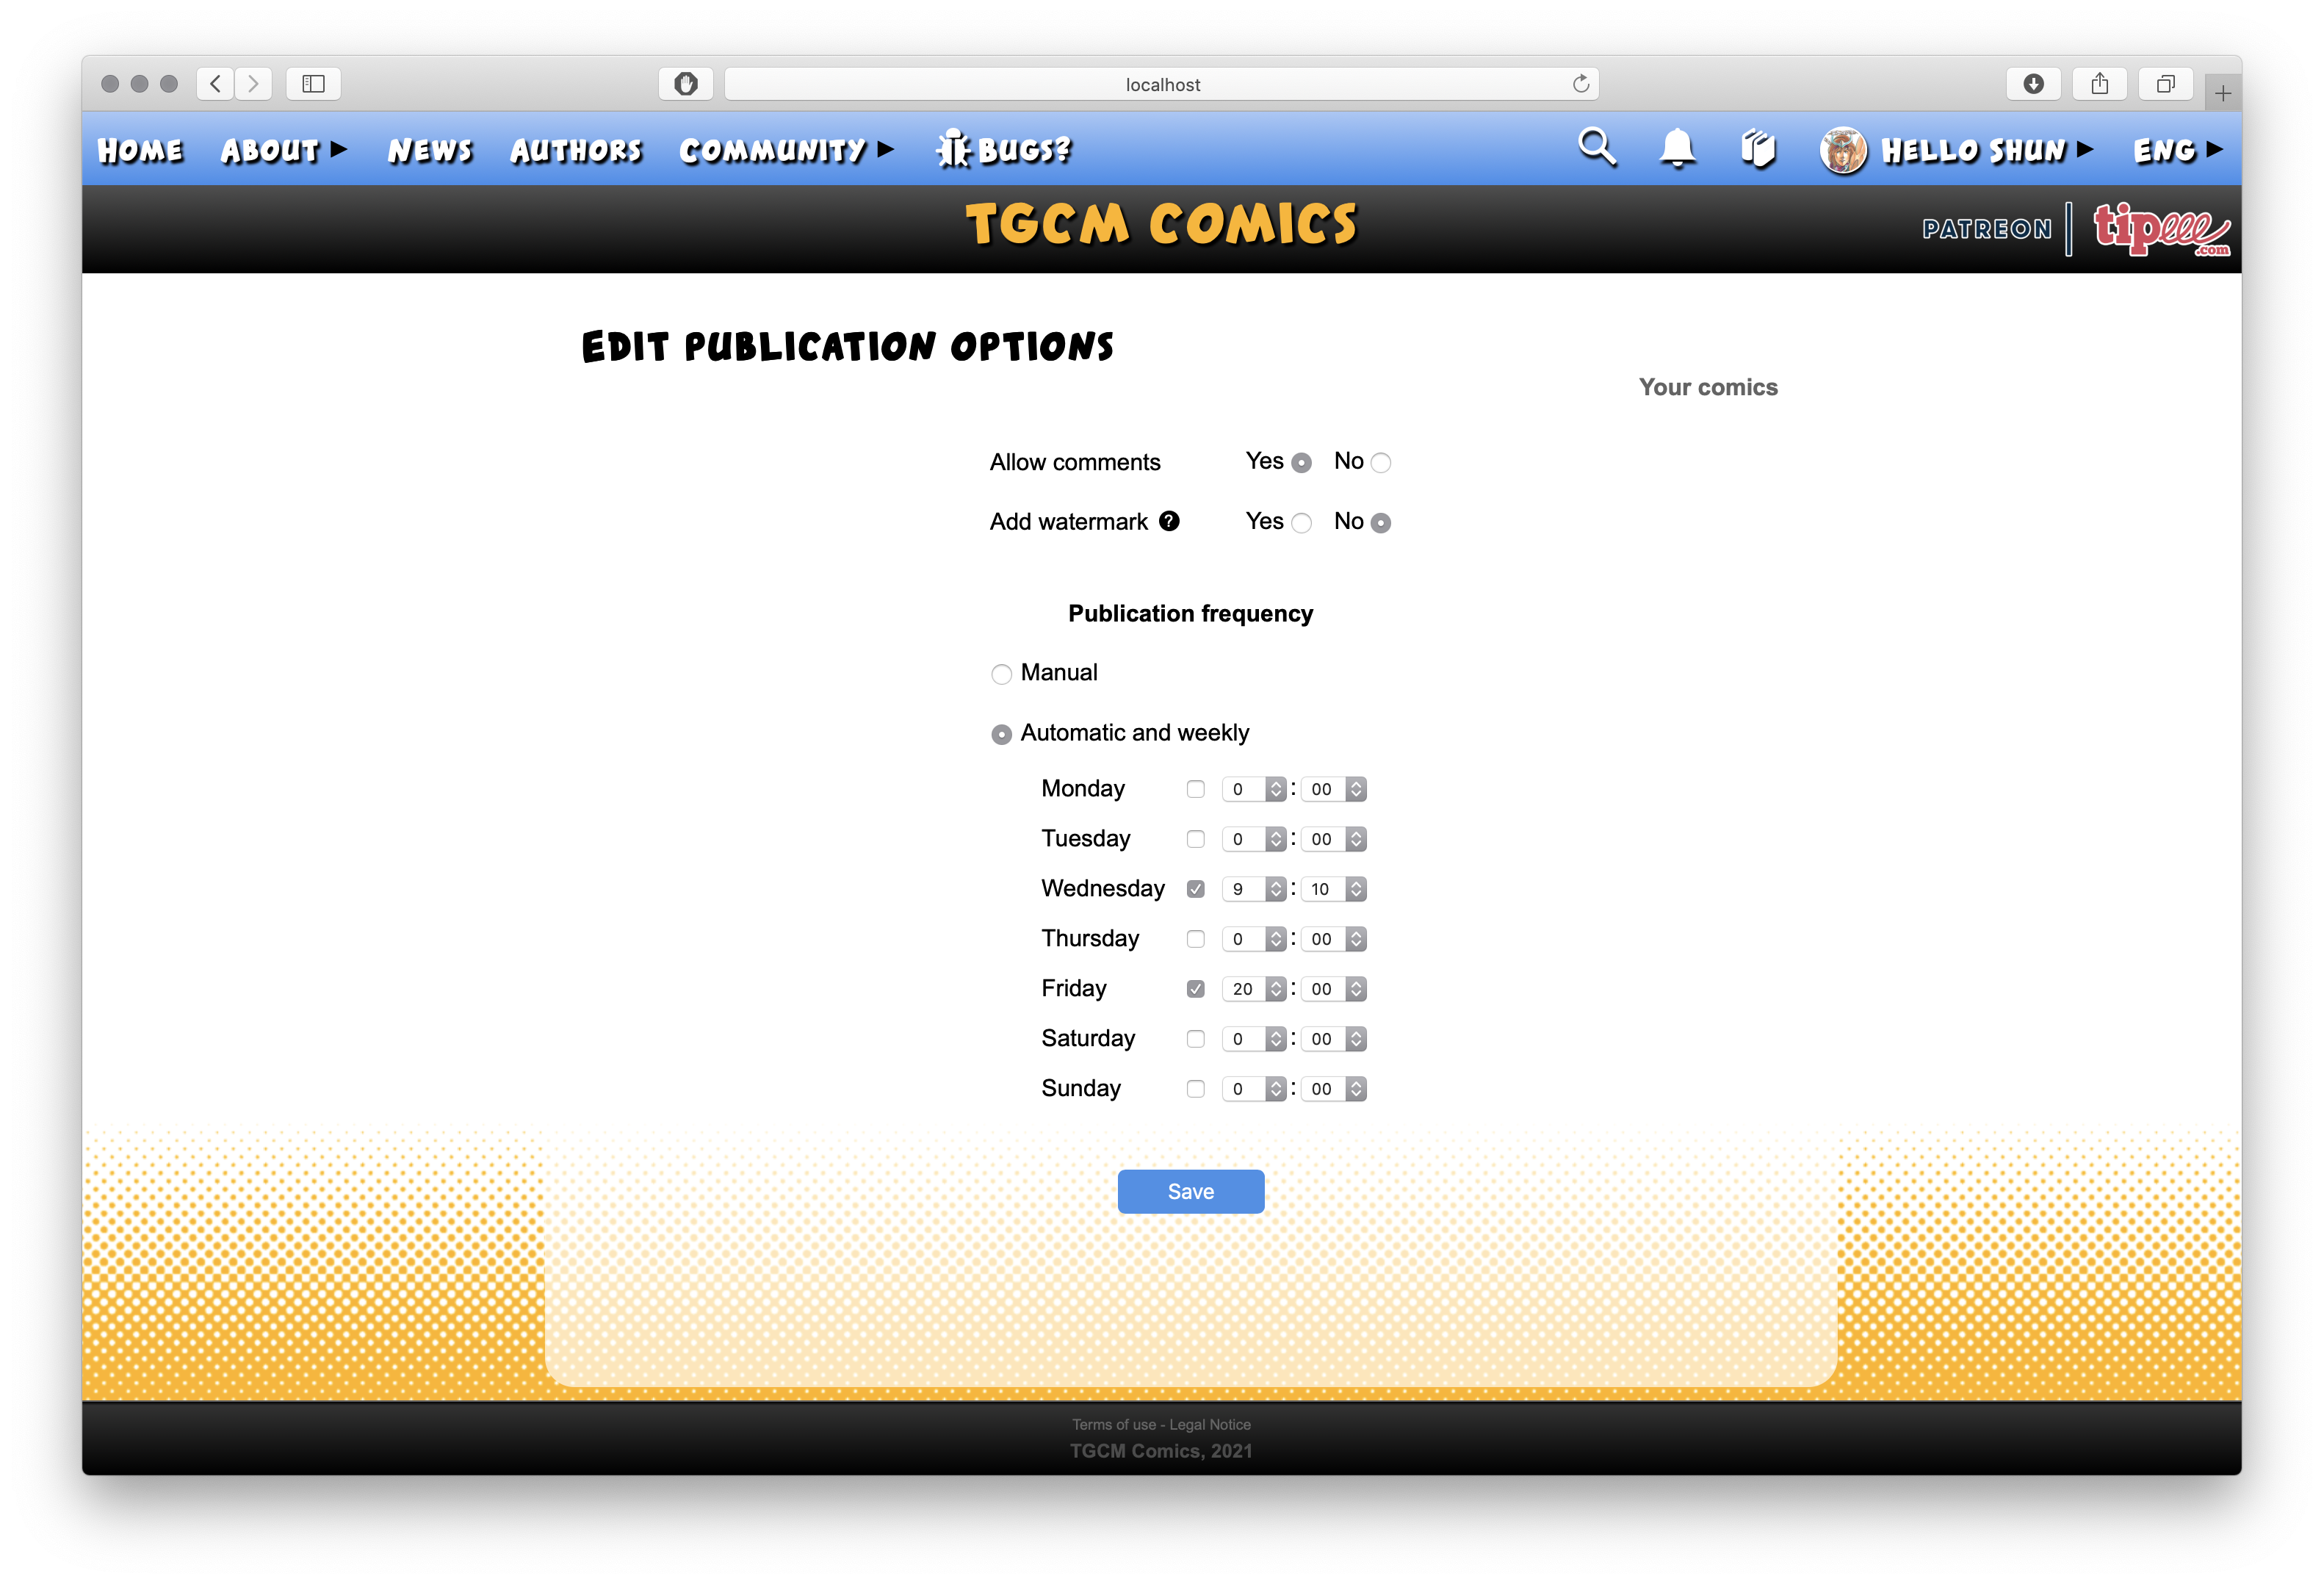
The following will allow you to indicate if you want the publication to be automatic or not and if yes, to set the days and hours of publication of your pages.
Then you have the translation settings. On this screen, you will be able to translate the title as well as the synopsis of your webcomic and also ask for your pages to be translated automatically or not. The automatic translation will not start at the same time depending on whether you send pages with text or empty pages.

And finally, I also developed the chapter manager for a series. If you chose to publish a one-shot or an extract, a single chapter will be created and instead of the chapter list the pages manager will be displayed directly.

So, everything I have just presented to you is already developed.
Currently I'm working on the pages manager and this is the biggest piece of the whole project at least the most complex one.
That's all for today!
I still have a lot of things to show and tell you, so we'll meet again very soon!
Have a nice week! :D
Suisei
Categories : Comics, News and chitchat,
Queen Mera, Poseïdon and Drink'N'Draw online
Published by Suisei at 27/01/2021 à 15h45
Hi everyone!
I haven't given news for a while. I was lost in Star Trek Deep Space Nine, coding and drawings. :p
So to begin with, happy new year to everyone, hoping that it will be more positive than 2020, which was a very strange year.
Now that I have a little time it's time to tell you all about it in some news.
Today I will talk about illustration and in particular Drink'N'Draw.
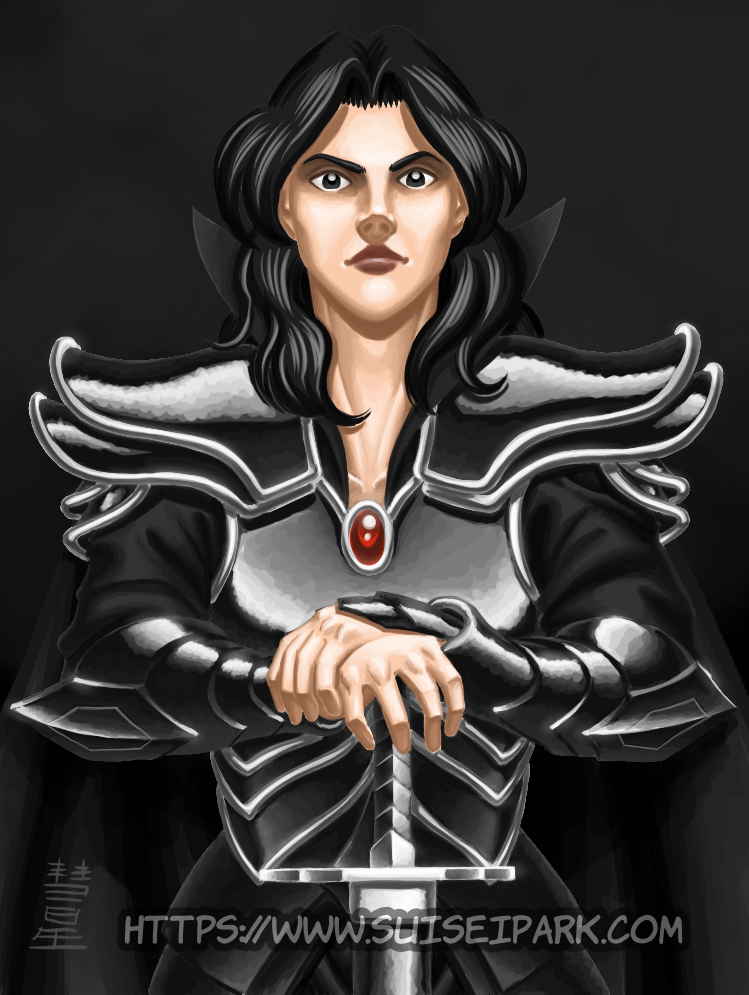
In November 2020 we had a theme on Queen Mera, a comic character from DC Comics. I've been wanting to try digital painting for a while and I also wanted to redraw some Knights of the Zodiac.
Mera being the queen of the seas in the DC Comics universe, I thought it might be nice to associate her with the Saint Seiya's Poseidon.
So this time I didn't use Aggie.io, I did a high definition illustration apart. And here is the result!
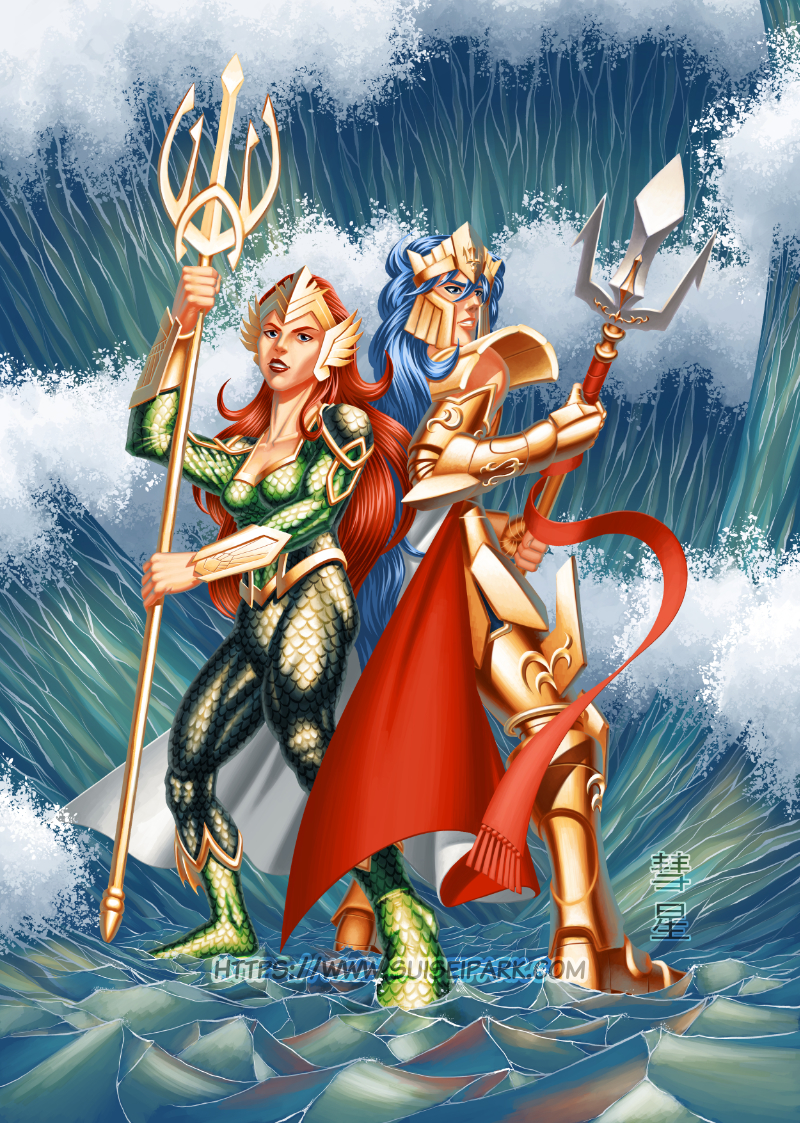
It took a lot of hours of work, but I'm happy with the result. The colors related to sea inspire me a lot. :D
I still have to study solutions to be faster.
Speaking of Aggie.io, it's been months since I've shown you anything, yet every Wednesday we continued to draw as a group on this online application.
It's really interesting these online drawing sessions because I've been able to test a lot of methods and styles for color. :D
Here is a small compilation. Just click on each image to see a larger version.
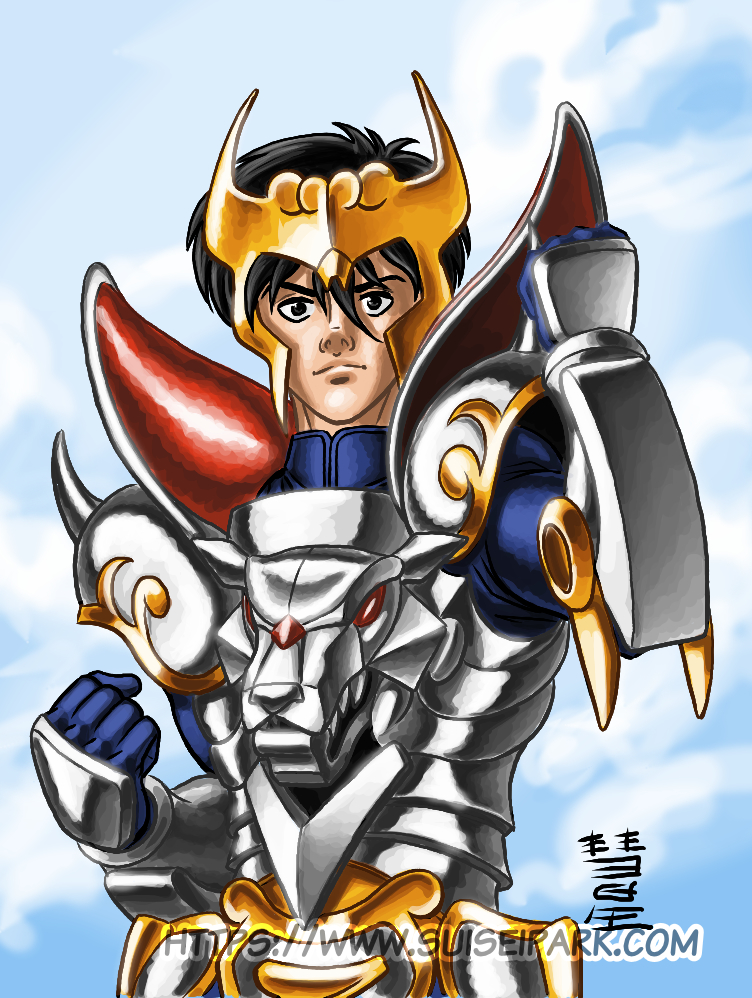
Saint Seiya, the five others bronze saints

Coulson

Proxima Midnight
Shurato

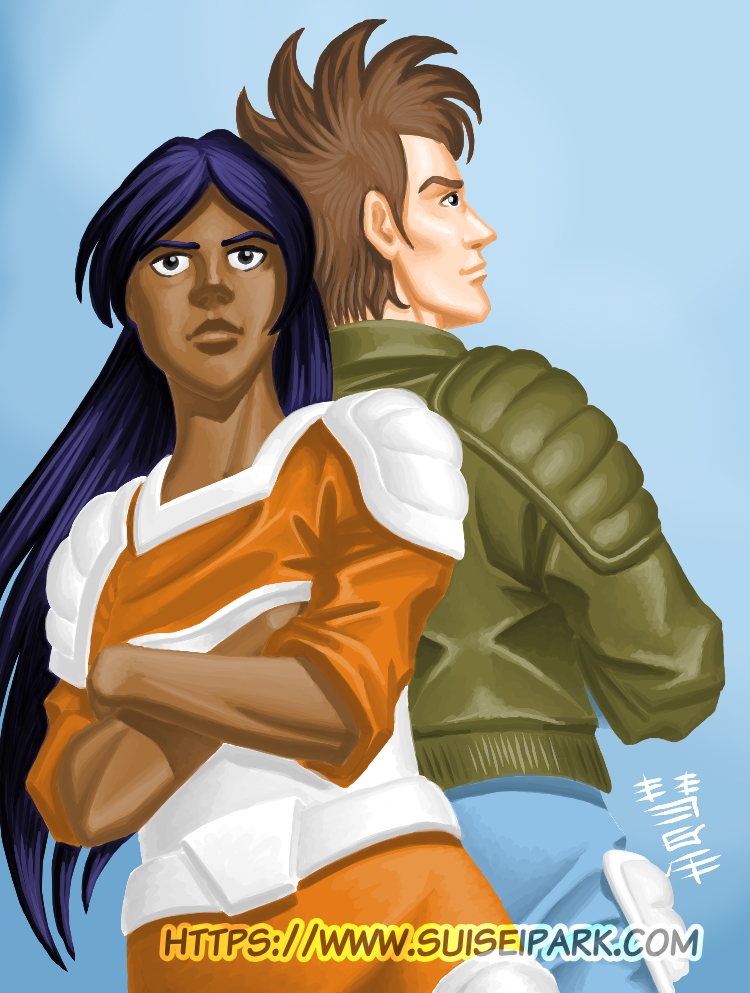
Defenders of the Earth
Once Upon a Time... Space
Tarkhan

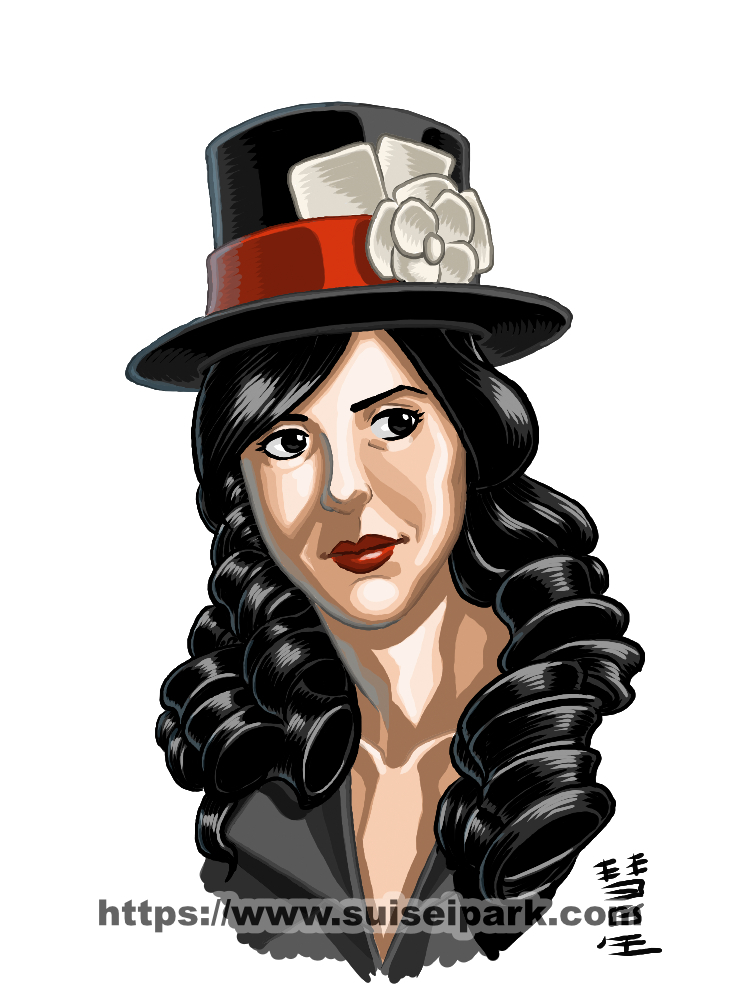
Nadia
Khali
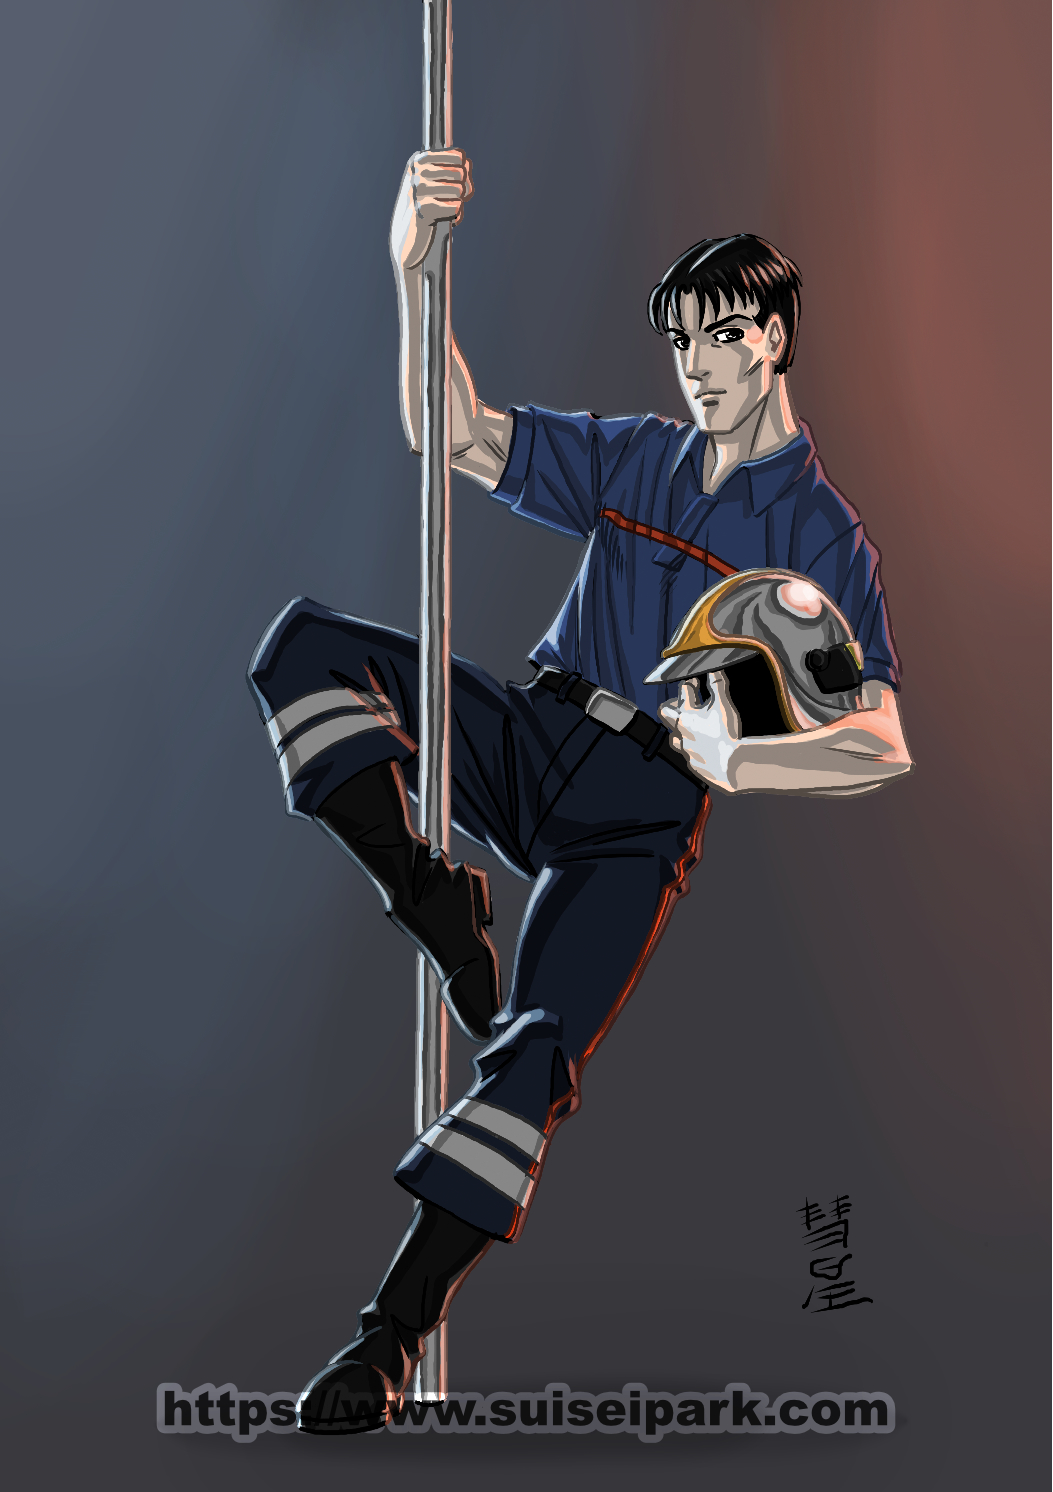
The small essential jobs

Shaolin Monks
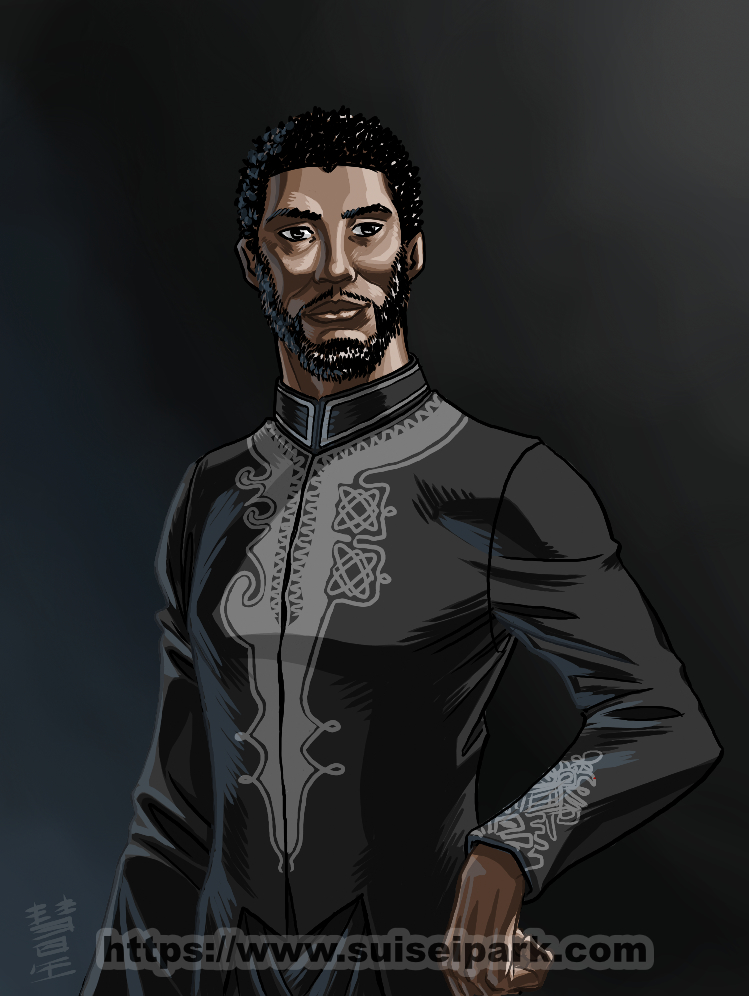
Chadwick Boseman
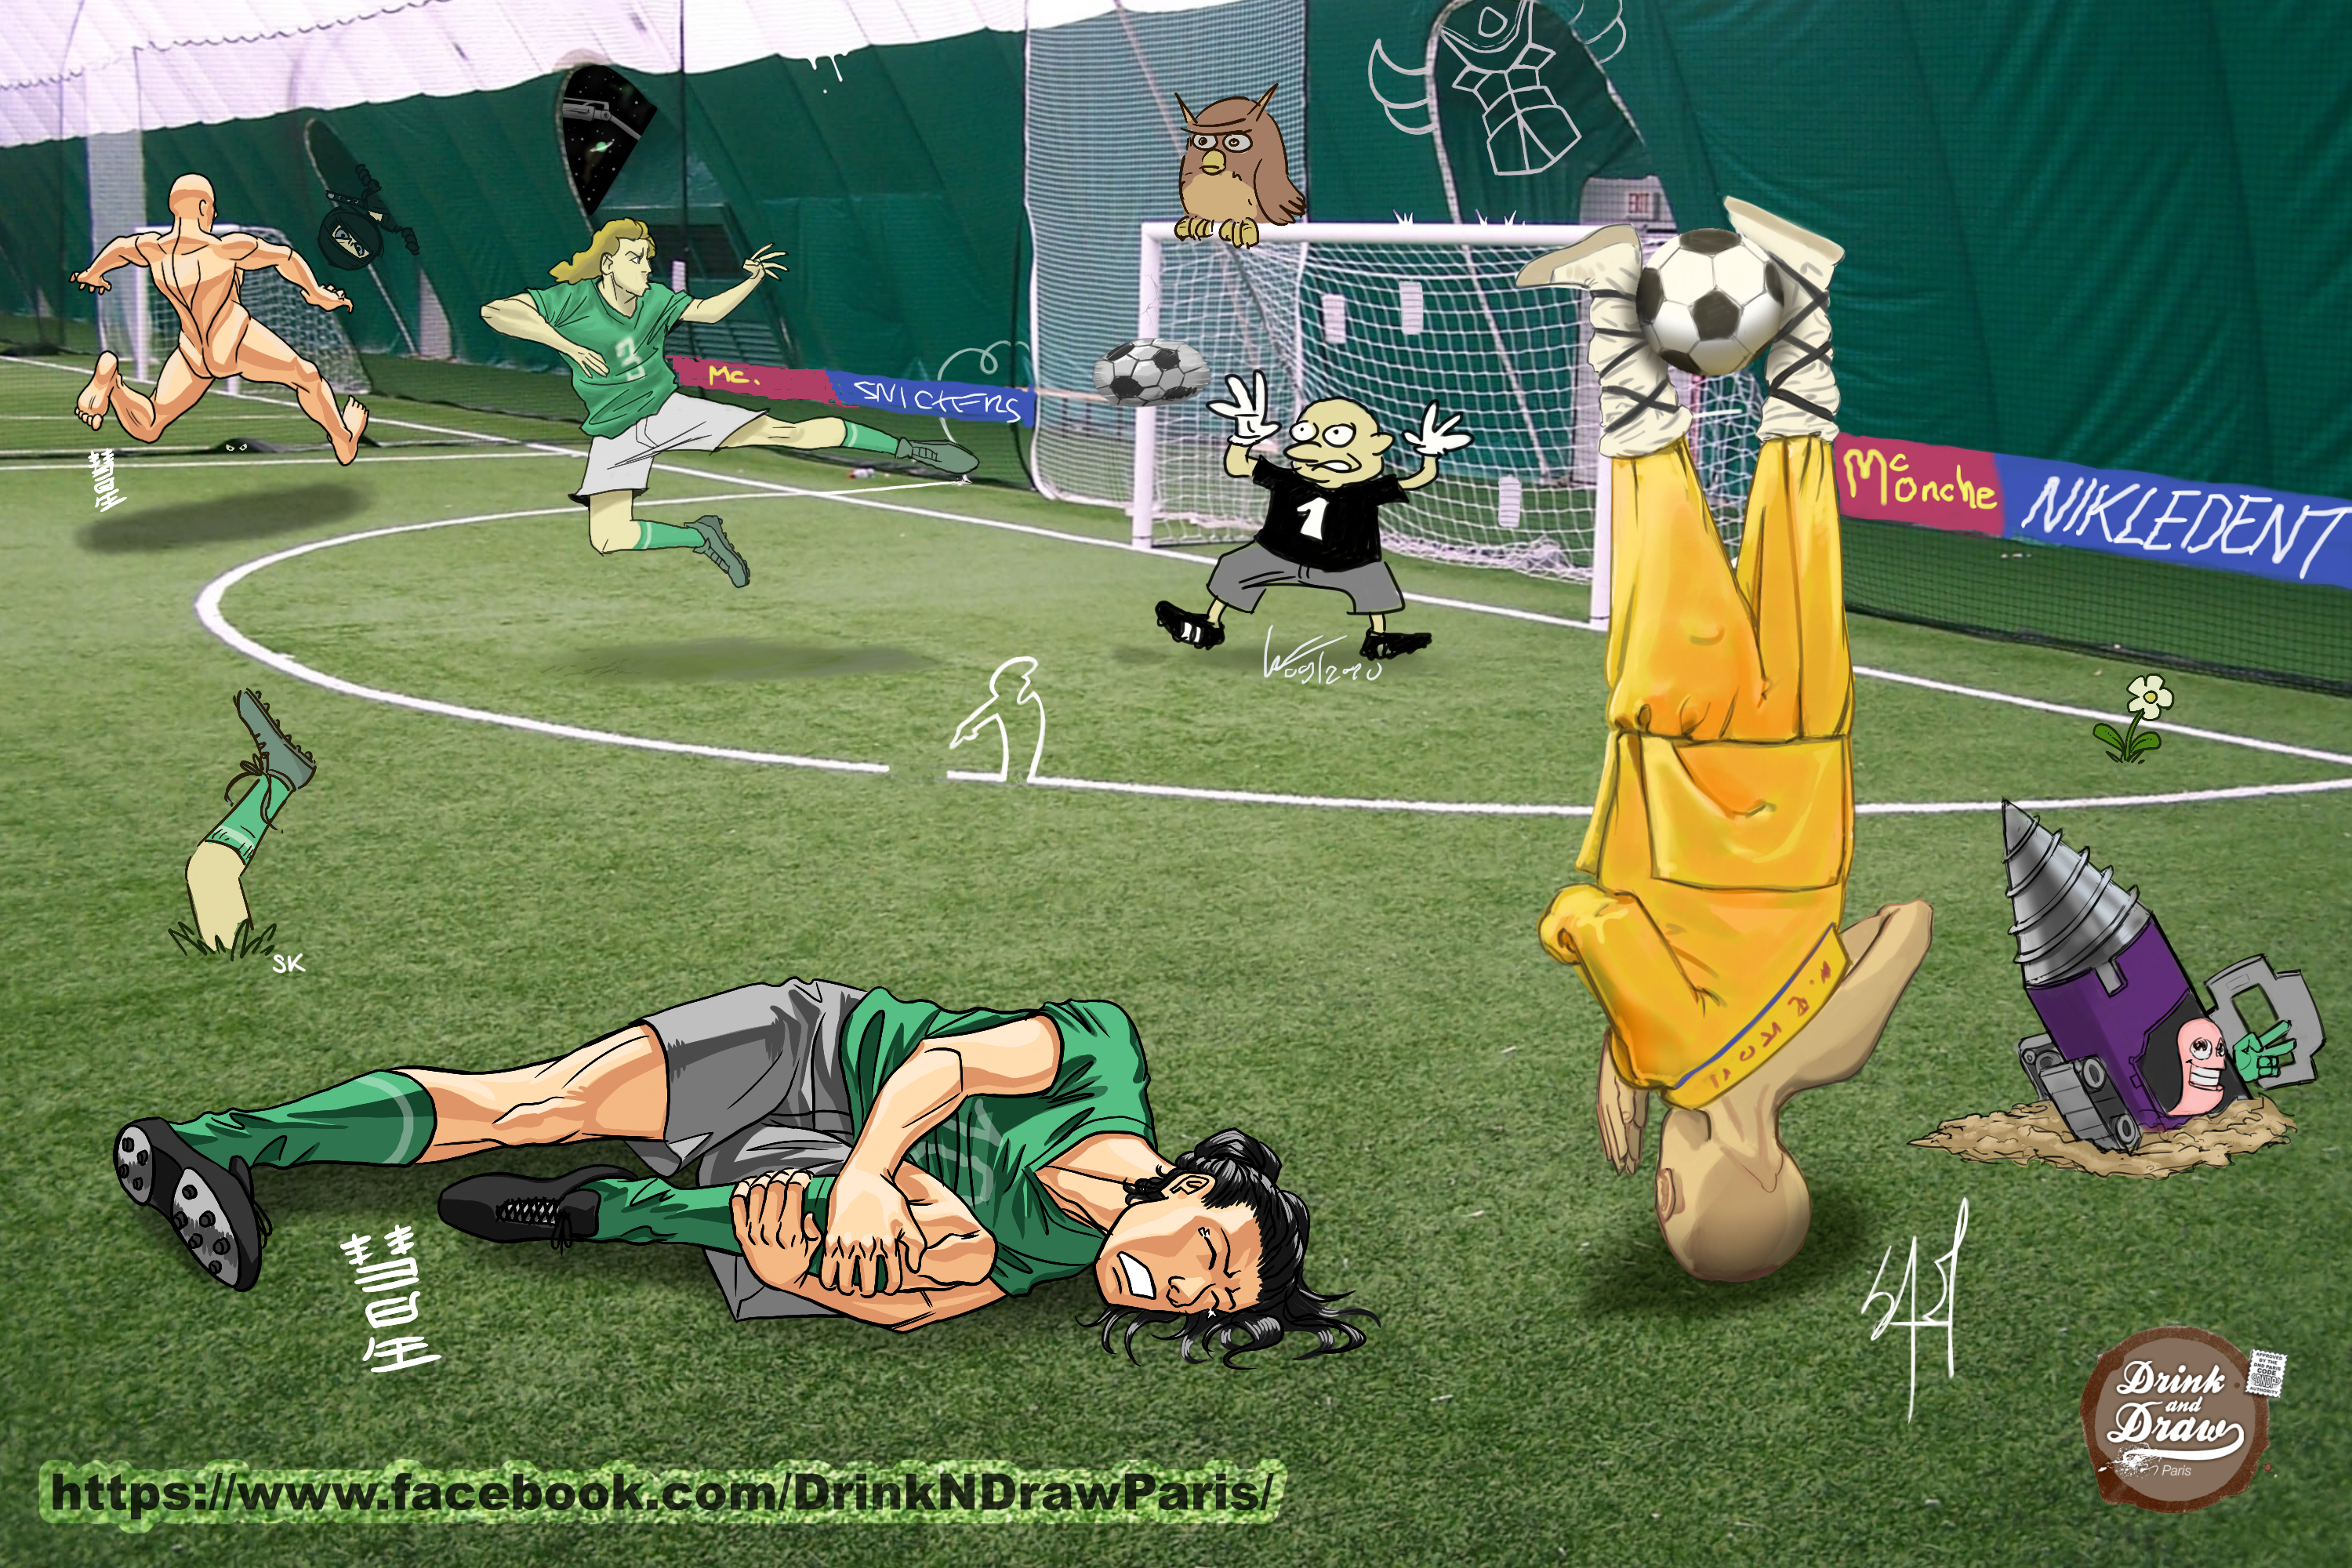
Soccer
Collective contribution with
Renauddesign
Kevin Kapalsky
ShinKoala
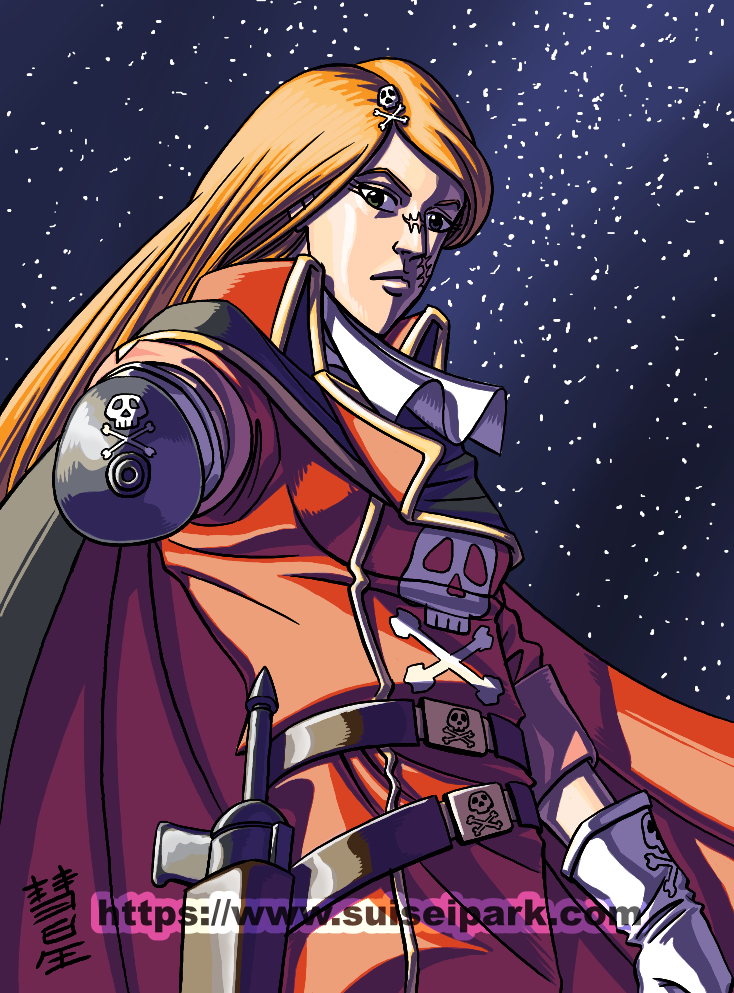
Queen Emeraldas
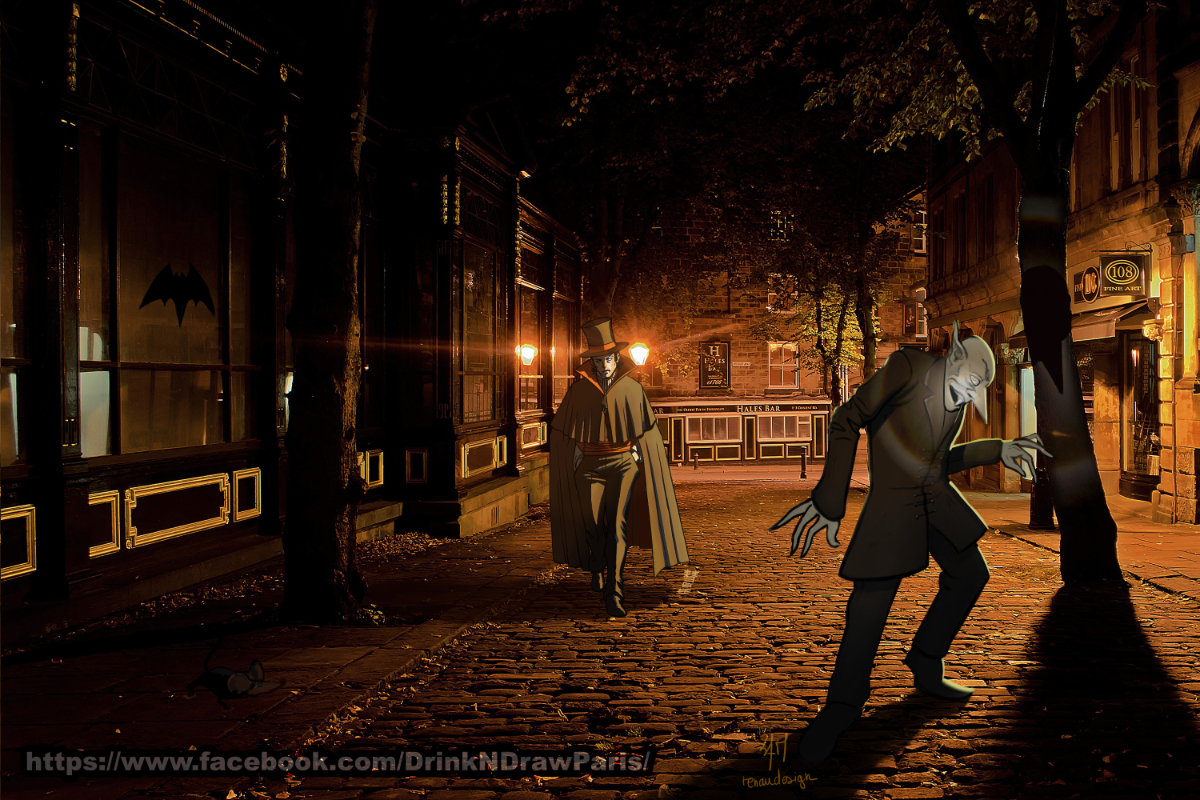
Vampires
Collective contribution with
Renauddesign
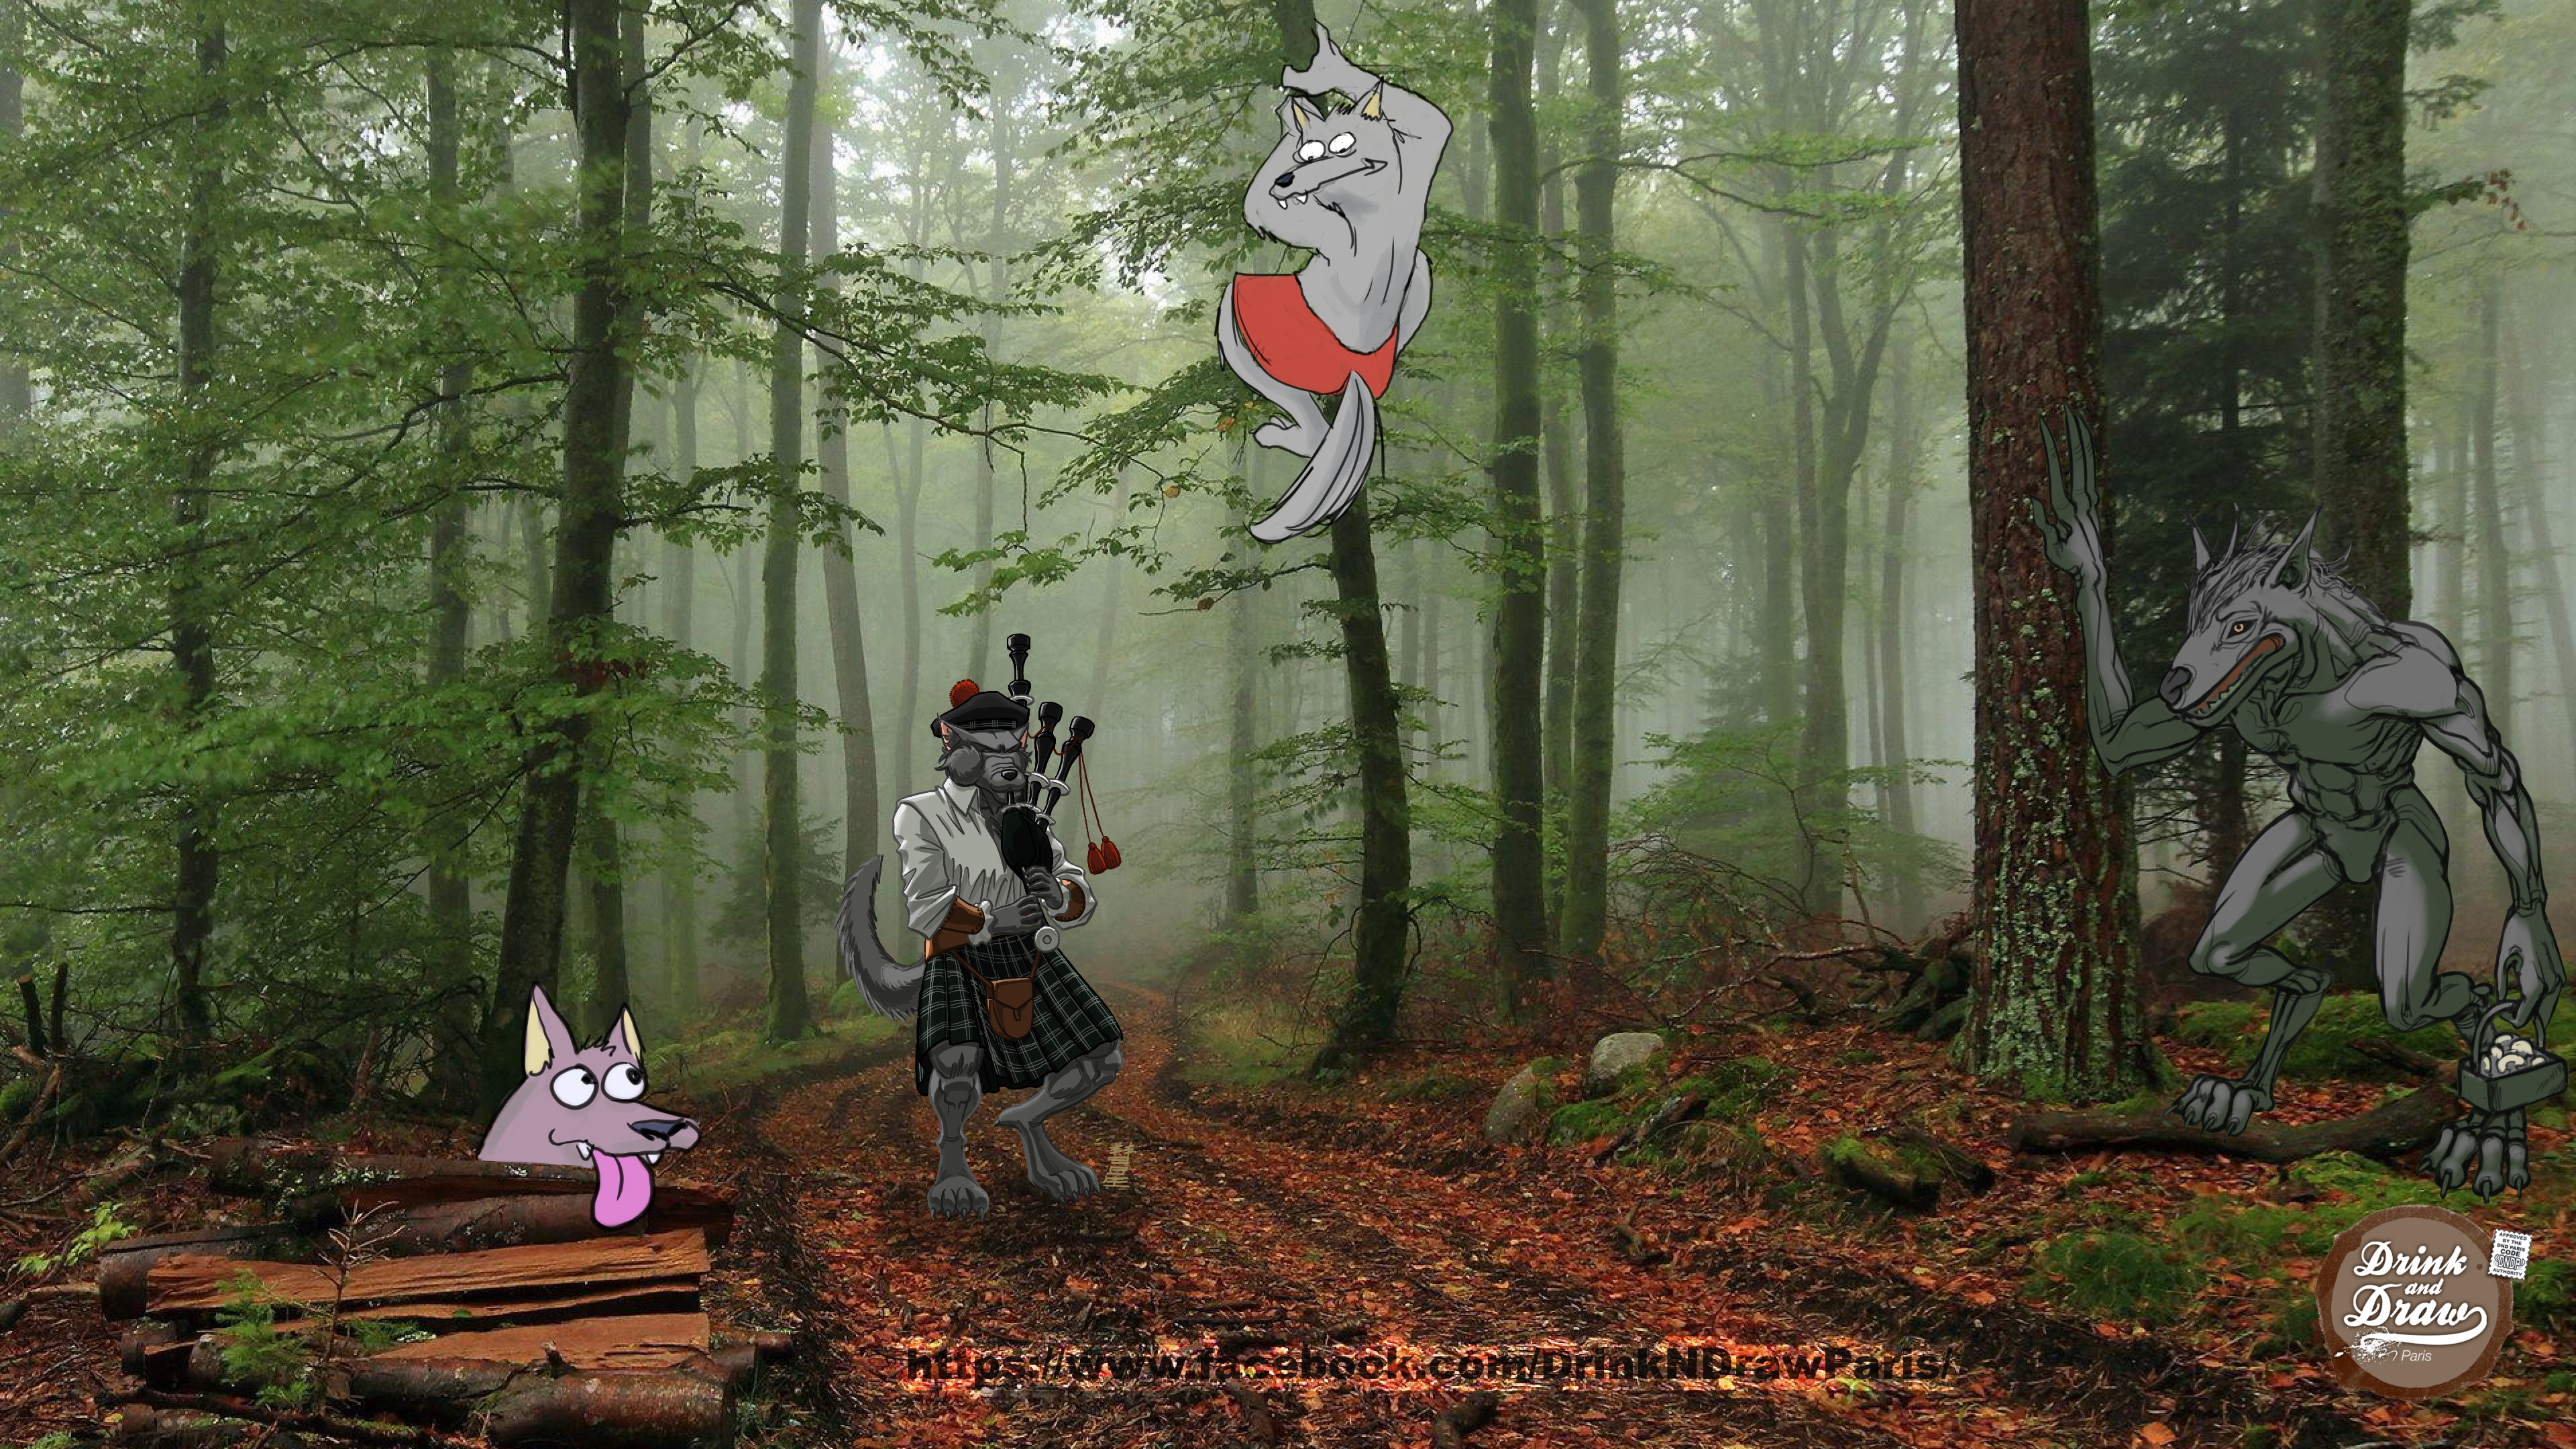
Werewolves
Collective contribution with
Renauddesign
Kevin Kapalsky
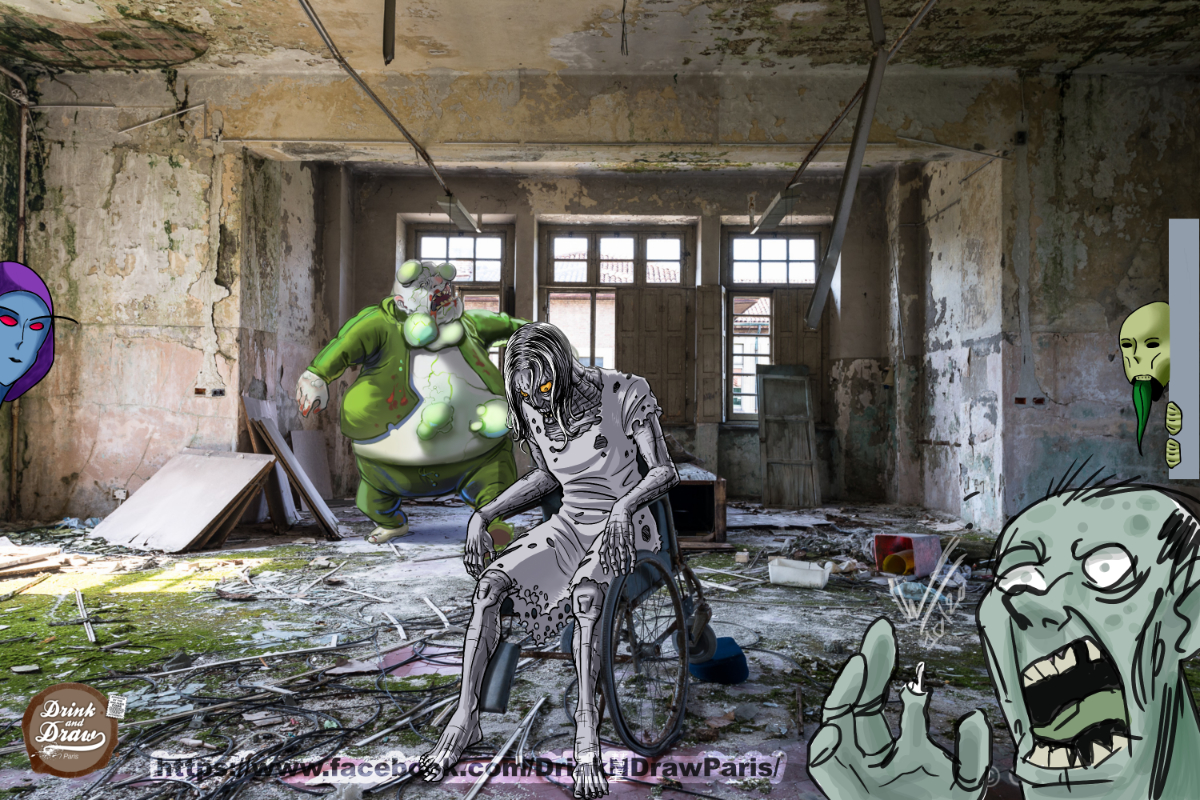
Zombies
Collective contribution with
Renauddesign
Kevin Kapalsky
Khimaerai
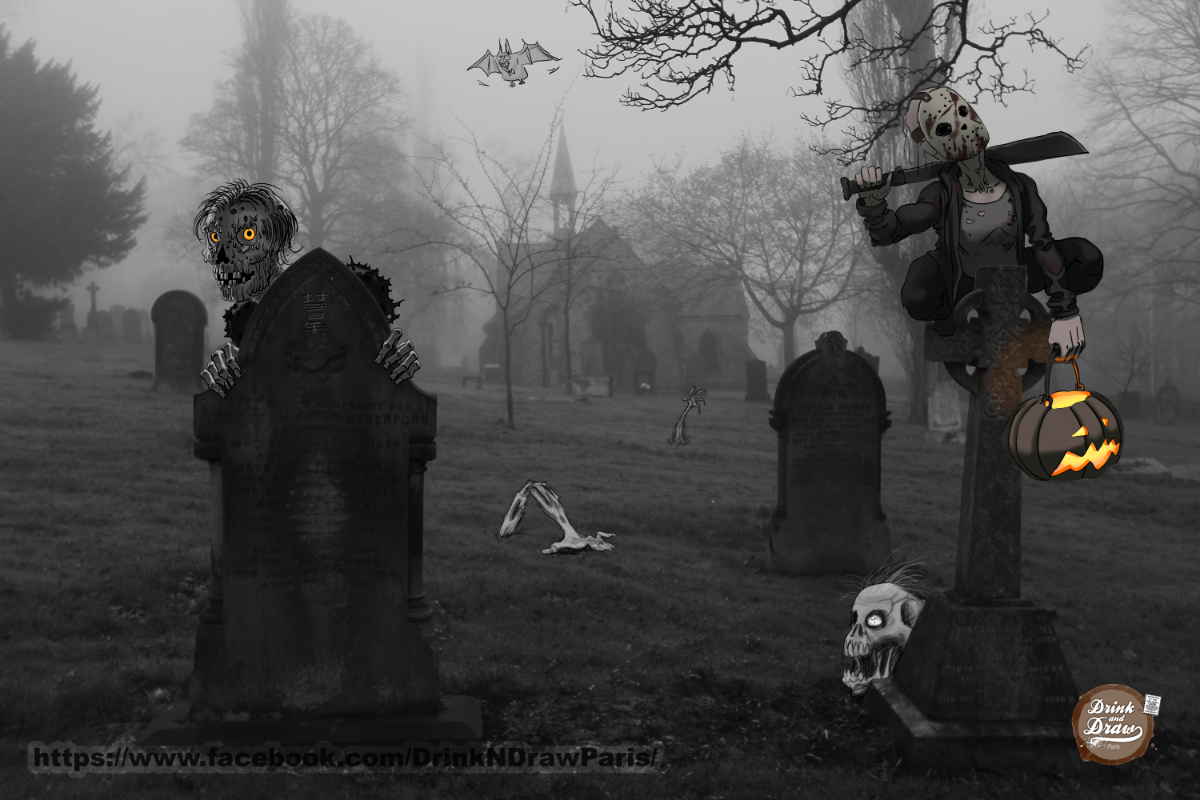
Halloween
Collective contribution with
Renauddesign
Kevin Kapalsky
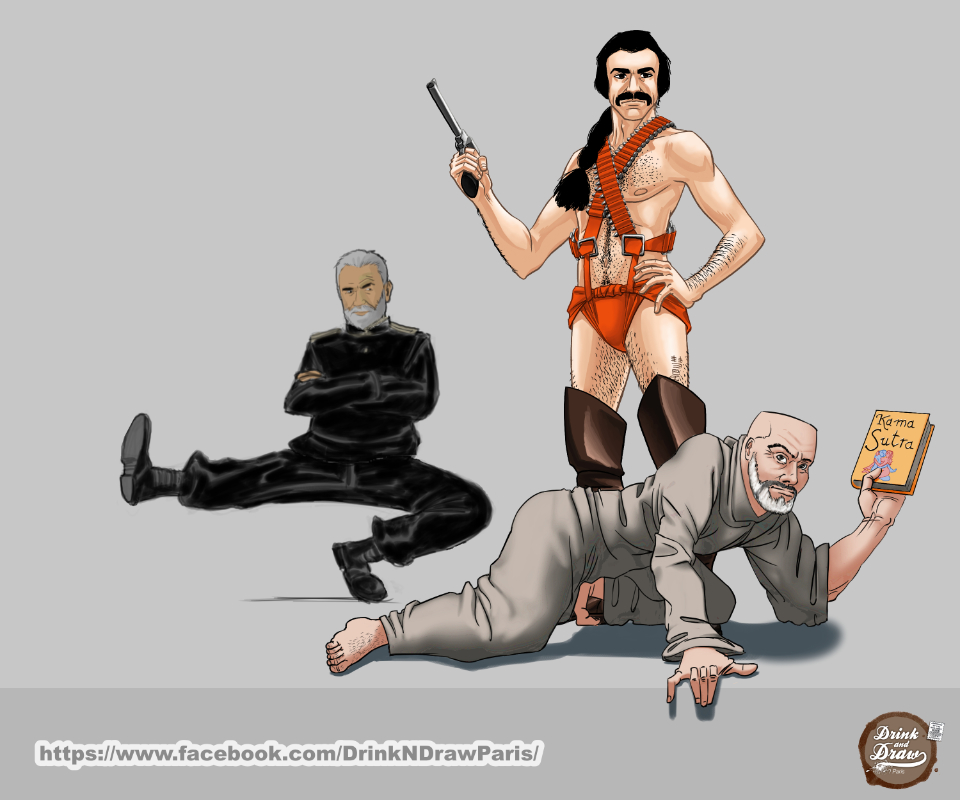
Sean Connery
Collective contribution with
Renauddesign
Kevin Kapalsky

All Might
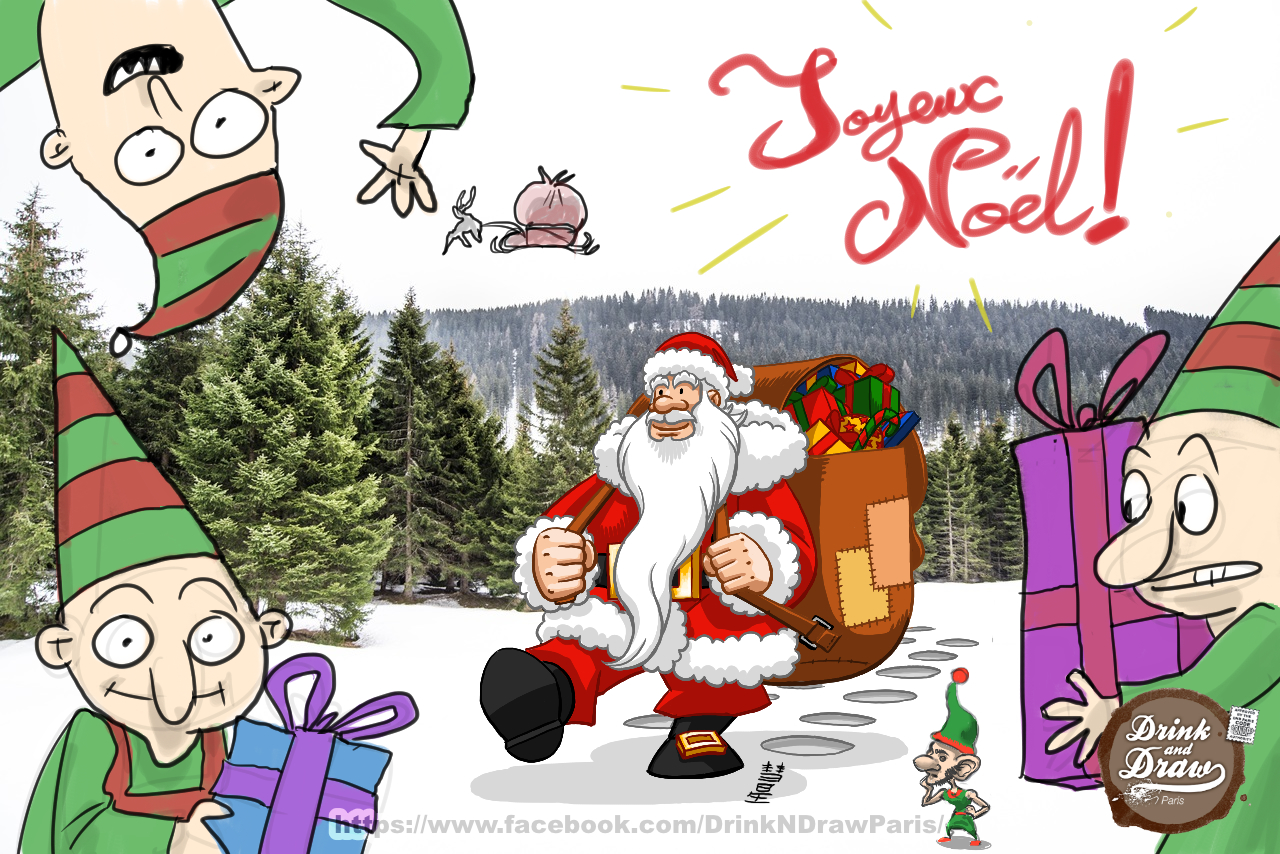
Santa Claus
Collective contribution with
Renauddesign
Kevin Kapalsky
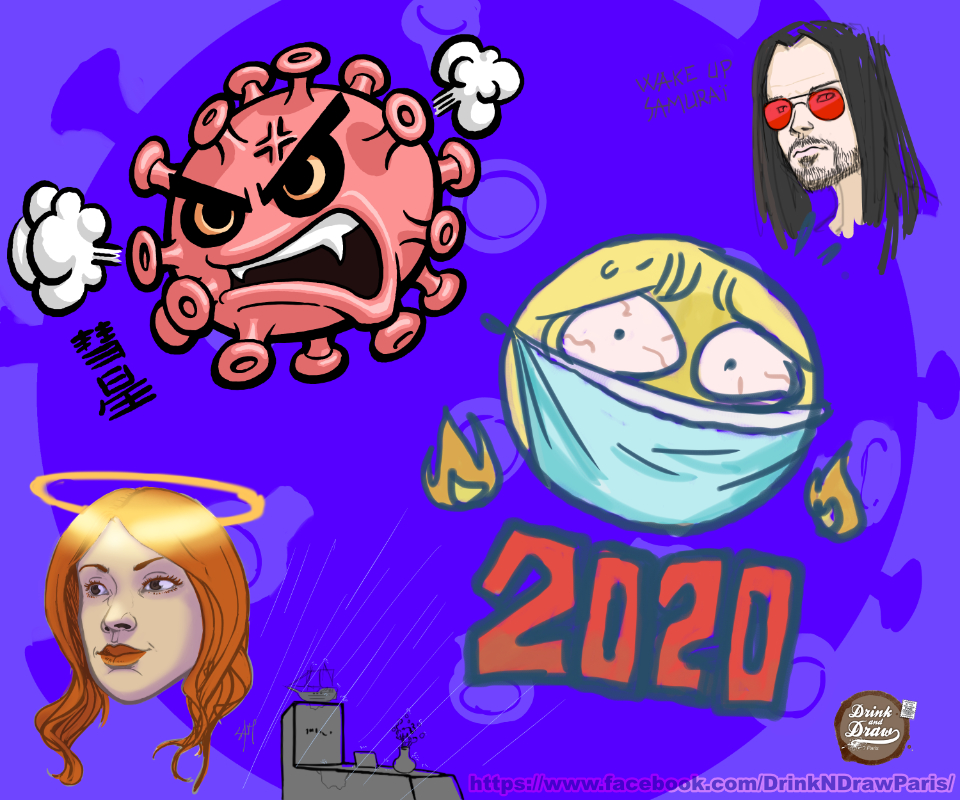
2020 Review
Collective contribution with
Renauddesign
Kevin Kapalsky
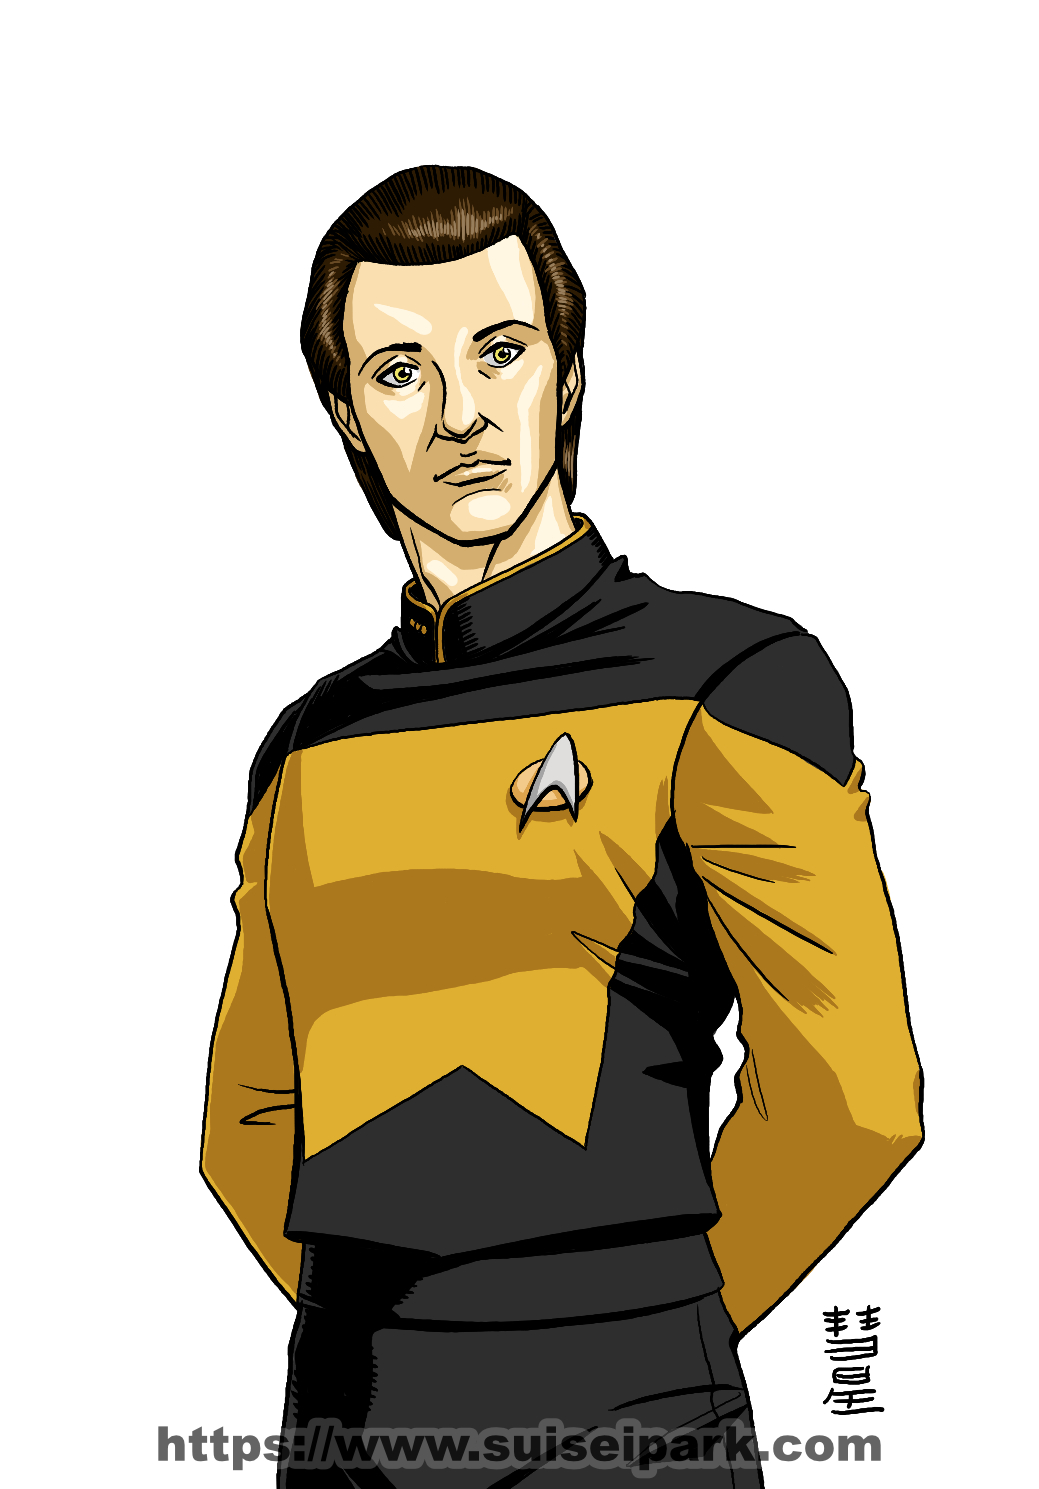
There weren't any theme so I chose to draw Data from Star Trek Next Generation.
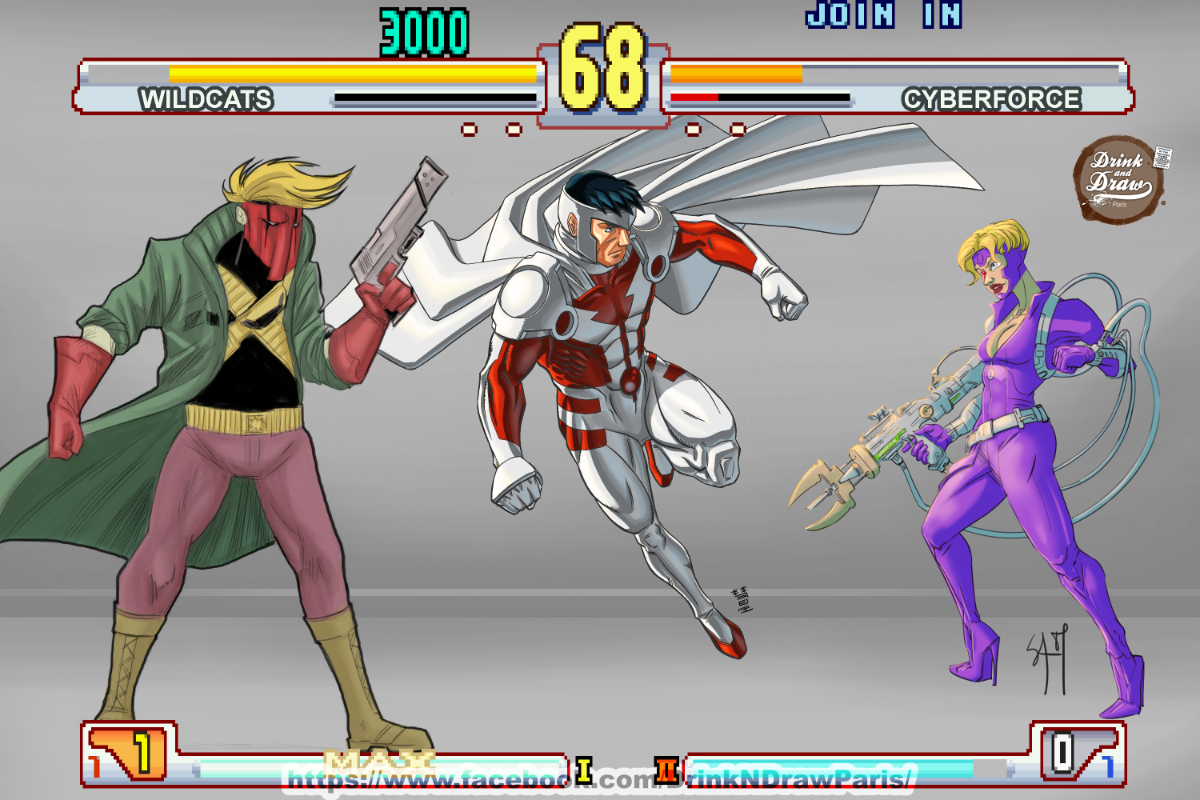
WildCats vs CyberForce
Collective contribution with
Renauddesign
Kevin Kapalsky
That's all for today !
To avoid you big compilations like this it would be nice if I post each of my participation to the Drink'N'Draw immediately after finishing it and then like this I could give news in a more regular way. x)
I still have a bunch of news overdue, so I'll see you soon!
Suisei
Categories : Illustrations, News and chitchat,